- Help & Advice
- How To Guides
- How to Fit Shower Wall Panels
How to Fit Shower Wall Panels
Fitting shower wall panels is a great way of modernising your bathroom without going to the hassle of a full bathroom renovation. Not only are panels quick and easy to install - with no need to grout tiles - they’re also low maintenance and easy to keep clean, making them a perfect alternative to bathroom tiles.
In this article, we’ll provide the easy-to-follow steps on how to install your new shower wall panels, from preparation and measuring through to cutting, fitting, and sealing. Whether you’re a DIY beginner or looking to refresh your bathroom on a budget, this guide will help you achieve a professional-looking finish with little fuss.
Benefits of Shower Wall Panels vs Tiles
Faster and Easier Installation
Wall panels are designed for quick installation, often using tongue-and-groove systems or adhesive fixing. Unlike tiles, there’s no need for mixing adhesive or grouting, which significantly reduces install time. This makes panels ideal for easy DIY projects or quick bathroom upgrades.
No Grouting Required
One of the biggest advantages of wall panels is the absence of grout lines. Grout can be time-consuming to apply and is prone to cracking, discolouration, and mould growth over time. With panels, you get a smooth, seamless finish that eliminates these common maintenance issues.
Low Maintenance and Easy to Clean
Thanks to their non-porous surface, wall panels are really easy to clean. A quick wipe-down with a cloth and mild cleaner is usually all that’s needed. Unlike tiles, there are no grout lines to scrub, making them a more hygienic and hassle-free option.
Cost-Effective Solution
While the upfront cost of panels can be similar to mid-range tiles, you save money on installation materials and labour. There’s no need for grout, specialist tools, or professional tilers in many cases, making wall panels a more budget-friendly option.
Waterproof and Mould Resistant
Shower wall panels are specifically designed to be fully waterproof, making them perfect for wet areas. With fewer joints, there’s less chance of water ingress, which helps keep mould and mildew at bay.
Modern, Seamless Appearance
Wall panels offer a sleek, contemporary finish with minimal visible joins. They’re available in a wide range of colours, textures, and designs - including realistic stone, marble, and tile effects - allowing you to achieve a high-end look with much less effort.
Can Be Installed Over Existing Surfaces
In many cases, wall panels can be fitted directly over existing tiles or flat surfaces, provided they are sound and level. This eliminates the need for messy and time-consuming tile removal, speeding up the renovation process.
Durable and Long-Lasting
Wall panels are more resistant to impact, scratches, and everyday wear and tear. They won’t crack like tiles and you won't have to worry about grout deteriorating, making them a reliable long-term solution for most bathrooms.
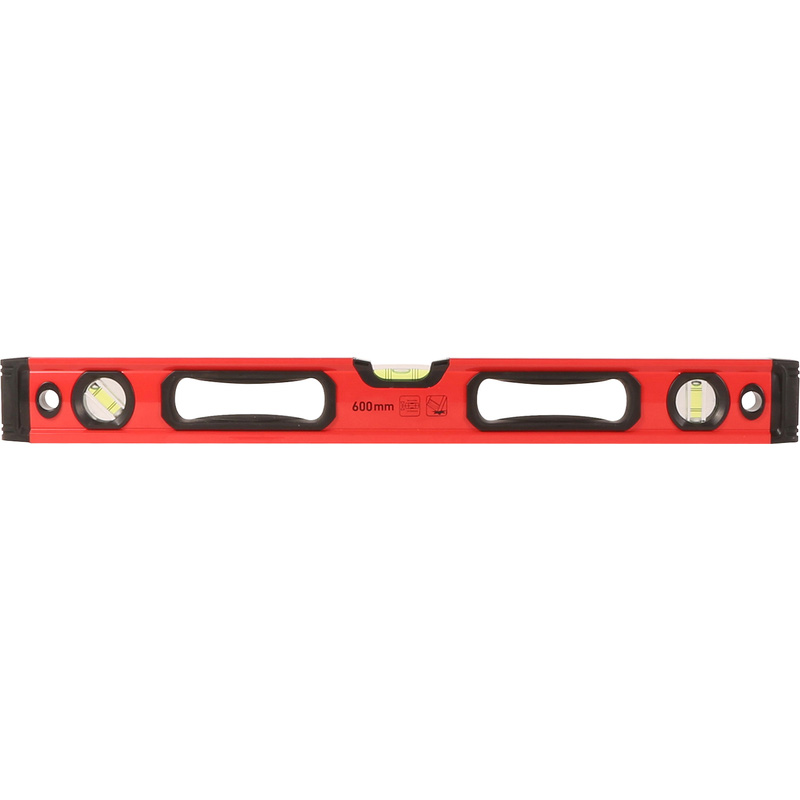
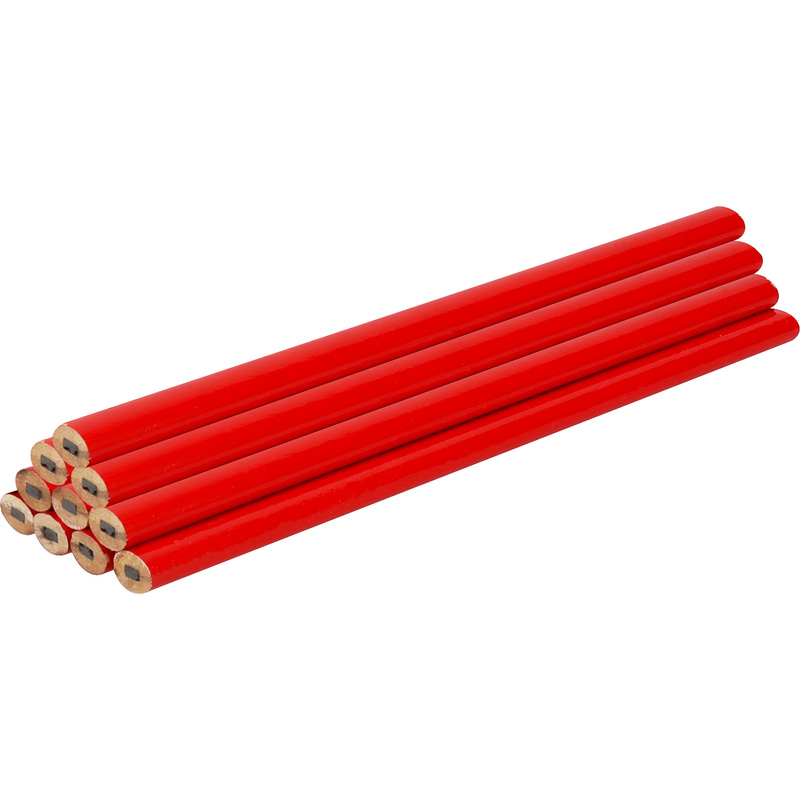
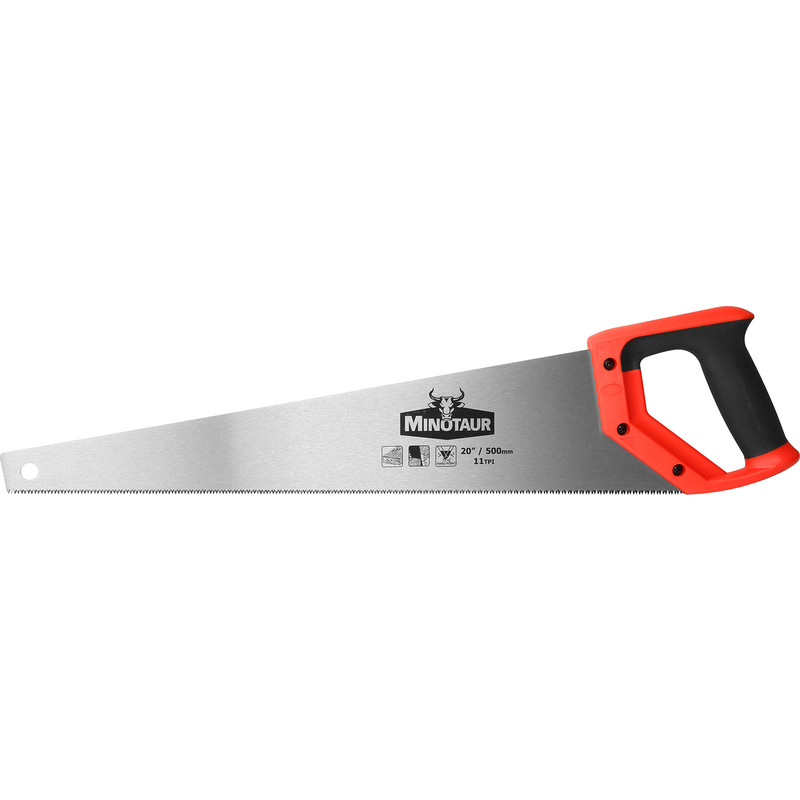
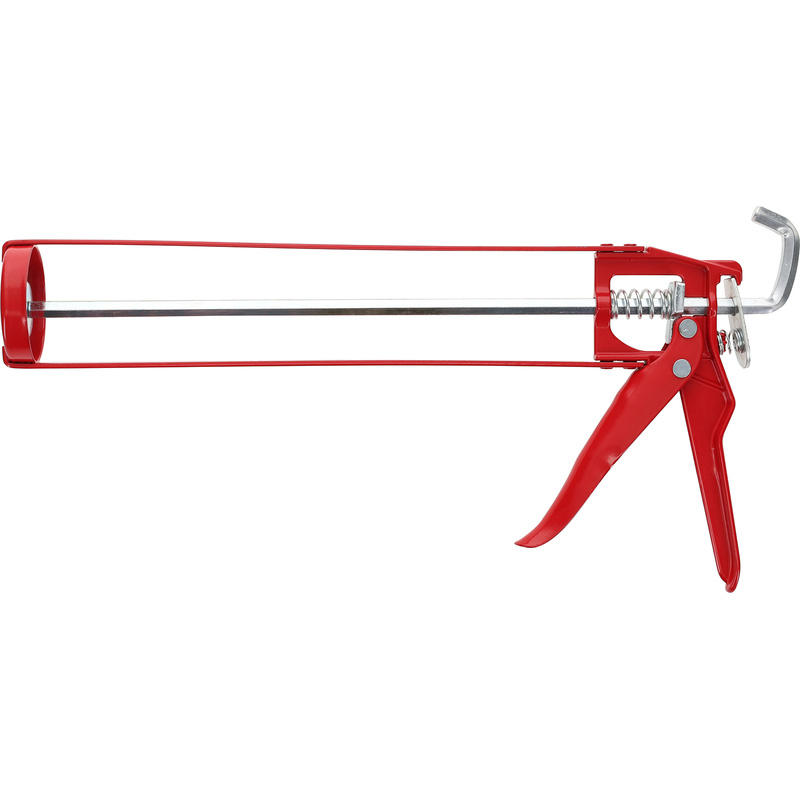
Essential Tools & Equipment

Step 1: Prep the Walls
Start by making sure that your walls are clean, dry, and free from dust, grease, or loose material. You’ll need to fill any uneven areas with sealant, as panels need a flat surface to stick properly. Many panels can be installed directly over existing tiles, as long as they’re secure and level.
Step 2: Take Measurements
Take your measurements carefully, checking the height and width in a few different spots. Walls aren’t always perfectly straight, so it’s best to go with the smallest measurement to avoid any awkward fitting later on.
Step 4: Do a Dry Run
Before sticking anything in place, it's a good idea to position the panels where they’ll go to make sure everything lines up properly. It’s much easier to tweak things now than once the adhesive is on!
Step 5: Fit Trims First
Start by installing any corner trims. These help guide the panels into place and give a clean finish. Use a spirit level to make sure they’re nice and straight - this makes a big difference to the final look.
Step 6: Apply the Adhesive
Add your adhesive to the back of the panel (or directly onto the wall) in a zigzag or vertical pattern. Don’t scrimp here - you want good coverage so the panel sticks properly and won’t come loose over time.
Step 7: Put Up the First Panel
Carefully slot your first panel into the corner trim and press it firmly onto the wall. Take a moment to check that it’s level. Getting this one right makes the rest of the job much easier.
Step 8: Fit the Remaining Panels
Work your way along, fitting each panel into the next. Most panels click or slot together, giving you a nice seamless finish. Press each one firmly into place as you go.
Step 9: Seal Everything Up
Once all your panels are in, run a bead of sanitary sealant along the edges, corners, and where the panels meet the shower tray or bath. This step is important as it keeps everything waterproof, so take your time and be sure to do it neatly.
Wipe away any excess adhesive or sealant while it’s still wet. Then leave everything to cure properly before using the shower.