- Help & Advice
- How To Guides
- How to Renovate a Bathroom
How to Renovate a Bathroom
Whether you’re swapping out an old toilet and sink or going all-in with a full bathroom makeover, a renovation doesn’t have to feel overwhelming. With a bit of planning, the right tools, and a realistic idea of your DIY skill level, there are some tasks you can easily take on yourself. Of course, for certain jobs, like complex plumbing, electrical work, or major layout changes, it’s always a good idea to call in a qualified trade professional to ensure the job is done properly and that all the rules and regs are adhered to.
A DIY bathroom renovation for beginners focuses more on cosmetic upgrades rather than structural changes, helping you achieve a fresh new look on a budget. This step-by-step guide takes you through a simple bathroom makeover while avoiding any complex electrical or plumbing work.
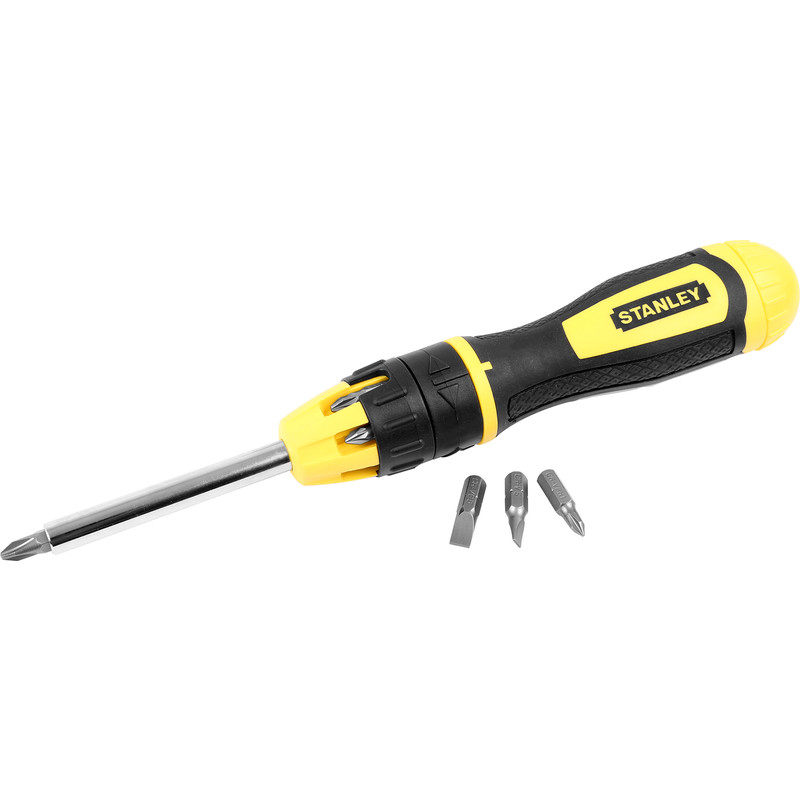
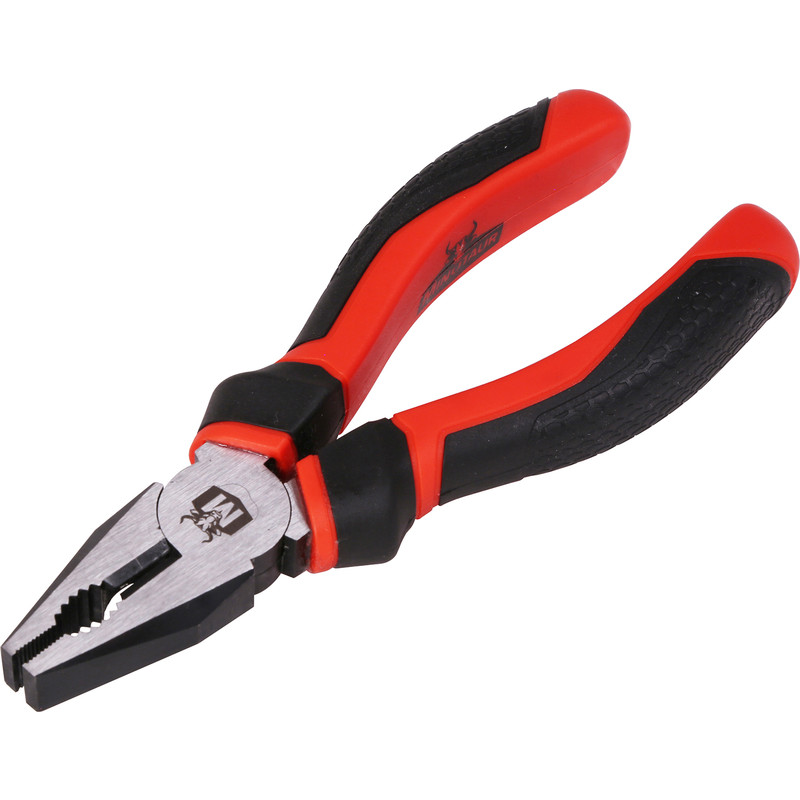
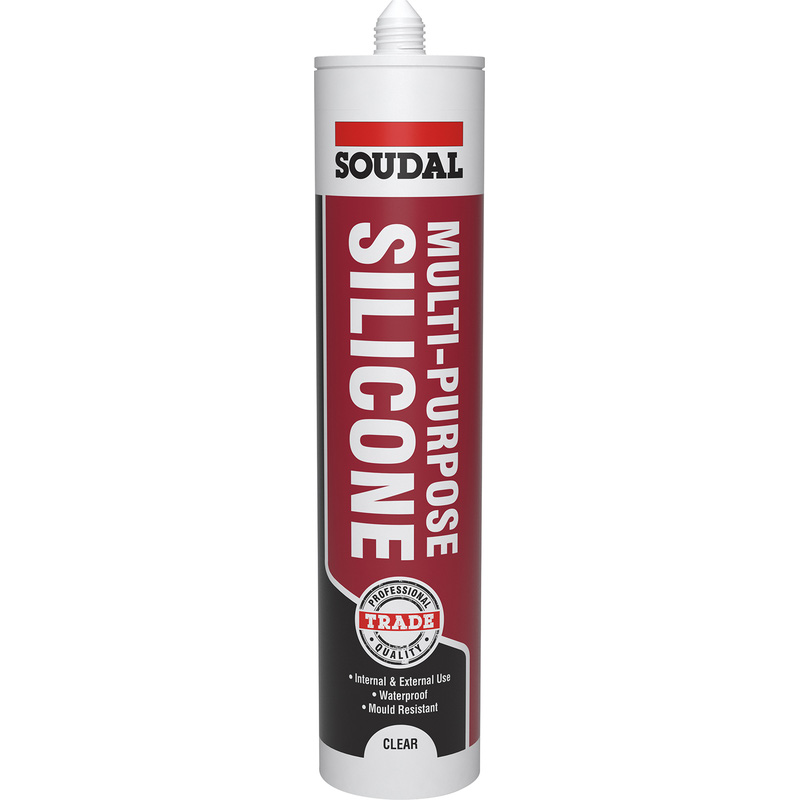
Essential Tools & Equipment


Things to Consider Before you Start
Budget
First thing you'll need to do is decide how much you want to spend and be realistic about what that amount can cover. A simple bathroom refresh with new sanitaryware and paint will cost far less than a full remodel which may involve structural changes and more complex plumbing or electric works. It’s easy to underestimate costs, so take time to price up fixtures, tiles, flooring, and any tools you may need.
Layout & Space
Before you buy anything, think carefully about your layout. Keeping the toilet, sink, and shower in their existing positions is likely the most budget-friendly option, as moving them involves extra plumbing work which could push up costs. Even shifting a toilet a short distance can add unexpected complexity.
Plumbing and Electrics
As bathrooms combine both electricity and water, safety and compliance are really important. Check whether your existing pipework is in good condition and if your water pressure will support any new fixtures, especially different types of showers. Electrical upgrades may also be needed if you’re adding things like bathroom mirrors with built-in LEDs.
Ventilation & Damp Prevention
Because bathrooms generate a lot of moisture it's common to spot things like mould and peeling paint. A quality extractor fan that’s properly sized for the room is essential, especially if you don’t have an opening window. It’s also important to use water-resistant materials in wet areas, particularly around showers and baths. DIY jobs like sealing a bath will help to protect both walls and floors.
Materials & Finishes
It’s easy to choose tiles and fittings based purely on looks, but practicality matters just as much. Make sure flooring is slip-resistant and suitable for wet environments, and check that paints and wall finishes are designed specifically for bathrooms. Durability is key in areas with daily humidity and frequent temperature changes.
Your DIY Skill Level
Be honest about what you’re comfortable tackling yourself. Jobs like painting a wall or replacing a toilet seat can be manageable for confident beginners. However, tasks such as tiling, waterproofing and major plumbing changes may require the help from a professional tradesperson.
How to Refresh Your Bathroom Without Major Construction
Step 1: Plan Your Budget Bathroom Renovation
Before picking up any tools, take time to plan your DIY bathroom makeover. Decide what you want to change and what can stay. Are you updating the colour scheme? Replacing fixtures? Refreshing flooring? Measure your bathroom carefully and set a realistic budget. Planning ahead prevents overspending and ensures your beginner bathroom renovation stays simple and manageable.
Step 2: Clear and Prepare the Bathroom
Good prep is key to any successful bathroom update. Take some time to remove mirrors, shelves, towel rails, shower curtains, and any other accessories to create a blank canvas.
Protect larger fixtures that are staying, such as your toilet or bath, by throwing down a few dust sheets. Preparing now helps to reduce mess, protect surfaces, and makes the renovation process much easier.
Step 3: Deep Clean and Repair
One of the most effective (and affordable) ways to refresh a bathroom is through a thorough deep clean. Remove mould, limescale, and old sealant. Regrouting tiles, replacing discoloured silicone, and fixing small cracks can dramatically improve the appearance of the room. These small repairs are ideal for beginners and can make your bathroom look like new, without going to the expense of a full remodel.
Step 4: Refresh the Walls for Instant Impact
Updating the walls is one of the fastest ways to modernise your bathroom without the hassle of any construction work. Repainting with moisture-resistant bathroom paint can help to brighten up the room while protecting against humidity. A new colour scheme alone can completely transform the room.
Step 5: Upgrade Fixtures and Hardware
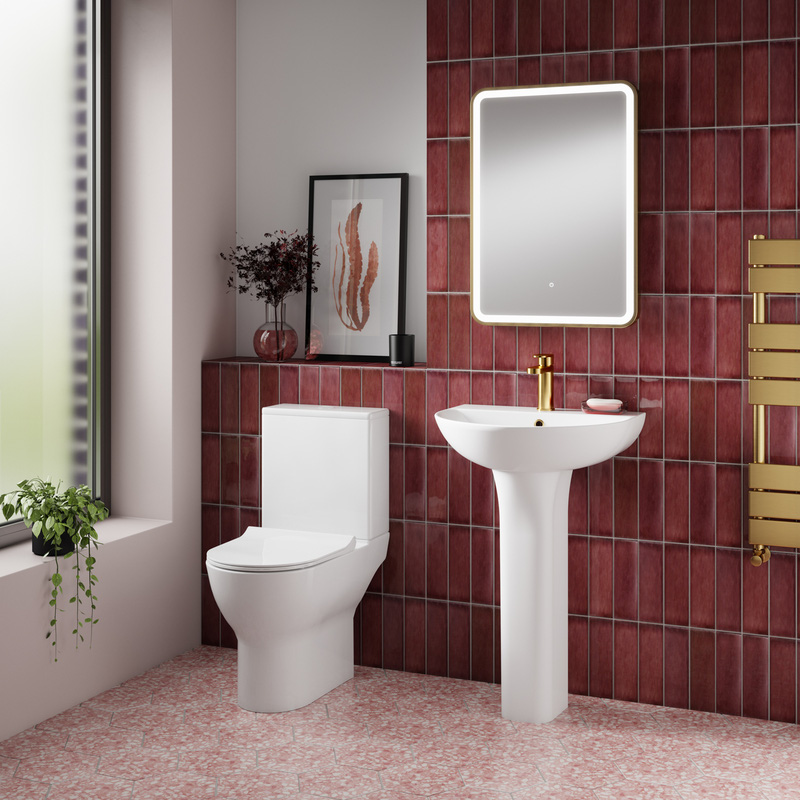
If you're renovating a bathroom on a budget, swapping visible fixtures delivers impressive results. Replace old taps, swap out your shower head holder, install a new toilet seat, or change cabinet handles for a more contemporary style. Finishes like matt black, brushed brass, and polished chrome are popular choices when it comes to modern bathroom design. Because you're not relocating pipework, these upgrades are generally DIY-friendly and perfect for beginners.
Step 6: Improve Lighting Without Rewiring
Lighting plays a big part in how a bathroom looks and feels. Instead of getting an electrician to install new wiring, consider simple improvements such as changing light shades, adding a plug-in LED mirror, or installing battery-operated wall lights. Upgrading bathroom lighting can make small bathrooms feel bigger, brighter, and more welcoming - all without requiring professional electrical work!
Step 7: Refresh the Flooring the Easy Way
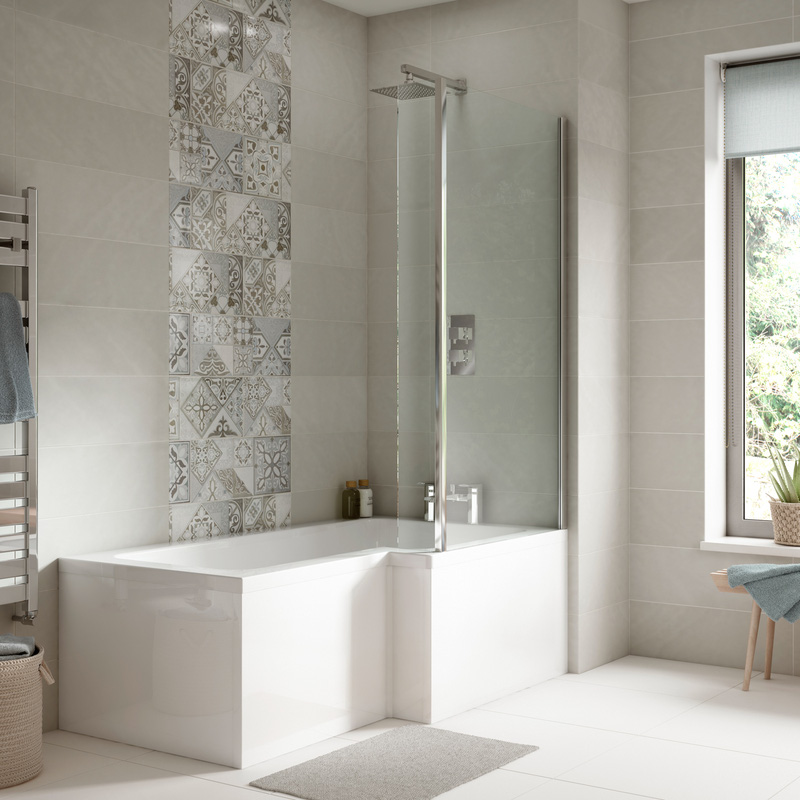
Worn flooring can date a bathroom, but replacing it doesn’t have to involve any major renovation works. Beginner-friendly options such as vinyl tiles are affordable and often suitable for laying over existing floors. Choosing waterproof, slip-resistant materials ensures your bathroom remains practical as well as stylish.
Step 8: Reseal and Perfect the Details
Fresh sealant can make an older bathroom look brand new. Get rid of any mouldy or cracked silicone around baths, showers, and basins, then apply sanitary sealant for a crisp, watertight finish. Take your time to achieve smooth, neat lines as this small detail can make a big visual difference and helps prevent future water damage.
Step 9: Final Clean and Checks
Once everything is complete, give the bathroom a thorough clean and polish all surfaces. Run taps and showers to ensure everything works as it should, check that fixtures are secure, and double-check that sealant has cured correctly. Addressing small issues straight away ensures your beginner bathroom renovation will stay looking great for years to come!
When to Call in the Professionals
While a beginner-friendly bathroom renovation avoids structural work, there are times when calling in a professional is essential. If you discover leaking pipes, persistent damp, hidden mould inside walls, damaged subfloors, faulty wiring, or low water pressure, it’s best to consult a qualified plumber or certified electrician. Any work involving new wiring, moving pipework, installing electric showers, or altering drainage systems should always be handled by experienced tradespeople.