- Help & Advice
- How To Guides
- How To Change A Washer On A Mixer Tap
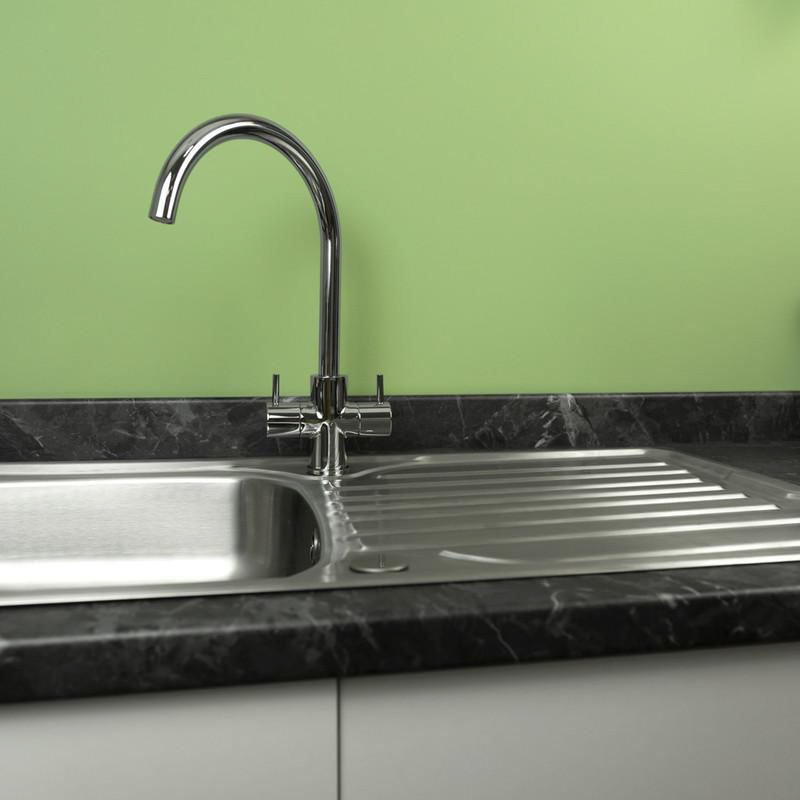
How To Change A Washer On A Mixer Tap
Faulty washers can mean dripping taps, wasted water, and increased bills. Thankfully, changing the washer on a mixer tap is a straightforward task that can be done with a few basic tools. This guide will walk you through the process step-by-step, ensuring you can fix that drip and enjoy a fully functional tap in no time.
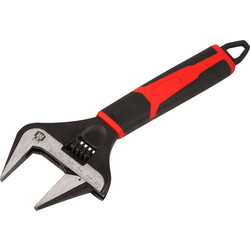
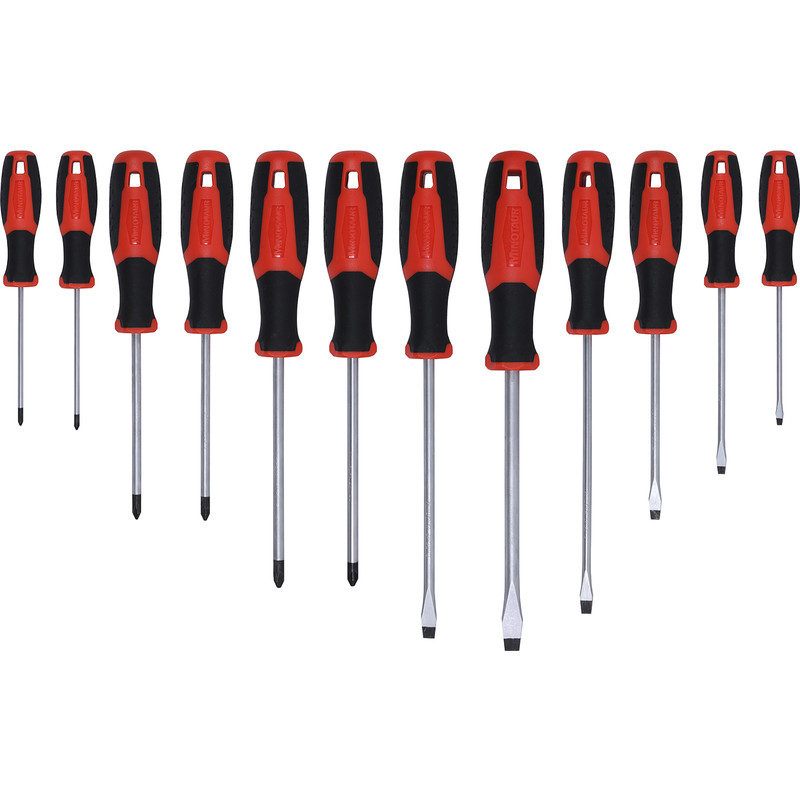
Essential Tools & Equipment

Step 1: Turn Off the Water Supply
-
Before starting any work on the tap, ensure that the water supply is turned off – the stopcock is usually found under the kitchen sink.
-
Once turned off, drain the tap to remove any residual water.
Step 2: Remove the Tap Handles
-
Carefully take off the tap handles using a screwdriver if necessary.
Step 3: Detach the Tap Unit
-
Under the tap handles, you’ll find the tap units.
-
Using an adjustable spanner, loosen the screw to remove the tap unit.
Step 4: Inspect and Replace the Washers
-
At the bottom of the tap units, you'll find the washers.
-
Check them for any signs of damage.
-
If they appear worn out, gently remove them using a screwdriver and replace them with new ones.
-
Ensure that the replacement washers are of the same size. It's a good idea to replace all the washers while you're at it.
Step 5: Reassemble the Tap
-
Once the washers have been replaced, it's time to reassemble the tap.
-
Ensure all parts are securely tightened, but be careful not to over tighten as this can cause damage to the tap.
Step 6: Turn the Water Supply Back On:
-
After reassembling the tap, turn the water supply back on and check for any leaks.