- Help & Advice
- How To Guides
- How to Fit a Shower Tray
How to Fit a Shower Tray for a Watertight Finish
Installing a shower tray is a fairly straightforward DIY project that can be completed with the right preparation and guidance. While the task requires careful measuring and attention to detail, it’s something that most people with good DIY skills can manage.
Understanding how to fit a shower tray properly involves preparing a solid base, connecting the waste pipe correctly and ensuring the tray is perfectly level before you seal it in to place. No matter what type of shower tray you have, the process typically takes just a few hours to complete.
This step-by-step guide will take you through everything you need to know, from preparing the installation area to securing and sealing the tray.
Common Mistakes When Installing a Shower Tray
Even though fitting a shower tray is a manageable DIY project, a few common mistakes can lead to leaks or drainage issues later on.
Unlevel Floor
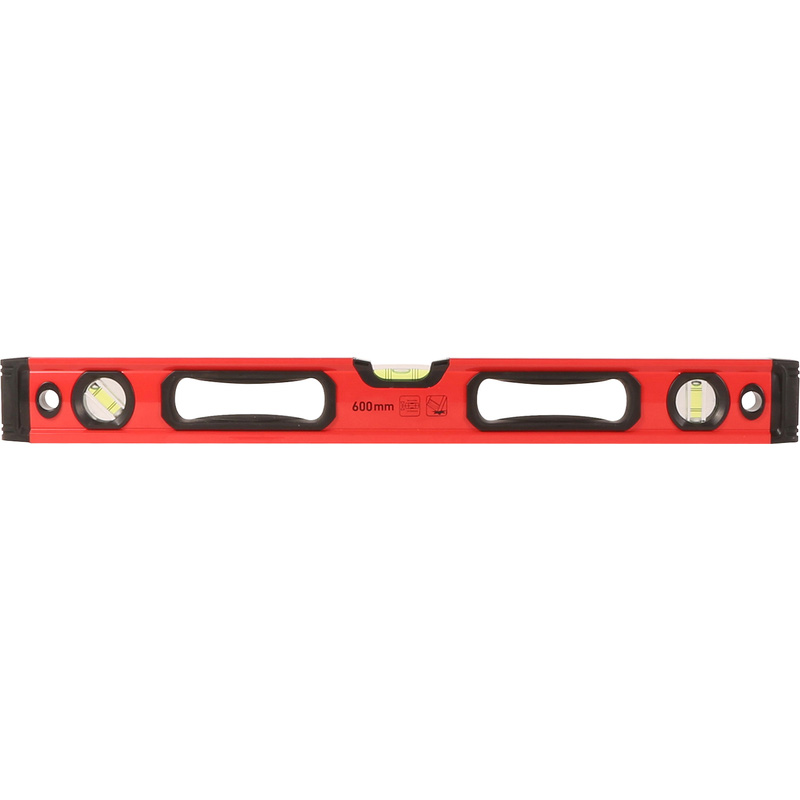
If the base isn’t completely level, water can pool in certain areas instead of draining properly. Make sure you always use a spirit level across several points before securing the tray.
Incorrect Waste Alignment
If the waste pipe isn’t properly aligned with the shower tray outlet, it can place strain on the pipework which eventually result in leaks. Always dry-fit the tray first to confirm it lines up properly.
Not Testing the Waste Connection
Before sealing the tray in place, it’s important to pour water into the tray to check the waste connection. Testing this early on makes it easier to fix any leaks before the tray is permanently installed.
Using Insufficient Sealant
Poor sealing around the edges can allow water to seep behind the tray and damage surrounding walls and flooring. Be sure to apply a continuous bead of silicone sealant along the edges and allow it to fully cure.
Essential Tools & Equipment


Step 1: Mark the Shower Tray Position
Start by placing the shower tray in your chosen position to check that it fits correctly. Use a pencil to mark the outline of the tray on the floor and mark the location of the waste hole.
Once the position is marked, remove the tray so you can prepare the floor and waste connection underneath. This step helps with proper alignment, so be sure not to skip it.
Step 2: Install the Shower Waste
Next up, attach the shower waste fitting to the underside of the tray. This is much easier to do while the tray is still accessible rather than after it has been installed.
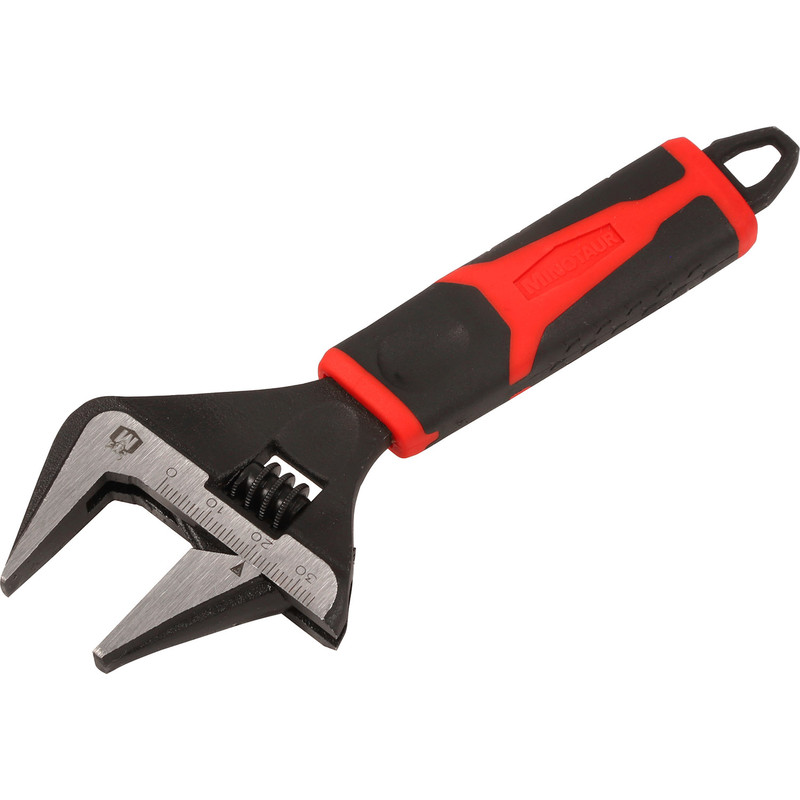
Apply the rubber seals and tighten the waste fitting according to the manufacturer’s instructions, making sure of a watertight fit. Once installed, position the waste so that it lines up with the existing drainage pipe in the floor.
Step 3: Prepare the Base
It's really important that the shower tray sits on a firm and level base. Depending on the type of tray, this may involve adjustable legs or a mortar bed.
If using adjustable legs, attach them to the underside of the tray and adjust their height so the tray will sit straight and level. If installing directly onto the floor, make sure the surface is clean, stable and perfectly flat before placing the tray. A level base prevents movement and allows for proper drainage.
Step 4: Position and Level the Tray
Carefully place the shower tray back into position, making sure that the waste outlet lines up with the drain pipe.
Use a spirit level across different directions to check that the tray is flat and level. Adjust the legs or base as needed until the tray sits evenly with no rocking or movement. Taking the time to get this step right will help prevent drainage issues later.
Step 5: Connect the Waste Pipe
Once you're happy with the placement of the shower tray, connect the waste fitting to the drainage pipe. Tighten the connections securely and double check that pipeworks sits correctly.
Before moving on to the next step, pour a small amount of water into the tray to test the waste connection and confirm there aren't any leaks.
Step 6: Seal Around the Edges
The final step is to apply waterproof silicone sealant around the edges where the shower tray meets the wall. This helps prevent water from leaking down the sides of tray and causing damage later on.
Run a continuous bead of sealant along the joint and smooth it with a sealant tool or finger to create a clean finish. Allow the silicone to cure fully before installing wall panels, tiles or using the shower.