- Help & Advice
- How To Guides
- How To Grout Tiles
Flawlessly finished tiles are the cornerstone of a stunning bathroom or kitchen. Grouting is not just about filling gaps; it's about giving your tiled surface a clean look that stands the test of time. Whether you're refreshing an old space or installing new tiles, mastering the art of grouting can transform the ordinary into the extraordinary.
Essential Tools & Equipment
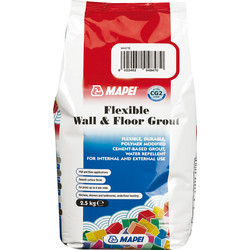
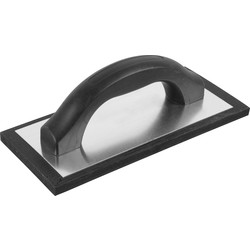
As well as the tools and equipment listed below, you will also need water to mix with the grout.
Step 1: Prepare the Tiles
-
Before grouting, confirm that your tiles are firmly in place and the adhesive has fully cured. A solid foundation is key to a successful grouting job.
-
Remove any spacers, debris, or dust from the tile surface and joints.
-
A clean surface ensures the grout adheres properly and looks its best.
Step 2: Mix the Grout
-
Mix your grout according to the manufacturer's instructions until you achieve a smooth, paste-like consistency.
-
Let it sit for a few minutes to allow any air bubbles to escape.
Step 3: Apply the Grout
-
Using a grout float, apply the grout at a 45-degree angle, pressing firmly to fill the joints completely.
-
Ensure even coverage to avoid air pockets and weak spots.
Step 4: Clean Grout Off Tiles
-
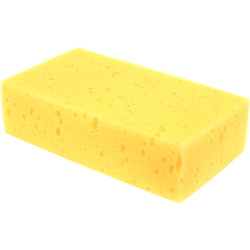
With a damp sponge, gently wipe away excess grout from the tile surface, being careful not to disturb the freshly filled joints.
-
Rinse your sponge frequently to keep it clean.
Step 5: Finishing Touches and Apply Sealer
-
After the grout has set slightly (refer to the grout's packaging for specific times), perform a final clean-up in between tiles for a smooth finish.
-
Remove any haze left on the tiles with a soft cloth or sponge.
-
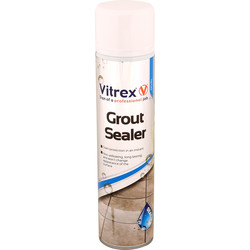
Once the grout is fully cured, apply a grout sealer to protect against moisture and staining, extending the life of your work.

