- Help & Advice
- How To Guides
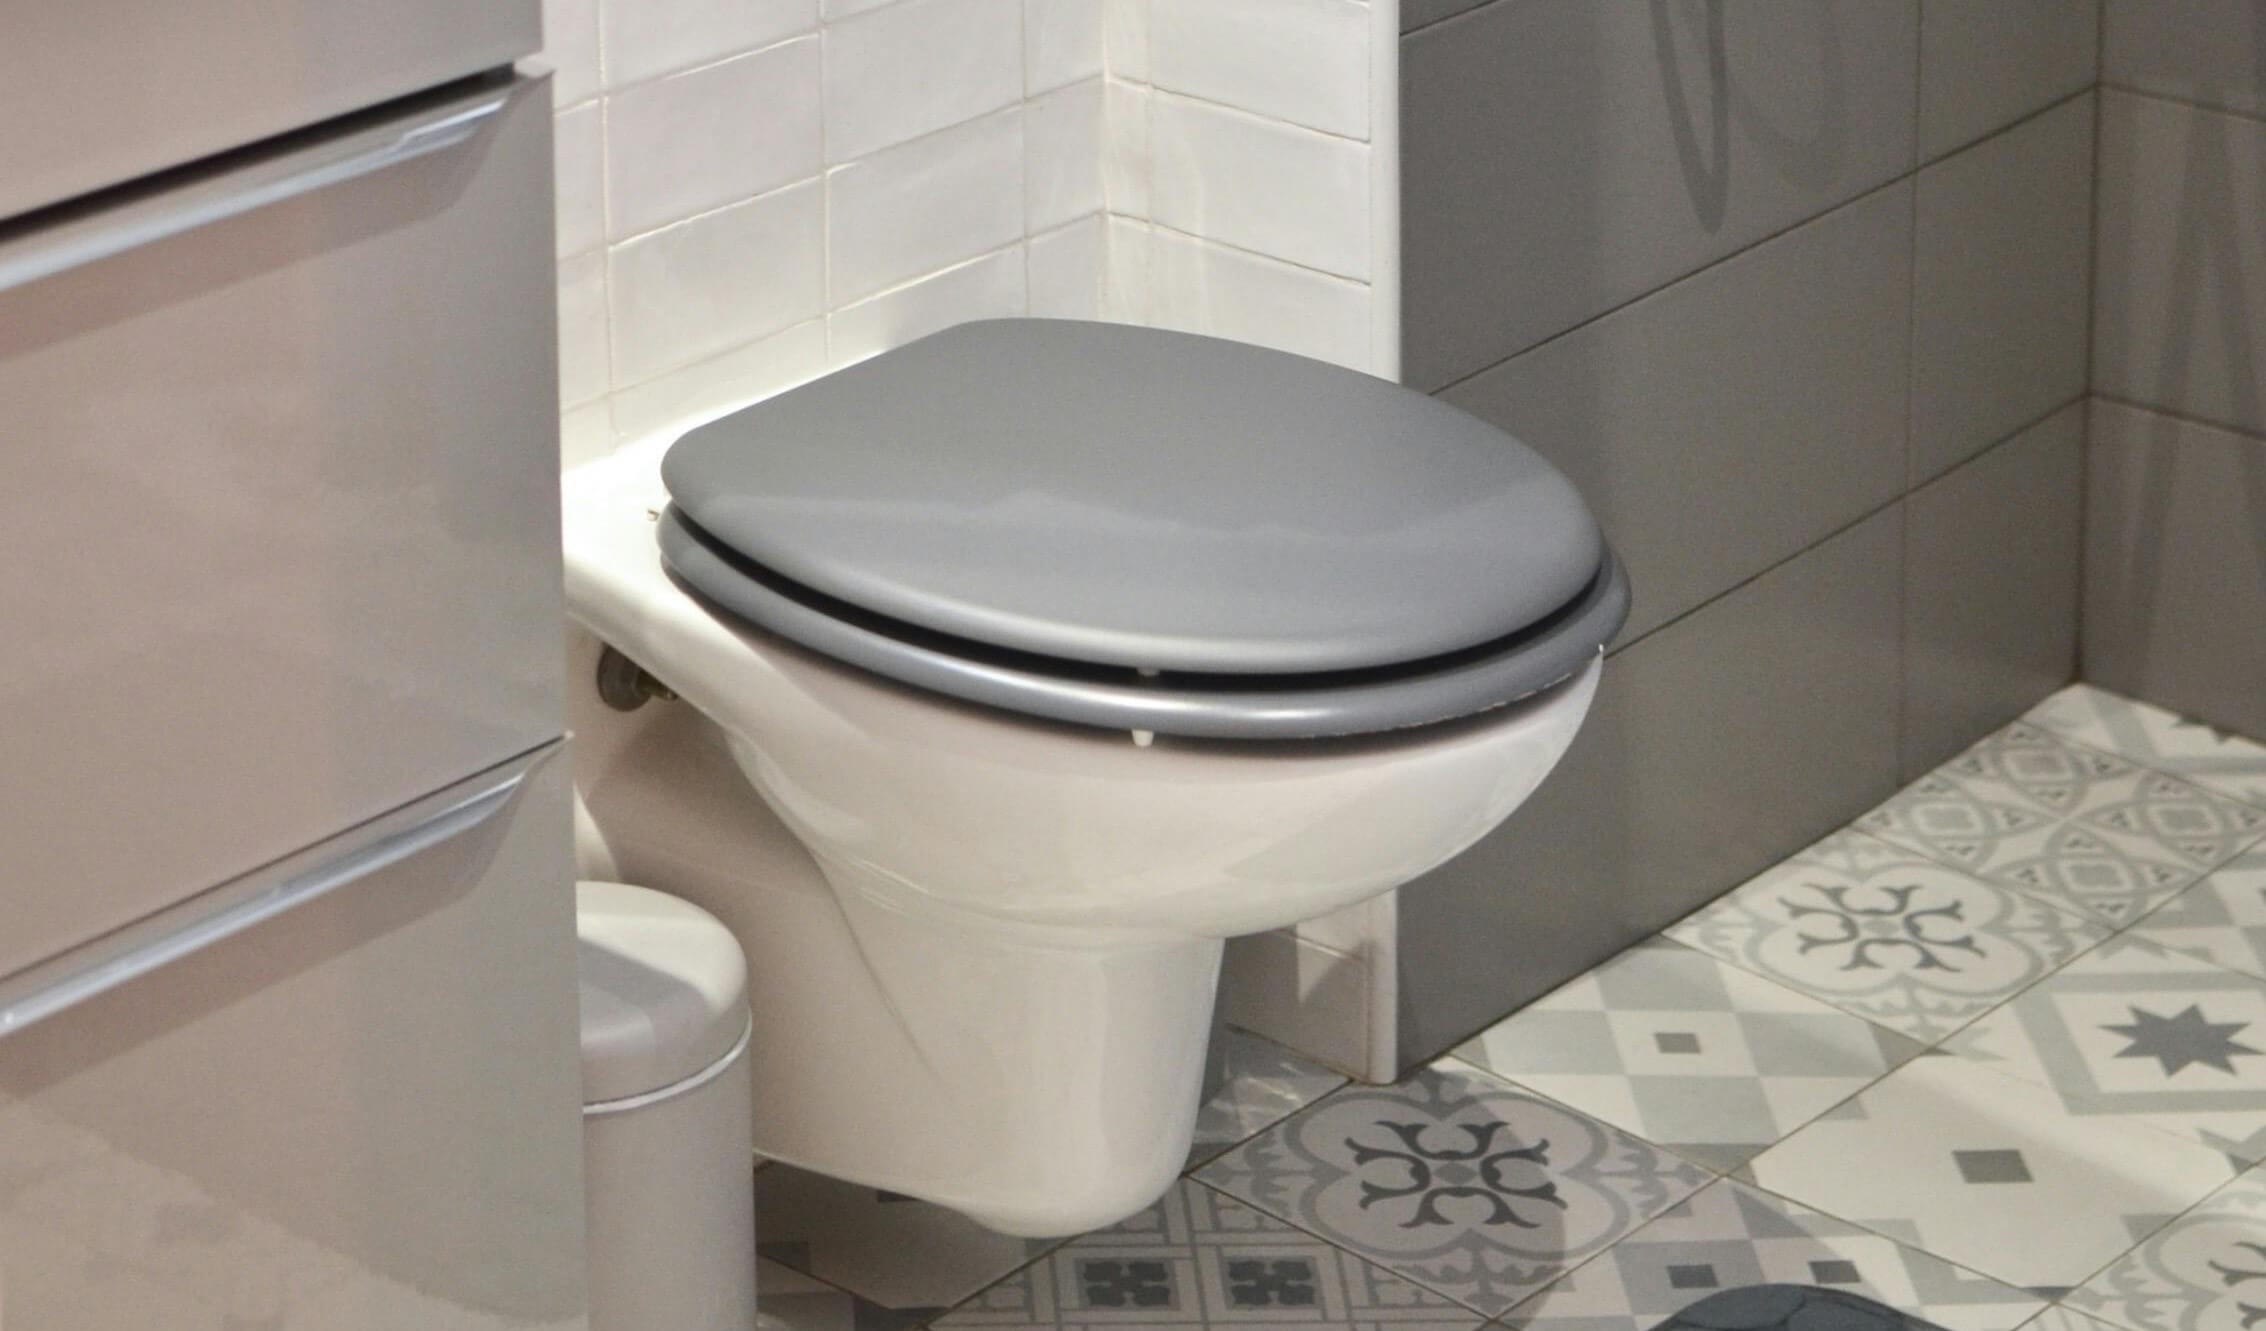
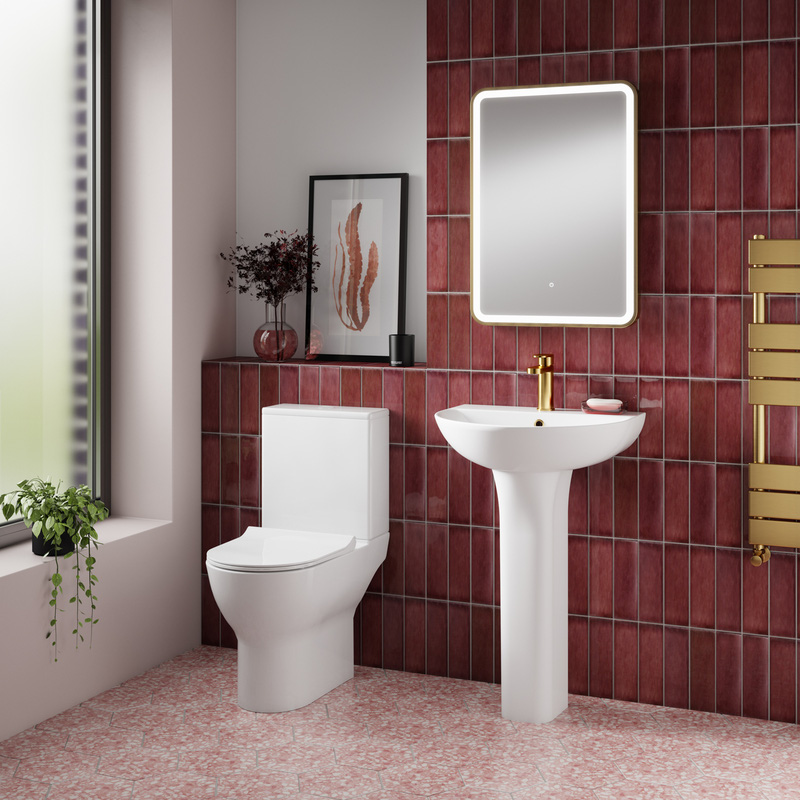
- How to Replace a Toilet Seat
How to Replace a Toilet Seat
Replacing a toilet seat might sound like a job best left to a professional, but it’s actually one of the easiest bathroom upgrades you can do yourself. With just a few basic tools and a little guidance, you can swap out an old, loose, or uncomfortable seat in next to no time!
Before getting started, it helps to understand the types of toilet seats available, since size, shape, and fixing style can vary. In this guide, we’ll take you through the steps, making it simple and stress-free, even if you’ve never tackled a DIY project before.
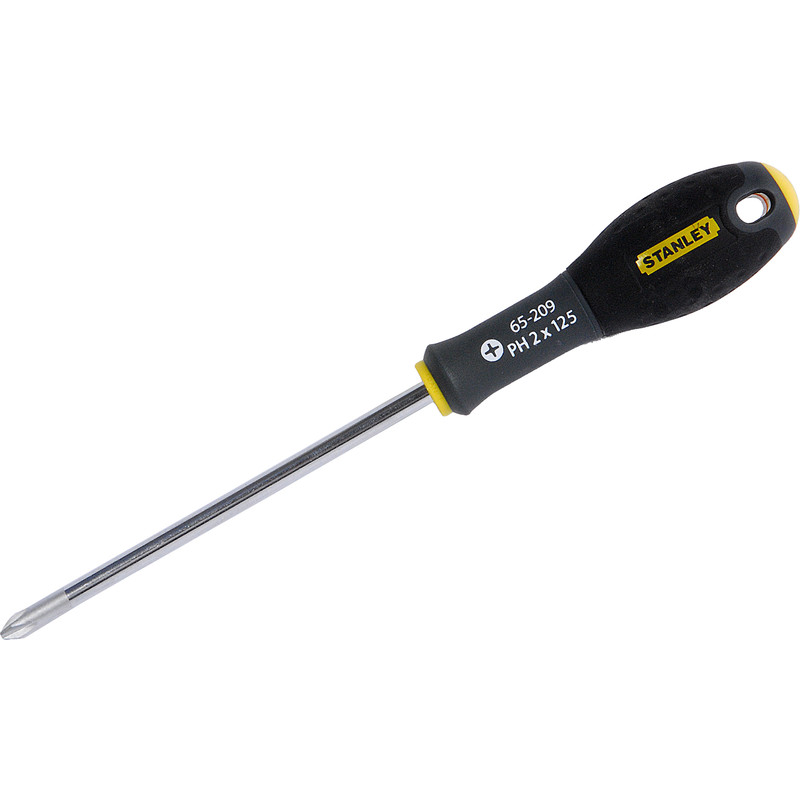
Tools to Replace a Toilet Seat


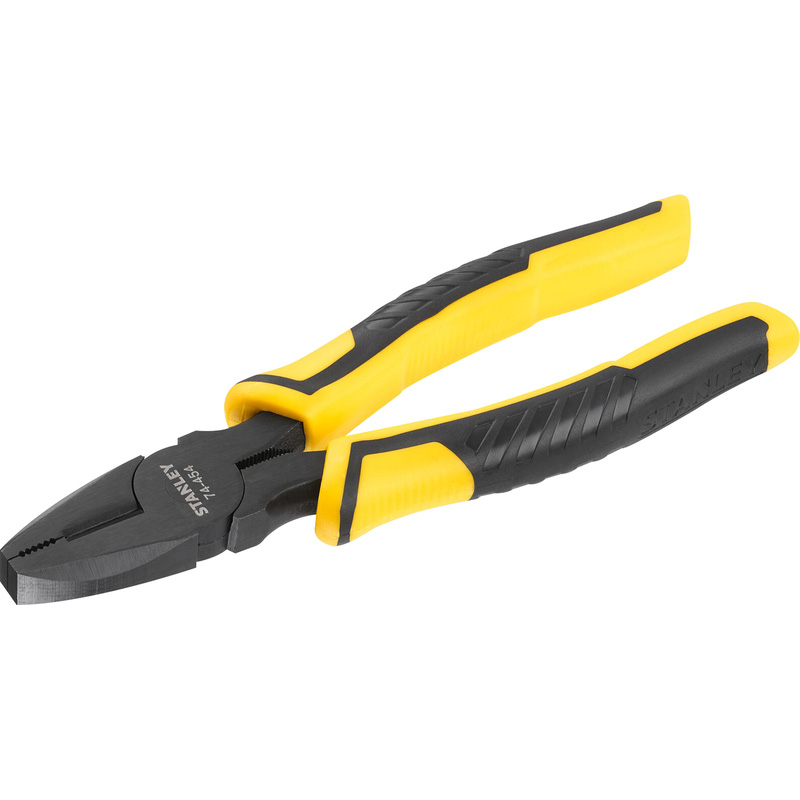

Step 1: Remove Seat Fixings
There are two types of fittings for toilet seats; bottom-fix and top-fix. A bottom-fix seat is secured into place by tightening from under the toilet bowl. To loosen it, look underneath the toilet rim for the plastic or metal nuts and carefully turn them anticlockwise using an adjustable spanner or pliers. You may need to hold the bolt still from the top with a screwdriver to stop it spinning.
A top-fix seat is tightened from above the toilet bowl. To loosen it, flip open the small plastic caps at the back of the seat and use a screwdriver or hex key to turn the screws anticlockwise until the seat comes free.
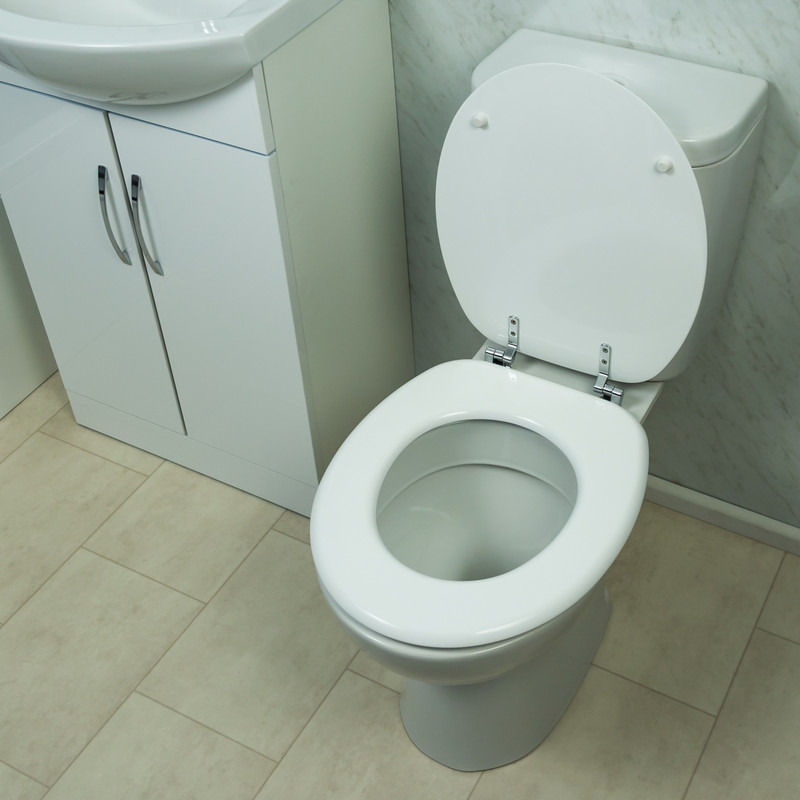
Step 2: Remove the Old Toilet Seat
Once the fixings have been loosened, lift the toilet seat and lid straight up and away from the bowl. If the bolts are still in place, pull them out from the top. It’s possible that the seat won’t come free if there’s a build up of rust or the fittings have become stuck. In which case, apply a small amount of lubricant and wait a few minutes before trying again.
Step 3: Clean the Fixing Area
Before installing the new seat, take a moment to clean the area around the fixing holes as these are prone to becoming quite grubby. Use disinfectant spray or wipes to remove dirt, limescale, and bacteria. This helps the new seat sit flat and ensures a more hygienic finish.
Step 4: Prepare the New Toilet Seat
Unpack the new toilet seat and check that all fittings are included. Many seats come with fixings already supplied. If the hinges are adjustable, loosely attach them to the seat according to the manufacturer’s instructions, but don’t fully tighten them yet.
Step 5: Position the New Seat
Place the new seat onto the toilet bowl, lining up the bolt holes with the holes in the bowl.
Make sure the seat is centred and sitting level before you secure it into place.
Step 6: Secure the Fixings
How you secure the fixings will depend on the type of toilet seat you have:
For bottom-fix seats:
Insert the bolts from the top and attach the nuts underneath the bowl. Tighten them gradually by hand first, then use a spanner or pliers to secure them. Be sure to avoid over-tightening, as this can crack the toilet bowl.
For top-fix seats:
Insert the fixings into the holes from above and tighten using a screwdriver or hex key. Continue tightening until the seat feels secure but is still aligned correctly.
Step 7: Final Adjustments and Checks
Lower the seat and lid to check alignment. Make any small adjustments if needed before fully tightening the fixings. Once secure, sit gently on the seat to ensure it doesn’t move or wobble. Close any plastic caps over the fixings to finish the job.