- Help & Advice
- How To Guides
- How To Replace Shower Head Holder
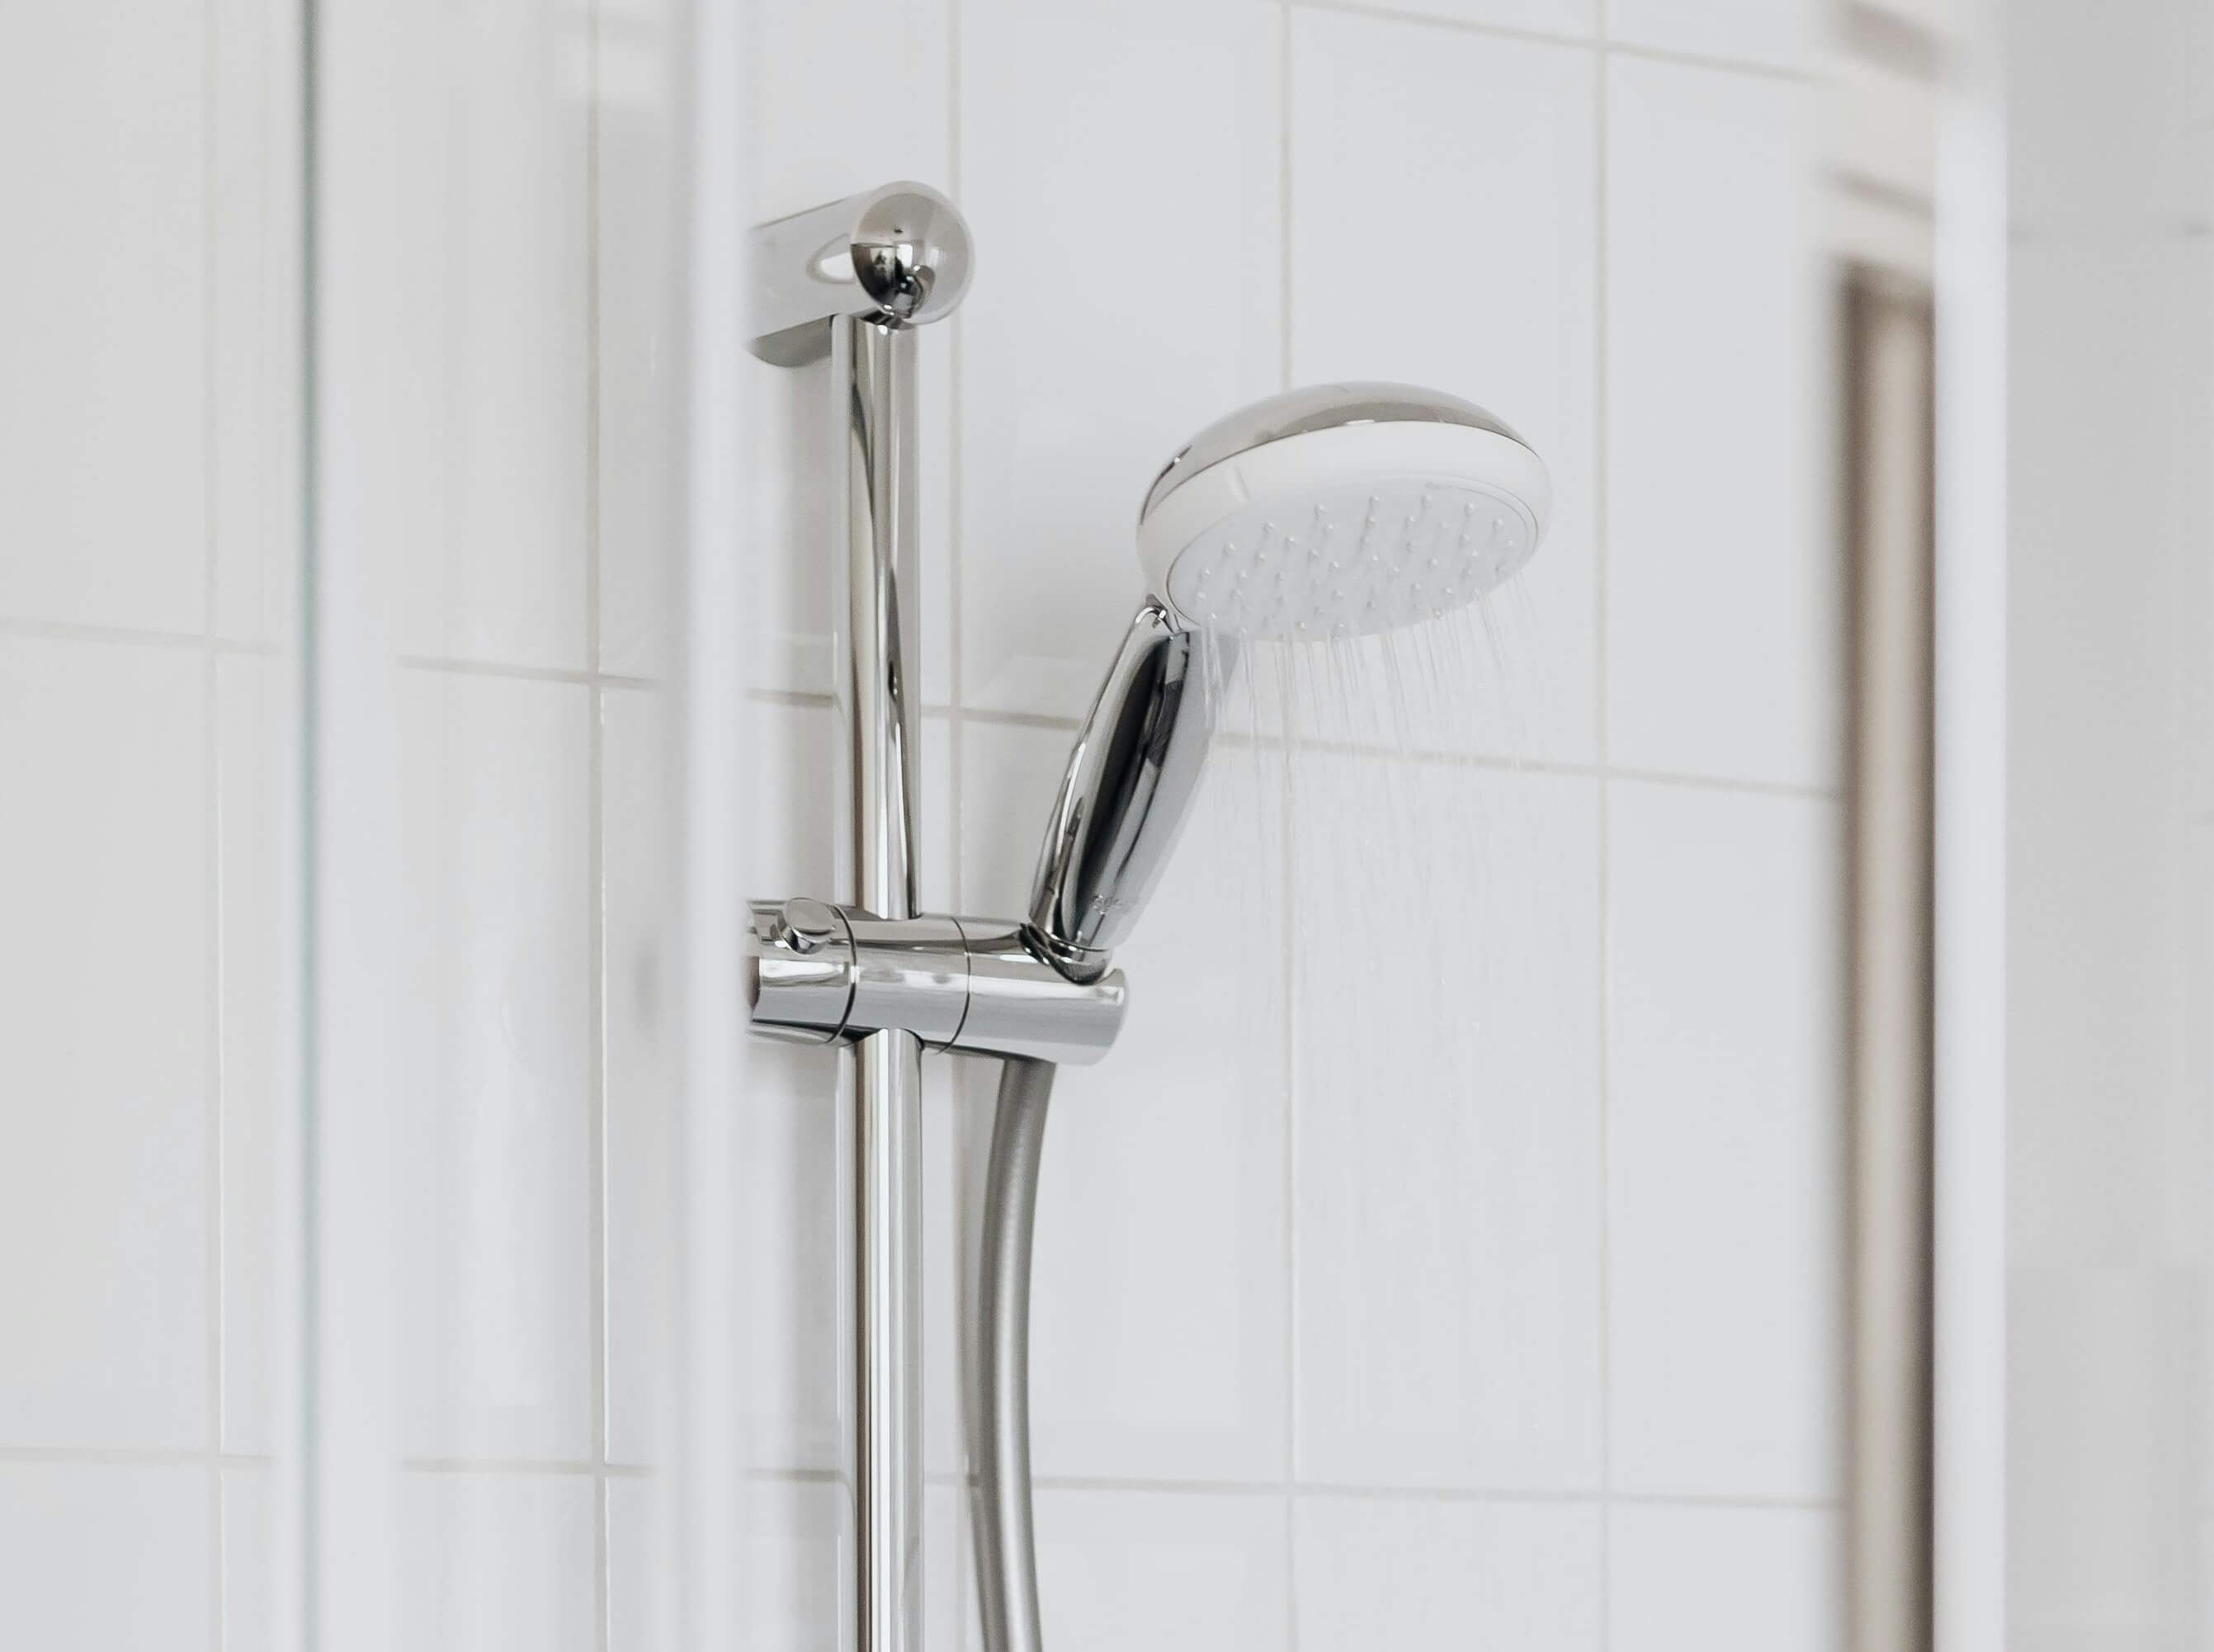
A shower head holder is a small component part which keeps your shower head in place and is either affixed directly to the wall or, more commonly, mounted on a shower riser rail. While you probably don't give it much thought, if it breaks it can render your shower unusable.
However, the good news is that replacing a shower head holder is an easy DIY job that, with the right tools and instructions, takes just a few minutes. Whether your shower head holder is damaged, or you're simply upgrading it with a newer model, follow our step-by-step guide on how to replace your shower head holder.
Essential Tools & Equipment
Step 1: Measure the Shower Rail Diameter
To ensure you're swapping out your old shower head holder with a new one of the correct size, it's important to measure the diameter of the shower rail first. Typically, most rail sizes range anywhere from 18mm up to 25mm, and many shower head holders are adjustable to fit the diameter of the riser rail.
-
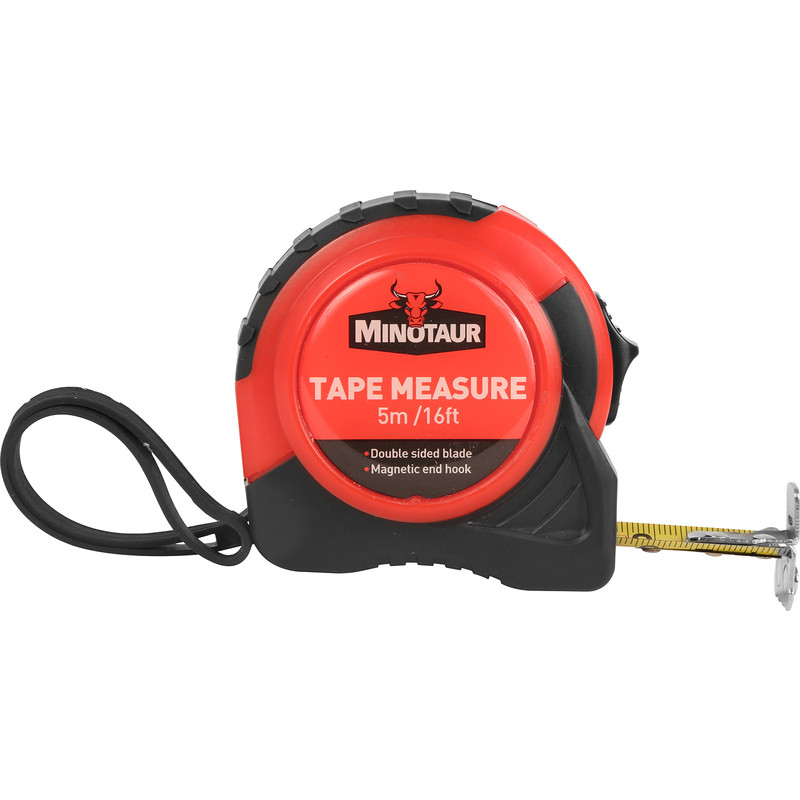
Using a tape measure, or ruler, carefully gauge the measurement of the rail.
- If you're replacing the holder with an adjustable model, you can skip this step.
Step 2: Remove the Bottom Rail Bracket
To replace the shower head holder, you'll first need to remove the bottom bracket on the shower riser rail. How this is done, depends on the model that you have. Most have covers which you simply prise away exposing the fixing screws underneath. However, some covers have small holes on the underside of the bracket so you can remove it with a screwdriver.
-
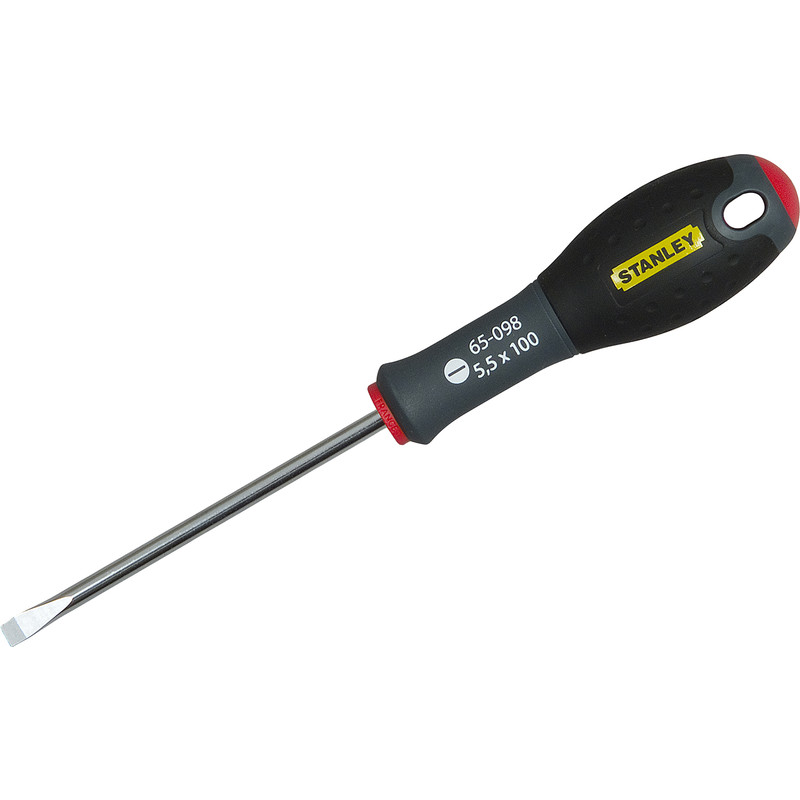
Depending on the type of bracket, pull the cover way or unscrew it with a screwdriver.
- Once the screws are exposed, unscrew them to release the bracket.
- With the bracket now removed, you should be able to slide the old shower head holder off of the rail.
If, for any reason, you find it difficult to remove the bottom bracket, you can always remove the top bracket if it's easier.
Step 3: Fit the New Shower Head Holder
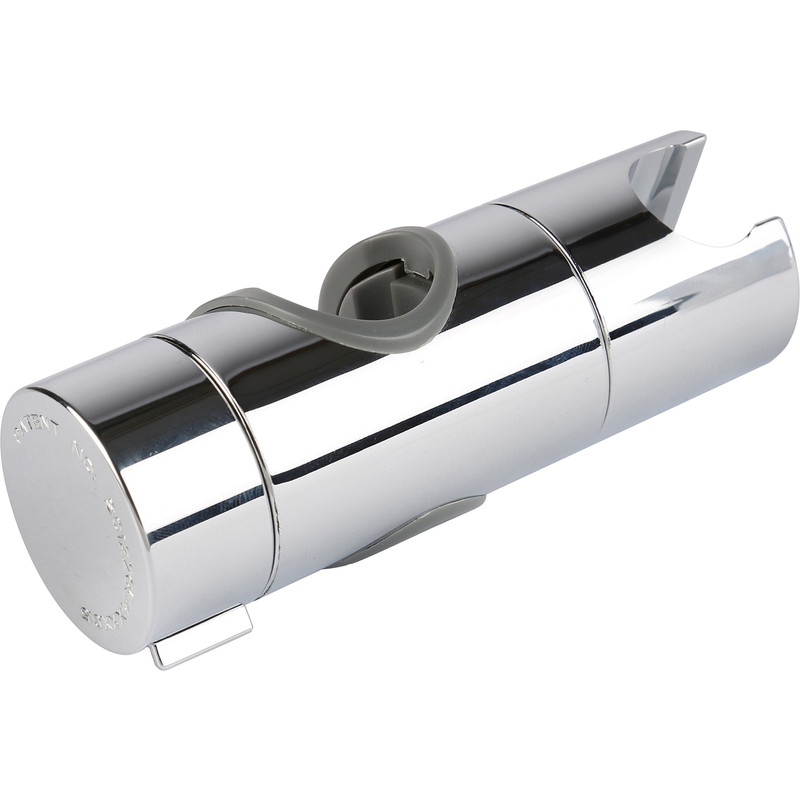
Before sliding on the new head holder, check that it's the right way up. The easiest way of doing that is to pop the shower hose into the holder so you know that it's a snug fit. If it fits poorly or seems a little loose, flip the shower head holder over and try again.
- Now that you've determined the correct way up, simply slide it onto the riser.
Step 4: Reassemble the Shower Rail
With the new shower head holder in place it's time to reassamble the shower rail.
-
Reattach the shower rail by securing it to the wall with the screws. Make sure the screws are tight and the bracket is secure.
- Replace the cover cap, ensuring that it clicks into place
Your shower rail should now be secure and ready for use!

