- Help & Advice
- How To Guides
- How to Install a French Drain
How to Install a French Drain for Effective Garden Drainage
Pooling water in your garden or near the foundations of your home can lead to serious problems like flooding and structural damage. A French drain is a simple underground drainage system that uses a gravel filled trench and perforated pipes to redirect water away from those problem areas. While this project does demand a little physical work, it requires no special skills so you can install one yourself with some basic tools and the right know-how.
In this how-to, we’ll provide the steps taking you through everything you need to know about French drain installation. You’ll discover how to plan your drainage system and complete each step from digging the trench to laying the pipe and covering it with gravel.
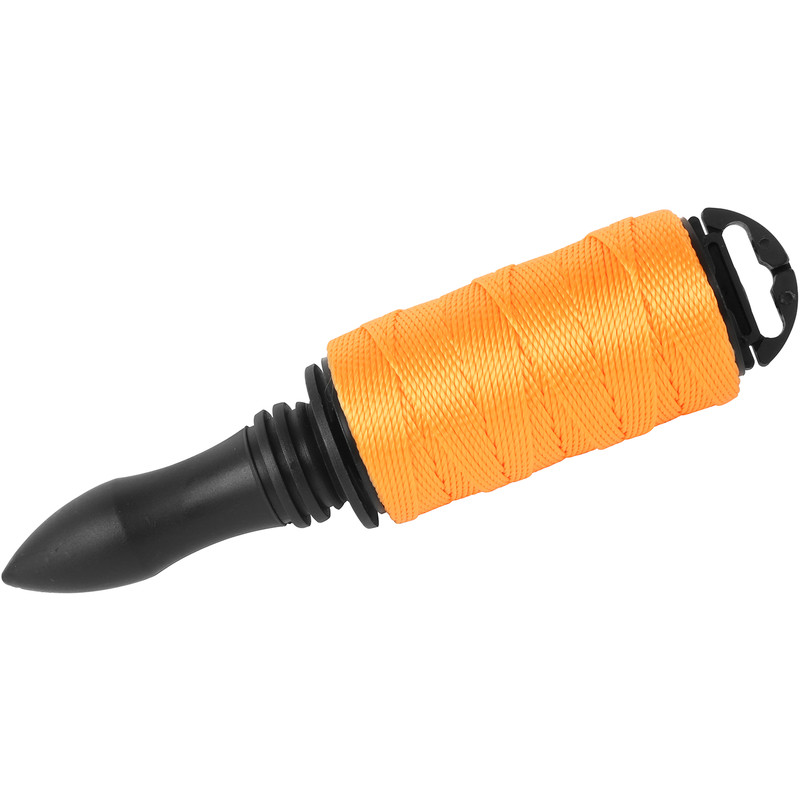
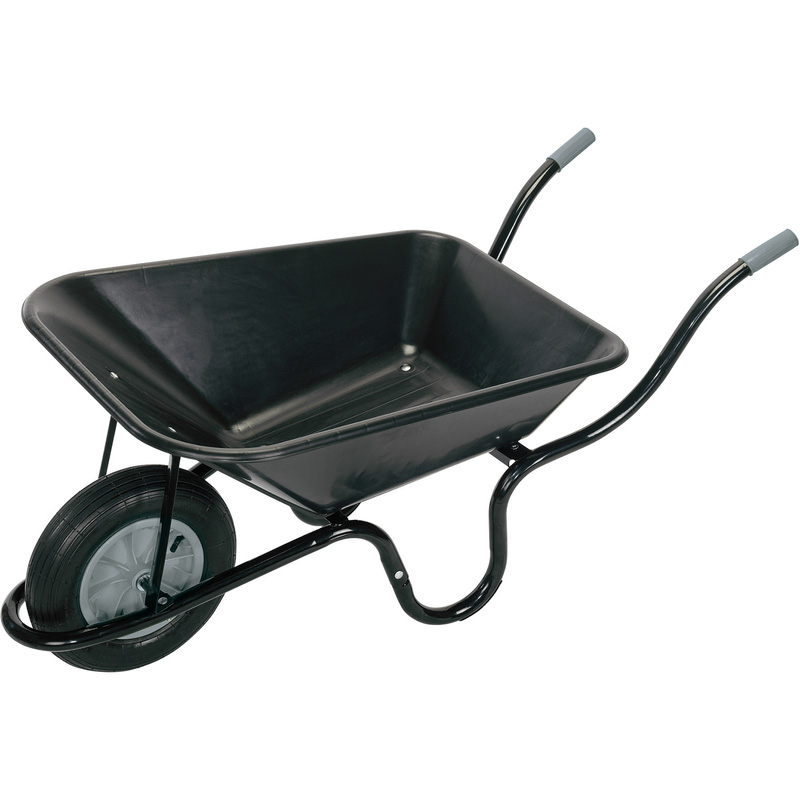
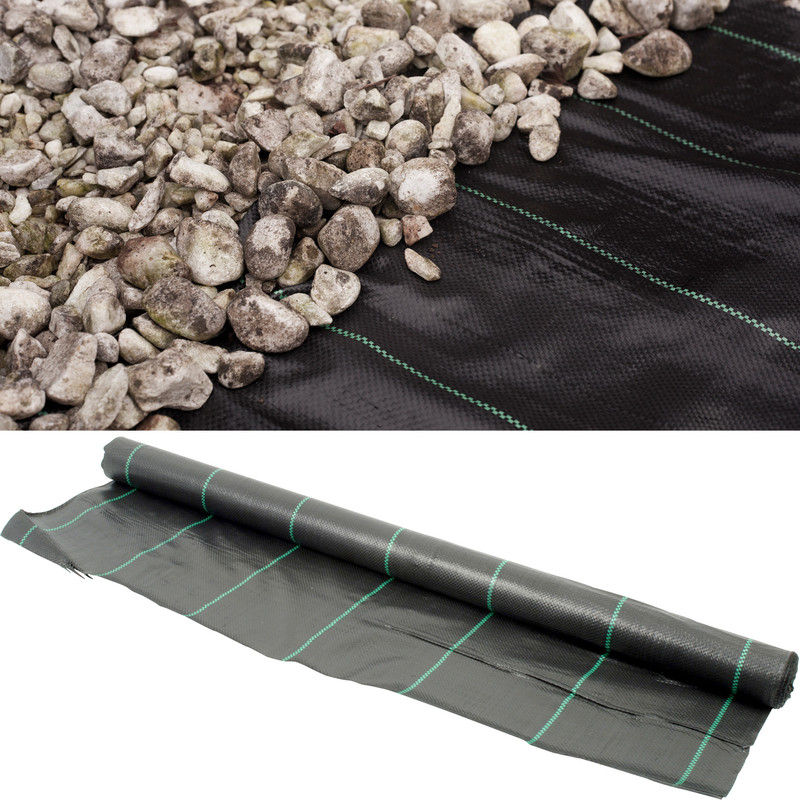
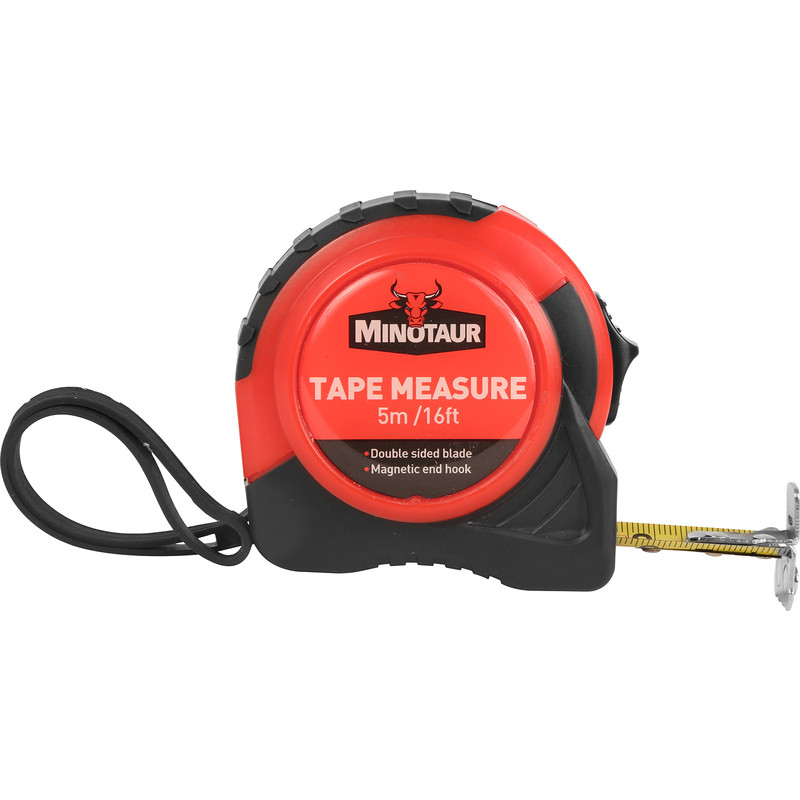
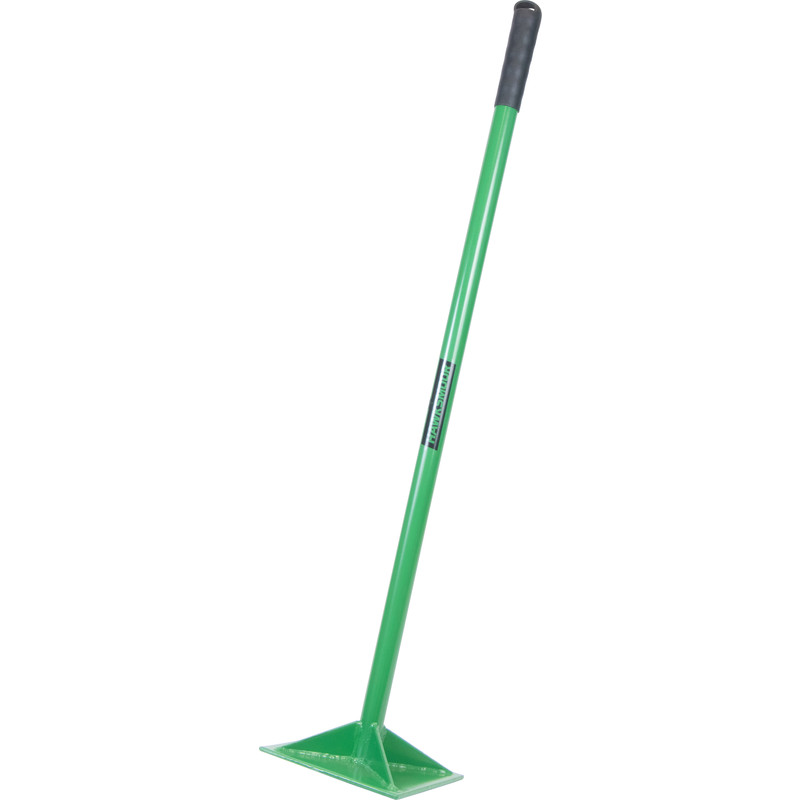
Essential Tools & Equipment
Before You Start
Before you crack on with the job, you’ll want to carry out a few simple checks as these could save you time later on.
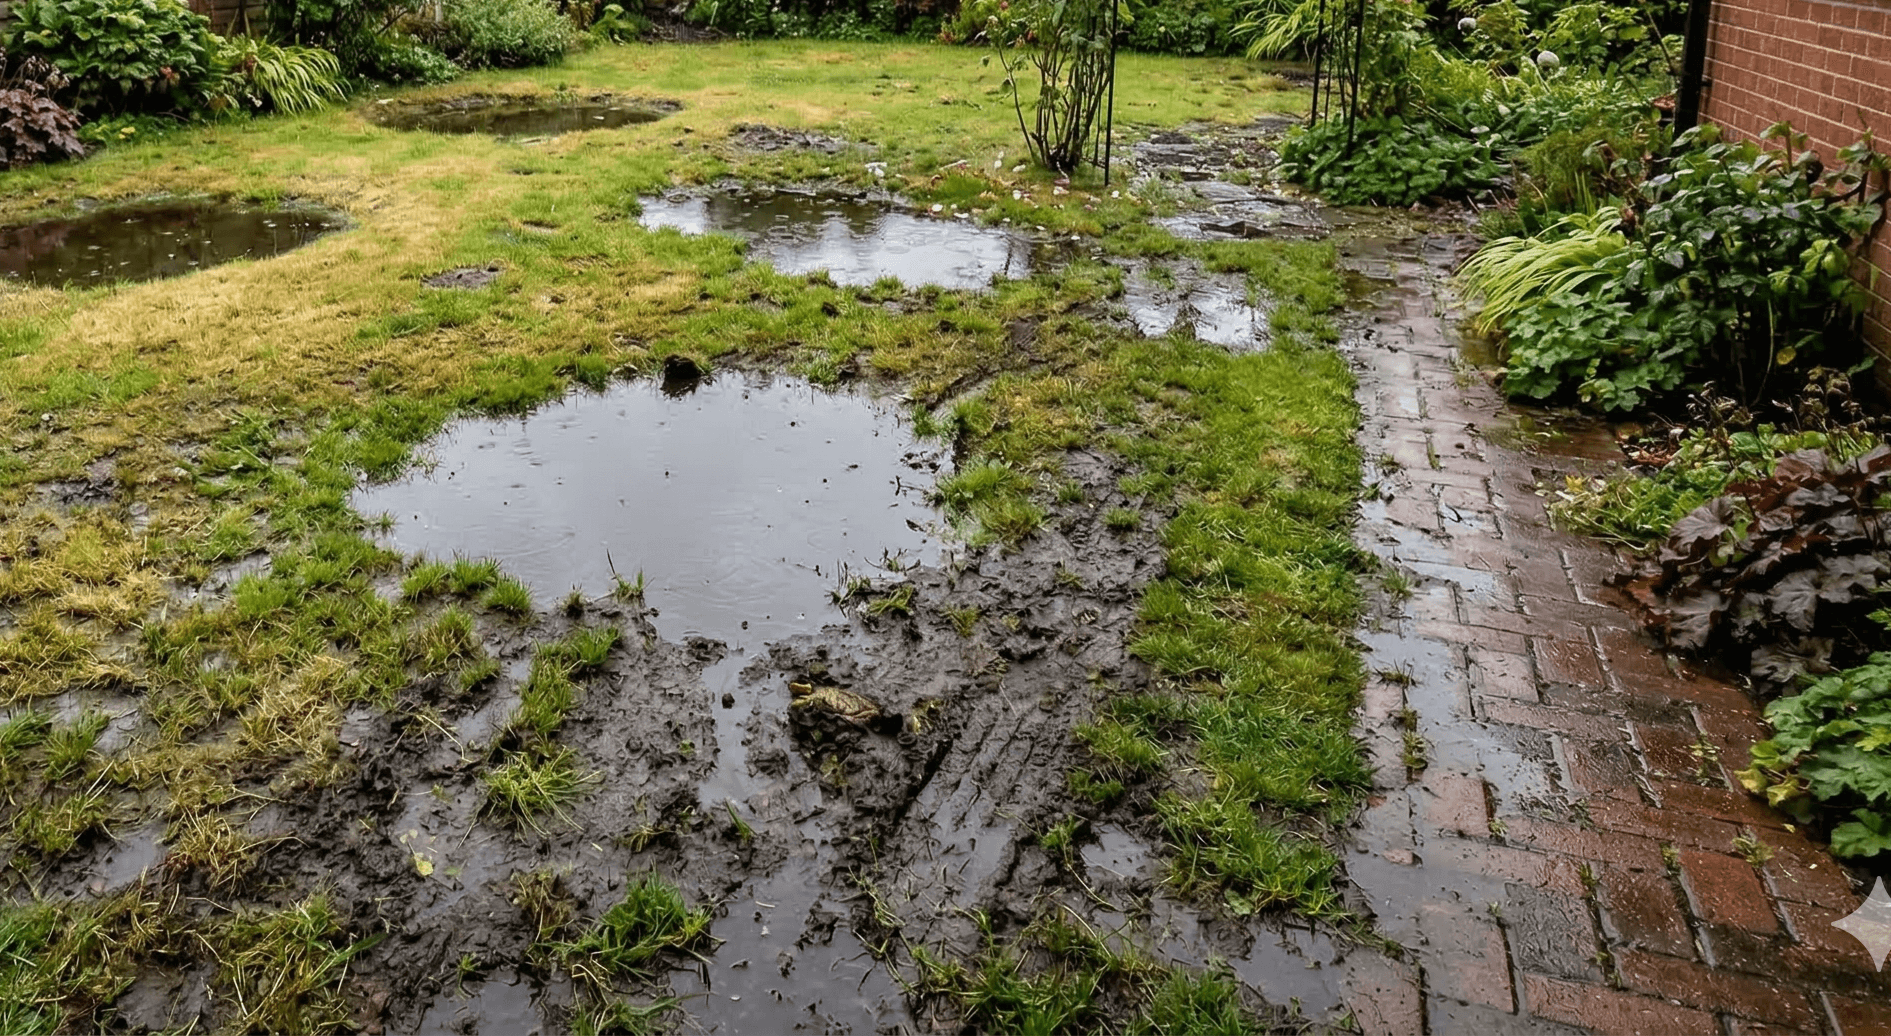
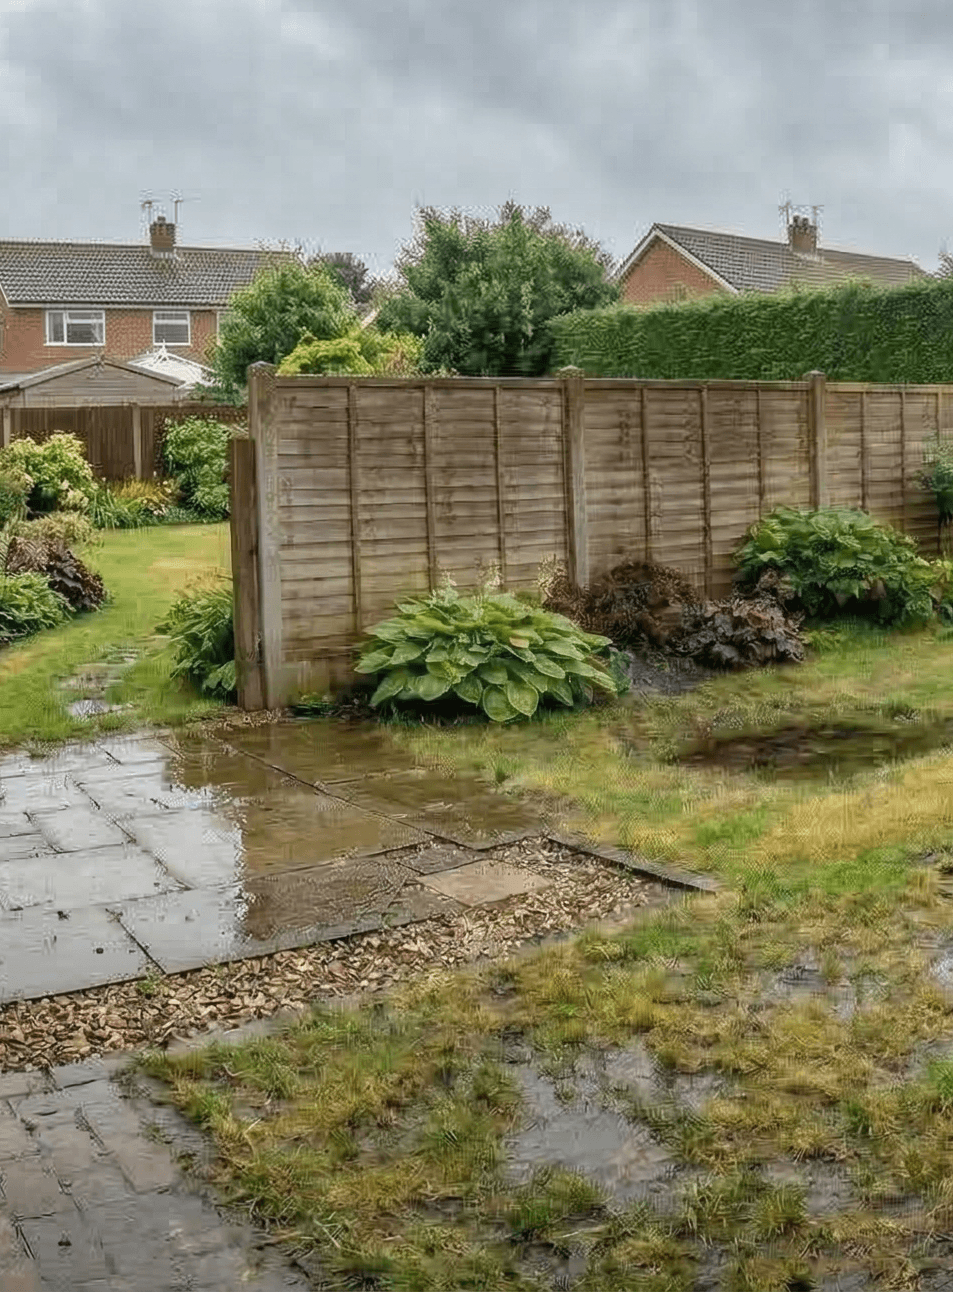
Walk around your property during and after rainfall and head toward spots where water usually collects. You’ll want to look for standing puddles, wet spots that remain damp for several days, or areas where water flows towards the foundations of your home. These will show you where drainage problems exist.
Check the ground slope using a long spirit level or just by overserving water movement, this is so you can identify the natural grade of your land. Mark problem areas with stakes or a little spray paint. Then you’ll need to examine your soil type by digging a small hole around 30cm deep. Sandy soil drains pretty quickly whereas clay soil tends to hold water. Clay-heavy soil will benefit the most from a French drain system.
It’s worth considering the water source that’s causing your drainage issues. Surface runoff from roofs and other sloped areas will probably require a different solution compared to groundwater problems. Keep in mind that nearby trees could have large root systems which may interfere with a new drainage system.
Most residential French drains don’t require planning permission but confirm this with your local planning authority before you start work. Check building regulations if your drain will connect to the mains drainage system. This type of work typically requires approval and inspection from building control. Also, contact your local utility company to mark underground cables, pipes, and other services before digging. This can prevent accidents and potentially costly damage to infrastructure.
Step 1: Mark Off and Excavate the Trench
Start by marking the path of your French drain using spray paint or a string line. The trench should follow the natural slope of your garden, moving water away from problem areas towards a suitable drainage point like a soakaway or storm drain.
Next, dig the trench to a depth of 45 to 60cm and a width of 30cm. This will allow for enough space for the pipe and gravel while ensuring proper drainage. Remove all soil and debris from the trench. Keep the excavated soil to one side if you plan on using it for backfilling later on. For effective drainage, you want to aim for a gradient of at least 1cm drop per metre.
Important: make sure you’ve already confirmed with local authorities that your work won’t cause damage to underground pipes or cables.
Step 2: Prepare the Trench Base
Line the entire trench with landscape fabric. This material allows water to pass through while stopping soil and silt from clogging the drainage system. Leave at least 30cm of excess fabric on each side of the trench. You’ll need to fold this over the top of the gravel later.
Add a layer about 5-cm deep of coarse gravel to the bottom of the lined trench. Use 20-40mm aggregate rather than smaller stones, as larger gravel provides better drainage and won’t compact as easily. Lightly compact this base layer with a tamper to create a stable foundation for the pipe. The gravel should be level and follow the gradient of the trench.
Step 3: Lay the Pipe
Place perforated drainage pipe on top of the gravel base with the holes facing downwards. This positioning might seem counterintuitive, but it prevents soil from entering the pipe and means that water can drain more effectively. Use appropriate couplings to connect the sections of pipe together, making sure all joints are secure. The pipe should maintain the same gradient as the trench throughout its length.
Step 4: Add More Gravel
With the pipe in place, you now need to cover it with gravel. Start around the sides making sure it reaches a depth of between 5 and 8cm on all sides. Continue filling with gravel to within 10 to 15 cm of ground level. Next, fold the landscape fabric over the top of the gravel, overlapping the edges by at least 15cm.
Step 5: Add Topsoil
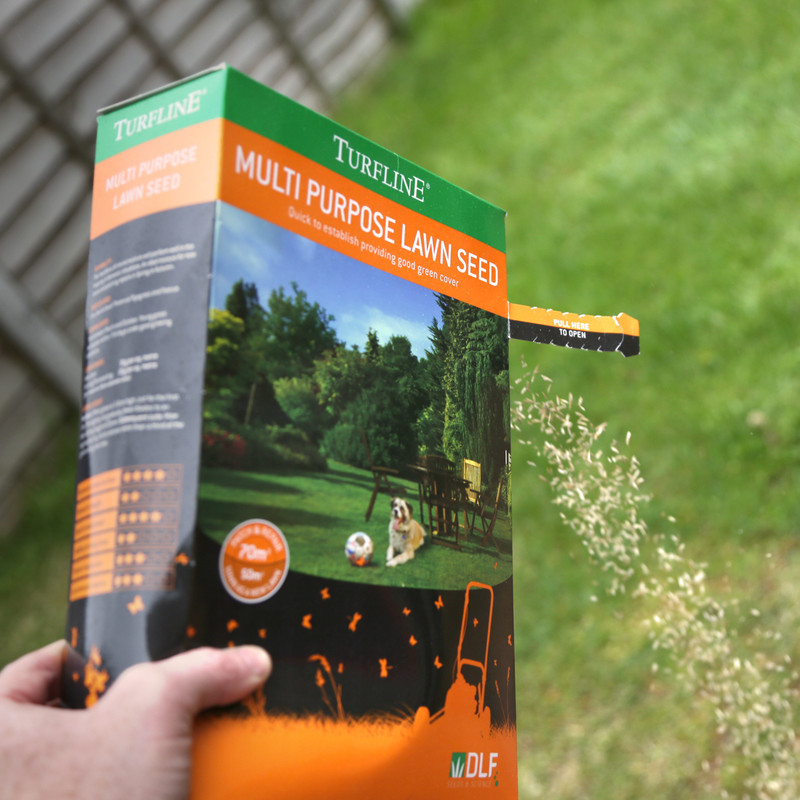
Cover the wrapped gravel with a layer of coarse sand or smaller aggregate as this will help to create a barrier between the drainage system and the topsoil. Finally, add topsoil (or use the previously excavated soil) and bring the surface level with the surrounding ground. You can then lay turf or plant grass seed over this area to restore the appearance of your garden. Test your new French drain by pouring several buckets of water at the highest point. Water should drain away within a few minutes without pooling.