- Help & Advice
- How To Guides
- How To Scarify Lawn
If your garden grass has lost its vibrancy and is lacking in colour and thickness, it could be time to scarify your lawn. Lawn scarification is a simple process that involves removing all that dead grass and moss, known as thatch, helping to revive your lawn by encouraging new and healthy grass growth.
Ideally done in the spring months, scarifying your lawn allows the grass to properly absorb nutrients, improve seed-to-soil contact, and create an environment where healthy grass can thrive.
If you want to discover how to scarify a lawn, keep reading as our comprehensive guide offers easy-to-follow instructions so your lawn remains lush and green throughout the summer.
Essential Tools & Equipment
Step 1: Prepare Your Lawn By Mowing
Before scarifying your lawn, start by mowing the grass. Cutting the grass short allows the scarifier or rake to penetrate the thatch layer more effectively. Don’t worry if the lawn doesn’t look its best straight after mowing; this is a necessary step for better results later. In terms of how short you should cut the grass, there's no exact height. However, keep in mind that the shorter you mow the lawn, the longer it could take for the grass to recover after you've finished scarifying.
Step 2: Set The Scarifier Height
Most scarifiers have an adjustable height option so you'll want to adjust the height of your scarifier to suit the condition of your lawn. For most lawns, a medium height setting works best to begin with. If your lawn has significant thatch buildup, try a lower setting which should help to remove most of the unwanted thatch.
Step 3: Complete The First Scarifying Pass
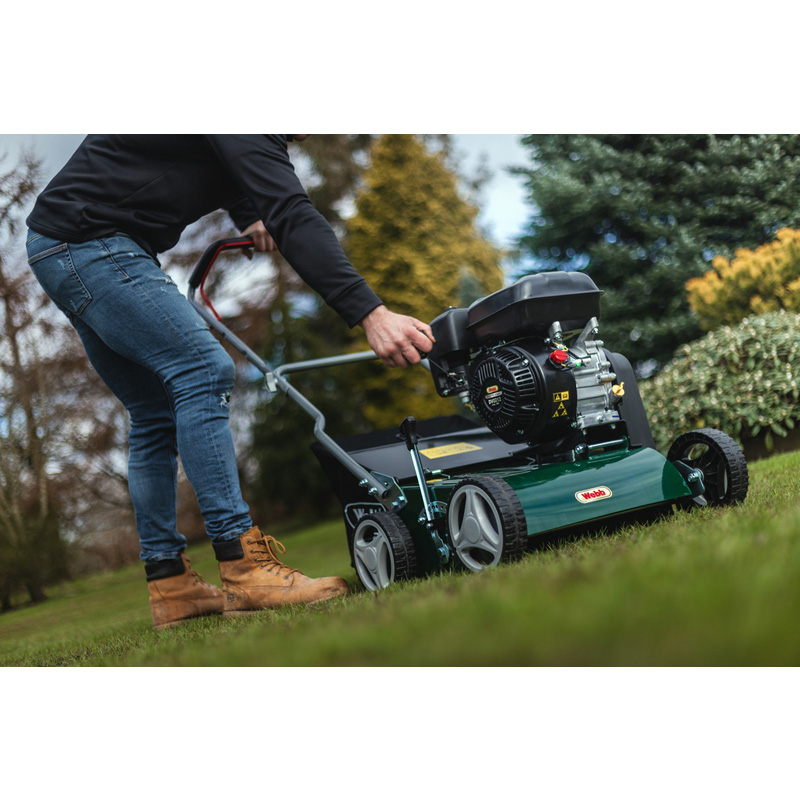
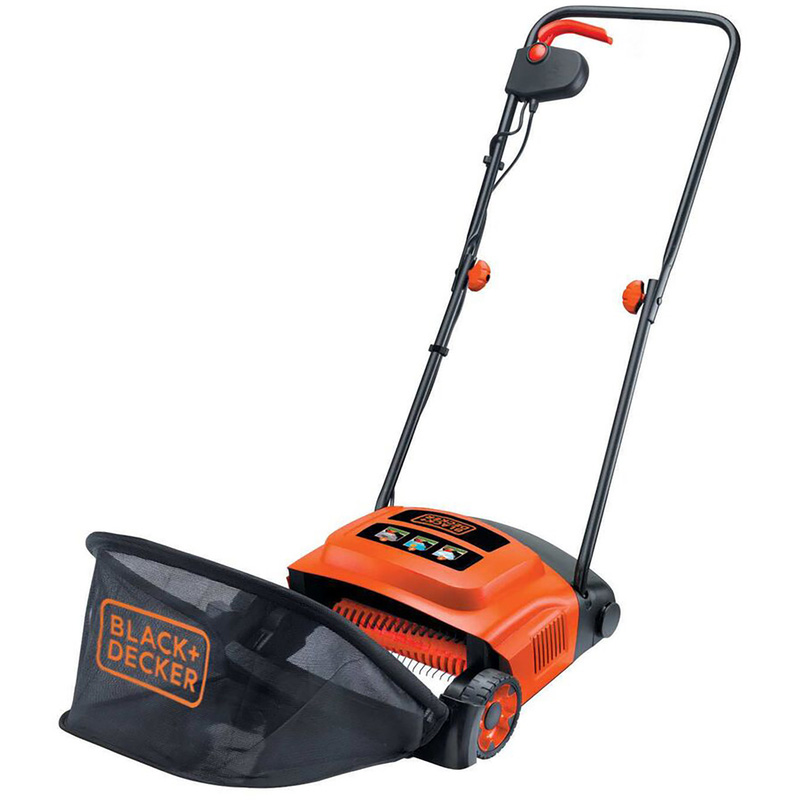
With the height of the scarifier set correctly, it's now time for the first pass over your lawn. Move up and down, as you would a lawnmower so that it removes the thatch, moss and debris. If your scarifier has a collection bag, be prepared to empty it frequently, as it will fill up quickly, especially if this is your first time scarifying.
Step 4: Make The Second Scarifying Pass
Now make a second pass over the lawn but this time at a 45 degree angle from the first pass . This helps to break up any remaining thatch and creates grooves in the soil, which is better for overseeding.
Step 5: Clean Up Loose Thatch And Debris
While the scarifer machine collects most of the thatch, it's a good idea to remove any remaining debris by using a rake. Lightly rake up any remaining dead grass and moss to help prepare the lawn for the next step. Take care not to over do it, to avoid damaging any healthy grass.
Step 6: Overseed And Apply Fertilizer
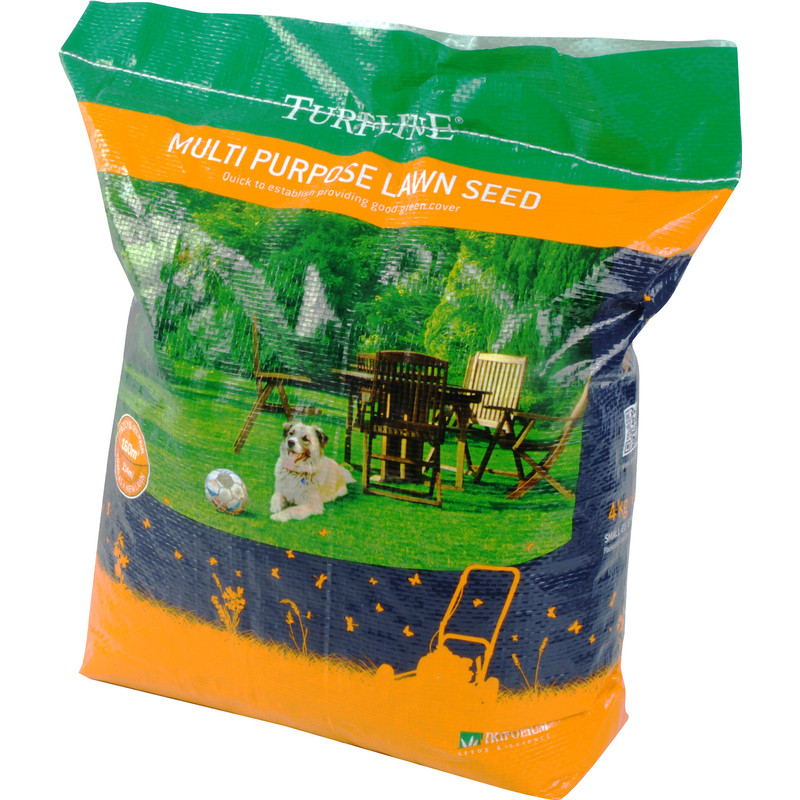
With the lawn now clear of thatch and debris, it’s time to overseed and fertilize. Spread grass seed evenly over the lawn, focusing on bare or thin areas. Follow up with lawn feed as this can help to promote quick germination.


