- Help & Advice
- How To Guides
- How to Use PTFE Tape
How to Use PTFE Tape
PTFE tape, sometimes referred to as thread tape, is a commonly used plumbing consumable designed to prevent leaks at threaded joints or repair things like a leaking radiator. While it’s a simple concept - wrapping tape around any threaded connection - it’s often applied incorrectly. And when that happens, the thread won’t stay secure for long and eventually leaks will become apparent.
In this article, we’ll run through the best way of using thread tape leaving pipes with a leak-proof seal that will last.
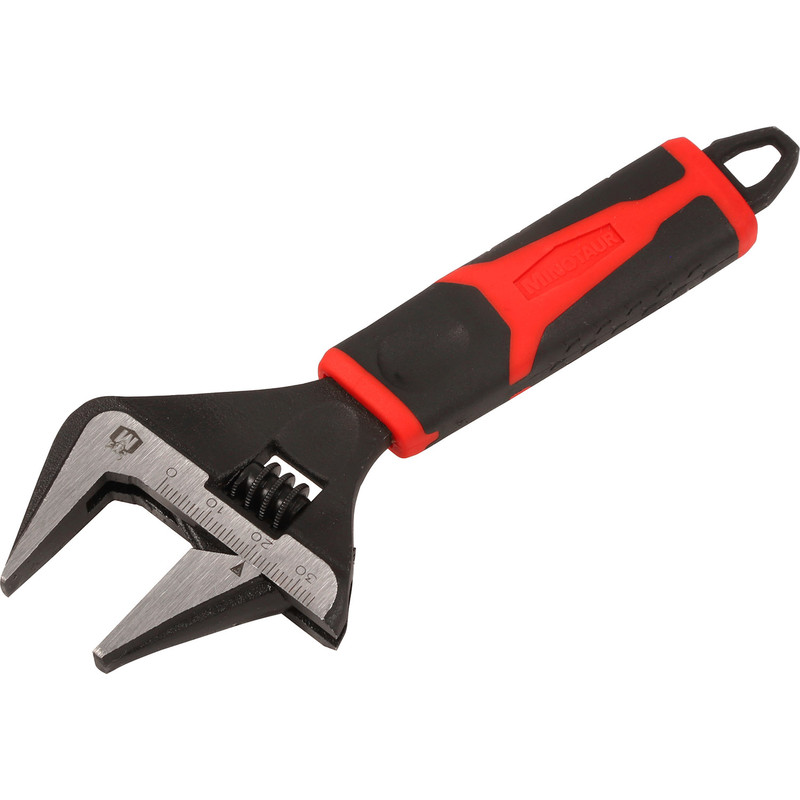
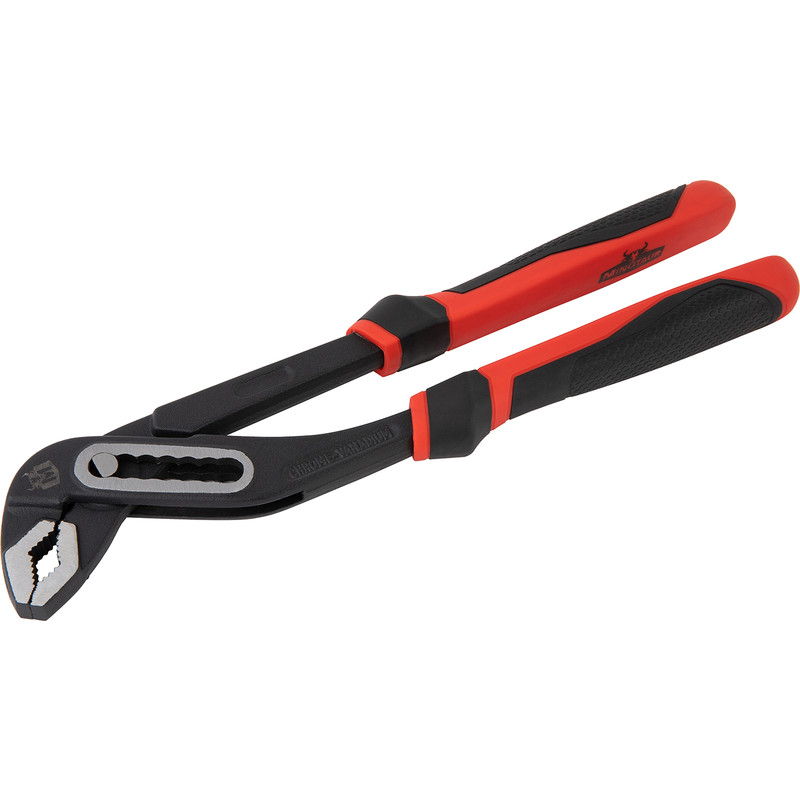
Essential Tools & Equipment
Where Can You Use PTFE Tape
PTFE tape is best used on any threaded connection where two fittings screw together to form a seal. So, things like metal pipes, shower fittings, valves and other screw-fit plumbing parts. When it’s wrapped correctly, the tape helps fill in tiny gaps in the threads, creating a watertight (or gas-tight) seal which makes the joint easier to tighten without sticking.
That said, it’s not something you should use on every plumbing connection. PTFE tape isn’t needed on push-fit fittings or compression joints that seal using an olive, and it shouldn’t be used on connections with rubber washers or O-rings. In these cases, the seal is already built into the fitting, and adding tape can actually stop it from sealing properly and lead to leaks instead.
You may notice that PTFE tape comes in two different colours; white and yellow. The colours indicate what types of pipe the tape is best suited for. While both are made from the same teflon material, yellow is typically denser and thicker and designed for use on gas pipes. White PTFE, on the other hand, is more of an everyday type of tape and perfect for water pipes and other fittings around the home or workplace.
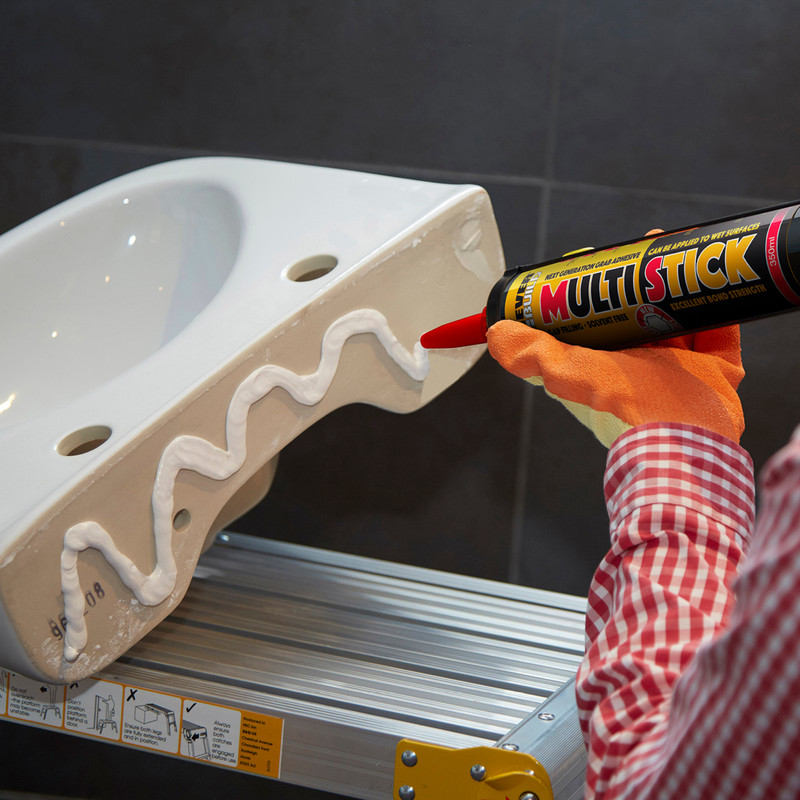
PTFE Tape vs Jointing Compound
PTFE tape and jointing compound are both used to help seal threaded pipe connections, but they work in slightly different ways. PTFE tape is a thin, dry tape that you wrap around the threads before tightening the joint, while jointing compound (sometimes called pipe dope) is a paste that’s brushed or spread onto the threads. Both do the same basic job – filling tiny gaps between threads to stop leaks – but they feel quite different to use.
In most DIY plumbing jobs, you’ll typically use one or the other depending on the type of fitting. PTFE tape is clean, quick and easy to apply, whereas jointing compound can be a bit messier but is often the preferred choice for larger or more heavy-duty pipework. In some cases, especially where a really secure seal is needed, the two are even used together – a thin coating of jointing compound over PTFE tape can give extra protection against leaks on stubborn or high-pressure joints.
Step 1. Clean the thread
Before you start, make sure the male threads on the pipe or fitting are clean and dry. Things like grease, dirt and old tape can stop the new seal from forming properly.
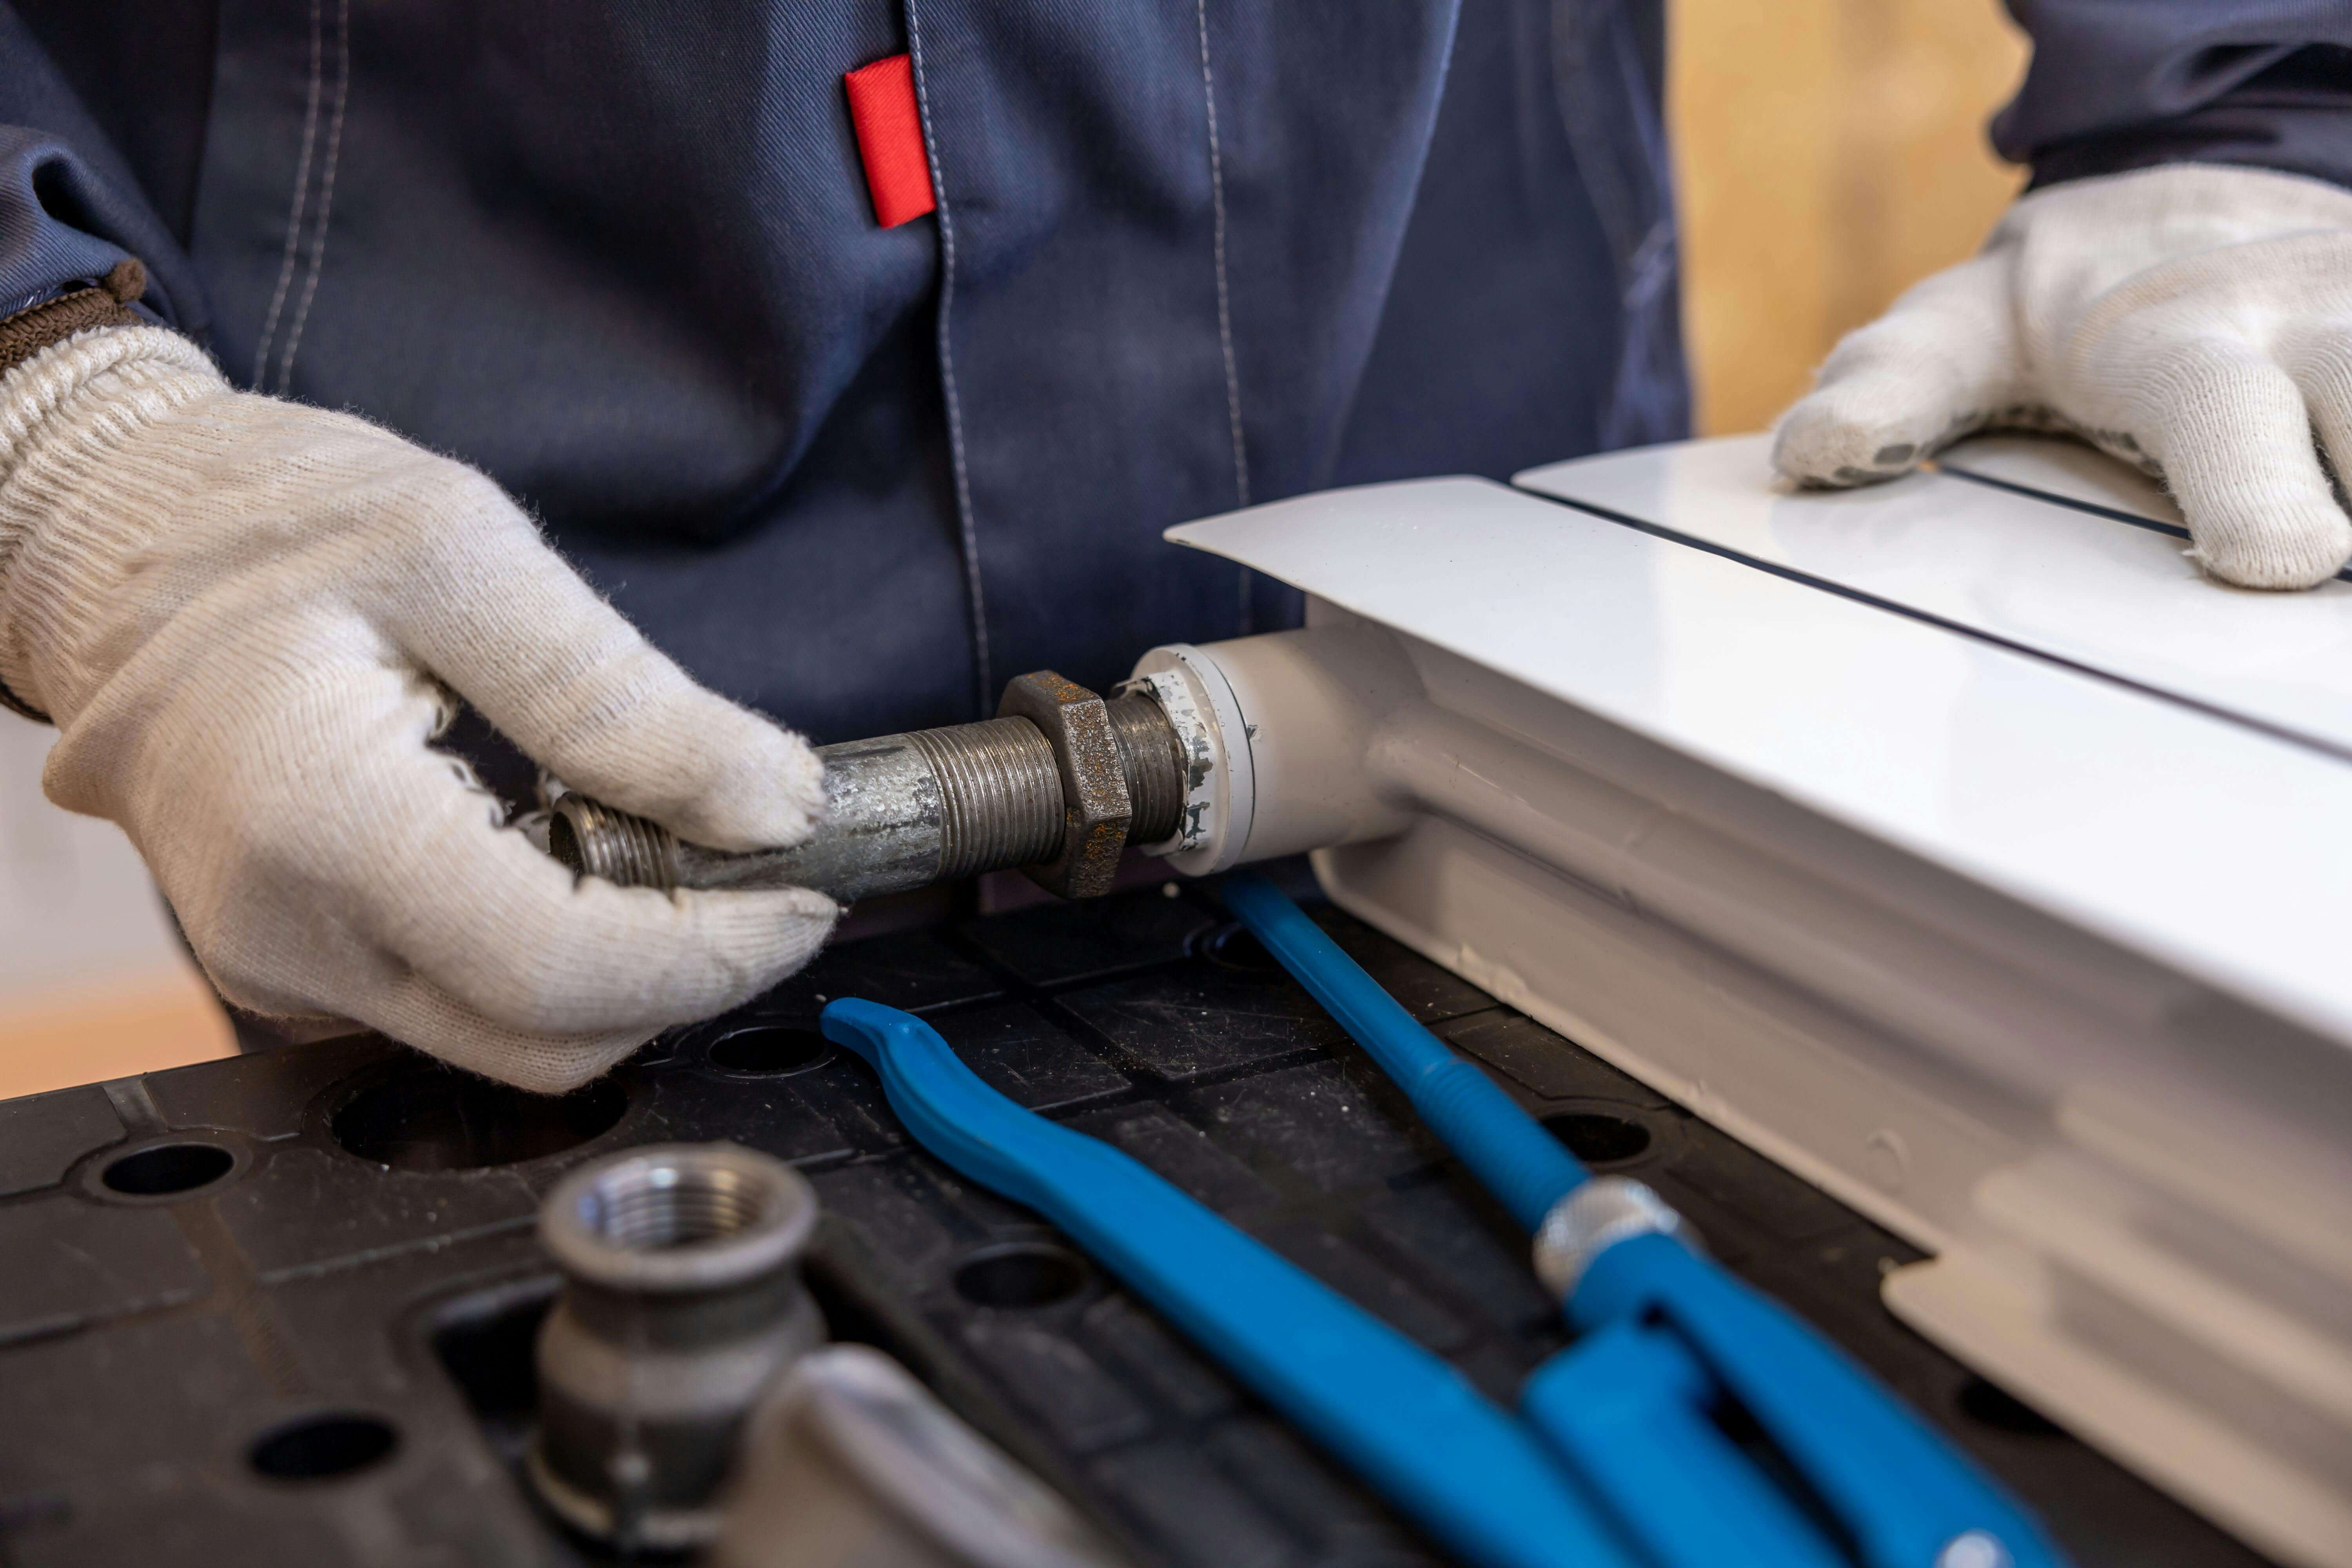
Step 2. Hold the fitting correctly
If you can, keep the pipe or fitting steady so you can wrap the tape easily, this is where the water pump pliers can come in handy. You’re always wrapping the male thread (the part that screws into the fitting), not the female side.
Step 3. Wrap in the right direction
This bit is really important! Wrap the tape clockwise around the threads – the same direction that you’ll be tightening the fitting. This stops the tape from bunching up or unraveling as you screw it in.
As you wrap the tape around the thread, be sure to keep tension on the tape - this makes it much easier to apply several layers of tape.
Step 4. Apply a few neat layers
Start at the end of the thread and work your way back slightly, overlapping as you go. Keep your thumb or finger in the centre of the tape and ensure the reel remains close to the fitting - this keeps tension on the tape. Usually 3-5 wraps is enough, depending on the size of the fitting. You want a snug fit, not a bulky build-up.
Step 5. Press it into the threads
PTFE tape is pretty easy to snap off using just your fingers. So, once wrapped, tear off the end and then lightly press the tape into the threads with your fingers. This helps it mould into place so it grips properly when tightened.
Step 6. Assemble the joint
Screw the fitting together by hand first, then tighten with a spanner if needed. You should feel a smooth, firm resistance as the tape compresses and seals the joint.