- Help & Advice
- How To Guides
- How to Seal a Shower Tray

How to Seal a Shower Tray to Prevent Leaks
If you’re about to undertake a bathroom renovation, one of the jobs might involve sealing a shower tray. It’s quite similar to sealing a bath, with just a few small differences. Getting a good seal is important to prevent water from leaking into the surrounding walls and flooring, which could lead to damp, mould and costly repairs.
The good news is that sealing a shower tray with silicone is a pretty straightforward DIY job, provided you prepare the surface properly and allow the sealant to cure before using the shower. In this guide, we’ll explain how to seal a shower tray step by step, including how to prepare the surface, apply silicone sealant and achieve a neat, watertight finish. We’ll also cover how to remove old sealant if you’re replacing an existing seal.
Essential Tools & Equipment



Step 1: Prepare the Shower Tray
It's important that the shower tray is properly fitted and stable before you apply any sealant. If you're installing a new tray, follow our guide on how to fit a shower tray. That way you can be sure it's properly supported, level and connected before moving on to sealing.
If you're sealing an existing tray, check that it doesn't move or flex when you stand on it. Excessive movement might cause the silicone to crack or pull away from the surrounding surfaces.
Clean off any dirt, soap residue or grease from the joint between the tray and the wall. The surfaces must be clean and completely dry before you apply the sealant for proper adhesion.
Step 2: Remove Old Silicone Sealant (If Necessary)
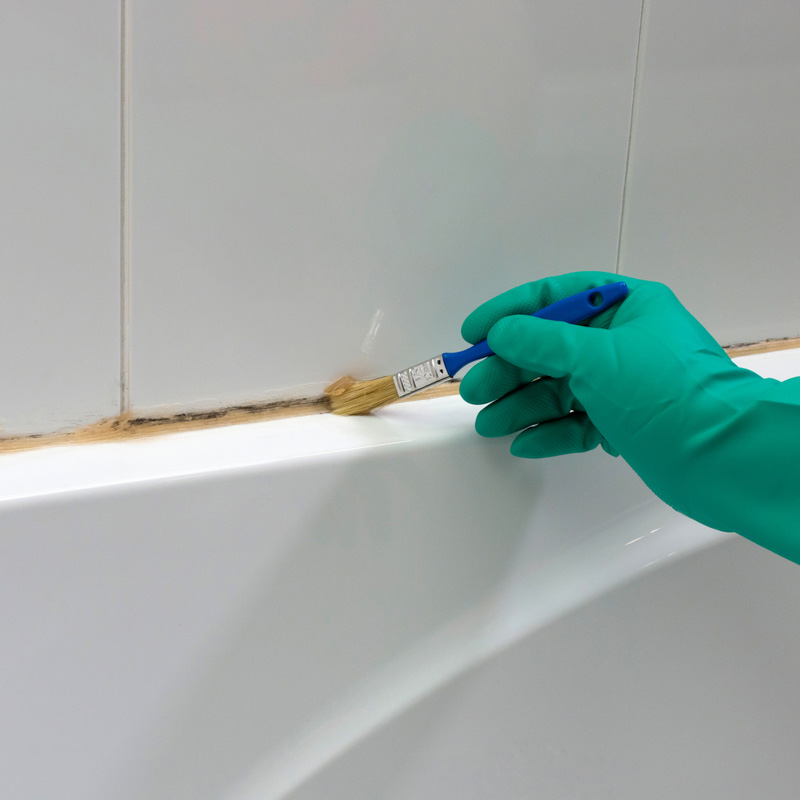
If you're resealing an existing shower tray, you'll need to remove the old silicone first. Carefully cut along the edges of the sealant with a utility knife or similar. Take care not to scratch the shower tray or damage the surrounding tiles.
For any stubborn residue left behind, try a silicone sealant remover. Be sure to follow the manufacturer's instructions before application.
Allow the area to dry completely before continuing. Applying new silicone over old sealant can prevent it from adhering properly and compromise the watertight finish.
Step 3: Apply Masking Tape (Optional)
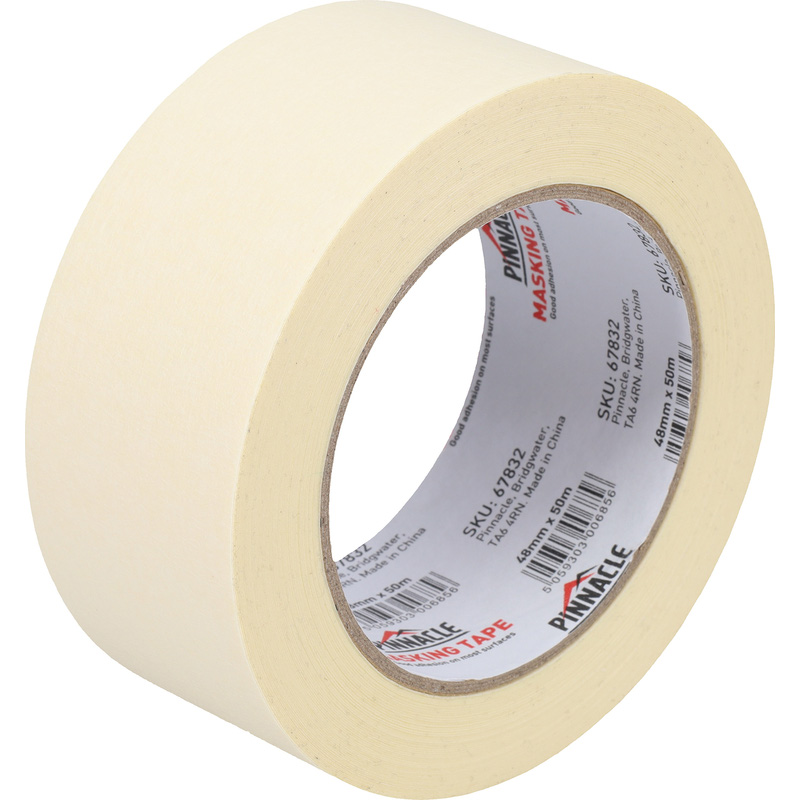
For a neater finish, try applying masking tape along both sides of the joint, leaving a gap wide enough for the silicone to cover the join between the shower tray and the wall.
Press the tape down firmly to stop any sealant from spreading onto the surrounding surfaces. This step is optional, but it's quite helpful it you've not used silicone sealant.
Step 4: Apply the Silicone Sealant
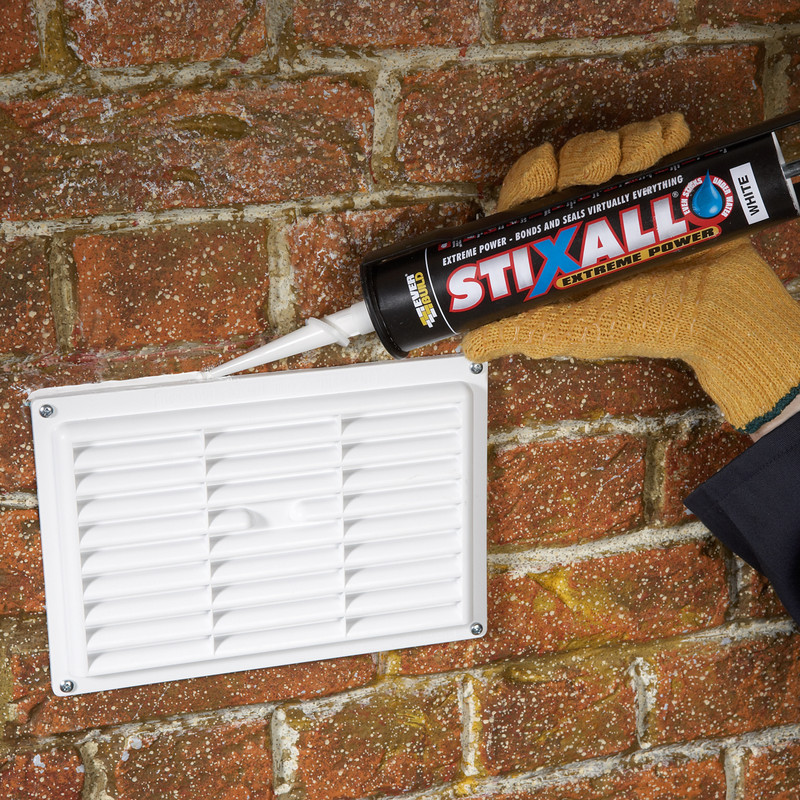
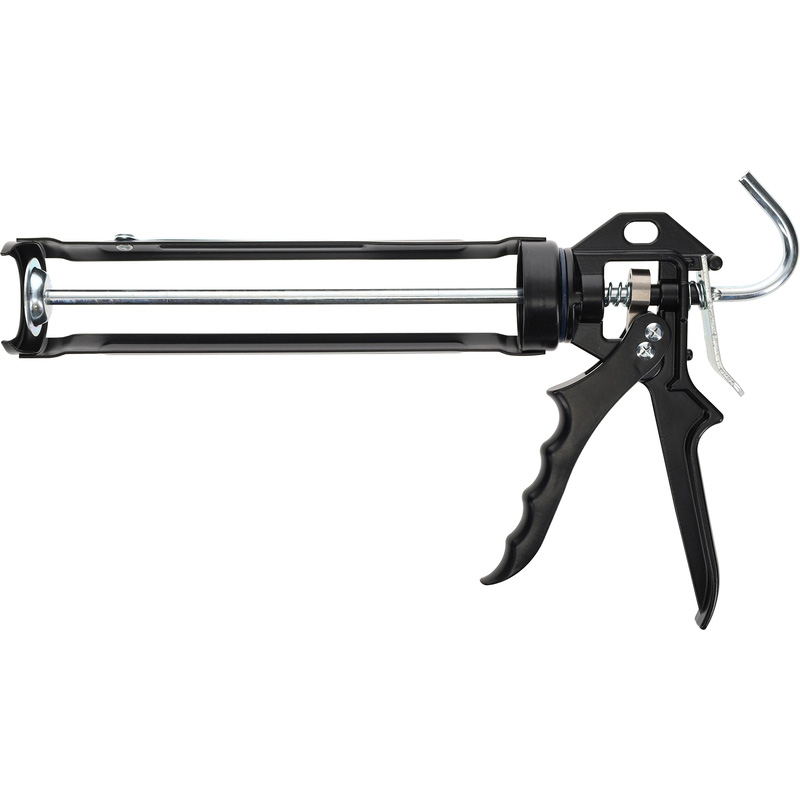
Start by cutting the nozzle of the silicone cartridge at a slight angle, this makes it easier to apply. Ensure that the opening is wide enough to suit the joint you're sealing. Fit the cartridge into the sealant gun.
Starting at one end of the shower tray, squeeze the trigger gently while moving the gun steadily along the joint. Aim to apply a continuous bead of silicone, ensuring it fills the gap between the tray and the wall without leaving any breaks.
Try to maintain an even pressure and consistent speed to avoid gaps or excessive blobs of silicone. It's usually easier to work in manageable sections rather than stopping and starting repeatedly.
Step 5: Smooth the Sealant
Once you've applied the silicone, smooth it down using either a silicone smoothing tool or your finger. This helps push the sealant into the joint and creates a neat, continuous finish.
If you've used masking tape, remove it carefully while the silicone is still wet, before a skin forms. Move slowly to avoid disturbing the finished bead as you remove the tape.
Check the seal carefully for gaps, bubbles or missed sections. Make any necessary fixes while the sealant is still workable.
Step 6: Allow the Silicone to Cure
Leave the sealant undisturbed for the full curing time, this should be stated on the packaging. Although some silicone sealants become touch-dry quite quickly, they may need considerably longer to cure fully.
Avoid using the shower or allowing the seal to get wet until the sealant is completely dry, usually between 24 and 72 hours. Using the shower too soon could weaken the seal and lead to leaks.
Once the silicone has fully cured, your shower tray should have a clean, watertight seal ready use.