- Help & Advice
- How To Guides
- How to Use a Pipe Cutter
How to Use a Pipe Cutter
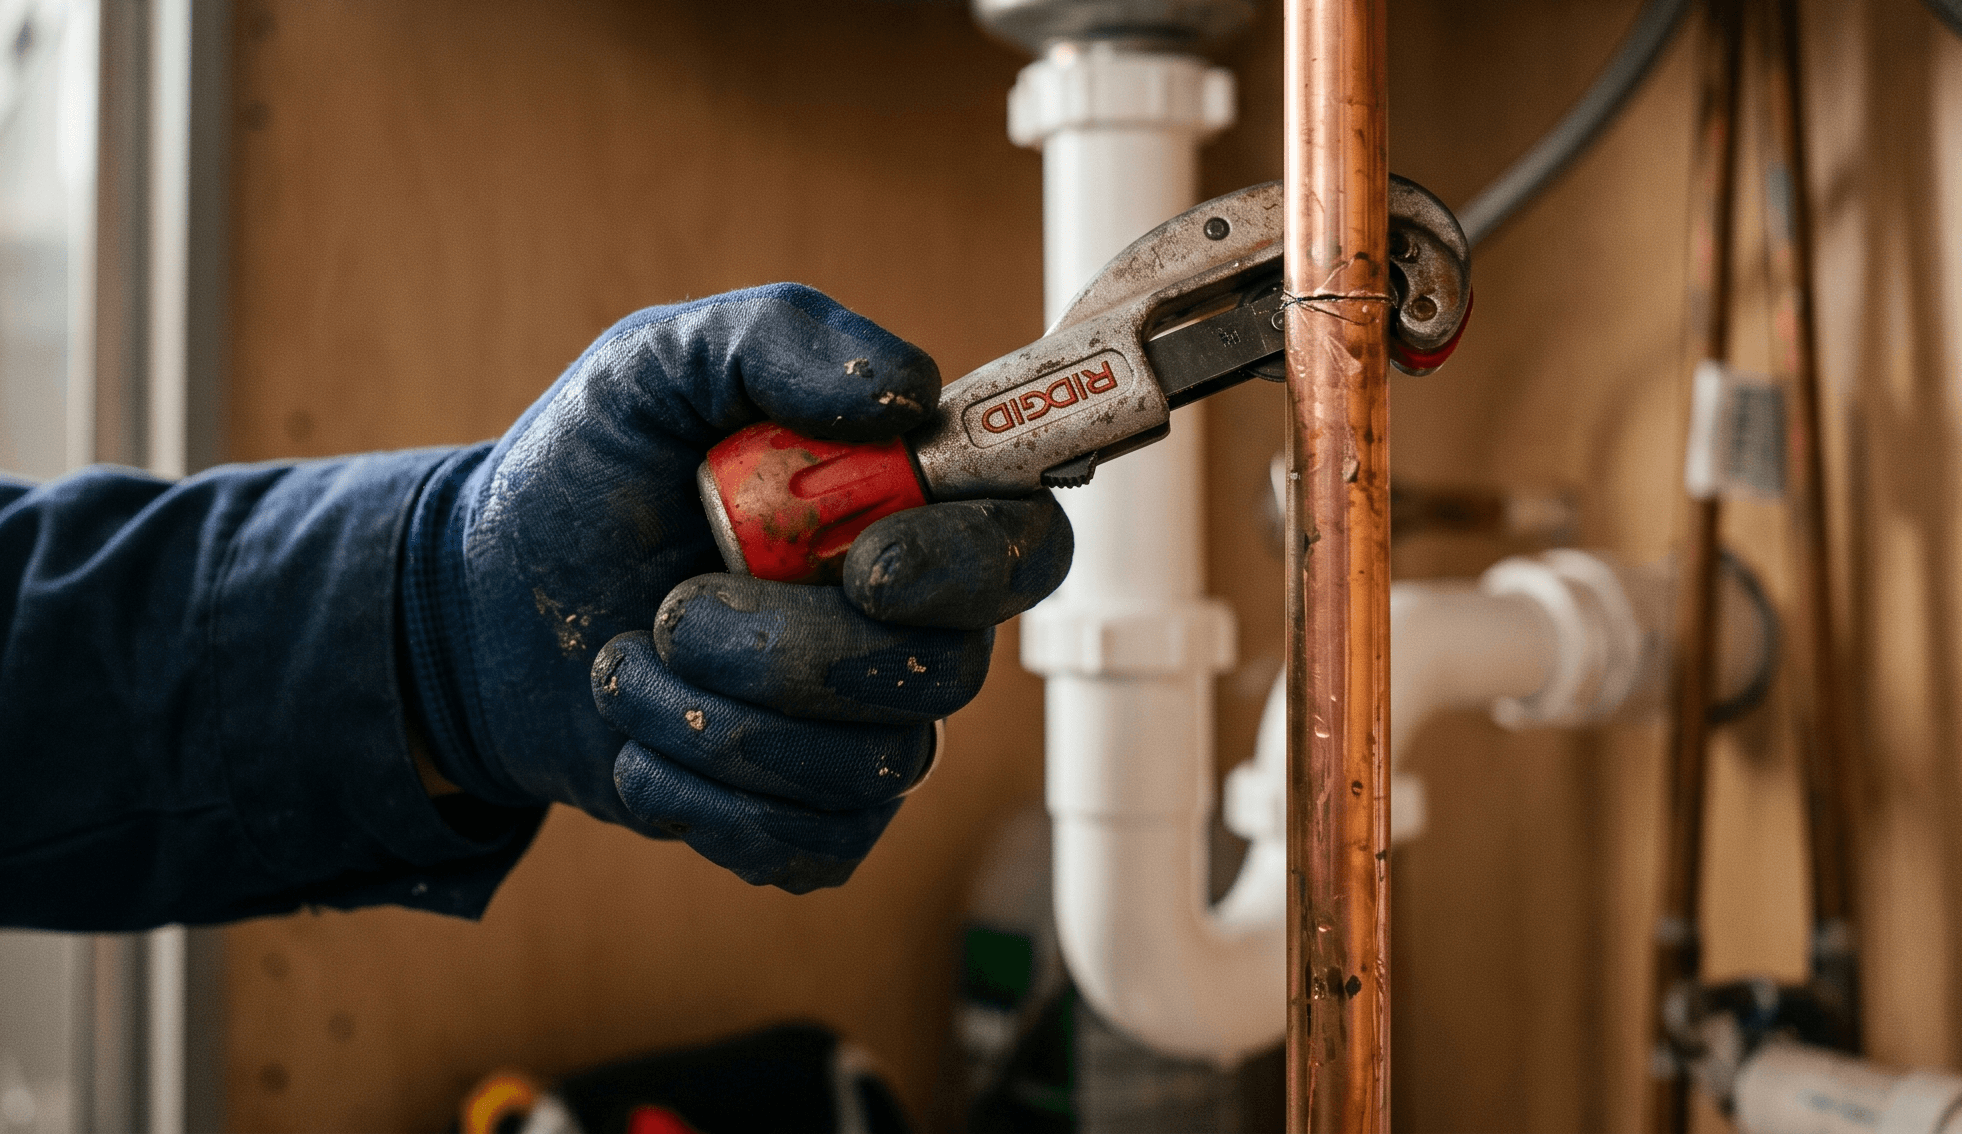
Whether you’re cutting copper pipe for a plumbing repair, trimming plastic waste pipe, or working with steel tubing for a DIY project, knowing how to use a pipe cutter correctly ensures accurate clean cuts. Pipe cutters are designed to create smoother, more precise cuts compared to using a standard hacksaw. When used properly, they reduce the risk of rough edges and minimise the chance of damaging the pipe.
In this guide, we’ll explain how to use a pipe cutter step by step, including how different types of pipe cutters work, along with handy tips for achieving a professional-quality finish. Before we jump into the how-to, let’s look at the different types of pipe cutter to choose. Let’s take a look at these below.
The Different Types of Pipe Cutters
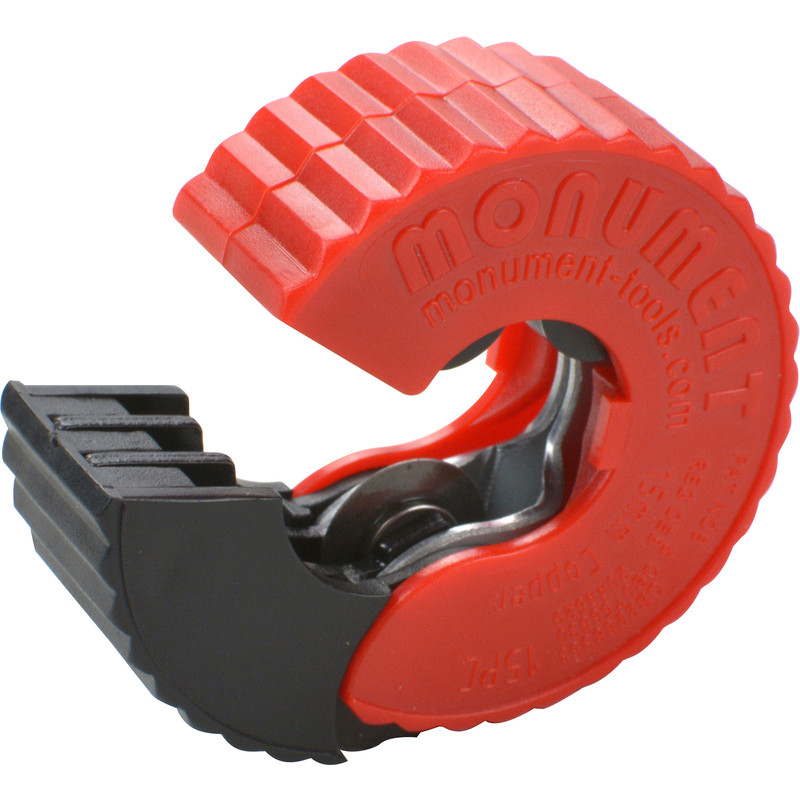
Autocut Pipe Cutter
An autocut pipe tool is a self-adjusting cutter typically used for quick, clean cuts on plastic pipes such as PVC and plastic waste pipes. It’s particularly useful in tight or awkward spaces where you don’t have room to rotate a traditional cutter around the pipe. The spring-loaded mechanism clamps and cuts as you squeeze the handles, making it a fast, one-handed option perfect for repetitive work or simple domestic plumbing tasks.
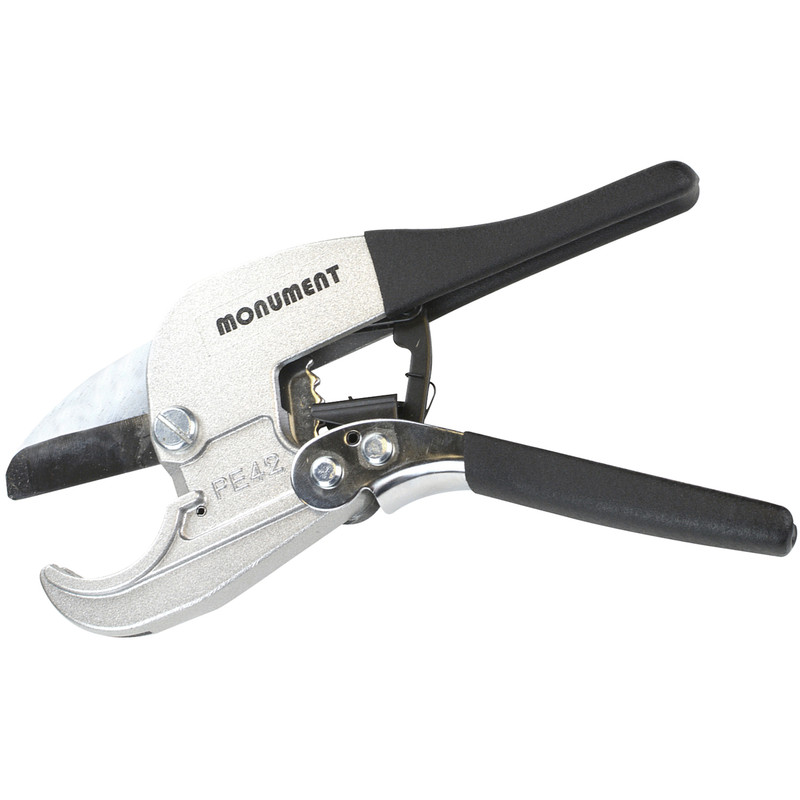
Ratchet Pipe Cutter
A ratchet pipe cutter is designed for situations where space is limited but a more controlled, gradual cut is needed. It works by using a ratcheting mechanism allowing you to tighten and cut the pipe in stages rather than all at once. It’s great for cutting copper and plastic pipes neatly without crushing or deforming them, and it’s a popular choice for plumbing work in confined areas like under sinks or behind kitchen and bathroom appliances.
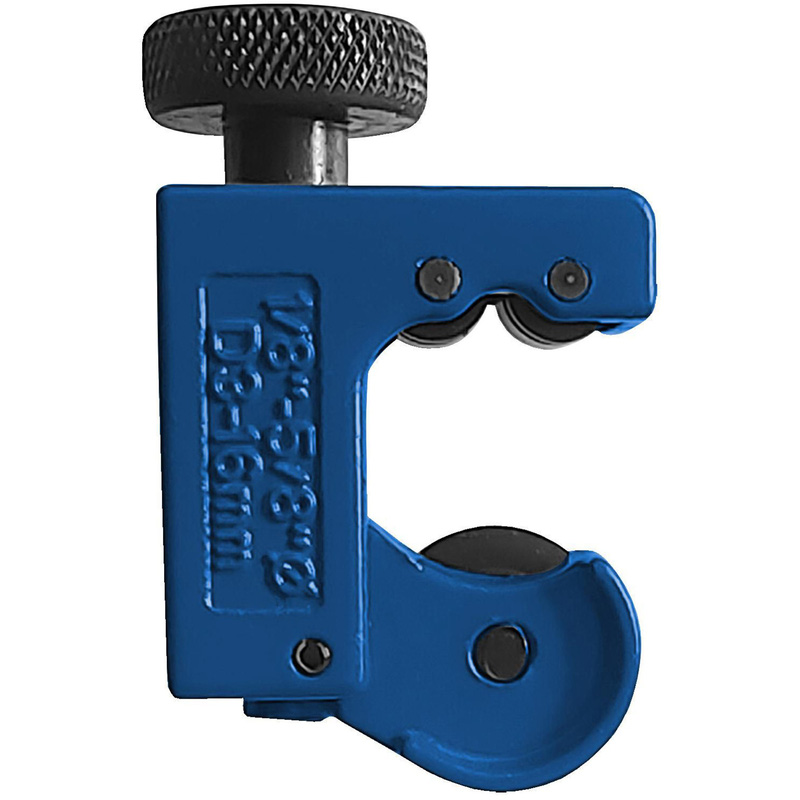
Adjustable Pipe Cutter
An adjustable pipe cutter is the more traditional wheel-style tool, commonly used for copper, brass, and sometimes steel pipes. It features a cutting wheel and adjustable screw mechanism that gradually tightens around the pipe as it is rotated, scoring deeper with each turn until the cut is complete. This type is ideal when precision and a perfectly straight edge are important, especially for professional plumbing or heating installations where a clean, accurate finish is required.
How to Use the AutoCut Pipe Cutter
-
Position the tool around the pipe where you want to cut.
-
Make sure the pipe is fully seated in the tool’s cutting jaws.
-
Squeeze the handles together firmly.
-
Continue squeezing until the cut is complete (it will usually snap through in one motion).
-
Release the handles and remove the pipe, checking for a clean edge.
How to Use the Ratchet Pipe Cutter
-
Open the cutter fully and place it around the pipe at the cutting point.
-
Close the jaws so the blade sits on the pipe surface.
-
Squeeze the handles to begin the first cut, then release slightly.
-
Repeat the ratcheting motion, tightening and cutting gradually with each squeeze.
-
Continue until the pipe is fully cut through, then release and remove the cutter.
How to Use an Adjustable Pipe Cutter
-
Place the cutter around the pipe and align the cutting wheel with your marked cut line.
-
Tighten the screw until the wheel grips the pipe lightly.
-
Rotate the cutter around the pipe 360° to score a groove.
-
Tighten the screw slightly after each full rotation.
-
Keep rotating and tightening until the pipe is cut through cleanly.