- Help & Advice
- How To Guides
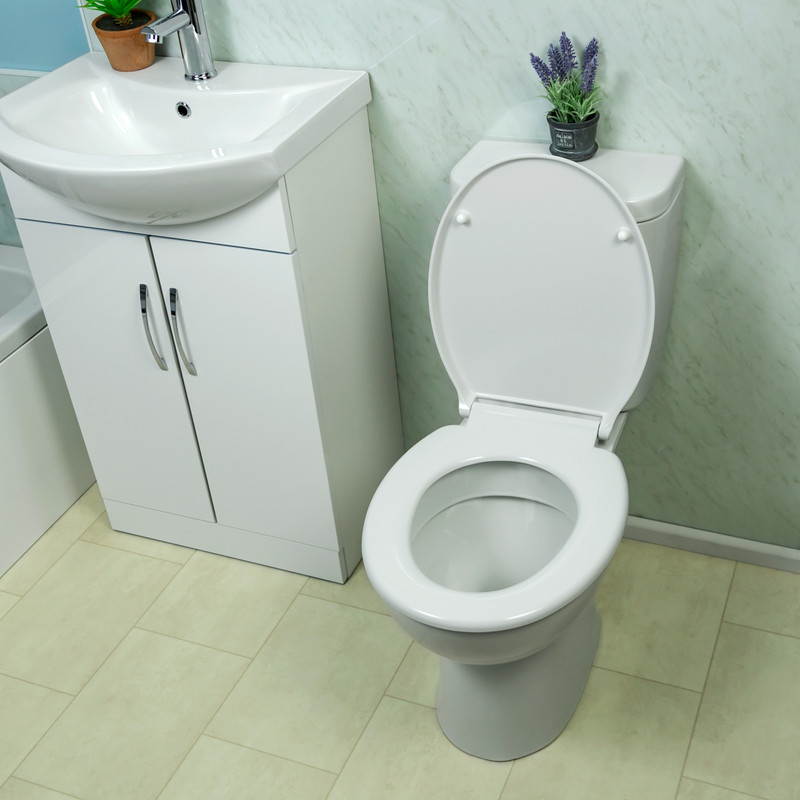
- How to Fix a Leaking Toilet

How to Fix a Leaking Toilet
A leaking toilet can result in wasted water and, if left, damage to your floor. You may notice water around the base, a continual trickle into the bowl itself, or damp patches near the cistern.
You can fix most leaking toilets by first finding the source of the leak and replacing any worn seals, washers, or the valve inside the cistern. The key thing is to determine where the water leak is coming from before you start any repair works.
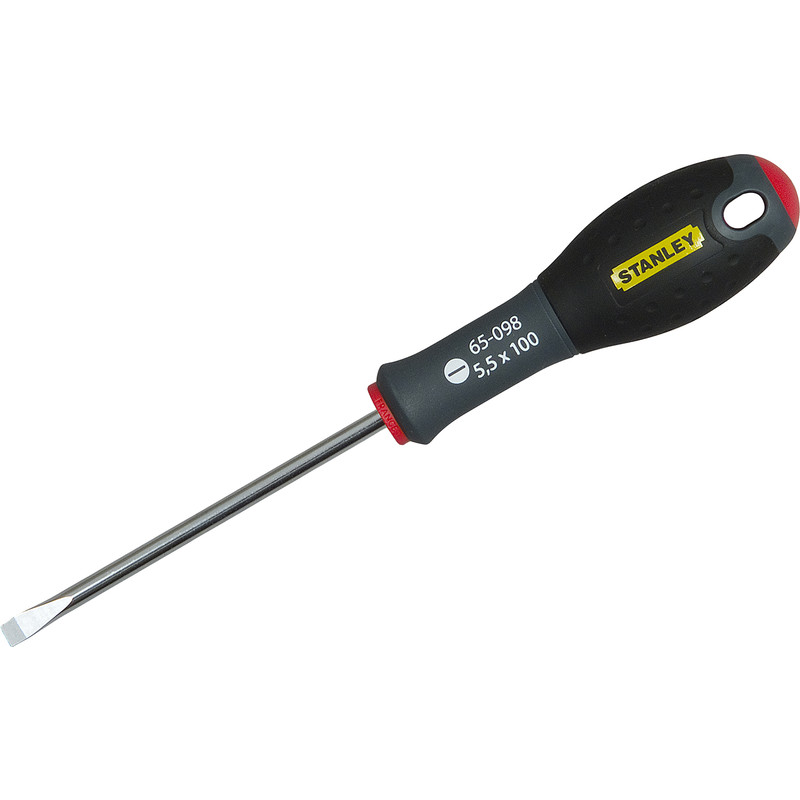
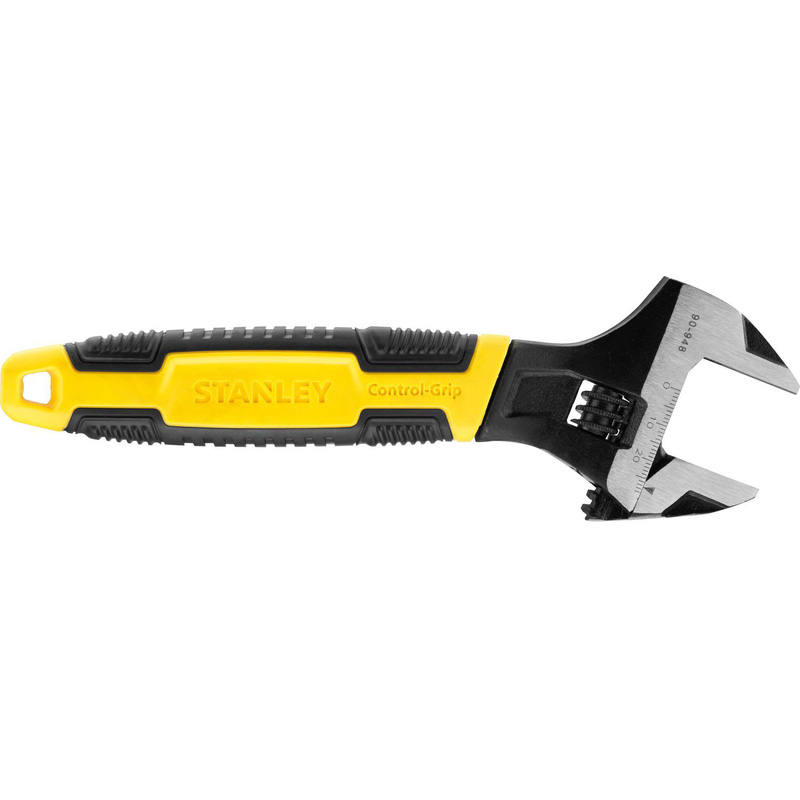
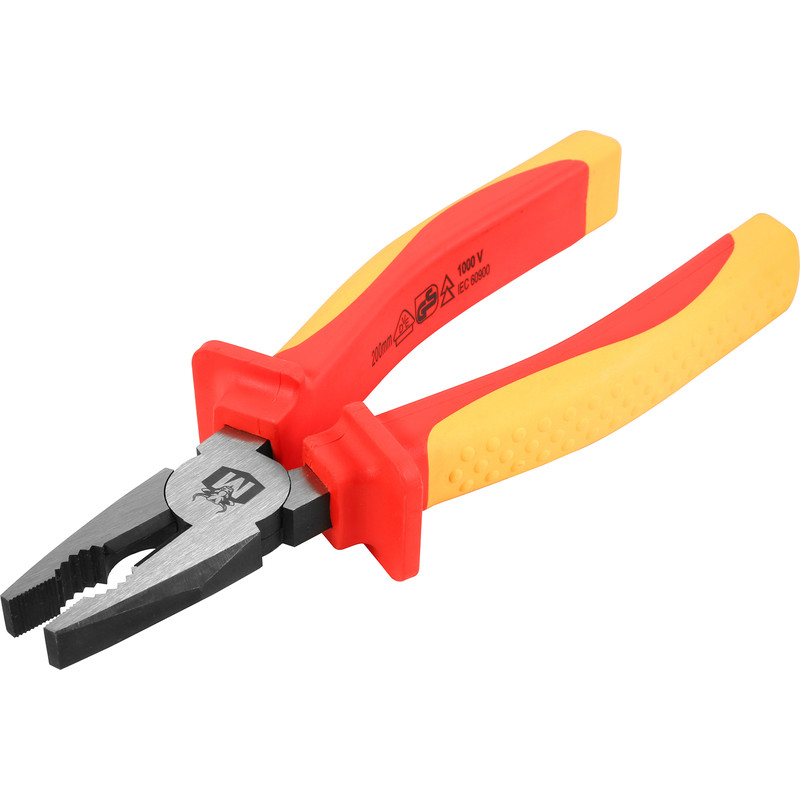
Essential Tools & Equipment


Find Out the Cause of a Leaking Toilet
Start off by carrying out a visual check around the toilet. Dry any wet areas, then flush the toilet paying attention to common leak points. These include the base of the toilet, overflow pipe, and the supply connection. If water pools around the base, the wax seal may have failed.
If water runs into the toilet bowl without flushing, the flapper or flush valve seal may not fully close. It’s important to fix a continually running toilet cistern as this can waste huge amounts of water on a daily basis.
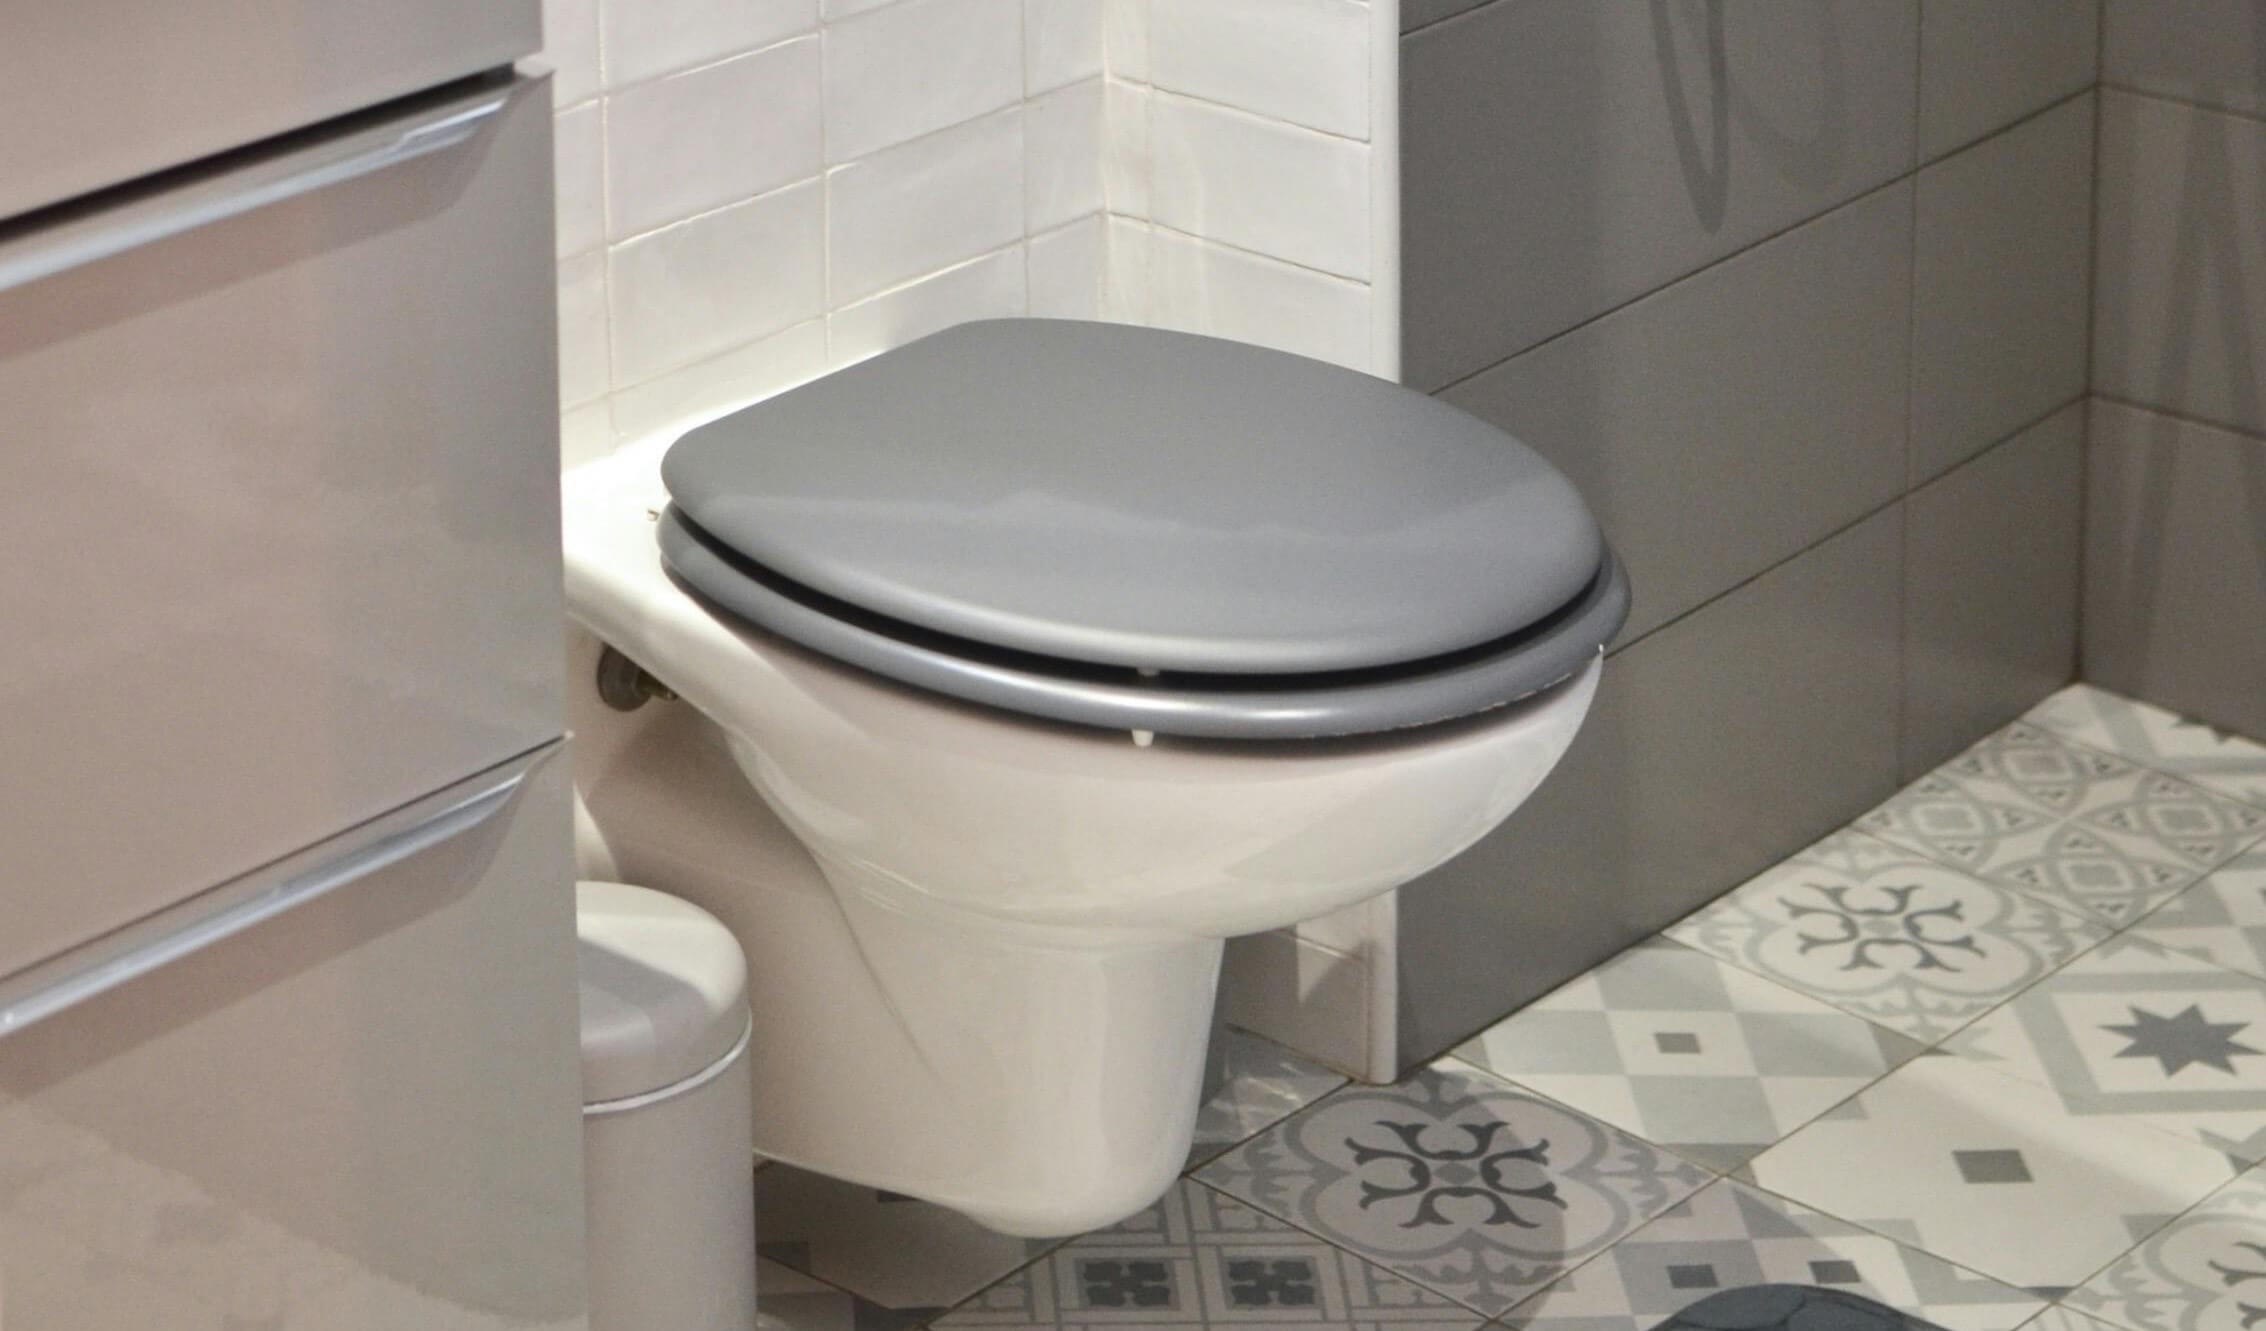
Look for any cracks in the cistern or bowl. Even small cracks can result in slow leaks which cause damage over time. Leaks between the cistern and the bowl often show as water dripping onto the back of the pan. You might notice water tracking down the porcelain after each flush. Dry the joint between the cistern and bowl, flush, and check for any new drips.
You’ll also want to check for any poorly fitting bolts. Tighten up any that feel loose but take care not to over tighten as, depending on what type of toilet you have, you may cause porcelain to crack.
Step 1: Replace the Flapper Valve
A worn toilet valve often causes water to run into the toilet bowl without stopping. If you hear constant refilling or see ripples in the bowl, check the valve first.
-
Turn off the water supply at the valve behind the toilet.
-
Flush to empty the tank.
-
Unclip the old flapper valve from the overflow tube.
-
Disconnect the chain from the flush level.
-
Attach the new flapper to the overflow tube.
-
Clip the chain to the lever arm, leaving a little slack.
-
Turn the water back on and let the tank refill.
-
Test the flush and ensure the flapper fully seals.
Step 2: Tighten or Replace Tank Bolts
Step 2: Tighten or Replace Tank Bolts
Loose or rusty tank bolts can cause leaks between the tank and the toilet bowl. You may notice water on the back of the bowl, or on the floor.
-
Turn off the water and flush the toilet.
-
Hold the bolt head inside the tank with a screwdriver.
-
Tighten the nut underneath the tank using a spanner.
If this doesn’t stop the leaks, then you’ll need to replace the bolts and rubber washers instead.
-
Drain the tank fully.
-
Remove the old bolts and washers.
-
Install new rubber washers inside the tank.
-
Fit metal washers and nuts underneath.
-
Fill the tank, flush, and check for any drips.
Step 3: Repairing or Replacing the Fill Valve
A faulty fill valve can cause constant running or slow leaks into the overflow tube. Start by opening the tank lid and keep an eye on the water level. If you see water flowing into the overflow pipe, adjust the ball float first. Lower the float by turning the adjustment screw, or sliding the clip down. If this doesn’t stop the leaks try replacing the fill valve.
-
Turn off the water and flush the toilet.
-
Using a sponge, absorb any remaining water.
-
Disconnect the water supply line under the toilet tank.
-
Unscrew the locknut the holds the fill valve in place.
-
Lift out the old valve, insert the new one and secure it with the locknut.
-
Reconnect the supply line and turn the water back on.
-
Adjust the float so the water level sits about 2.5cm below the top of the overflow tube.
Step 4: Fixing the Wax Seal at the Base
Water that pools around the base of your toilet often indicates a failed wax seal, this seals your toilet to the main sewer line. This repair takes a little more effort but is worth it to prevent any damage to the floor.
-
Turn off the water and flush.
-
Disconnect the supply line and remove the tank bolts.
-
Unscrew the nuts at the base of the toilet.
-
Lift the toilet straight up and set it to one side (ideally on a towel to prevent damage).
-
Scrape off the old wax ring from the flange and toilet outlet.
-
Press a new wax ring onto the flange or toilet outlet.
-
Carefully lower the toilet back into place, keeping it level.
-
Press down firmly to seal the ring.
-
Refit the nuts and be sure to tighten them properly.
-
Reconnect the water supply and test the leaks by flushing the toilet.