- Help & Advice
- How To Guides
- How to Clear an Airlock
How To Clear an Airlock: 3 Easy Methods
An airlock is when air (or gas) becomes trapped inside a pipe. When this happens it can prevent water flow, reduce pressure and result in the taps around your home making those odd spluttering noises. But what causes it to happen in the first place and does it really matter?
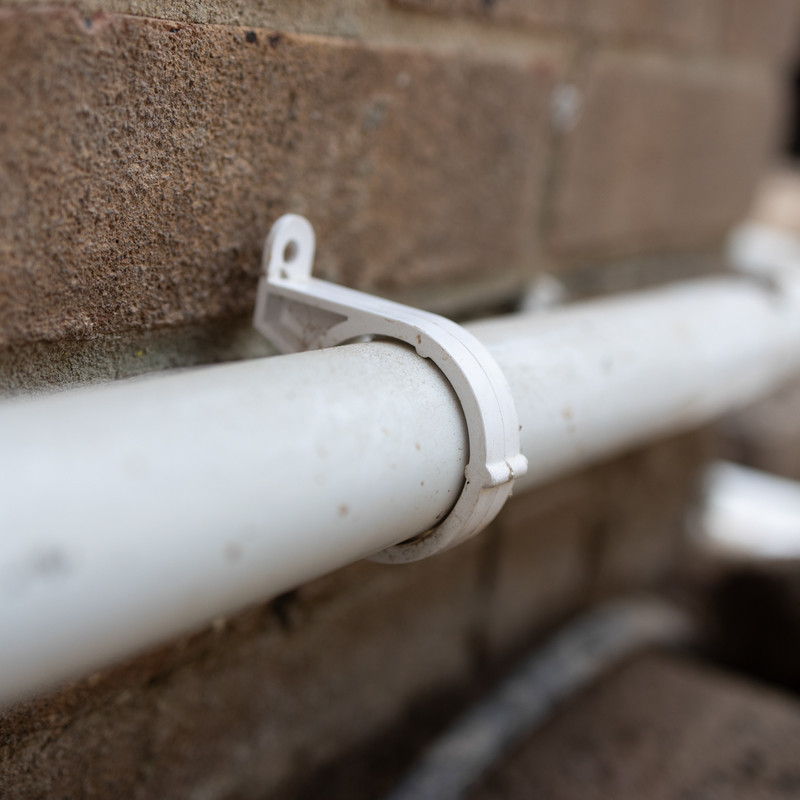
Air can enter a pipeline through leaks, this can be something like damaged pipework or poorly fitted or loose joints. If these leaks occur at points along the pipe where the internal pressure drops below the surrounding air pressure, air can be drawn from outside the pipe and into the line. From there it becomes trapped. This is because air and gas are much less dense than liquid, meaning they naturally rise. As a result, any high points along a pipeline can become susceptible to pockets of trapped air.
Now we know what causes them, is it something to worry about? In most homes, an airlock isn’t usually a serious problem, but it can be frustrating. Trapped air can interrupt the smooth flow of water through your plumbing system, leading to poor pressure at taps, noisy pipework and appliances that don’t perform as they should. The good news is that airlocks are usually straightforward to clear with a few simple methods, many of which you can try yourself without needing any special skills or tools.
In this guide, we’ll explain how to clear an airlock step by step, using a few practical techniques that can help restore normal water flow around your home.
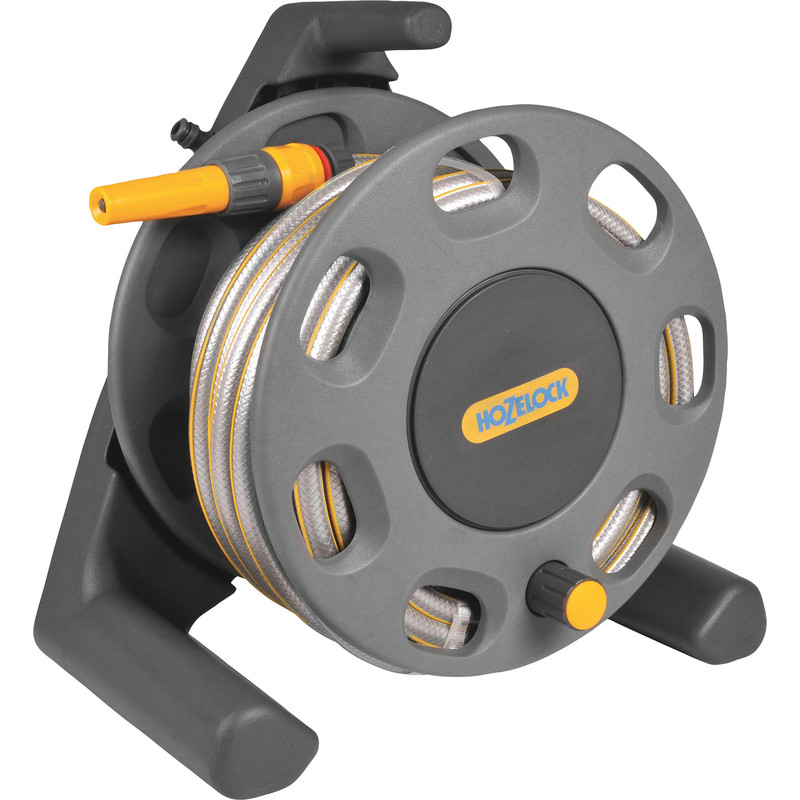
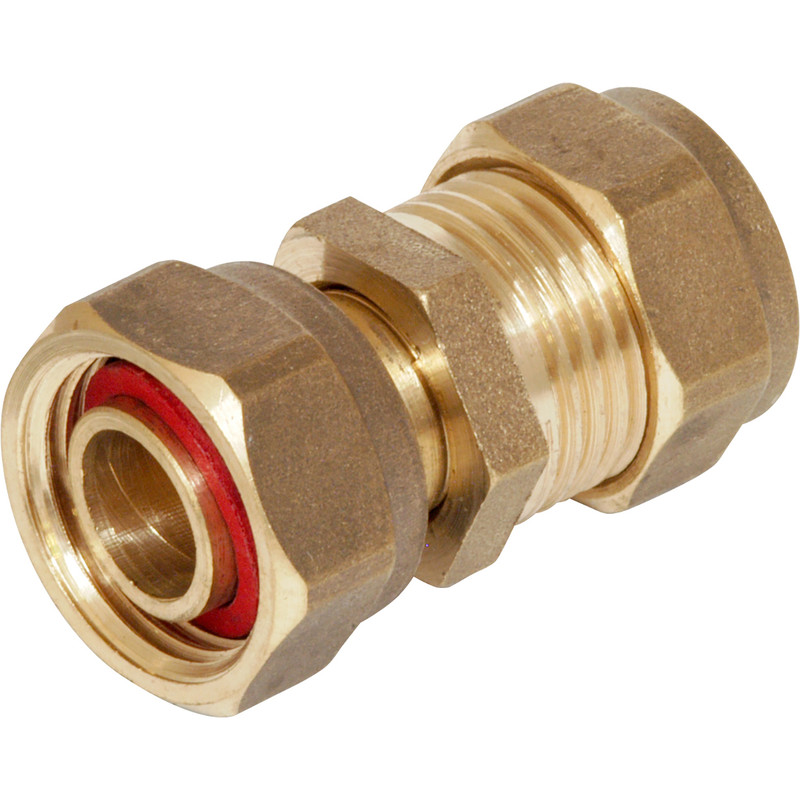
Tools You'll Need
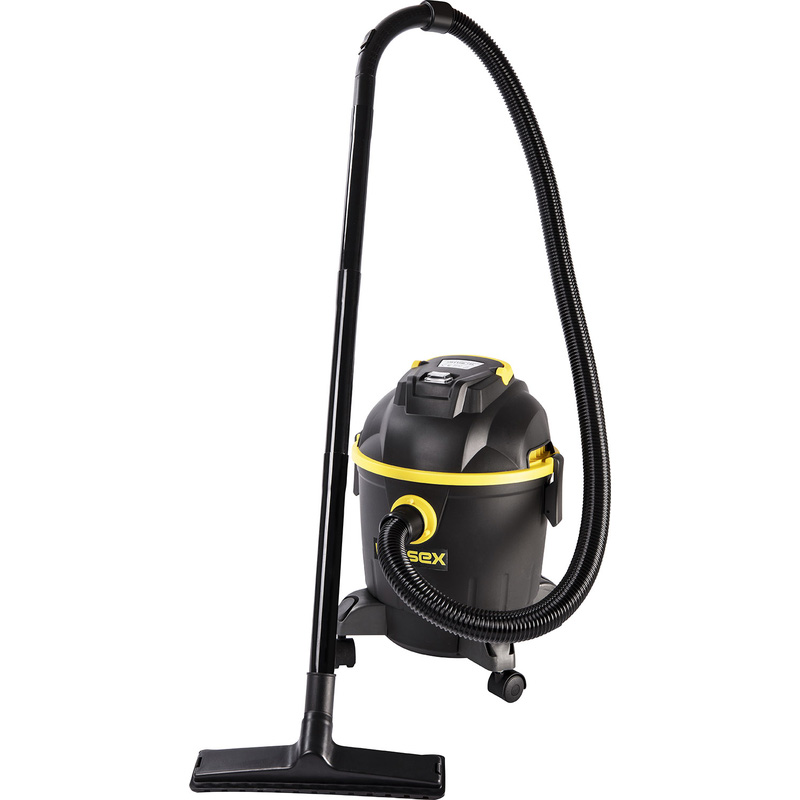
Method 1: Clearing an Airlock with a Wet and Dry Vacuum
A wet and dry vacuum can be used to pull trapped air out of a pipe. By creating strong suction at the tap outlet, the vacuum draws the airlock through the pipe and restores normal water flow.
Step 1: Get the vacuum ready
Set up your wet and dry vacuum so it’s ready to handle water. Remove any dust bags or standard filters if you need to, as these are not designed for liquids.
Step 2: Choose the affected tap
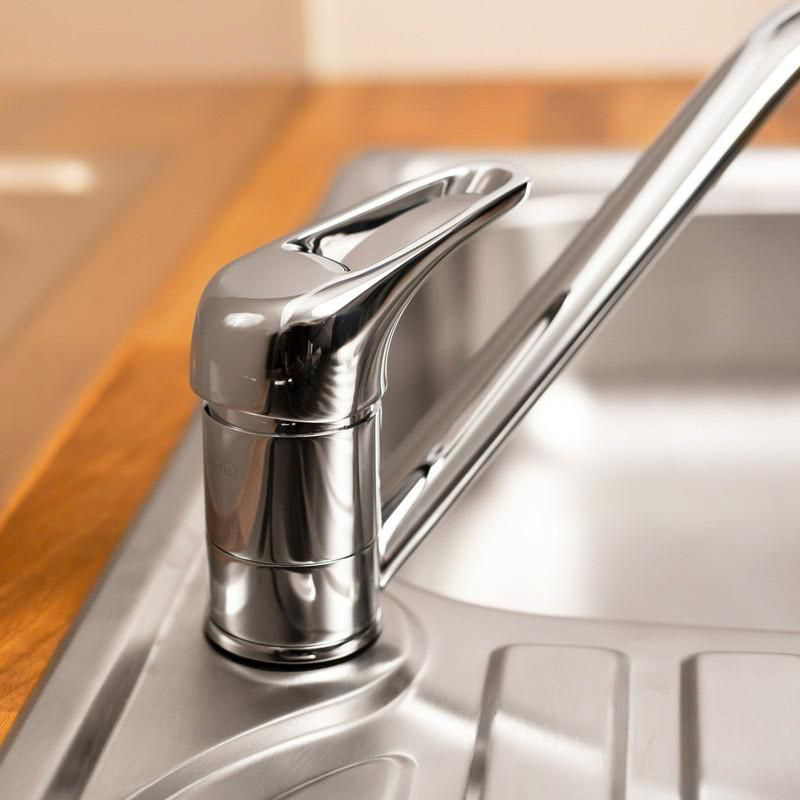
Identify the tap that is affected by the airlock. This method works best on the tap closest to the airlock, as it allows the vacuum to draw the trapped air directly through the pipe.
Step 3: Create a tight seal around the tap
Place the vacuum hose over the end of the tap spout and try to create as tight a seal as possible. You can use a cloth or towel around the connection to improve the seal and prevent air leaks. Creating an airtight seal helps the vacuum generate enough suction to pull the airlock through the pipe.
Step 4: Turn on the vacuum
Switch on the vacuum and let it run for around 20 to 30 seconds. The suction should begin pulling air and small amounts of water through the pipe.
Step 5: Check the water flow
Turn off the vacuum and remove the hose from the tap. Then open the tap normally and check whether the water flow has improved. If the airlock has cleared, water should flow steadily rather than spluttering.
Step 6: Repeat if necessary
If the water still splutters or doesn’t flow properly, repeat the process a few times until the trapped air is fully removed.
Step 7: Run the tap for a minute
Once the airlock has cleared, leave the tap running for a minute or so to ensure the pipe is fully flushed and normal pressure is restored.
Method 2: Clearing an Airlock Using a Hosepipe
Another common way to remove an airlock is by using a hosepipe to connect a tap with good water pressure to the tap affected by the airlock. The higher pressure from the working tap helps push the trapped air out of the pipe and restore normal water flow.
Step 1: Find two suitable taps
Identify the tap affected by the airlock and another tap in your home that has strong water pressure. This is often your cold kitchen tap because it's directly connected to the mains supply.
Step 2: Attach the hosepipe
Connect one end of the hosepipe to the working tap and the other end to the tap affected by the airlock. Make sure the hosepipe is secured tightly so no water can leak out.
Step 3: Turn on the affected tap
Fully open the tap that has the airlock. This prepares the pipe so the incoming water pressure can push the trapped air back through the system.
Step 4: Turn on the working tap
Next, turn on the tap with the stronger water pressure. The higher pressure forces water through the hosepipe and into the airlocked pipe, helping to push the trapped air out.
Step 5: Let the water run for a few minutes
Allow the water to flow through the hosepipe for a couple of minutes. During this time the pressure should dislodge the air pocket and restore normal flow in the pipe.
Step 6: Turn off the taps
Turn off the working tap first, then the affected tap. This helps prevent water from flowing back through the hose.
Step 7: Remove the hosepipe and test the tap
Disconnect the hosepipe and turn the affected tap back on normally. If the airlock has cleared, the water should now flow steadily without that annoying spluttering.
Step 8: Repeat if necessary
If the problem persists, repeat the process once or twice more until the trapped air has been fully removed.
Method 3: By Draining the System
If you've had no success with the previous two methods, another option is to drain part of your plumbing system to allow the trapped air to escape naturally. This method relies on gravity to push the air out of the pipes as the system refills.
Step 1: Turn off the water supply
Locate your home’s main stopcock and turn off the water supply. This prevents more water from entering the system while you move on to the next steps.
Step 2: Open the affected taps
Open the tap which is experiencing the airlock, along with other taps connected to the same pipework. This allows air into the system and helps the water drain more easily.
Step 3: Open the lowest tap in the house
Find the lowest tap in your home, sometimes an outdoor tap or a downstairs sink, and open it fully. Water should begin draining out of the system.
Step 4: Allow the system to drain
Leave the taps open for several minutes until the water flow slows down significantly. As the water drains away, trapped air inside the pipes should escape.
Step 5: Close the taps
Once the system has drained, close the taps starting with the lowest one and working your way back up the house.
Step 6: Turn the water supply back on
Slowly turn the stopcock back on to refill the plumbing system. Doing this gradually helps prevent more air from becoming trapped in the pipes.
Step 7: Test the affected tap
Turn the tap that previously had the airlock back on. The water should now flow smoothly without spluttering.