- Help & Advice
- How To Guides
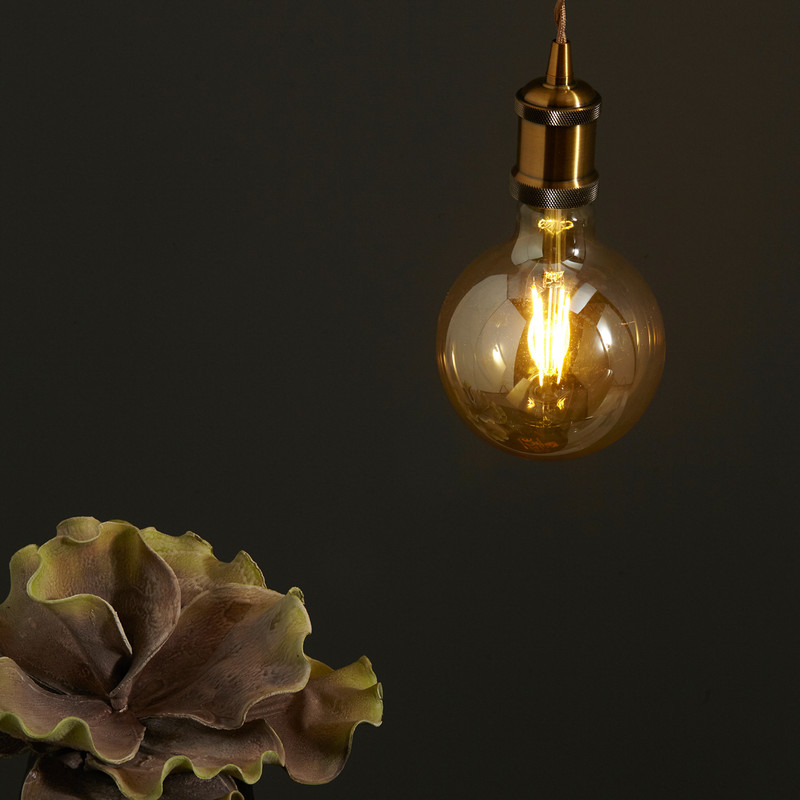
- How to Change a Light Fitting

How to Change a Light Fitting
Changing a light fitting is a quick and simple way of updating the style of a room without having to hire an electrician. You can safely replace most types of light fittings by yourself by turning off the power at the consumer unit, removing the old fixture, and then connecting the new one to the existing wires. However, it’s important to follow proper safety steps and use the right tools to avoid any electrical hazards.
In this guide, we’ll take you through everything you need to know from what tools you’ll need to making those final connections. Whether you’re updating an outdated ceiling rose or fitting a modern pendant light, the basic process remains the same. With a bit of prep, you can expect to complete this straightforward DIY project in as little as an hour.
Disclaimer: This guide is for general information purposes only. If you are unsure at any stage or do not feel confident carrying out electrical work safely, you should always consult or hire a qualified electrician.
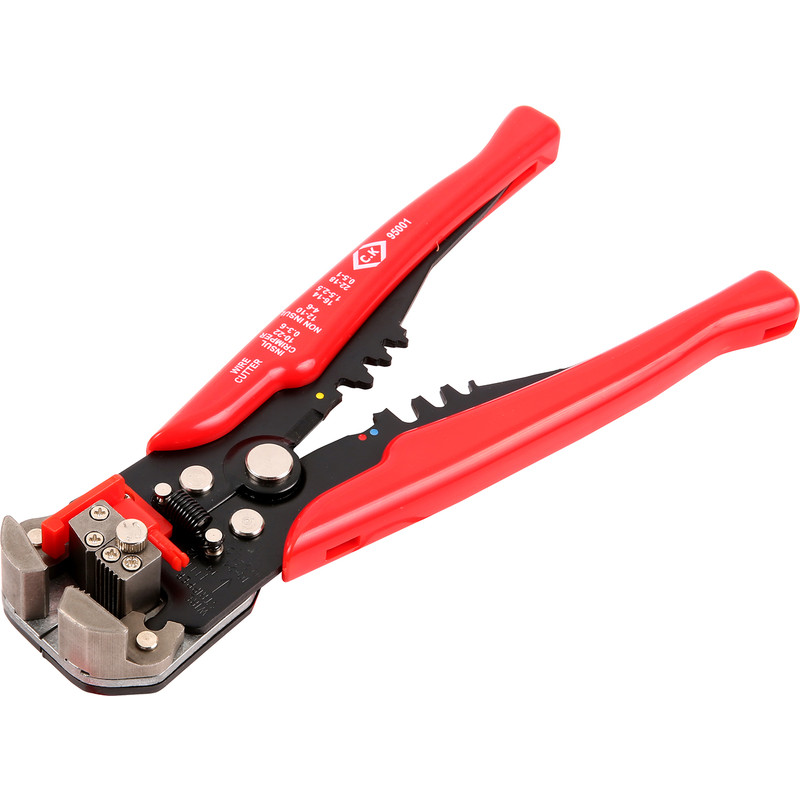
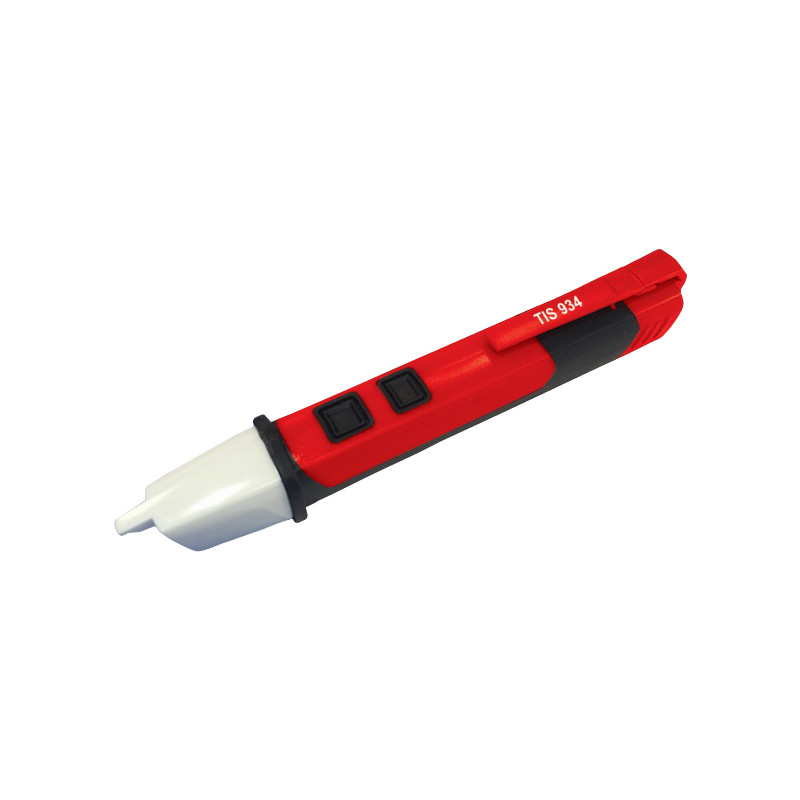
Essential Tools & Equipment

Electrical Safety Tips
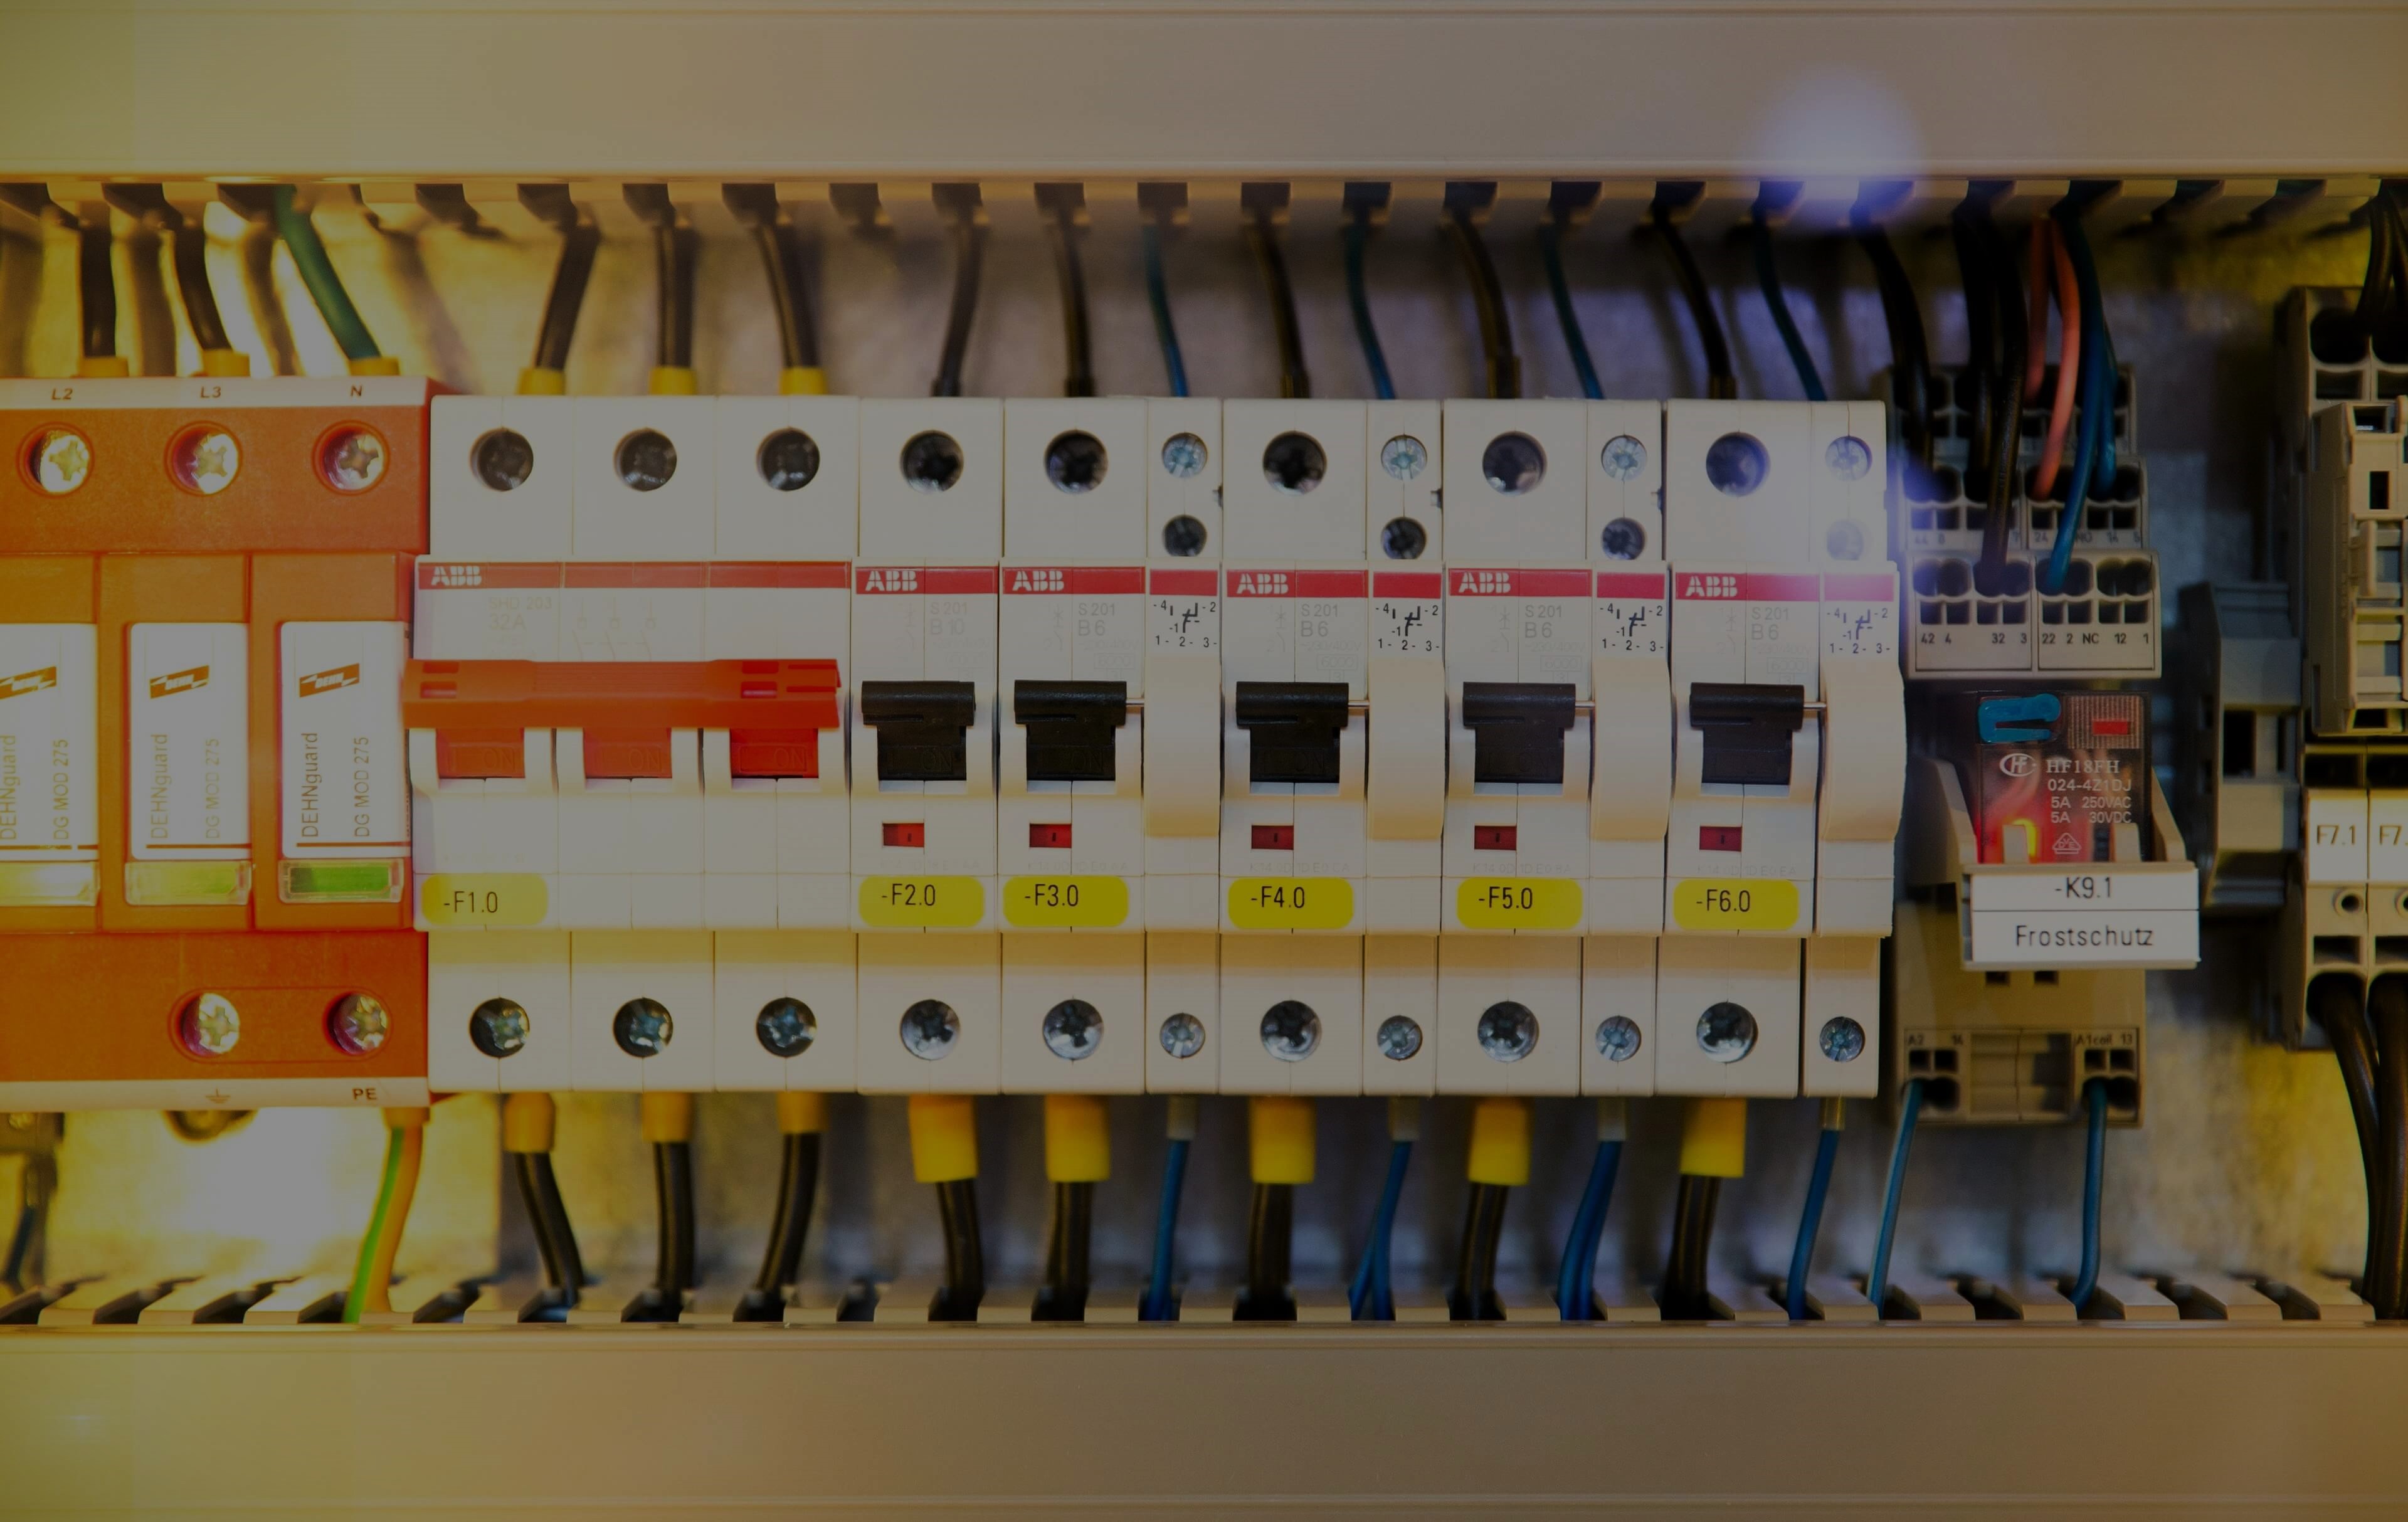
Turn Off the Power First
Electrical work carries serious risks if not done properly. Never touch wires or fittings while the power is still on, even if the light switch is off. Always isolate the circuit at the consumer unit before starting any work.
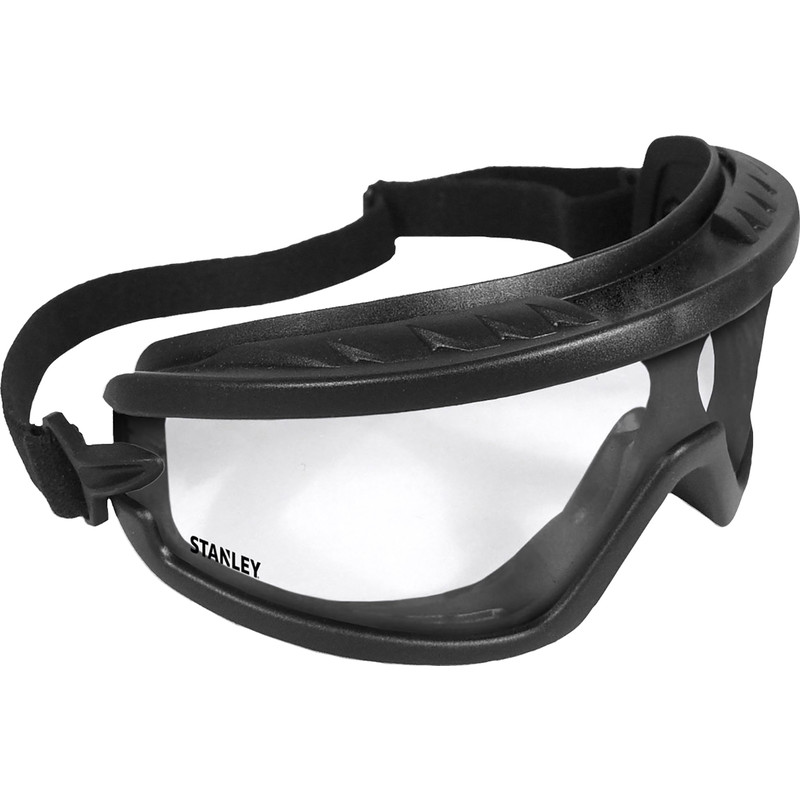
Protect Your Eyes
Wear safety goggles throughout the whole process. They’ll protect your eyes from dust, old plaster, and debris that falls when removing the old light fitting. This is especially important when working above your head on ceiling fixtures.
Check Wires Are Not Live
Use your voltage detector to confirm that wires are dead before you touch them. This tool detects electrical current and helps you avoid accidentally cutting through live cables. Testing the wires adds an extra layer of safety before handling them.
Use Insulated Tools
Only use insulated tools designed for electrical work. Standard screwdrivers don’t provide protection against electric shocks. Insulated tools are specifically made to reduce the risk of electrical contact when working with wiring.
Step 1: Turn Off Power Supply
The first thing to do is switch off the electricity at the consumer unit (fuse box). Find the circuit breaker that controls the lighting circuit for the room that you’ll be working in and flip it to the off position.
Don’t just turn off the light switch as this doesn’t guarantee the fitting is safe to work on. Sometimes switches are wired incorrectly or may simply fail. After switching off the breaker, test the light switch to confirm that the power is off. If there are others at home, let them know what you’re doing so they don’t mistakenly switch the power supply back on as you work.
Step 2: Remove the Old Light Switch
Taking down your existing light fitting needs careful handling of the electrical components. You’ll need to support the fixture while disconnecting wires and checking their condition before installing the replacement light fixture.
Start by removing any decorative covers, shades, or bulbs to reduce the weight and make the fixture easier to manage. This also prevents damage to fragile components during removal.
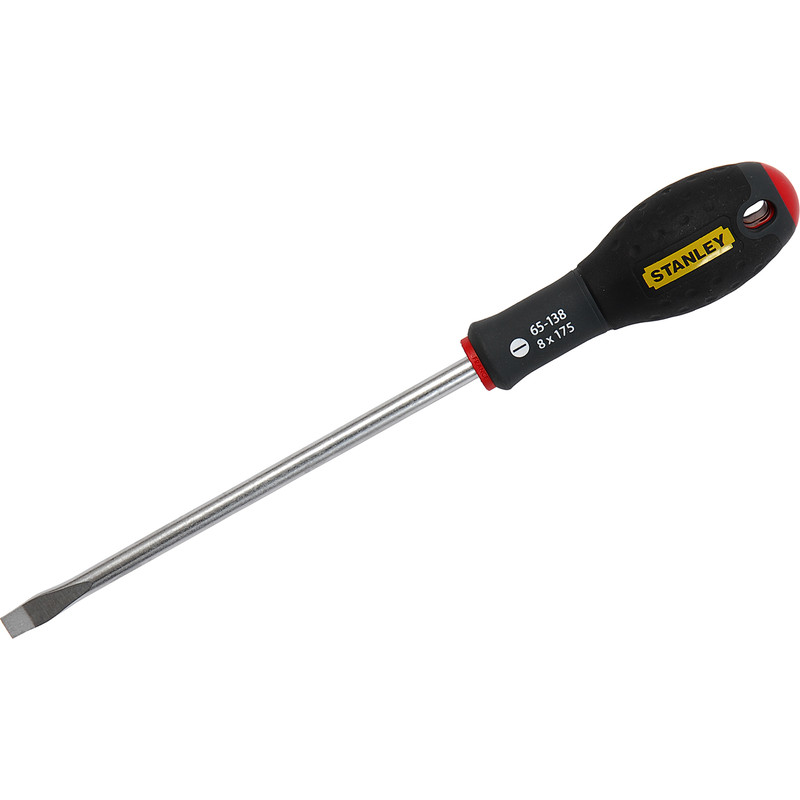
Next, locate the screws which hold the fitting to the ceiling or wall. These are usually found on the base plate where the fitting meets the surface. Use a screwdriver (most fittings use a Philips screwdriver) to remove the screws. Before removing the final screw, be aware that the fitting will no longer be supported. If the light is particularly heavy you may need a second pair of hands to help you lower it to the floor. Keep in mind that light fittings with glass shades or several bulbs can be awkward to handle alone.
Step 3: Disconnect the Wiring
With the fitting now loose, you should be able to see the electrical connections. It’s a good to take a picture of the wire arrangement before disconnecting anything - this reference can be helpful during installation. Most UK light fittings connect to three wires; live (brown or red), neutral (blue or black), and earth (green and yellow, or bare copper).
Loosen off the terminal screws that secure each wire, turning them anticlockwise until the wires can be pulled away freely. Take care not to tug or force the wires out, as this can damage the cable insulation or connections. Keep the wires separated and away from each while the power remains switched off. Even though you’ve isolated the circuit, treating wires as potentially live is good practice.
Step 4: Check Ceiling Wire Condition
Inspect the exposed cables looking for any signs of damage, wear or deterioration. Look for cracked insulation, exposed copper, and discolouration. These may indicate potential problems that need to be addressed before installation of your new fitting.
Check that each wire has at least 5mm of exposed copper at the end. If any copper looks corroded or the insulation is damaged near the ends, you’ll need to trim back the cable and strip fresh insulation. Use wire strippers to remove about 5 to 6mm of insulation from each wire. Now examine the ceiling rose for any cracks or loose connections. If you notice any damage, the mounting point will need replacing before you move on to installation.
Step 5: Connect the Wiring
This next step requires careful attention to the electrical connections as each wire must connect to its correct terminal, and all components need secure fastening before you restore power.
Match each wire from your ceiling to the corresponding terminal on your new light fitting. Double check that each connection is firm and secure as any loose wiring can cause flickering, overheating or failure of your light switch.
Step 6: Install the New Light Fitting
Position the mountain bracket against the ceiling, make sure it aligns with the existing fixing points. Most light fitting use a metal bracket that attaches directly to the ceiling with screws. Insert the screws through the bracket holes and into the ceiling, tightening them firmly.
Now place the fitting base over the mounting bracket. Some fittings just need to be slotted into place while others need twisting and locking so check the manufacturer’s guidelines to be certain. Tuck the connecting wires neatly into the ceiling space as you push the fitting against the ceiling, this prevents them from becoming damaged when you secure the fitting.
Step 7: Secure Components in Place
Next up, tighten all the fixing screws that hold the light fitting to the mounting bracket. Use a screwdriver and take care not to overtighten and crack the fitting. The fixture should sit flush against the ceiling with no gaps. Attach any shade or cover according to the manufacturer’s instructions and then install the correct bulb type for your fitting. Check the maximum wattage rating and don’t exceed this limit.
Step 8: Test the New Fitting
With the new fitting in place you can now turn the power back on. Flip the light switch to test that the light illuminates immediately with no flickering or buzzing sounds. If the light doesn’t work, switch the power off straight away and check all the wire connections.
Check for any unusual signs during the first few minutes of use. Flickering typically indicates a loose connection, whereas a burning smell could signal overheating or incorrect wiring. It’s a good idea to turn the light on and off several times to ensure it responds properly to the switch. Once you’re happy with everything, monitor the fitting over the next few days of use.