- Help & Advice
- How To Guides
- How to Seal Plywood
4 Easy Methods to Seal Plywood
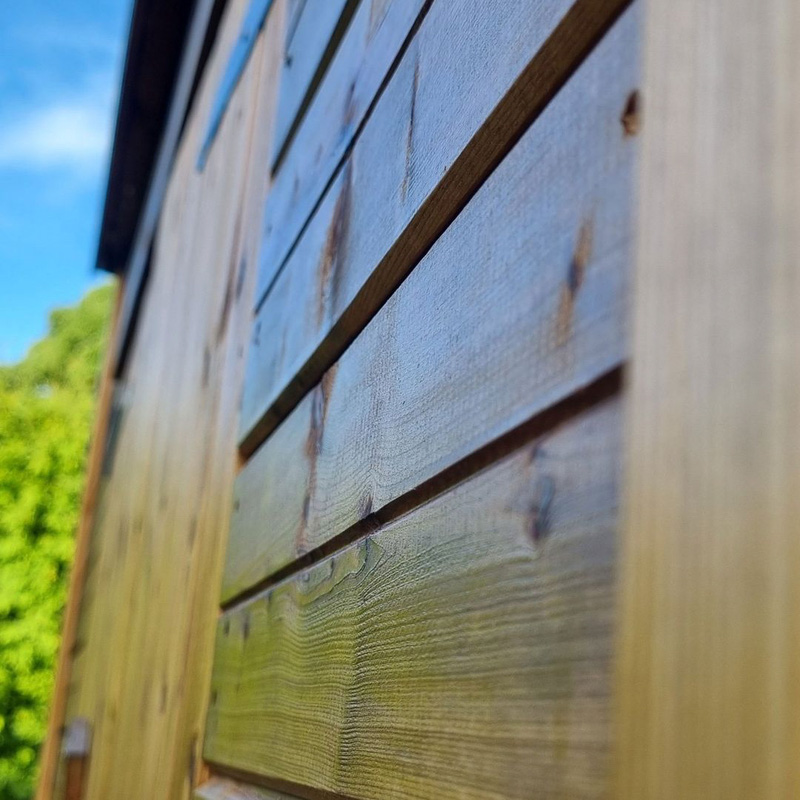
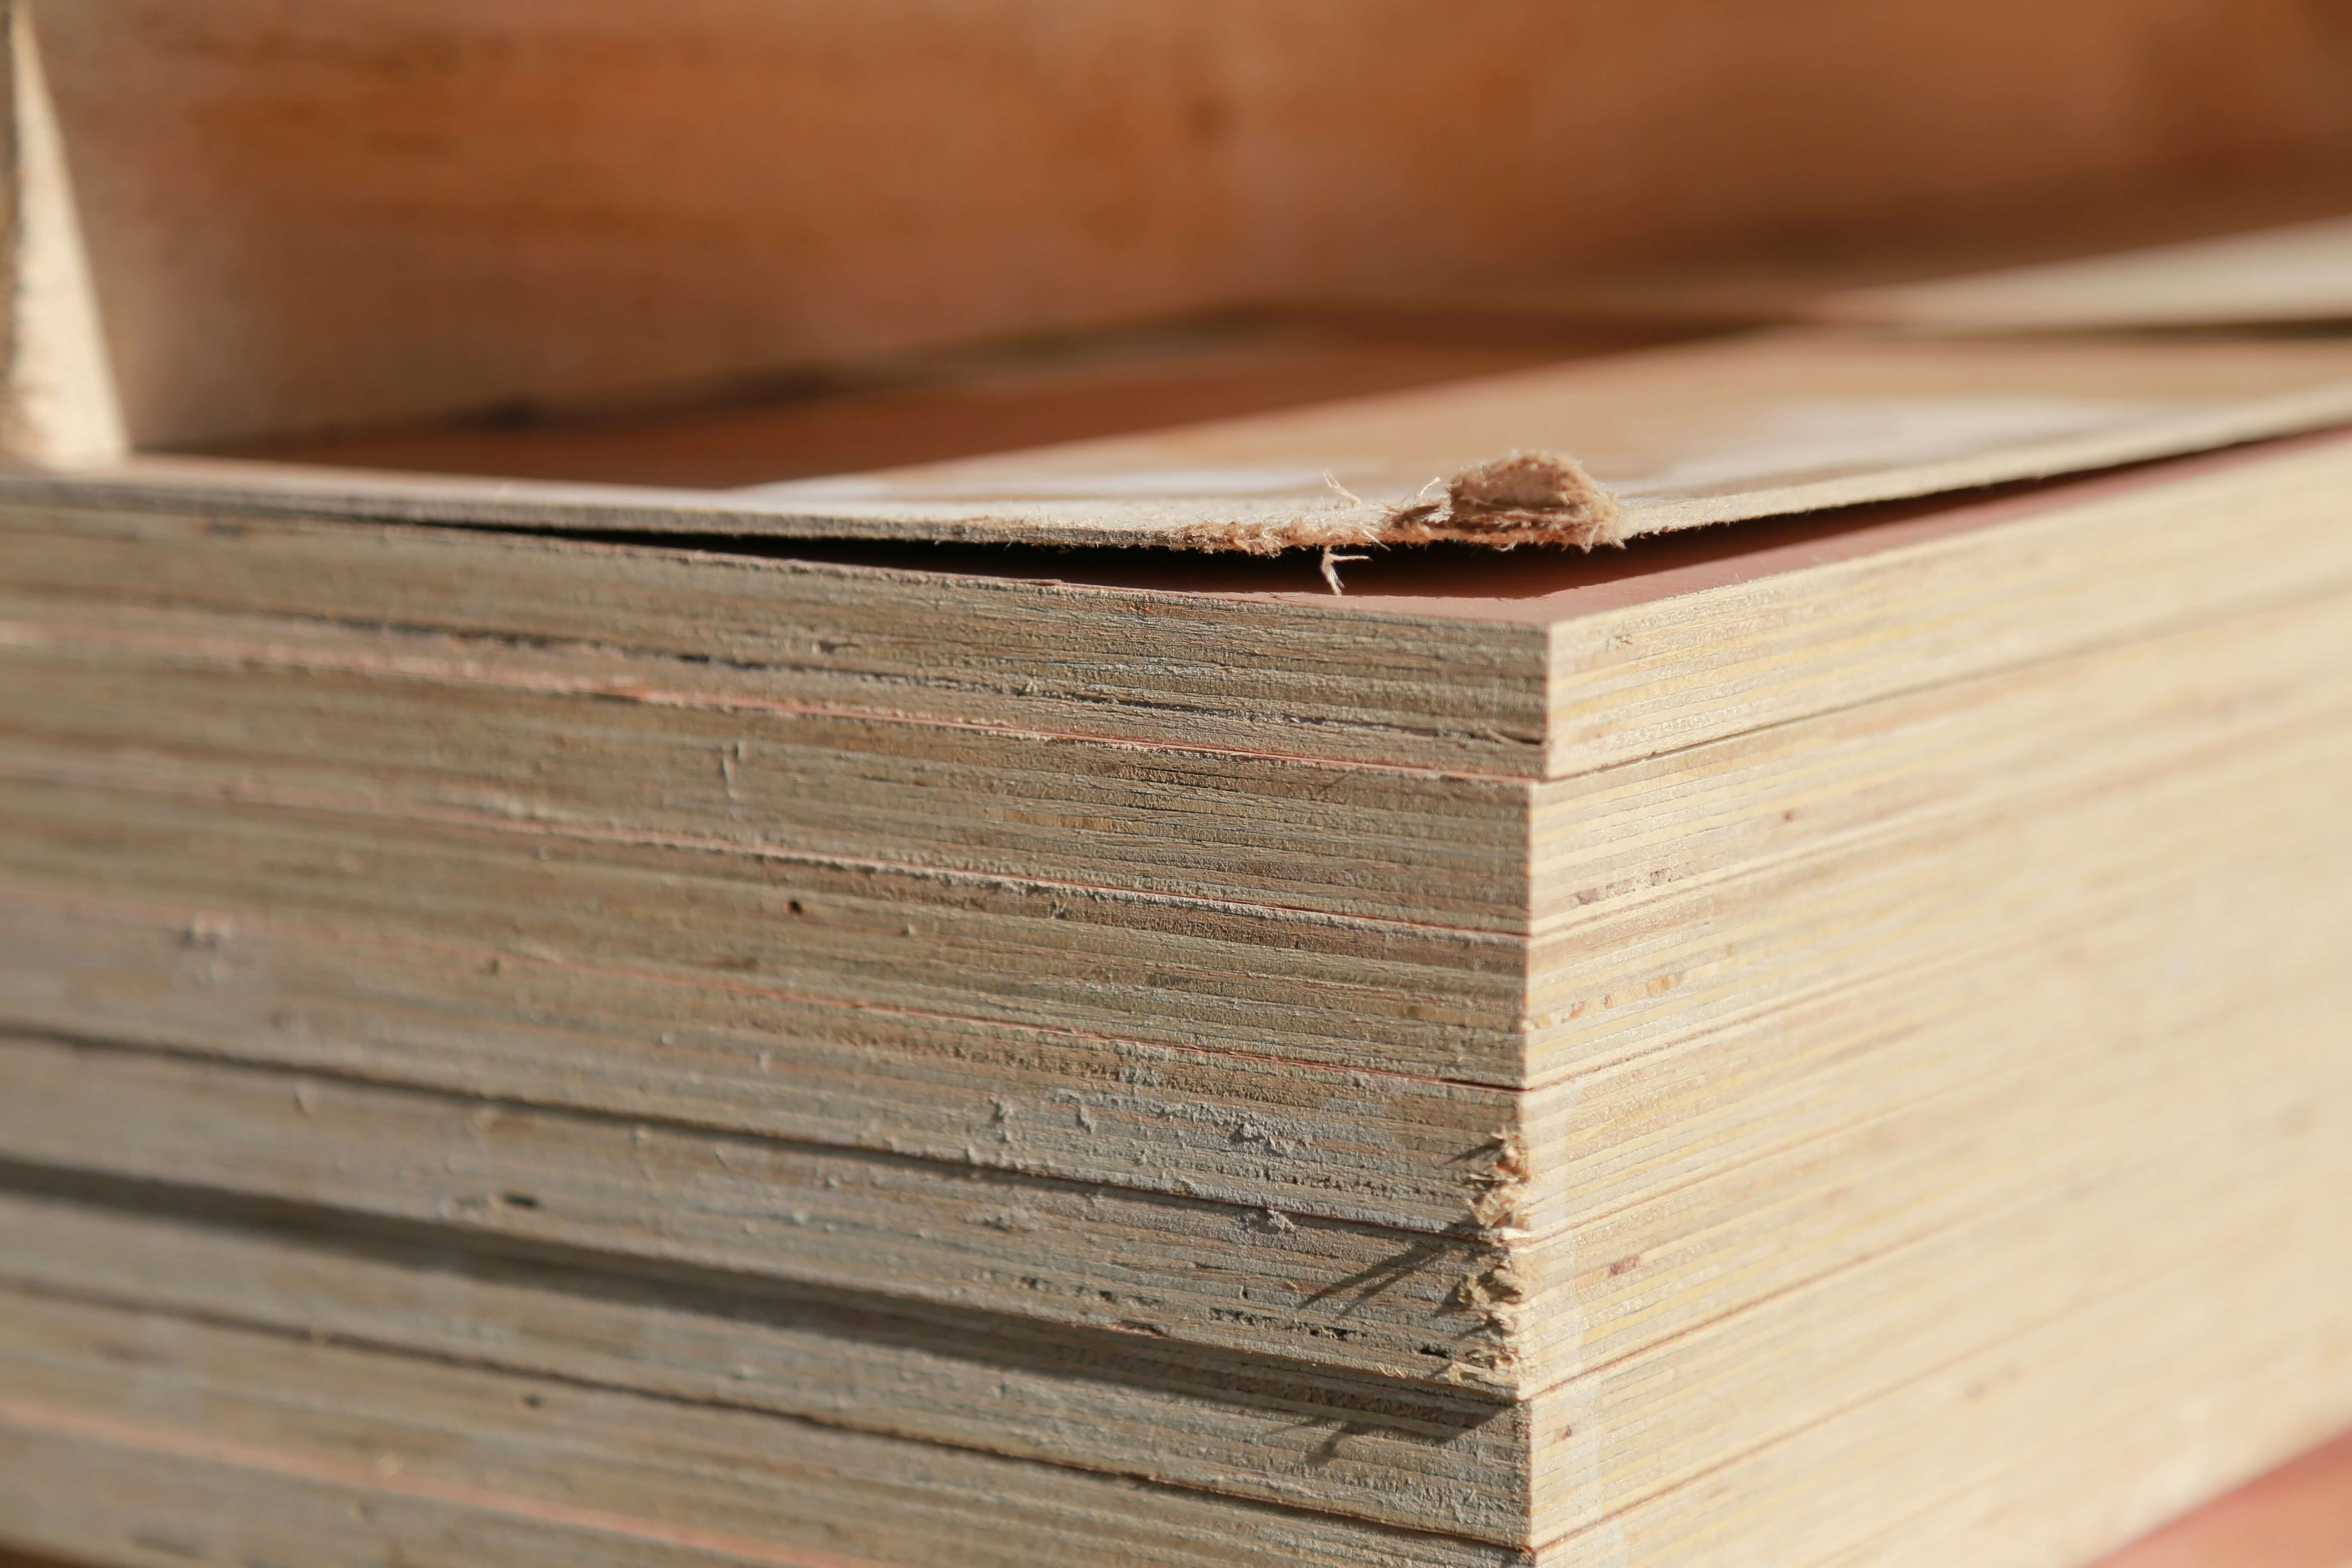
Plywood is a durable and versatile construction material used across a range of DIY and trade projects. Because it’s a composite board made from thin layers of wood veneer glued together, plywood is strong and cost-effective, but it isn’t naturally waterproof.
Without proper protection, plywood can absorb moisture and swell making it susceptible to rotting and deterioration. However, sealing plywood can help protect it from water damage, improve its durability, and extend its lifespan. Whether you’re using plywood for furniture, shelving, flooring, or an outdoor project, this straightforward guide explains how to waterproof plywood correctly for best results.
Essential Tools & Equipment
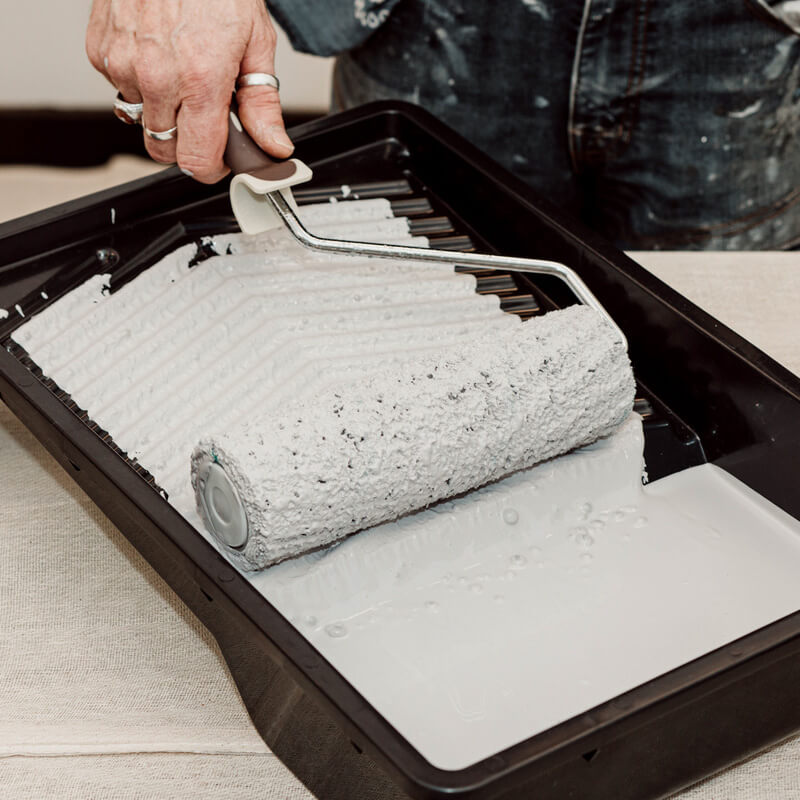
Method 1: Sealing Plywood with Exterior Paint
Exterior paint is ideal for creating a protective surface barrier that helps repel moisture and slows down water absorption. It’s affordable and one of the most straightforward methods for sealing plywood. It also allows you to add colour for a personal touch and improve appearance of the wood finish.
Keep in mind that paint isn't fully waterproof and may crack or peel over time, especially outdoors. It requires maintenance and reapplication to maintain good condition of the plywood, particularly in harsh weather conditions.
How to do it:
-
Sand the plywood lightly to remove rough spots and dust.
-
Apply an exterior-grade wood primer and allow it to dry fully.
-
Paint using 2–3 coats of exterior paint, allowing drying time between coats.
-
Pay special attention to edges and corners, applying extra paint there.
Method 2: Sealing Plywood with Wood Primer
Wood primer penetrates into the plywood rather than sitting on the surface, this helps the wood repel water while maintaining its natural look. Primers are typically more flexible and less prone to cracking when compared to paint.
However, to keep the plywood in tip-top condition, it's usually necessary to reapply primer every 1 to 2 years as they tend to wear down over time. If the plywood is likely to be exposed to standing water, or a source of constant water, primer may not be the best method for sealing.
How to do it:
-
Ensure the plywood is clean and completely dry.
-
Apply the sealer using a brush, roller, or cloth, following the grain.
-
Allow the sealer to soak in and wipe away excess if required.
-
Apply a second coat once the first has fully cured.
Method 3: Sealing with Polyurethane Varnish
Polyurethane varnish forms a durable, water-resistant film that protects plywood from spills and humidity. It’s perfect for indoor projects like kitchens, bathrooms, and furniture. That said, some polyurethane finishes can yellow over time and may crack if the plywood flexes.
How to do it:
-
Sand the plywood smooth and remove dust.
-
Apply a thin coat of polyurethane with a brush or roller.
-
Allow it to dry, then lightly sand before applying the next coat.
-
Apply 2–3 coats for adequate protection, sealing edges carefully.
Method 4: Waterproofing with Resin
Resin provides one of the most effective waterproofing solutions, creating a hard, plastic-like barrier that completely seals the plywood. For that reason, it’s commonly used in marine and high-moisture environments. Epoxy can be expensive and requires careful mixing and application. It is also sensitive to UV light, so it must be painted or varnished if exposed to sunlight.
How to do it:
-
Sand and clean the plywood thoroughly.
-
Mix the epoxy resin according to the manufacturer’s instructions.
-
Apply with a roller or brush, spreading evenly over the surface.
-
Apply additional coats as recommended, sanding lightly between coats if needed.