- Help & Advice
- How To Guides
- How To Paint Stripes On A Wall

How To Paint Stripes On A Wall
Painting stripes on your wall can add a stylish and dynamic touch to any room in your home. Whether you're aiming for a cool and modern look or something a bit more playful, stripes can create a bold eye-catching effect. By choosing the right colors, direction, and spacing, you can transform the appearance of your space.
This step-by-step guide will walk you through the process of painting stripes on your wall, ensuring you achieve a crisp and straight finish.
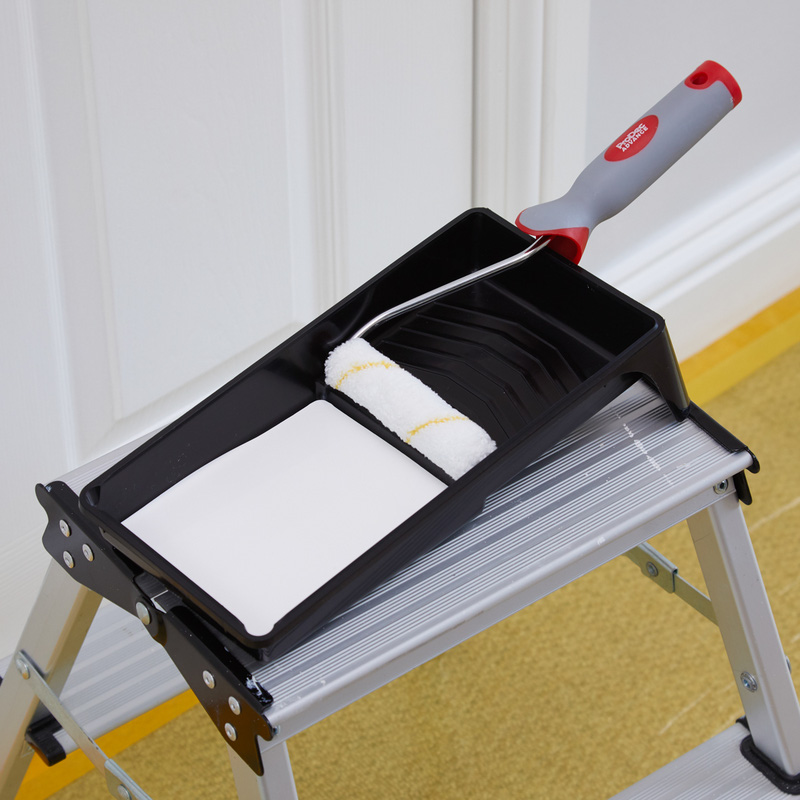
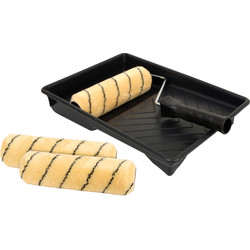
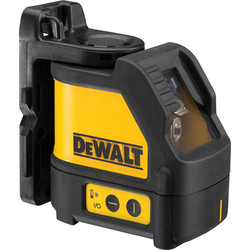
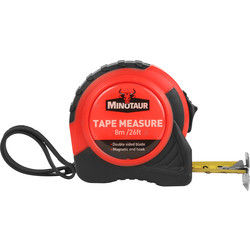
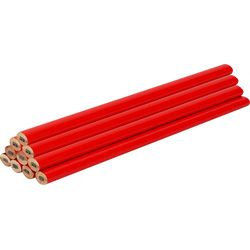
Essential Tools & Equipment

Step 1: Prepare the base of the wall
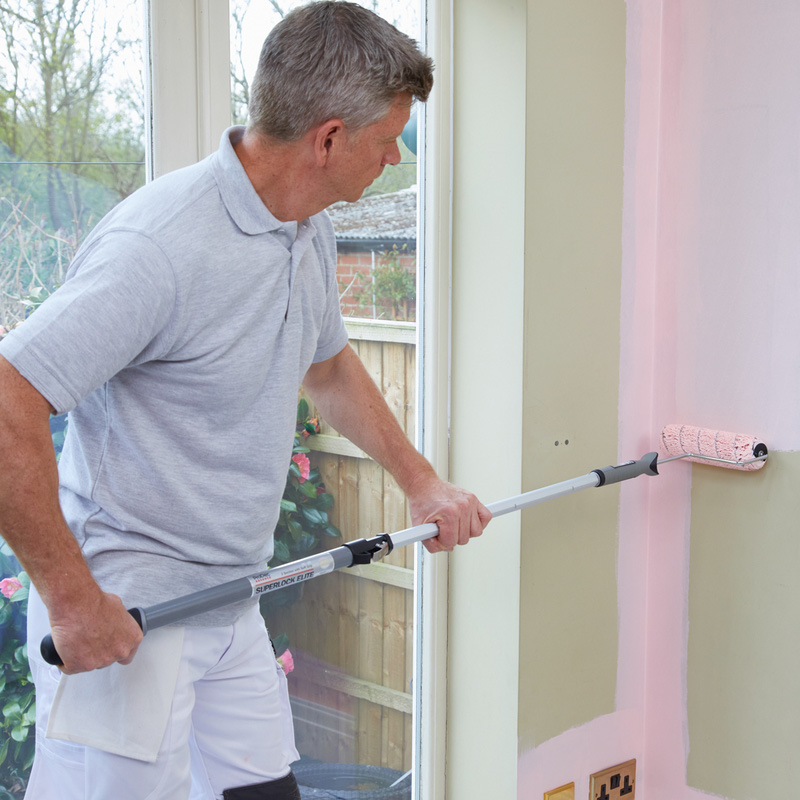
Start off by painting the entire wall with the lighter shade of the two colours you've chosen. Allow the base paint to dry for at least 24 hours. Ensuring the base coat is fully dry is crucial for the paint stripe lines to adhere properly and helps to prevent any smudging or paint bleeding.
Step 2: Decide on the stripe direction
Decide whether you want vertical or horizontal stripes. Whichever you choose, will impact the overall feel of the room.
-
Vertical stripes can make the room appear taller and are great for elongating a room.
-
Horizontal stripes create a more spacious feel, this helps to make narrow rooms appear wider.
-
Or, how about pinstripes for a subtle, elegant look, or varying width stripes for a more unique design. You can even try things like diagonal stripes to add visual interest or to define specific zones within a room, like a reading corner.
Step 3: Use a spirit level for straight lines
To achieve truly straight lines, it's a good idea to use a spirit level instead of relying solely on tape measures and pencil marks.
Take into account that walls may not be perfectly straight or at a 90-degree angle, so you can't totally rely on surrounding furniture or skirting boards. For perfectly straight stripes, a reliable level is your best friend!
Step 4: Calculate stripe width and spacing
It's important to choose a stripe width that can be evenly divided into the wall's width (for vertical stripes) or height (for horizontal stripes).
Typically, a common range for stripe width on walls is anywhere between 4 to 12 inches, but you can adjust this based on your desired aesthetic for your wall stripe design. Measure the wall's width for vertical stripes or height for horizontal stripes to plan your layout for even stripes.
Step 5: Mark the stripe positions
Mark the positions of each stripe on the wall using small, light pencil marks. Create a guide with the exact width of your stripe to ensure accurate markings and consistent stripes.
Step 6: Create stripe outlines using a level or chalk line
Use your spirit level and pencil to mark the stripe widths across the wall. Draw a light, continuous line using the level as a guide. If you're using a laser level, the lines are 'drawn' on the wall for you already.
Pro Tip: For longer lines, consider using the chalk line method. Rub chalk along a length of string. Stretch the string across the wall, securing it at each end with a small piece of masking tape. Check the string is straight, then "ping" it against the wall to leave a perfect chalk line. Repeat this for the top and bottom of each stripe. This method helps in measuring stripes on a wall accurately over long distances.
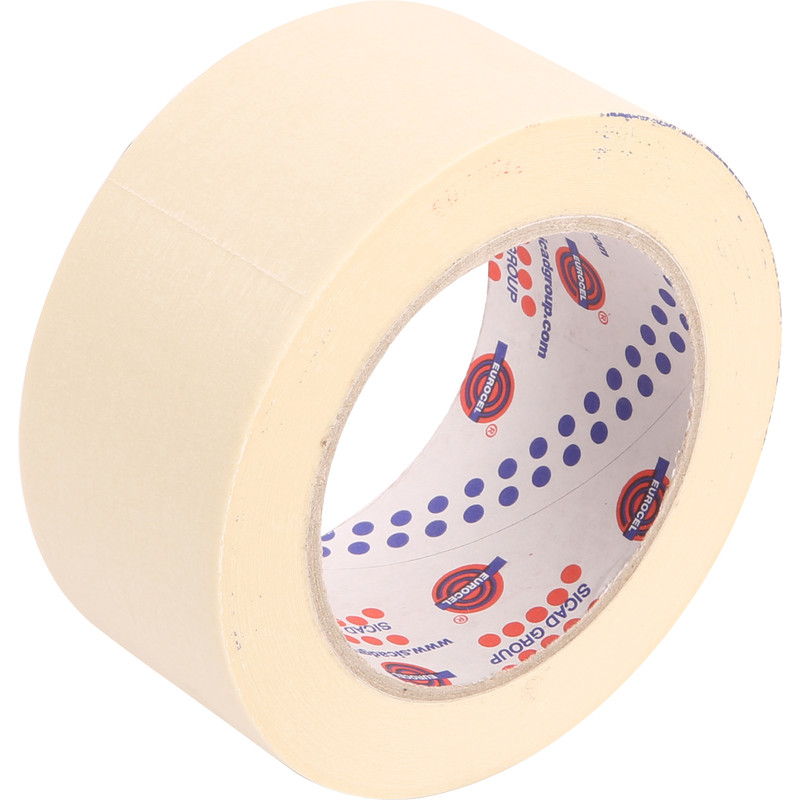
Step 7: Apply high-quality masking tape
Place the tape precisely on the outside of your pencil or chalk line, ensuring it covers any marks. This means the stripe will be painted between the tape lines. Crucially, seal the edges of the tape firmly by burnishing it with a plastic putty knife or an old credit card. Press down hard to create a tight seal and prevent any paint from seeping underneath, helping to achieve crisp paint lines on stripes.
Step 8: Apply a seal coat (the no-bleed trick!)
This is a vital step for preventing paint bleeding under tape. Once your masking tape is securely in place, apply a thin coat of your base wall colour (the colour you painted in Step 1) over the edges of the masking tape that will be painted over with the stripe colour. This fills any tiny gaps between the tape and the wall. Let this seal coat dry completely. This creates an invisible barrier, ensuring that when you apply your stripe colour, it won't bleed under the tape.
Step 9: Paint between the lines with stripe colour
Once the seal coat from Step 8 is fully dry, paint the areas between the masking tape lines with your chosen stripe colours. Use a paint roller or a high-quality paint brush (for cutting in edges or smaller stripes) to ensure even coverage. Apply two thin coats if necessary for full opacity, allowing adequate drying time between coats.
Step 10: Remove tape carefully for a clean finish
Ideally, remove the tape immediately after painting your final stripe coat, while the paint is still slightly wet. Pull the tape off slowly at a 45-degree angle backward toward the wall, not straight out. Control the tape as you remove it to avoid damaging the freshly painted stripes or pulling off any of the base coat. This step is key for removing painter's tape for clean lines.