- Help & Advice
- How To Guides
- How To Paint a Wall
How To Paint A Wall
If your interior walls are looking a little tired and dated, it might be a good time to give them a new lick of paint. Painting a wall can transform a room giving it a new lease of life and, whether you're a beginner or a DIY expert, it's a simple home improvement project.
Before you start painting, grab your tools and follow our step-by-step instructions. With our handy wall painting tips, you'll achieve a professional finish and newly painted walls that you can be proud of.
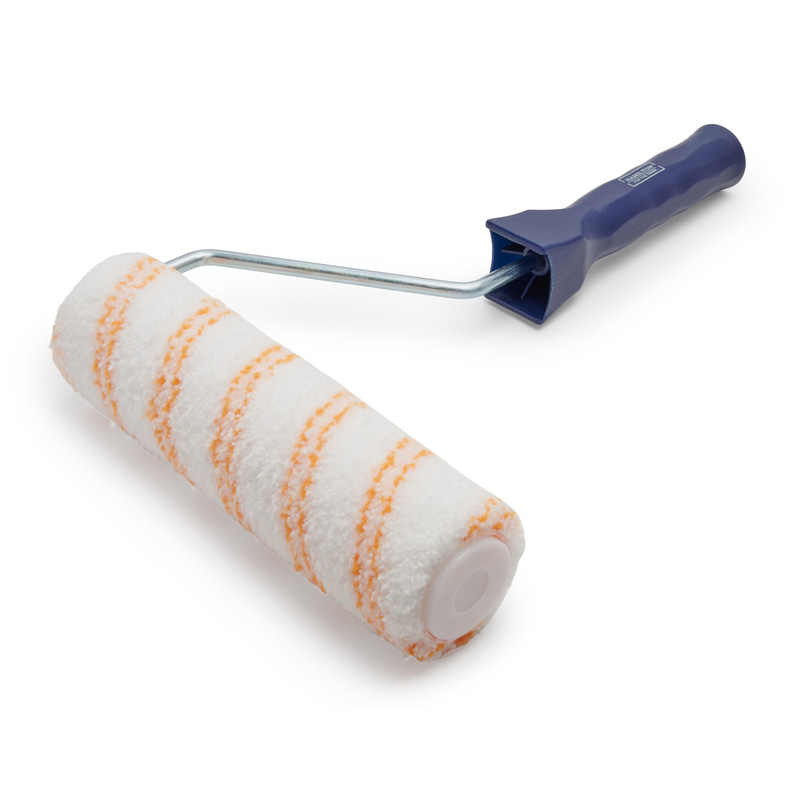
Essential Tools & Equipment
Whether you're painting over old and flaky paint, or making a statement with a bold new paint colour on a feature wall, you'll need to gather up some tools before you get started.
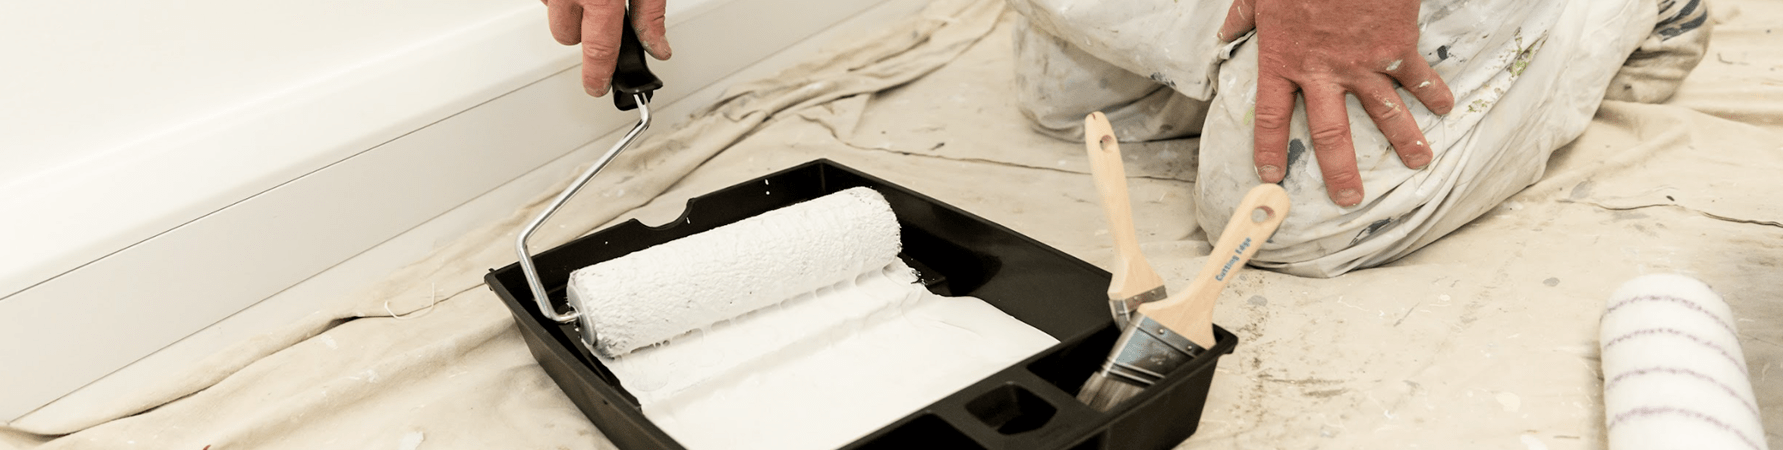
Step 1: Cover Up Any Furniture & Carpets
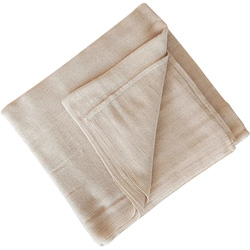
To prevent any accidental paint spillages or drips from marking your furniture and carpets, it's essential to cover them thoroughly before you begin. We recommend placing a dust sheet securely over the floor and draping another over any items of furniture in the room. Once everything is adequately protected, you can head to the next step.
Step 2: Prepare The Wall
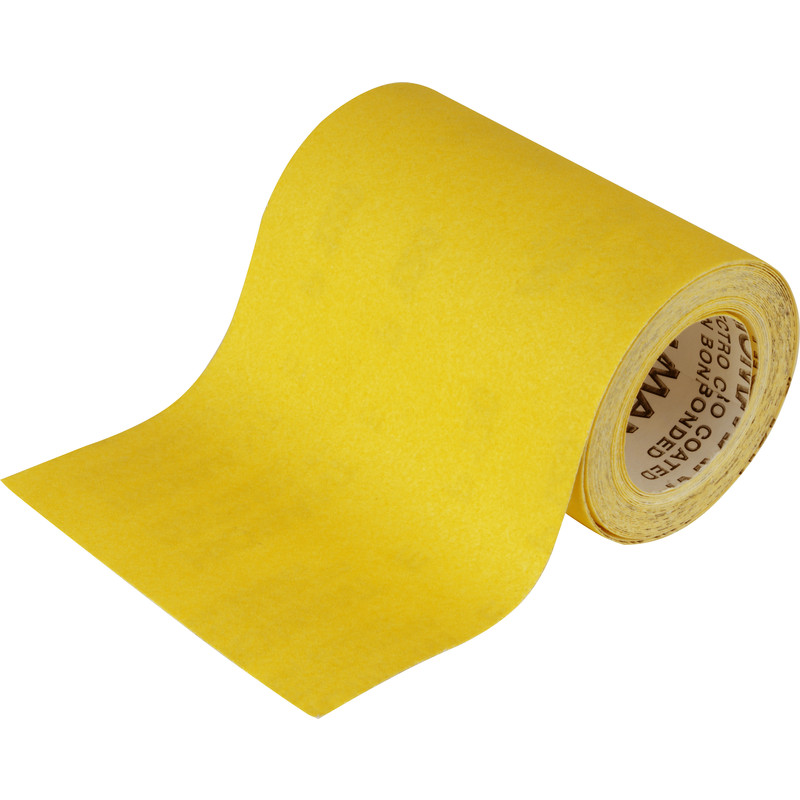
With your room protected, the next crucial stage is to prep the walls. Start by clearing away any cobwebs and dust with a quick wipe down. For the best possible finish, it's also advisable to fill any holes or cracks with a suitable filler at this point; simply apply the filler and sand it back so it is flush with the wall once dry. Following this, lightly sand the entire surface with fine-grade sandpaper. This step is vital as it creates a key, helping the new paint to adhere properly.
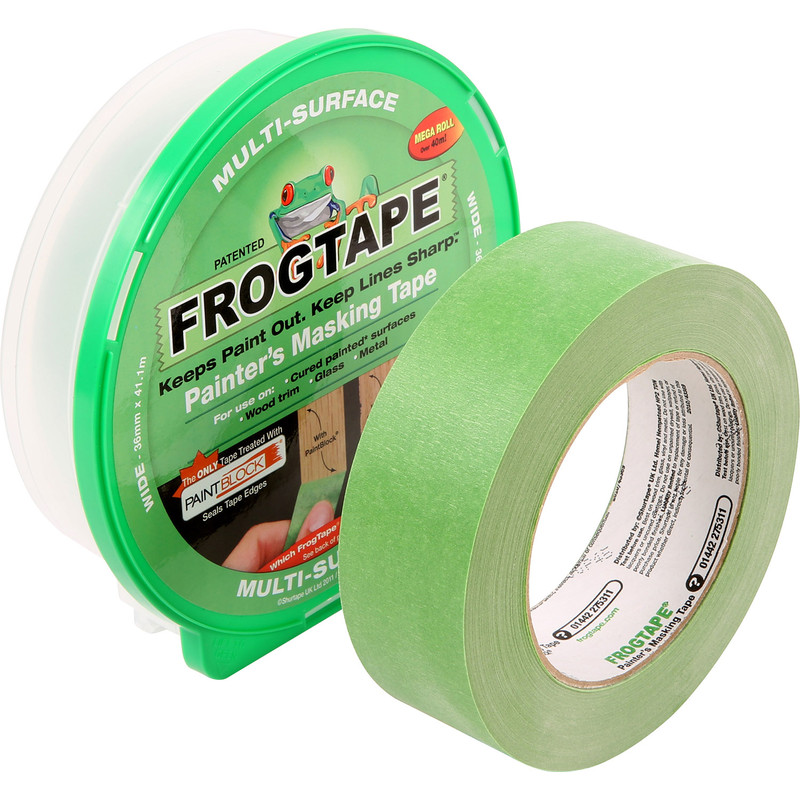
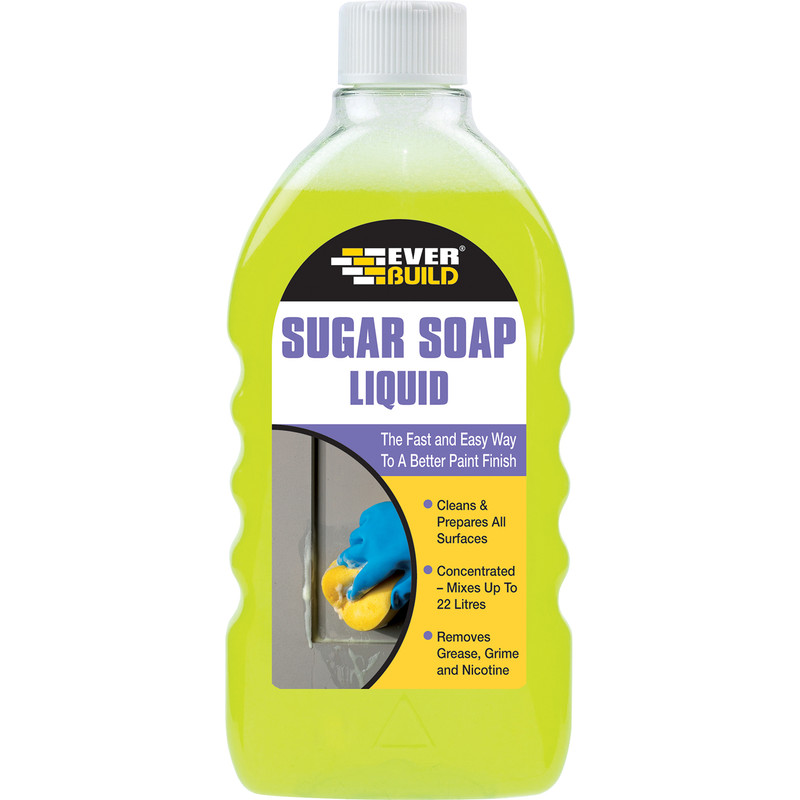
Once you've finished sanding, you'll need to remove the dust. Wash the walls thoroughly using a sugar soap solution, which will degrease the surface, and then rinse with a cloth dampened with clean, warm water to remove any residue. Allow the walls to dry completely before proceeding. The final preparatory step is to apply painter's or masking tape around the edges of the walls, skirting boards, door frames, and light switches. This will ensure clean, sharp lines and protect these areas from any stray paint marks.
Step 3: Paint Around Fixtures & Along Edges
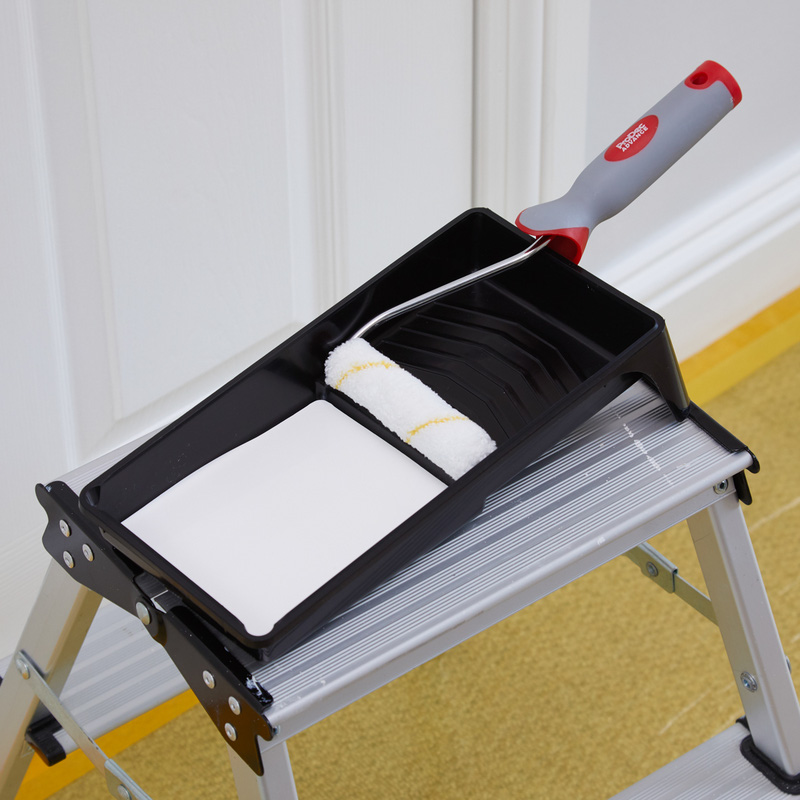
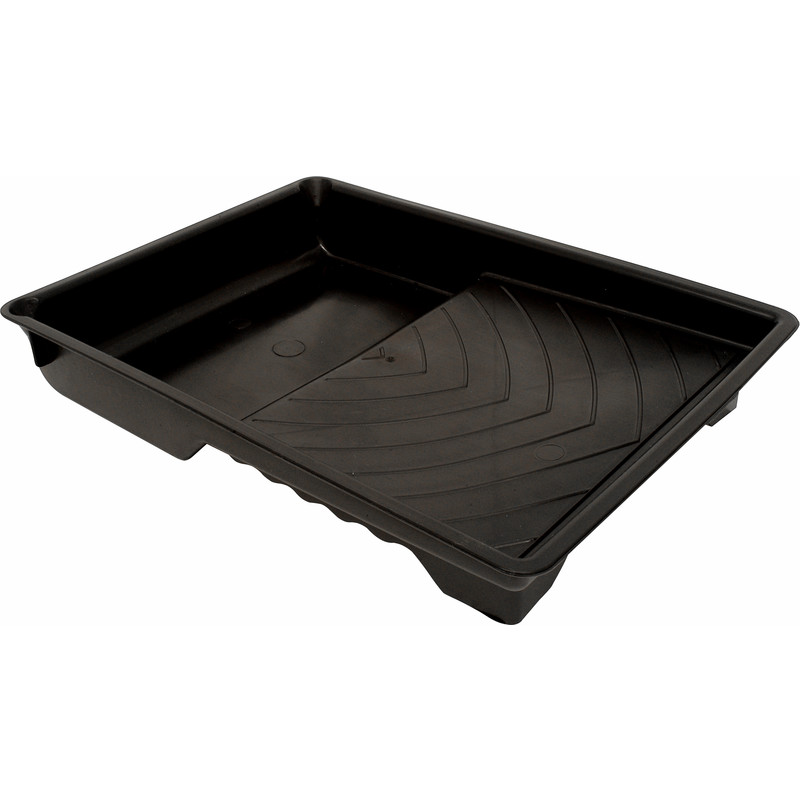
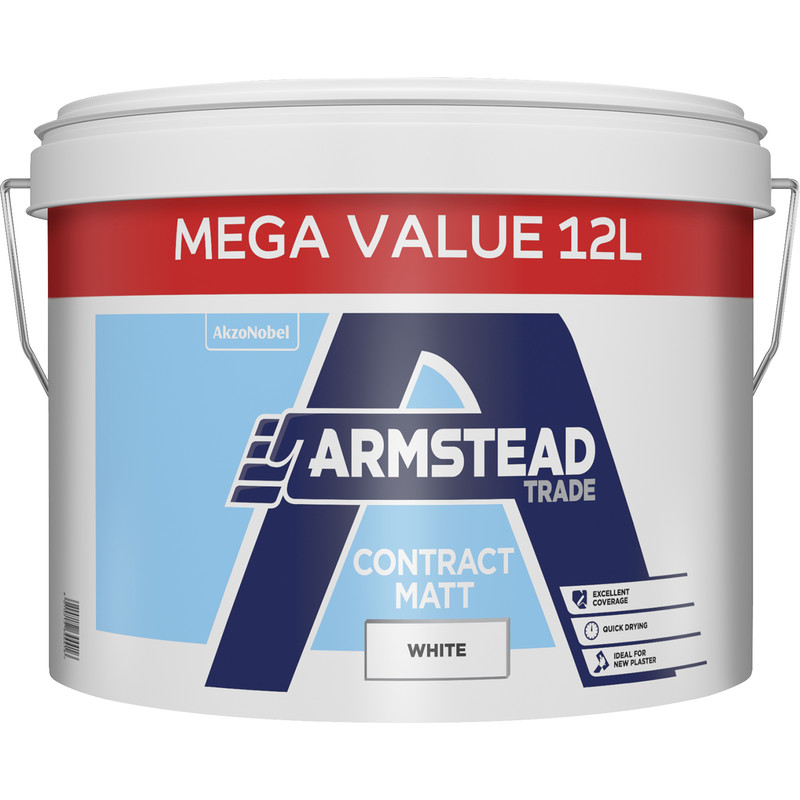
Before applying any paint, open the tin and give it a good stir - this gets rid of any lumps and ensures a consistent colour. Next, pour a small amount of the paint, approximately an inch deep, into a paint tray; this helps to avoid overloading your brush or roller.
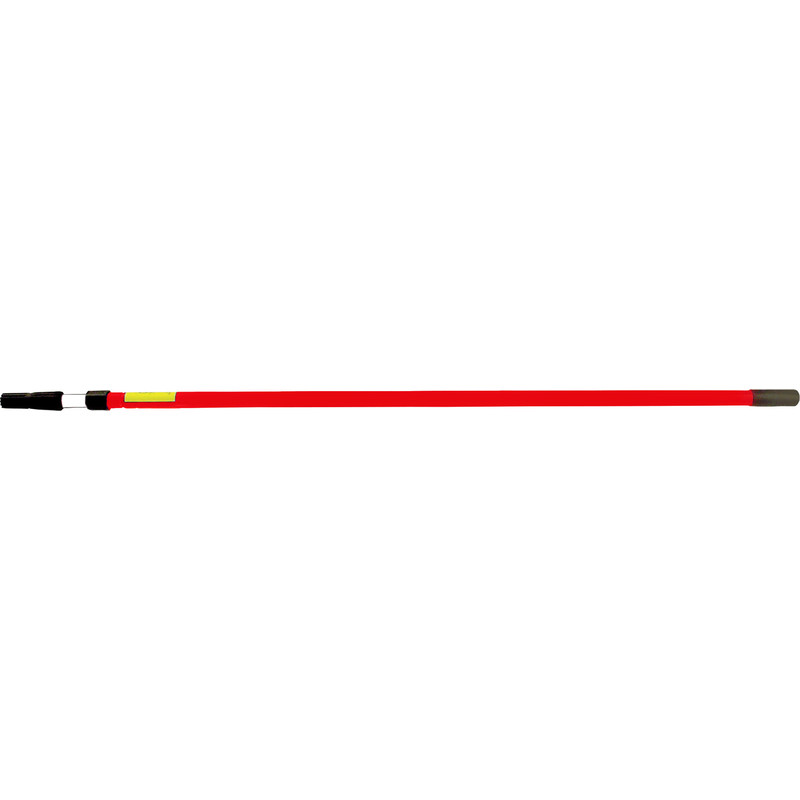
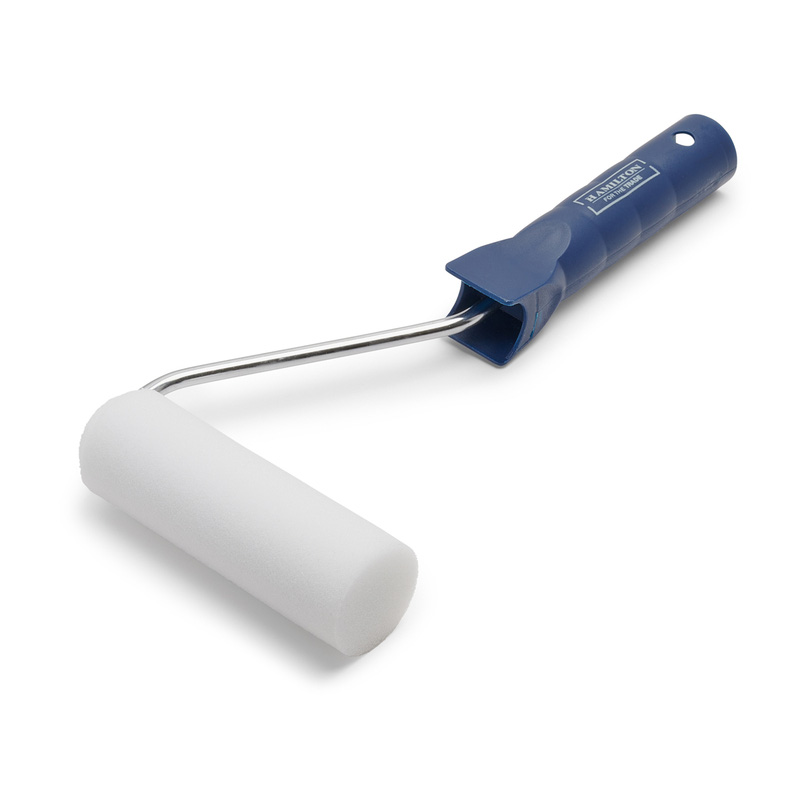
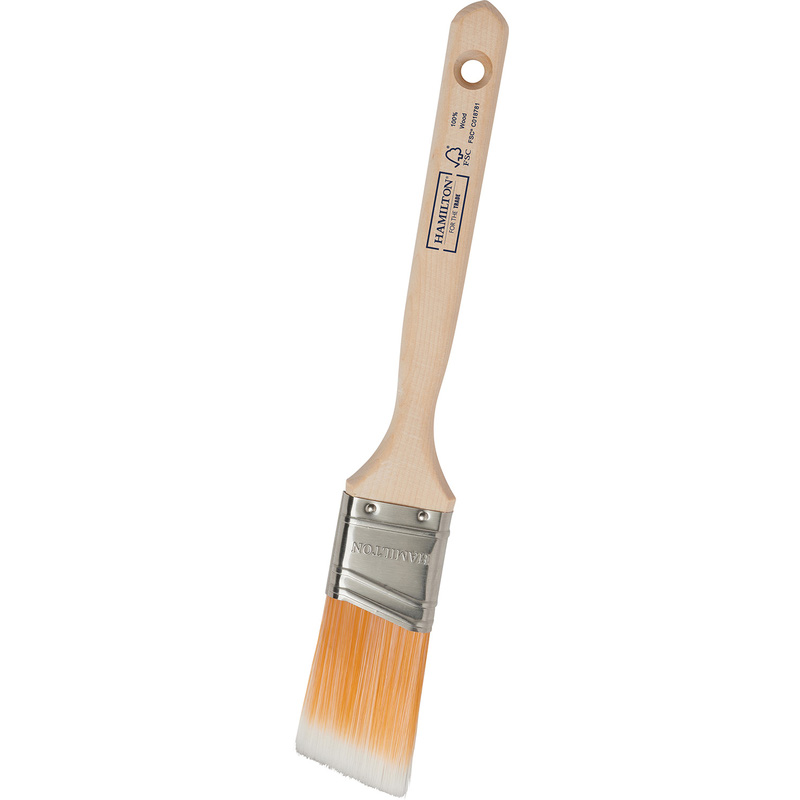
Using a cutting-in brush, carefully apply the paint along all the edges you previously taped, such as those against the ceiling, skirting boards, and around sockets or frames. For a truly seamless result and to prevent a 'framing' effect where the edges look different from the main wall, go over the still-wet brushed paint with a mini roller. It's best to use a mini roller made from the same material as the larger one you will use for the rest of the wall.
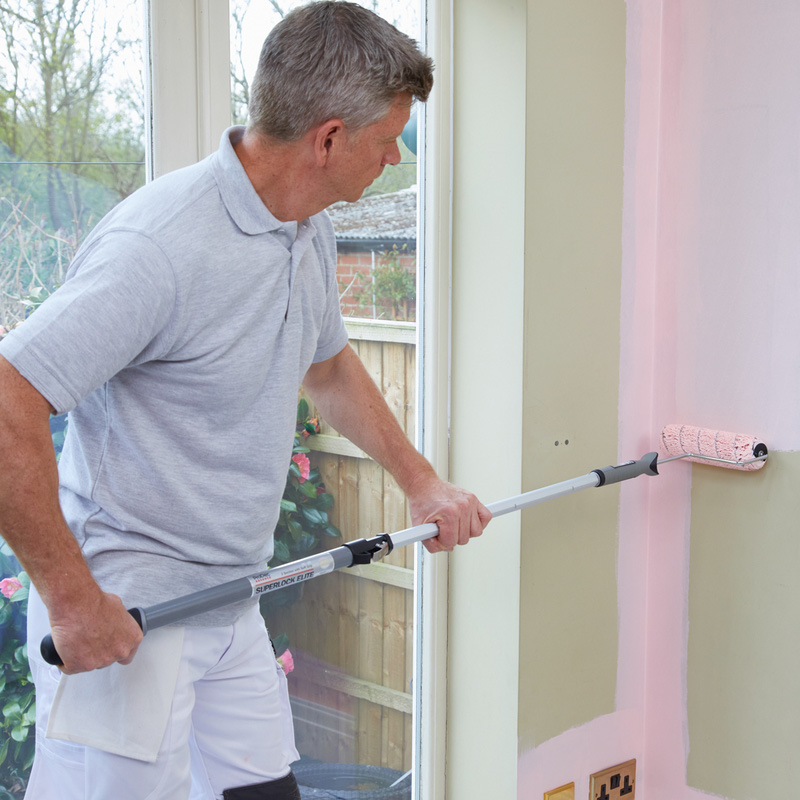
Step 4: Paint The Main Area Of The Wall
With the edges now complete, you can begin to paint the main body of the wall. Load your larger roller with paint from the tray, ensuring you remove any excess on the roll-off area to prevent drips and ensure even coverage. Start painting from the middle of the wall rather than an edge, working in long, confident strokes in a smooth up-and-down motion. Continue this technique across the surface until the entire first coat is finished.
Step 5: Apply A Second Coat
Once the first coat is completely dry, it's time to apply the second. Simply repeat the process for painting the main wall, applying another layer to cover any streaks or patches from the first coat. For the best results, you should remove the masking tape while the second coat is still slightly tacky. Waiting for the paint to dry completely can cause it to crack or flake upon removal of the tape. With the tape removed, all that's left to do is stand back and admire your newly painted wall!