- Help & Advice
- How To Guides
- How to Paint a Geometric Wall
How to Paint a Geometric Wall that Wows
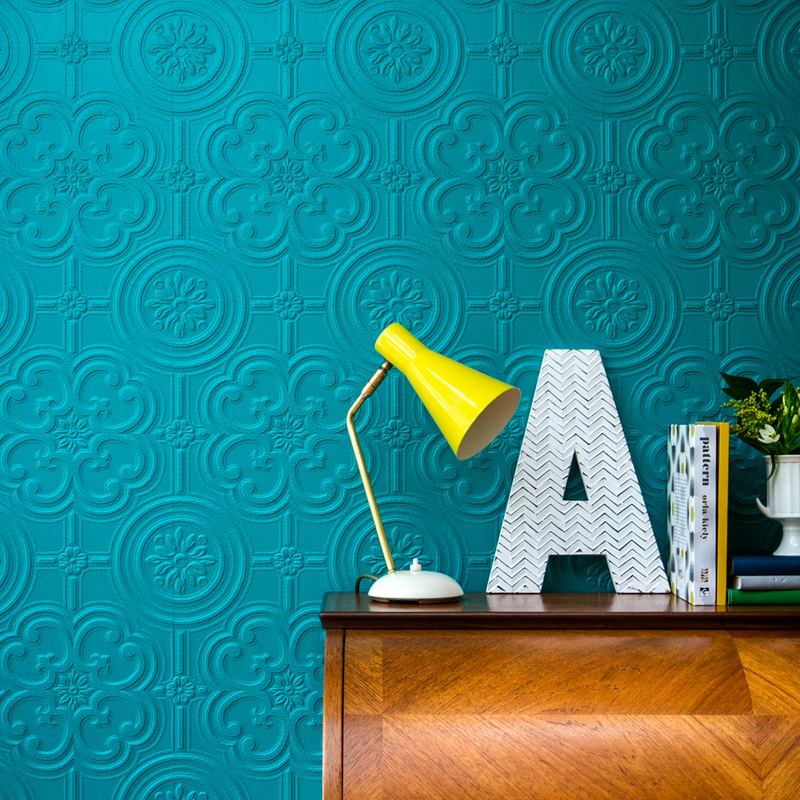
If you’re redecorating a bedroom or lounge and quite fancy the idea of a feature wall, a geometric wall is a great choice if you want to add a modern twist that catches the eye as soon as you enter the room.
While wallpapering a wall is an equally effective way to breathe new life into your home, painting a geometric wall is far more customisable. You can create any shapes you like, and choose colours that suit your style, allowing you to design a space that feels truly unique.
In this guide, we’ll walk you through everything you need to know to create your own geometric feature wall, and it’s much easier than you may think!
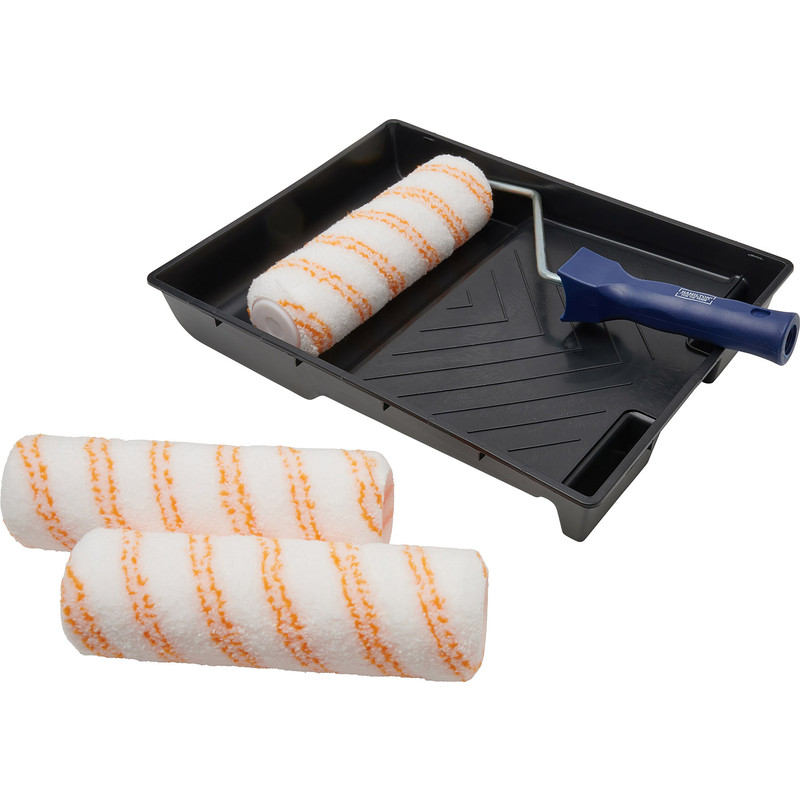
Essential Tools & Equipment

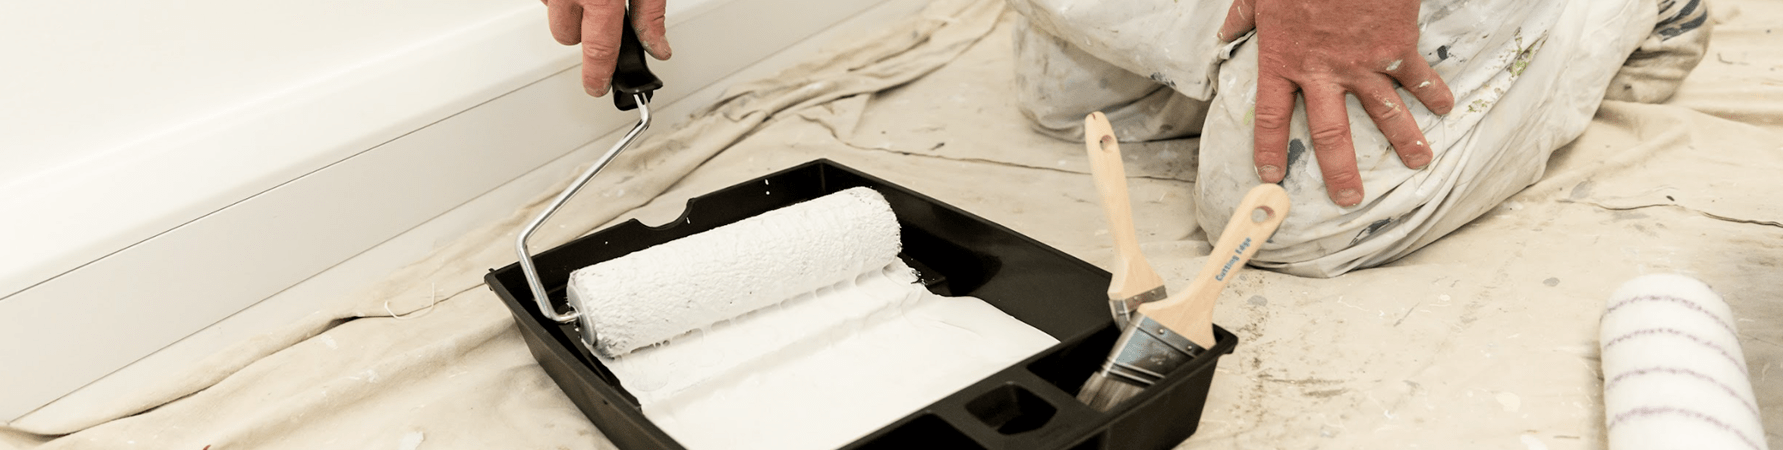
Step 1: Prep the Wall
Before you start, you’ll want to make sure the wall is clean, dry and free from any lumps and bumps. The smoother the finish, the better the end result as painting stripes on the wall and other shapes will mean sharp, defined lines, and any wall imperfections could disrupt those edges or cause the tape to lift, resulting in bleeding or uneven shapes.
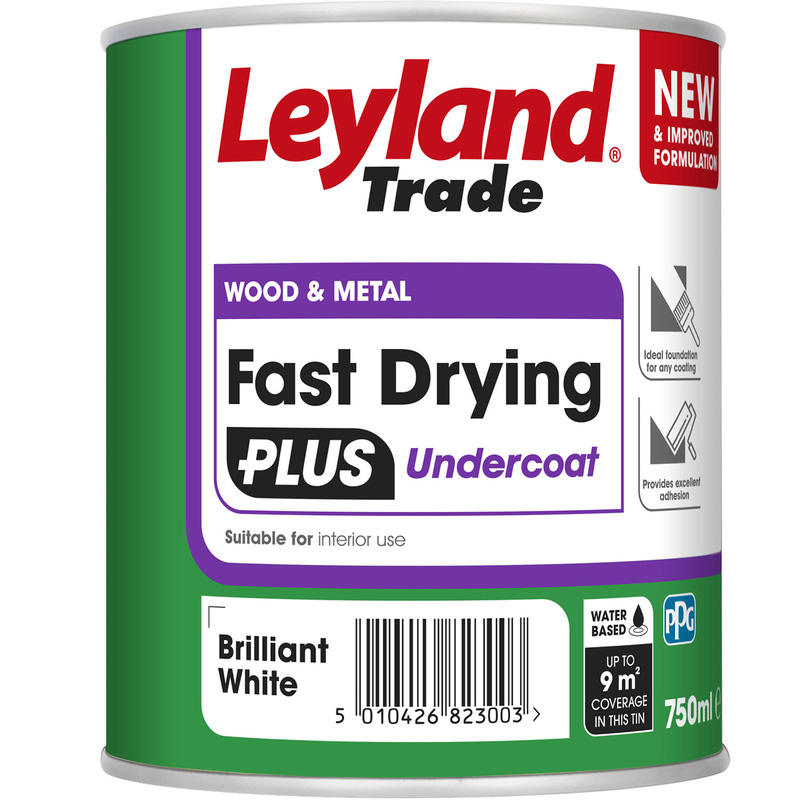
Take a moment to fill any holes with filler, sand down rough patches, and wipe away dust. This helps to create the ideal surface for crisp geometric designs. It’s now the ideal time to prime the wall with a layer of undercoat. This helps the painted design to adhere better, prevents a patchy look and gives a better depth of colour to the overall finish. If your wall is freshly plastered, it's a good idea to apply a mist coat to seal the wall ready for painting.
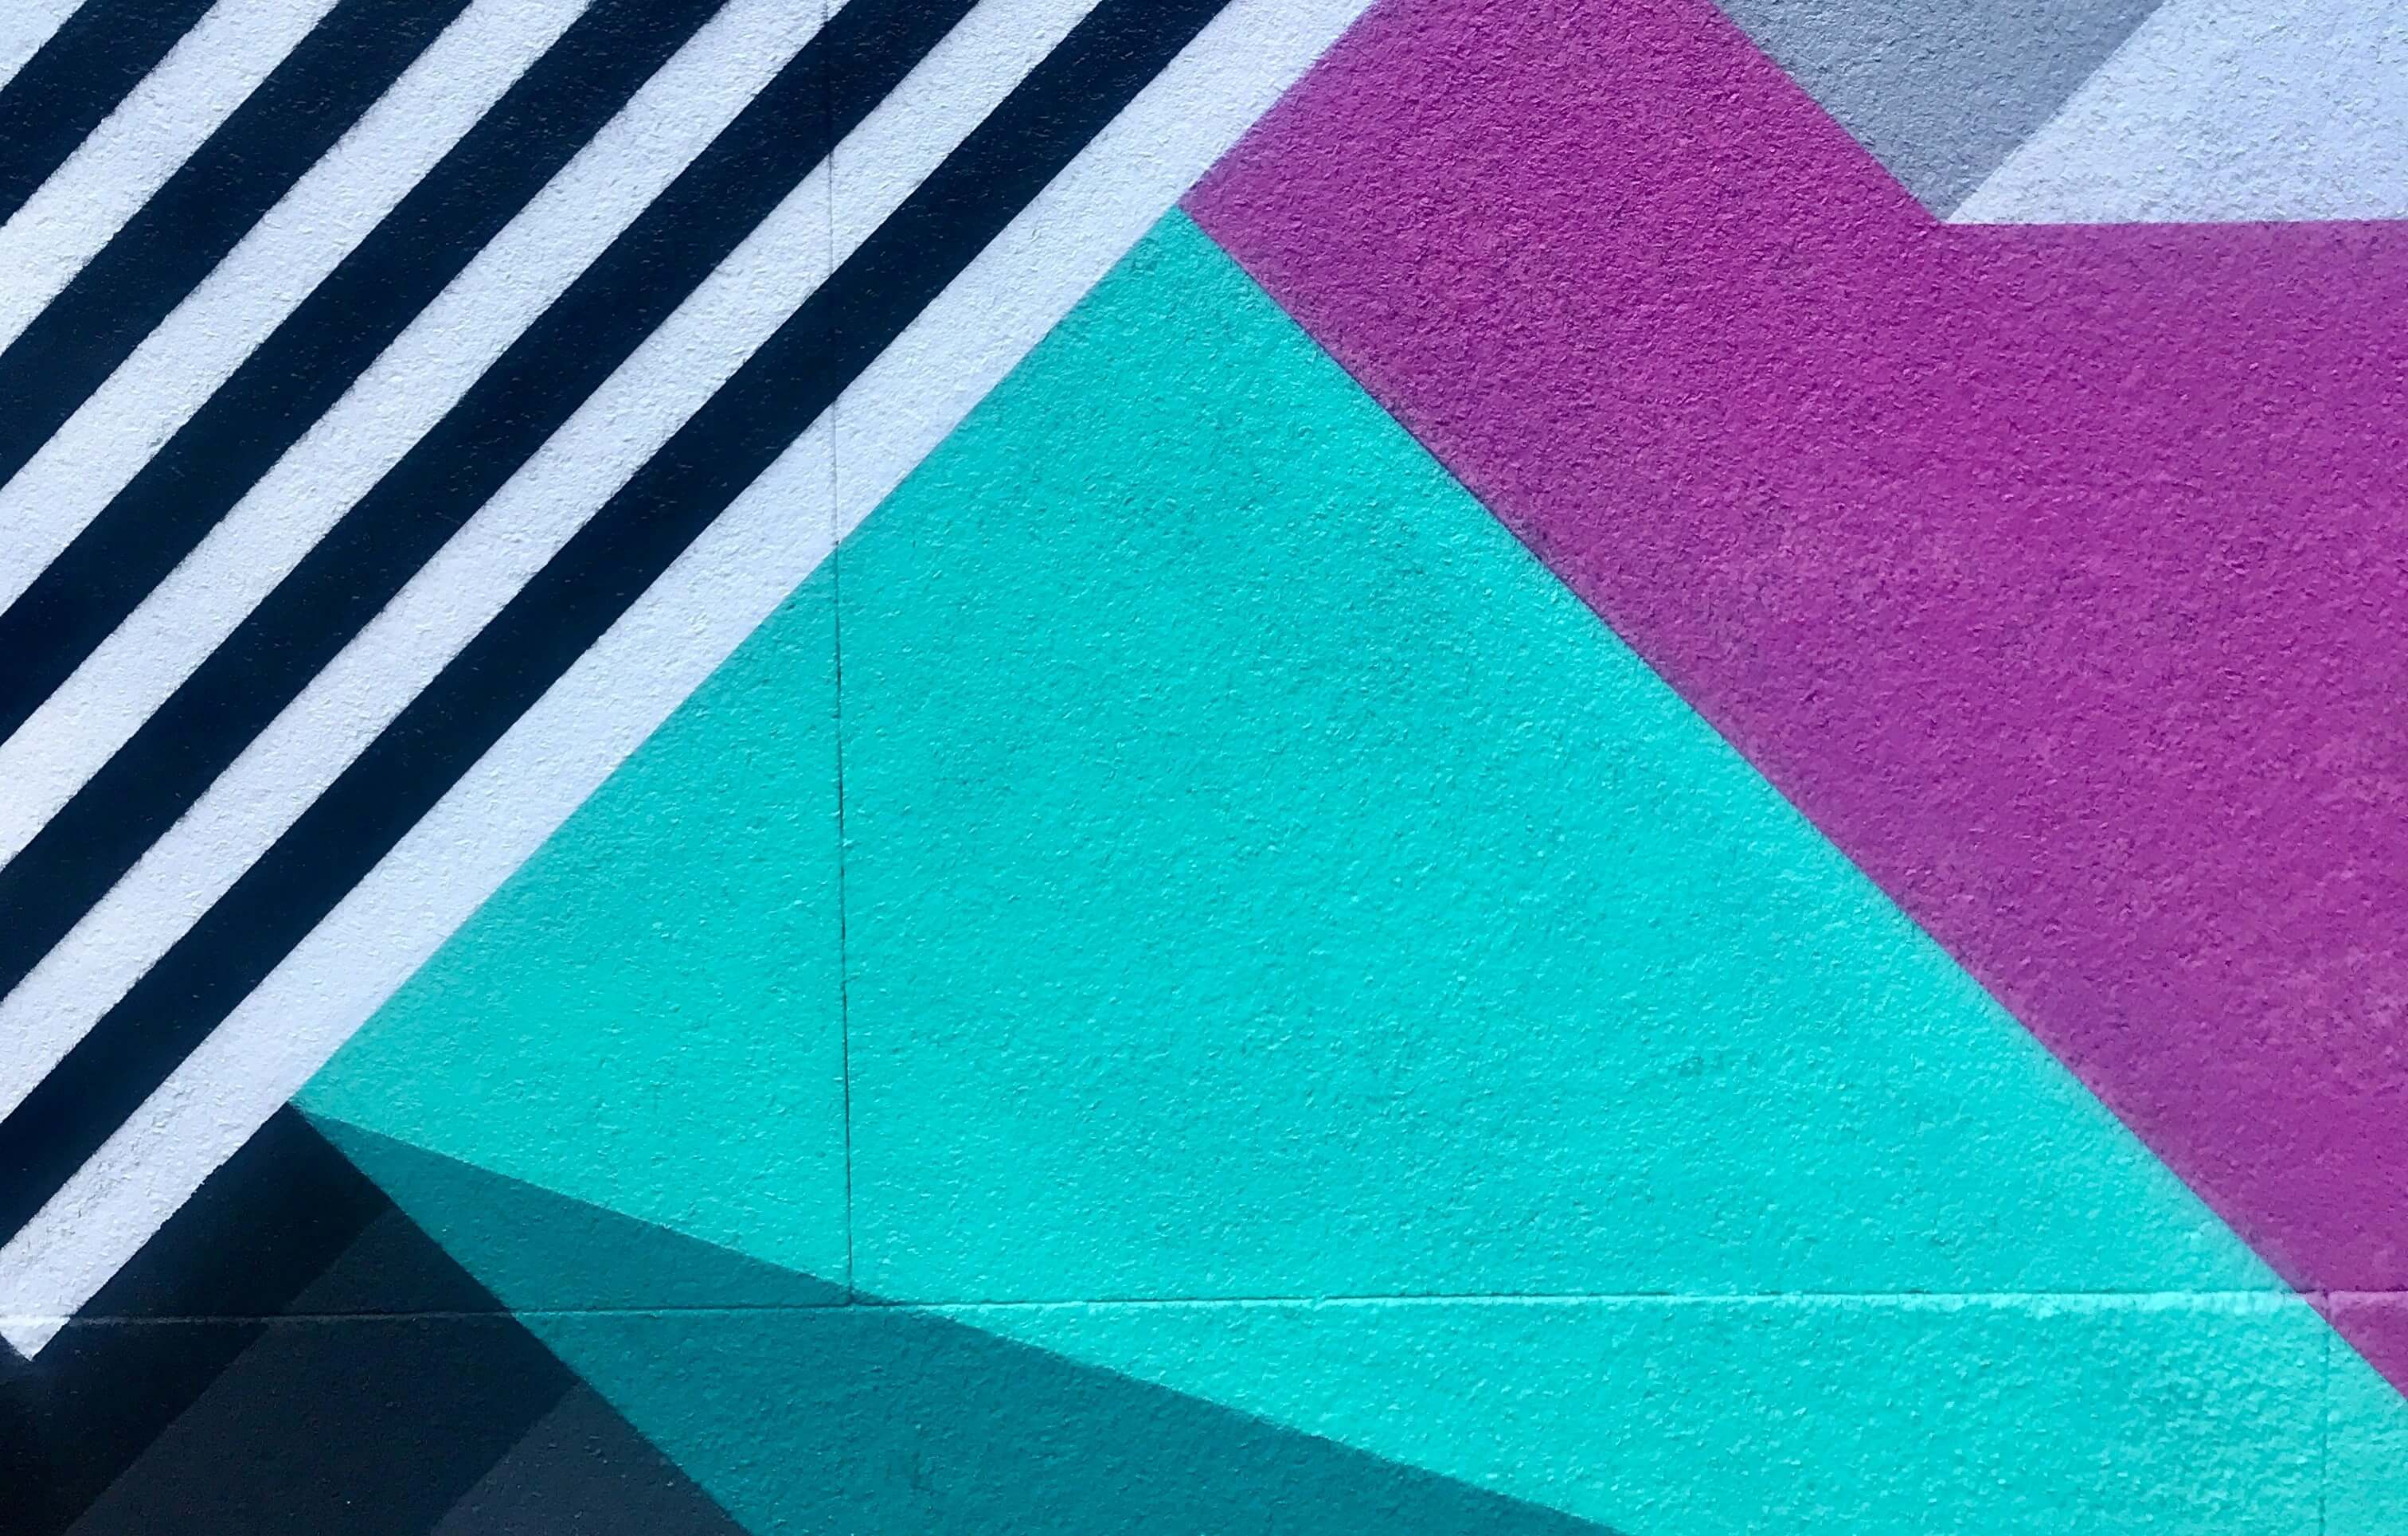
Step 2: Plan Your Design
This is the fun bit. Decide what kind of geometric look you’re going for. Anything from big bold shapes, smaller intersecting lines, a full feature wall, or maybe something a bit more subtle. It may help to sketch a rough idea on paper first. If you’re not sure, why not try looking online for geometric wall designs to give you some ideas on both style and colour.
Once you’re happy with a design, lightly draw it onto the wall with a pencil and straight edge. Don’t worry about it being perfect at this stage; the tape will give you your final shapes.
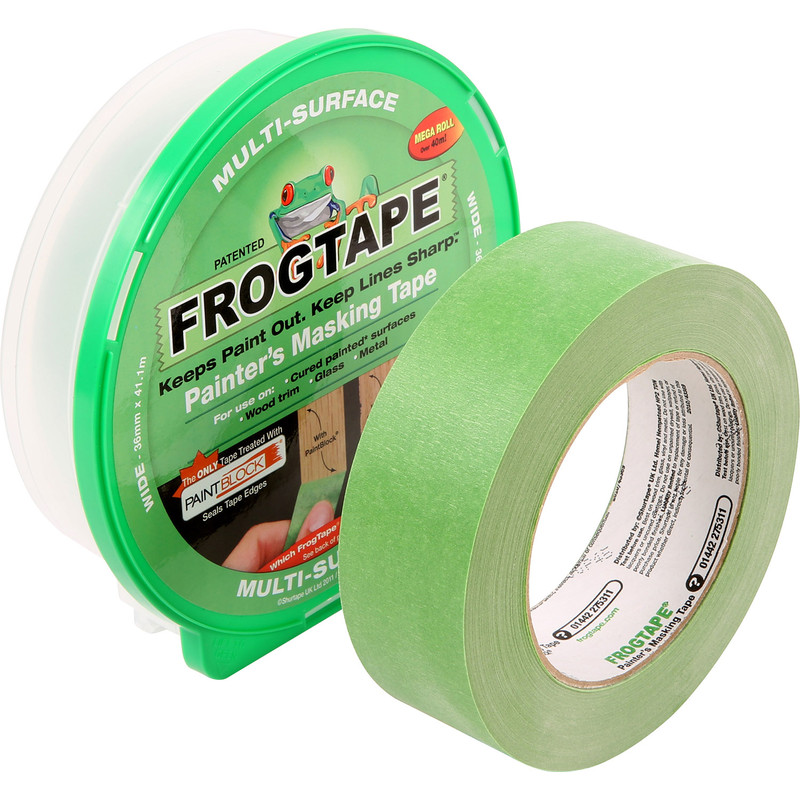
Step 3: Tape Out the Geometric Shapes
Masking tape is the best tool for the job here, it’s super easy to use, won’t pull off any undercoat and will leave you with crisp, well-defined shapes.
Follow your pencil lines and lay down the masking tape firmly, smoothing it with your fingers as you go to make sure it’s fully sealed. Take your time around corners and intersections. If you’re using a laser level, keep it handy to make sure your lines stay straight.
Step 4: Seal the Tape
While this step isn't compulsory, it can help to ensure clean lines. Once you've added the masking tape, paint a thin layer of the base wall colour over the edge of the tape before adding your new colours.
Once dry, this seals the tape and stops any bleeding underneath, ensuring lovely, razor-sharp lines. Let that dry for about 20–30 minutes before moving on to the next step.
Step 5: Paint Your Shapes and Build Your Colours
With the wall fully prepped, it's now time to bring your geometric wall to life!
-
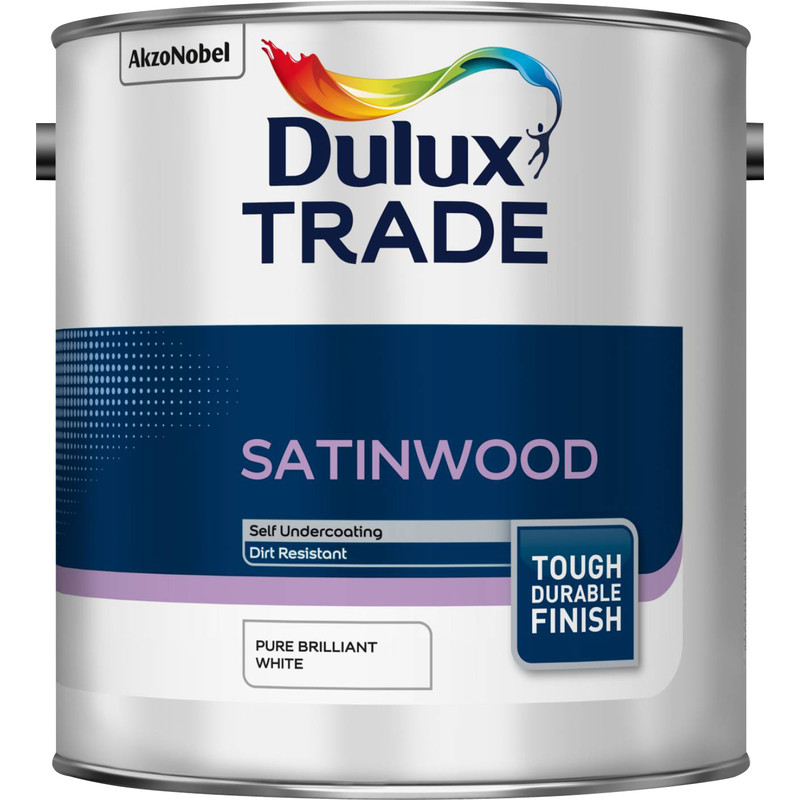
Start with one colour and paint all the shapes that use it. Use a small paint roller for larger areas and an angled paint brush for tighter corners. Apply thin, even coats, letting each coat dry before adding the next. This prevents streaks and ensures a crisp finish.
-
If your shapes are next to each other, don’t worry about tiny gaps where the tape sits, this is where the next step comes in.
Step 6: Move the Tape to Close Gaps and Paint Adjacent Colours
After the first colour is completely dry, you'll need to move the masking tape to avoid leaving unpainted lines where the tape has blocked the paint.
- Carefully remove the tape from the edge of the freshly painted shape.
- Re-apply a new strip of tape directly on top of the dry paint line, aligning it exactly where you want the boundary to be.
- Press the tape down firmly to seal it.
- Paint the next shape with your new colour, applying thin coats and allowing each one to dry. If you like, seal the new tape as mentioned in step 4 to prevent paint bleeding.
Repeat this process for every adjacent shape or colour. This technique ensures each shape is fully filled with paint, leaving no gaps or unpainted strips and maintaining sharp, professional-looking edges.
Step 7: Peel Off the Tape
This is our favourite it, where you get to reveal the design. Once the paint is touch-dry (not fully cured, just no longer wet), carefully peel back the tape at a 45-degree angle. Doing it while the paint is still slightly soft helps avoid tearing or pulling up dried paint.
Step 8: Touch Up Any Little Imperfections
Even with the best prep, tiny touch-ups are sometimes needed. Grab a small brush and carefully fix any areas that need a little smoothing out.
Give the wall a good 24 hours to dry completely, and a couple of days to fully cure before pushing furniture back or hanging anything.
Once it’s done, step back and admire your work -you’ve just created a totally custom, modern feature wall!