- Help & Advice
- How To Guides
- How to Fit Skirting Board
How to Fit Skirting Board the Right Way
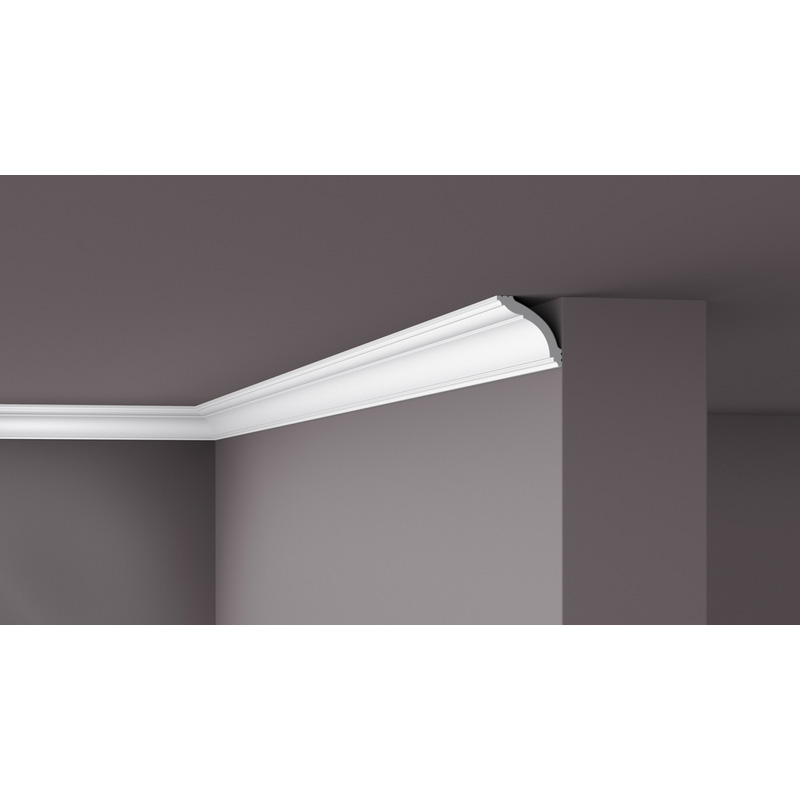
Skirting Boards are a small detail that can make a big difference in your home. They cover the joint between the wall and floor, help protect your walls from damage, and give any room a clean, finished look.
Whether you're renovating, replacing damaged boards, or starting from scratch, fitting skirting boards is a manageable DIY job; as long as you take your time and follow the right steps. In this guide we’ll take you through the process from preparation and cutting, right through to fixing and finishing with some top tips for getting professional results - even if you’re a beginner.
Essential Tools & Equipment
Before you start, make sure you’ve got everything on hand. Here's a list of tools and materials you'll need to fit skirting boards properly. It’s a good time to buy a little more skirting board then you need, around 10%, this allows for any cutting mistakes or off cuts.


Step 1: Prep the Area
Before you start fixing any boards to the wall, take time to prep the space properly. This can make the rest of the job easier and is more likely to result in a better finish.
Start by clearing up the area where you’ll be working. Move any furniture out of the way and remove any rugs or other floor coverings. It’s a good idea to vacuum the floor edges to get rid of any dust and debris. Now’s the time to check for any wires and sockets which could impact the placement of your new skirting.
Remove any old skirting boards by scoring along the top edge with a utility knife, where it meets the wall, this should help to prevent any paint or plaster from getting damaged. Carefully prise the board away using a chisel, working along the length in small sections. Next, remove old adhesive or leftover nails and repair any damaged plaster.
With the area prepped, you’ll need to check over the wall surface and whether walls are straight or bowed. Also, is the wall freshly plastered, papered or painted? Knowing this helps you choose the best fixing methods. For example, if your walls are a little uneven, you may need to fit the boards with screws instead of adhesive.
Step 2: Measuring & Marking for Skirting Boards
Accurate measuring is one of the most important steps in this job as even minor mistakes can lead to poor joins or gaps that could be tricky to hide later on. Here’s how to do it:
- Start in a corner and work your way around the room in one direction (clockwise or anti-clockwise).
- Measure the length of each wall section, from internal corner to external corner.
- Transfer the measurement to your skirting board and mark it clearly with a pencil and square.
- Identify the type of joint required at each end. If the board will finish at something like a door frame then it’ll require a straight cut. For either internal or external corners then a mitre joint or coping joint is needed.
Tip: Label each piece as you go (e.g. “Wall A - Left”, “Wall A - Right”) this will help avoid any confusion when fitting.
Step 3: Cutting Skirting Boards: Straight, Mitred & Coping Joints
Now it's time to cut the skirting boards to size. The type of cut you’ll need to use depends on where the board will sit and the kind of corner it meets. Whatever cutting methods you use, once done it’s best to dry-fit the boards in place before final fixing to check that joints properly line up.
Straight Cuts at End Sections
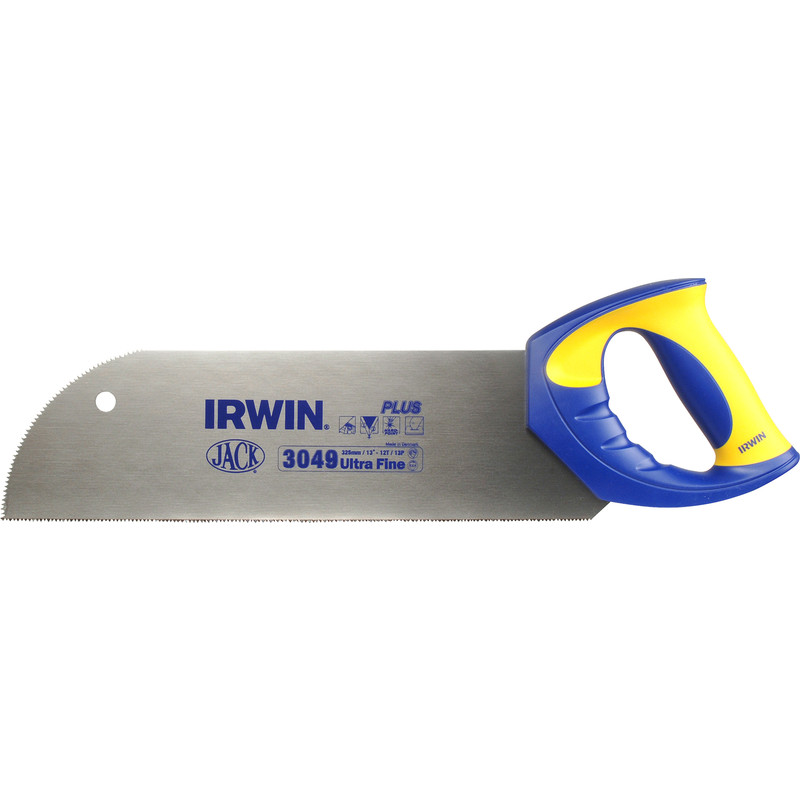
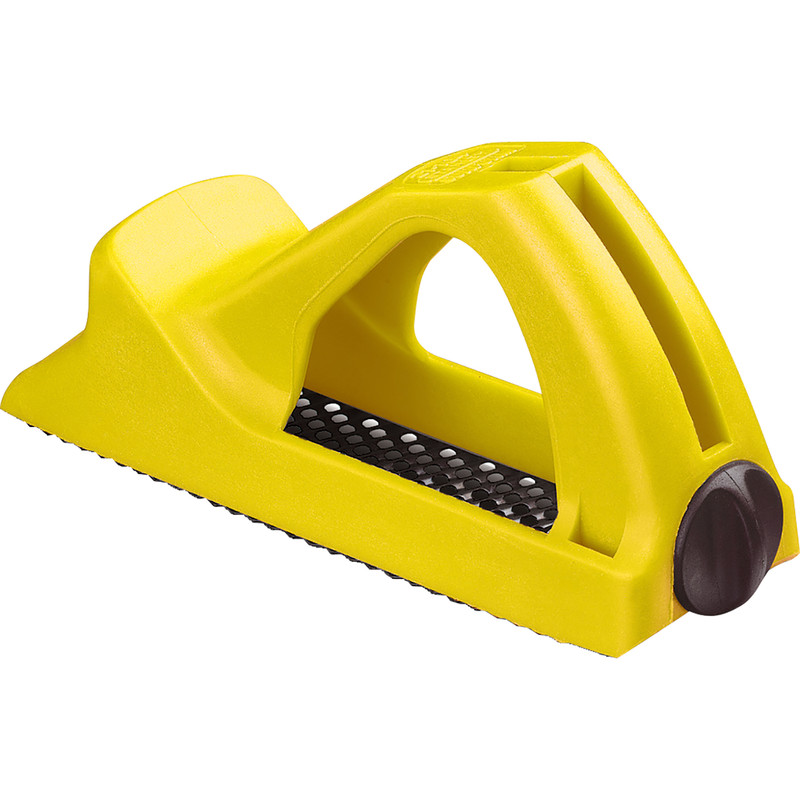
A straight cut is sawn perfectly straight and at a 90 degree angle to the surface of the wood. Use straight cuts when the skirting ends at a doorway, radiator pipe, or any other break in the wall. Start off by measuring and marking the board. Use the floorboard saw to cut at 90 degrees (a square cut). Finish off by lightly sanding the ends for a smooth finish.
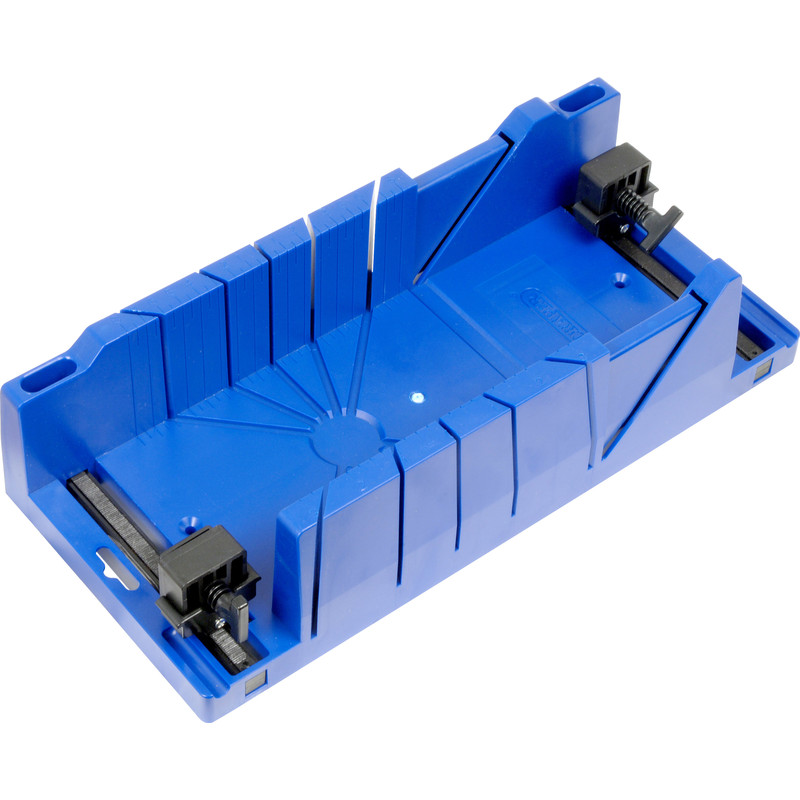
Mitre Cuts for Internal & External Corners
A mitre cut is an angled cut undertaken when two pieces need to meet at an angle for a flush finish. They’re typically done at a 45 degree angle so when joined they form a 90 degree angle. External corners, which stick out into a room, involve cutting both boards so they meet cleanly at the corner. For internal corners, you'll need to cut inwards again at a 45 degree angle.
Coping Cuts (Best for Internal Corners)
A coping cut involves cutting the profile on the edge of the skirting board to give a tighter, cleaner fit and is best suited on older or uneven walls. Cut the first board with a straight 90° end and fix it in place up to the internal corner. For the second board, cut a 45° mitre on the end that will meet the first board. Use a coping saw to carefully cut along the profile of the moulding, following the face line.
Step 4: Fit the Skirting to the Wall
Once your skirting boards are measured and cut, it’s time to fit them securely to the wall. There are a few fixing methods available and the best one depends on the wall surface, the tools you have at your disposal, and whether or not you plan to move the boards later on.
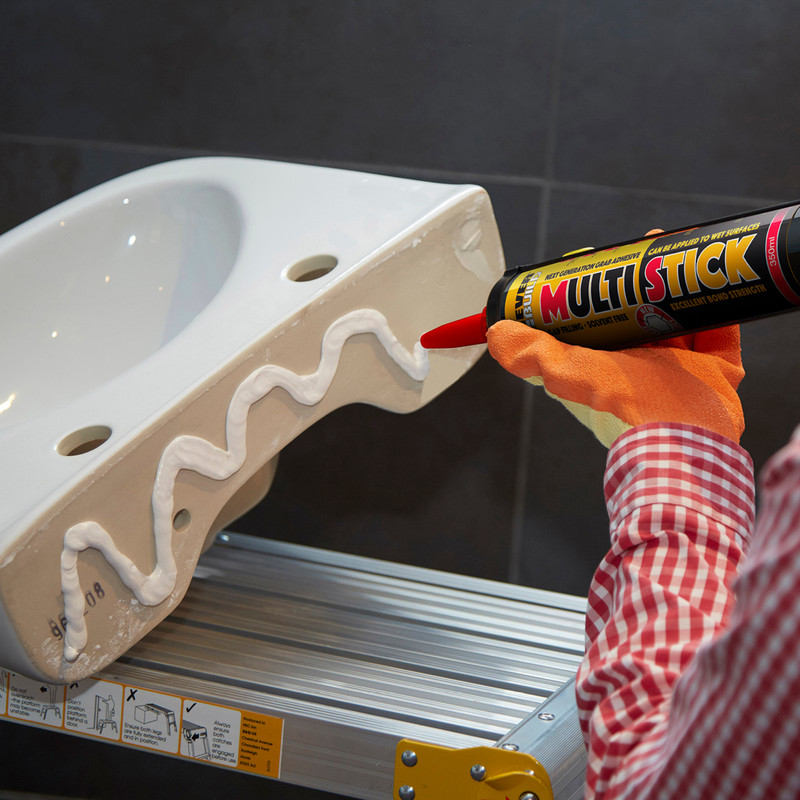
Option 1: Adhesive (No Nails or Screws)
Using adhesive to fit skirting boards is the quickest and cleanest method and ideal for plasterboard or dry, flat walls. If the walls are damp or uneven, you’ll likely need to adopt a different fixing method for a more secure finish. If the wall is recently plastered, be sure to let it dry completely before you fit the skirting.
Steps:
-
Apply grab adhesive in a zig-zag or straight line along the back of the board.
-
Press the board firmly against the wall and hold in place for 10–30 seconds.
-
Use a spirit level to check that it’s straight.
-
Wipe away any excess adhesive that squeezes out.
-
It usually takes around 24 hours to fully cure, but be sure to refer to the instructions as drying times can vary.
Option 2: Nails or Pins (Most Common Method)
Nailing skirting boards provides a solid fix and is a great choice for timber stud walls or plasterboard. It leaves you with a durable finish and allows for easy removal in the future. If your walls are a little uneven, the flex in the boards means you can secure them flush against the walls without leaving any gaps.
Steps:
-
Pre-drill pilot holes in the skirting board to avoid splitting.
-
Align the board on the wall, using a spirit level to check that it’s straight.
-
Hammer in 50–60mm lost-head nails or use a nail gun.
-
Drive nails into wall studs if possible. Use a stud finder to make this step a little easier.
-
Use a nail punch to sink the heads below the surface.
Option 3: Screws & Wall Plugs (For Masonry Walls)
Use this method for older homes with brick, block or stone walls. While this way of fitting skirtings provides excellent durability, the job itself can be a bit laborious with lots of drilling and at a relatively slow pace.
Steps:
-
Pre-drill pilot holes in the skirting.
-
Hold the board against the wall and mark hole positions.
-
Drill holes in the wall using a masonry bit.
-
Insert wall plugs and align the board.
-
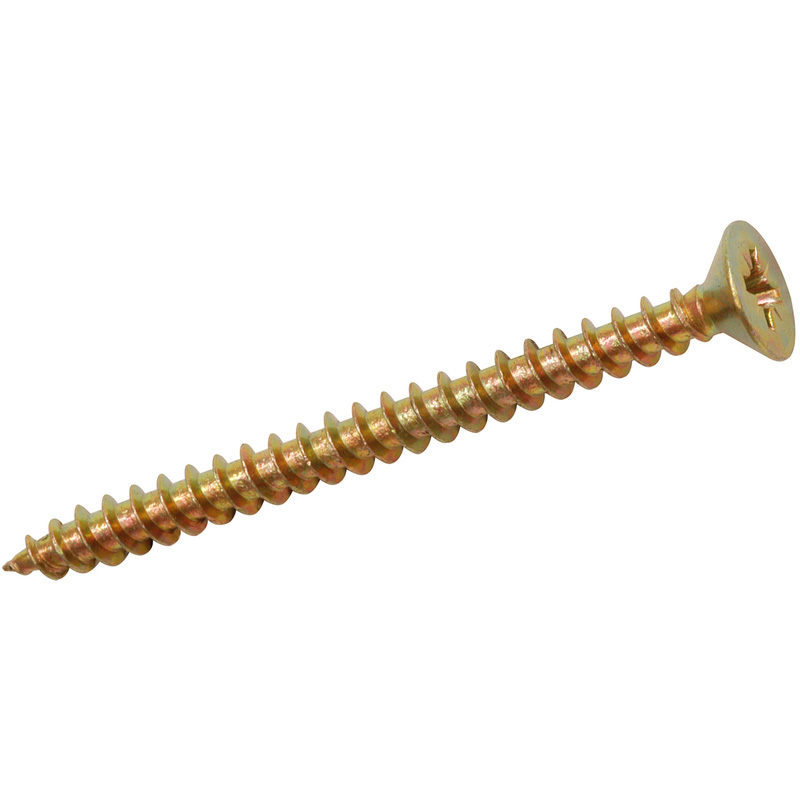
Fix using countersunk screws. Sink the heads slightly below the surface.
Step 5: Filling, Caulking & Finishing Touches
You’re almost done! All that’s left is to finish the job by making your work look seamless and ready for painting the skirting boards.
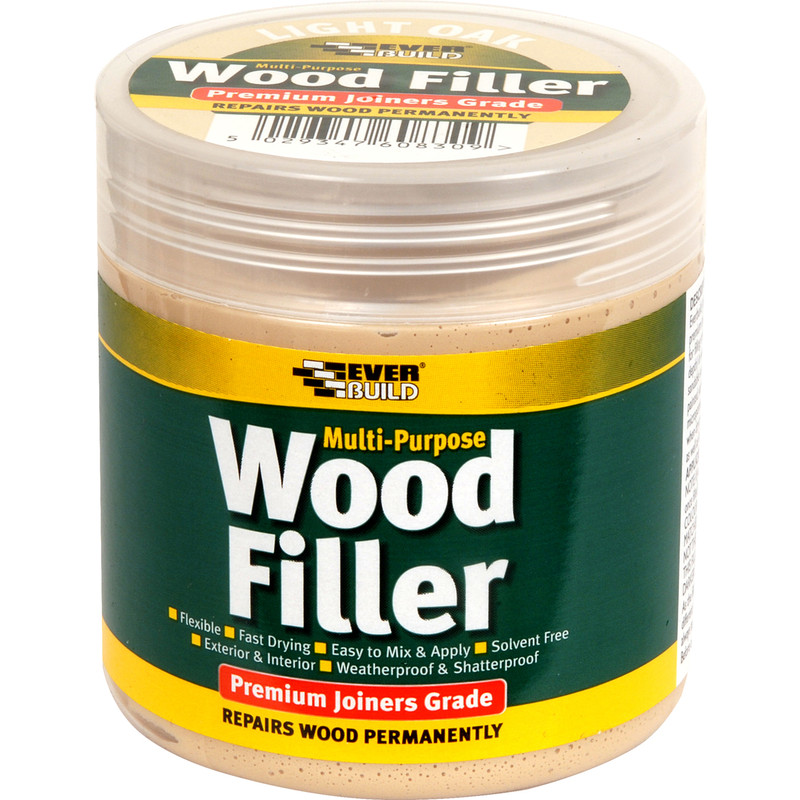
Fill Nail Holes and Gaps
While using nails is great for a semi-permanent, albeit strong fix, it can leave you with a few holes. Use a wood filler or multi-purpose filler to cover any nail holes or slight gaps in joins. For corners or mitres, apply the filler and leave it to dry. Use sandpaper to smooth away any roughness. Be sure not to overfill and apply in thin layers for an even finish.
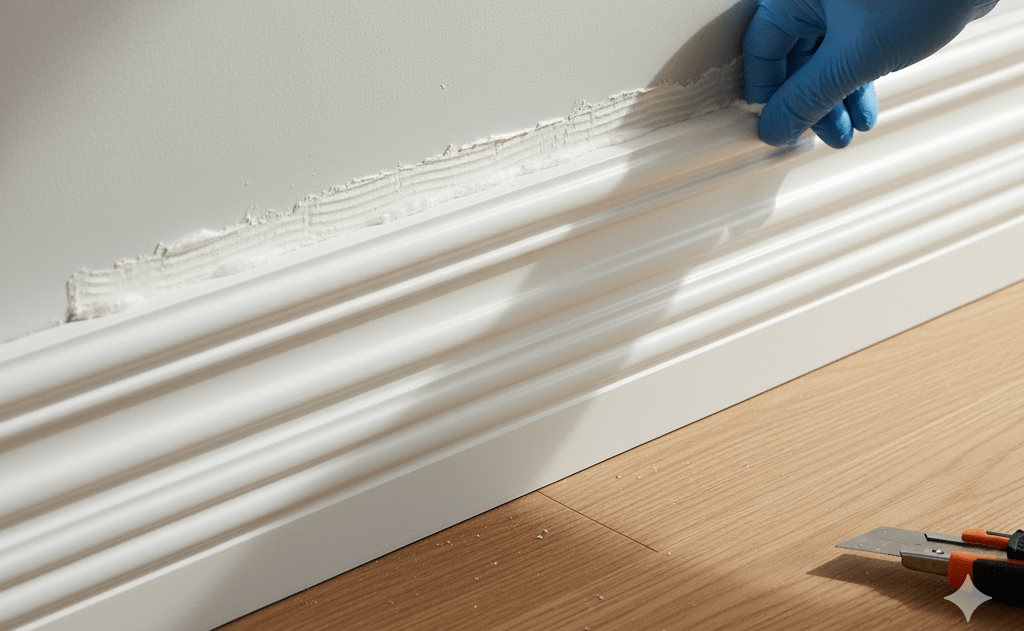
Apply Decorator’s Caulk (Top Edge)
Caulking skirting boards helps to seal the join between the wall and the top of the skirting, leaving you with a seamless finish that hides uneven plaster. Carefully run a bead of caulk along the top edge using a caulking gun and smooth this with a sealant smoother. Wipe away any excess product using a damp cloth and leave to dry completely before painting.
Paint or Finish (If Required)
If your skirting boards are primed but not finished, now’s the time to paint. Use a wood primer (if necessary) and follow this with an undercoat. While there are a range of paint finishes, the most popular for skirtings tend to be satin, gloss or eggshell, as they’re durable and easy to clean. Remember to mask off floors with tape for neat edges.