- Help & Advice
- How To Guides
- How to Fit Coving
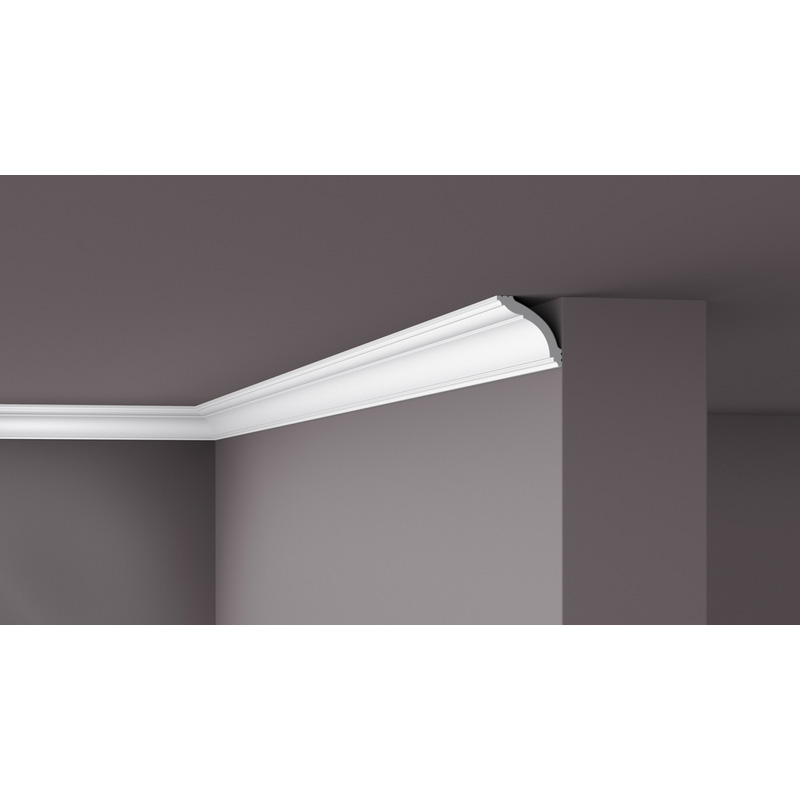
How to Fit Coving
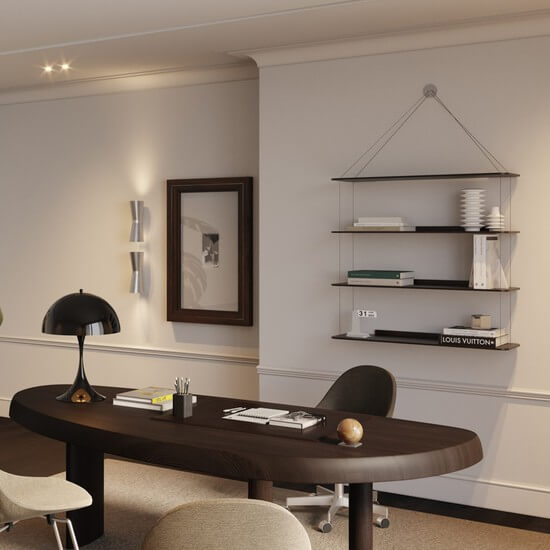
Coving offers the perfect finishing touch to a room and, aside from improving the overall aesthetics, it’s a great way of hiding imperfections such as cracks, which are commonplace where the wall meets the ceiling.
In just a few simple steps, we’ll explain how you can fit coving for a professional finish and run through the tools you’ll need to get the job done.
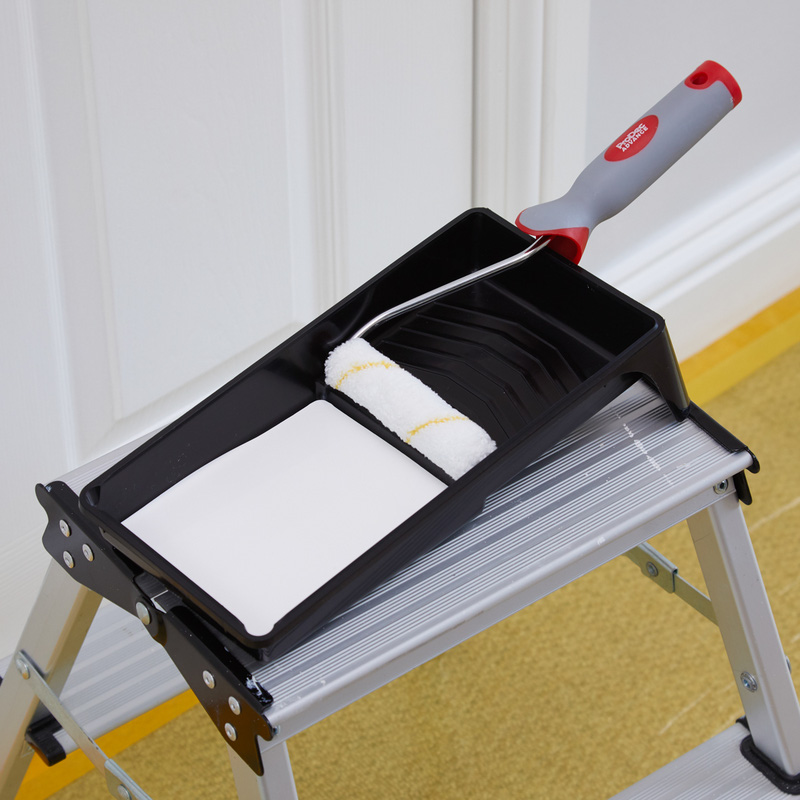
Note: If fitting coving is the final step as part of a large redecoration project, be sure to paint walls and ceiling before putting any coving up - but take care not to get any adhesive on any newly painted walls.
Essential Tools & Equipment
The Different Types of Coving
Before you start, it’s worth noting that coving comes in several different types of material: polystyrene, polymer, and plaster. Plaster has always been the more traditional choice and, while it looks great, is much heavier making it more difficult to install and typically requires a professional tradesperson for best results.
Polymer coving is a popular choice thanks to its lightweight nature, strength and ease of installation. It’s also perfect if you're fitting the coving somewhere like a kitchen or bathroom as it’s resistant to high levels of moisture and easy to wipe clean. Polystyrene, on the other hand, is a lower cost alternative for those on a budget.
When choosing between polymer and polystyrene coving, it really comes down to budget and finish. Polystyrene is the more affordable option and great for quick, low-cost projects, but it tends to have a slightly rougher surface so needs several coats of paint. Polymer coving, while a bit more expensive, offers a sharper, more detailed finish and greater durability. It's also easier to work with during installation, especially around corners and tricky cuts, making it the preferred choice for a more professional-looking result.
Step 1: Read the Manufacturers Instructions
As well as different materials, coving comes in different styles and sizes, so be sure to read the instructions so you’ll know where to measure up on the walls and ceilings - this will differ depending on the size of your chosen coving.
Step 2: Throw Down Some Dust Sheets
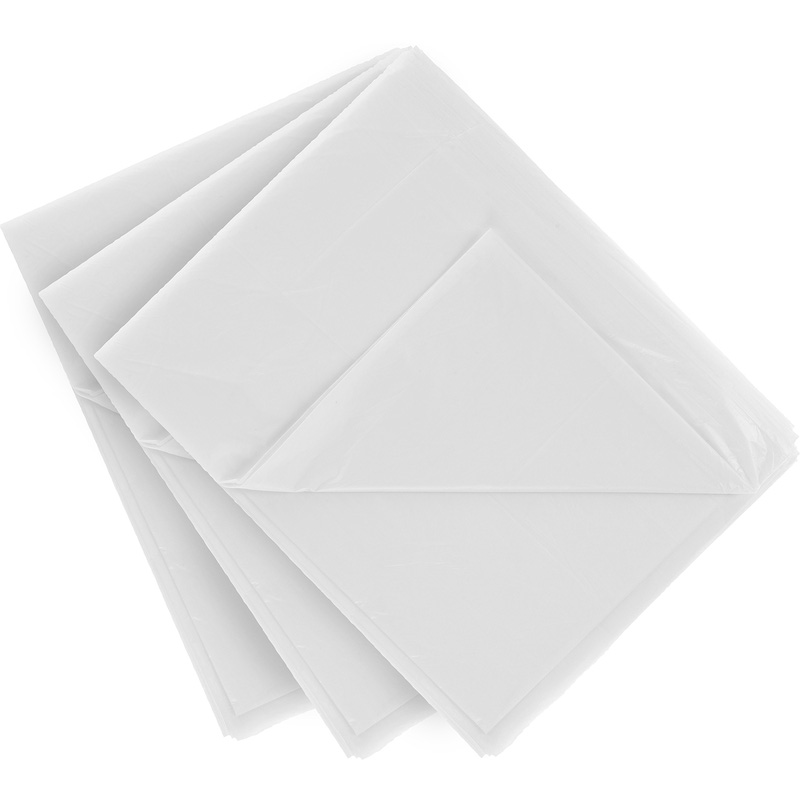
While fitting coving is not an overly messy job, there’s still a risk of glue spillages so go ahead and throw some dust sheets on the floor and over any soft furnishings.
Step 3: Mark Pencil Lines on Wall and Ceiling
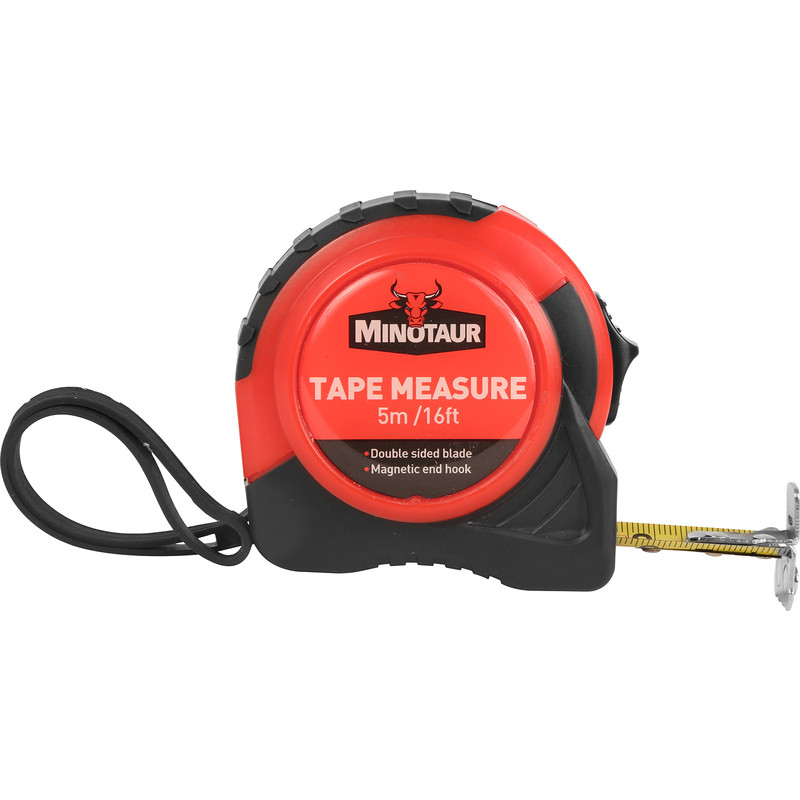
Using your tape measure, make pencil markings down from the top of the wall and in from the edge of where the ceiling and wall meet. For example, if the instructions say you need to fit the coving 50mm down the wall and 50mm onto the ceiling, pencil markings should run at regular intervals at these measurements.
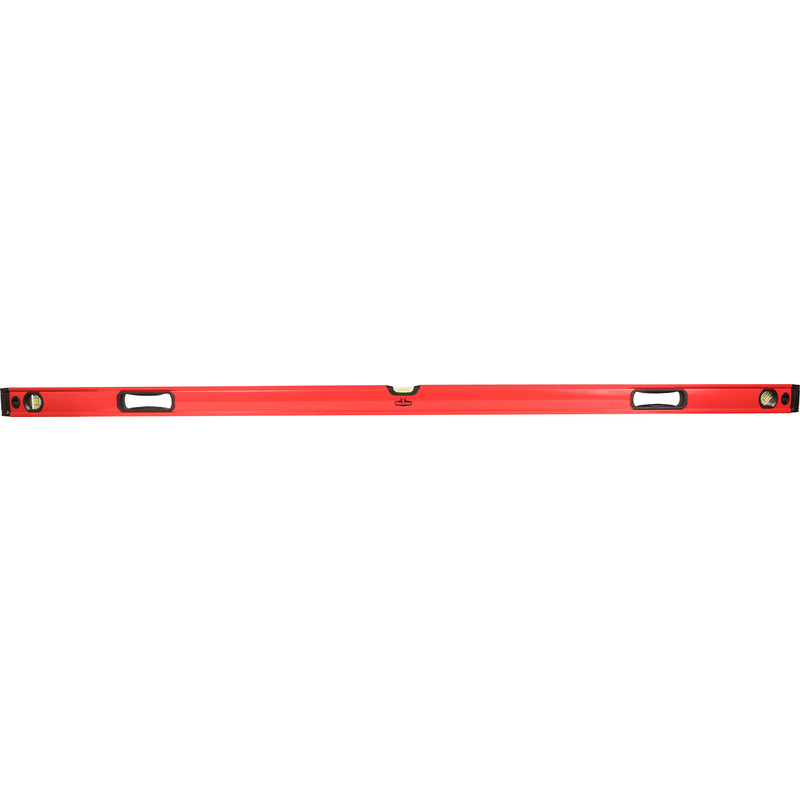
Next, take your spirit level and draw a straight line on the wall joining up the pencil markings. Once done, you should be left with a continuous line that runs along the wall and on the ceiling.
Step 4: Clean and Score the Wall and Ceiling
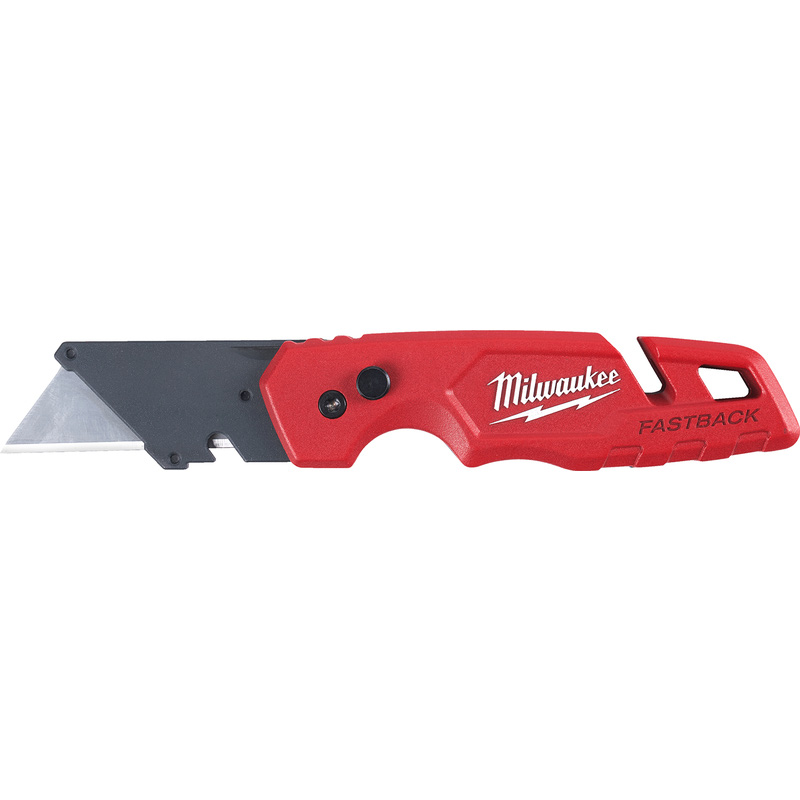
Wipe away any dirt and dust and, with your utility knife, score diagonal lines across the area where the coving will be installed. This will provide a key and increase adhesion between the coving, wall and ceiling.
If the walls and ceilings are porous i.e. untreated plasterboard or made from brick or wood, it’s a good idea to apply a layer of PVA to seal the pores and further improve the adherence of the coving.
Step 5: Cut the Coving to Fit Corners
Before cutting the lengths of coving you’ll need to factor in joins at the corners and this will depend on the shape of the room. If you’re fitting coving to a square or rectangular shaped room, you’ll only need to cut internal corners. However, if your room has something like an alcove, you’ll need to cut both internal and external corners.
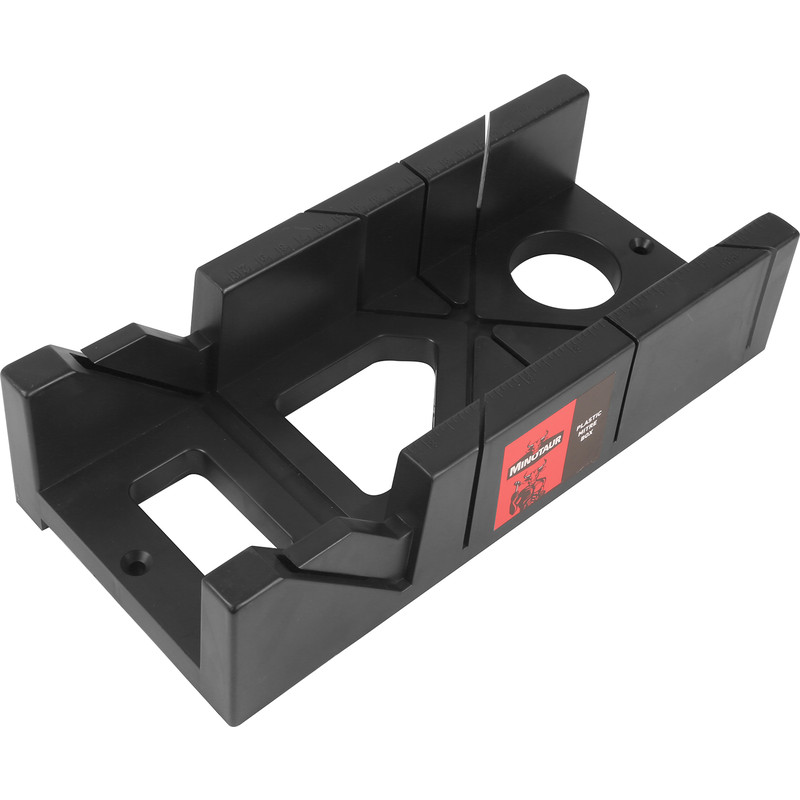
In either case, you’ll need to use a mitre box to cut the coving at the correct angle. Be sure to load the coving into the mitre box correctly (upside down and backwards from how it’ll be installed on the walls) and make cuts in the right direction. Here’s how:
Cutting Internal Coving Corners:
Internal corners, where two walls meet to form an inside angle, require two pieces of coving cut with opposing 45° angles. This creates a neat join that fits snugly into the corner.
-
Left-hand piece: Place the coving in the mitre box with the length to be used on the left side of the saw slot. Cut through the right-hand 45° slot.
-
Right-hand piece: Place the coving in the mitre box with the length to be used on the right side of the saw slot. Cut through the left-hand 45° slot.
Cutting External Coving Corners:
External corners, which project into the room (like on a chimney breast), also use two pieces of coving cut with opposing 45° angles. The method is the reverse of an internal corner.
-
Left-hand piece: Place the coving in the mitre box with the length to be used on the left side of the saw slot. Cut through the left-hand 45° slot.
-
Right-hand piece: Place the coving in the mitre box with the length to be used on the right side of the saw slot. Cut through the right-hand 45° slot.
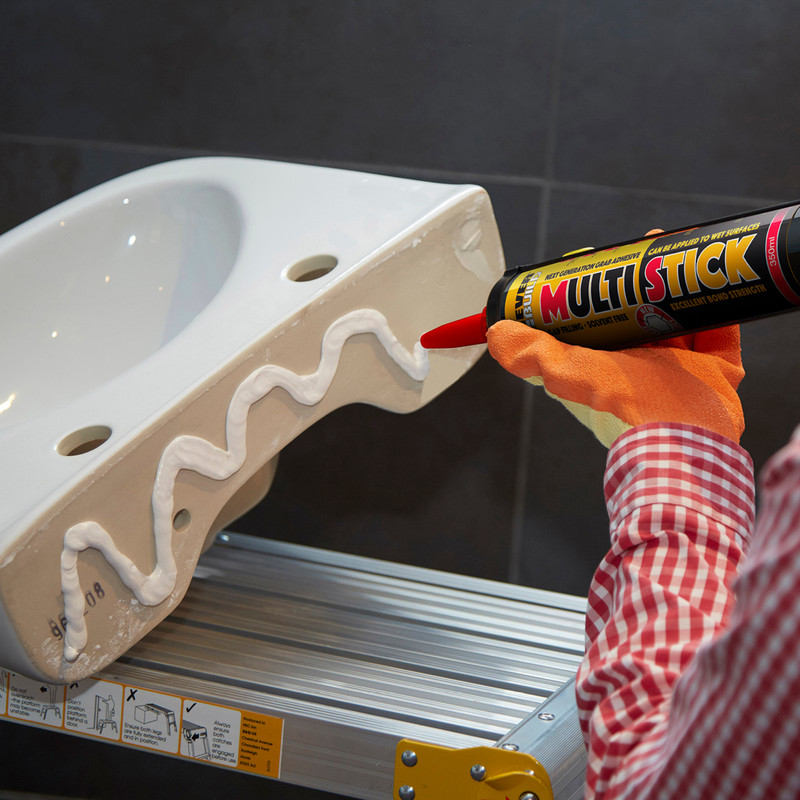
Step 6: Apply Adhesive to Coving & Fit
Once you’ve cut the coving to size, you can apply a generous amount of adhesive to both sides of the coving. Next, carefully press it into place. Don’t worry if any adhesive seeps from underneath, just wipe away any excess with a damp cloth.
Walls and ceilings aren’t always completely straight and level, so if you spot any gaps after installation, apply some extra coving to fill these in - don’t forget to wipe the excess product away.
Step 7: Join Together Two Lengths of Coving
Joining two lengths of coving on a long wall can be done in two main ways: a butt joint or an end-to-end mitre joint. While both methods can work, the mitre joint is often preferred for a cleaner, more professional finish.
Butt Joint
A butt joint is the simplest method, but it can be more noticeable. It involves placing one end of a coving length directly against the flat, uncut end of the previous piece.
-
How to do it: Cut the first length of coving to size, ensuring one end is a square, 90-degree cut. Secure this piece to the wall. Then, cut the start of the next length with a flat, 90-degree end and push it firmly against the first piece. You can apply a small amount of adhesive to the joint before pressing them together.
End-to-End Mitre Joint
This method involves cutting opposing 45° angles on the ends of two coving lengths so they overlap and form a seamless joint. It's the same principle as creating a corner, just in a straight line.
-
How to do it: Cut the end of the first coving length at a 45° angle, pointing in the direction of the next piece. Cut the start of the second length at an opposing 45° angle. When you place the two pieces together, they should overlap perfectly. Apply adhesive to both cut faces before pressing them together on the wall.