- Help & Advice
- How To Guides
- How to Cut Skirting Board
How to Cut Skirting Board
If you’re cutting new skirting boards, getting clean and accurate cuts is essential for the best finish. Understanding how to measure and cut correctly can save you a tonne of time, reduce waste and help you avoid unwanted gaps and uneven joints.
In this guide, we’ll cover everything you need to know about cutting skirting boards - from the tools you'll need, to the different types of joints and techniques for achieving perfect corners every time.
Essential Tools & Equipment


Safety Tips Before You Start
Before you pick up any tools, it’s important to keep safety in mind. Here are some essential precautions:
-
Wear safety goggles when using a saw to protect your eyes from sawdust and debris.
-
If you're using a mitre saw, consider wearing ear protection to protect against sustained, loud noise.
-
When cutting the skirting use clamps and a stable work surface to provide stability and protect against slipping accidents.
-
Work in a well-ventilated area – Especially when working with MDF or treated wood.
- Inspect tools before use. Make sure that blades are sharp and in good condition to avoid snags or kickback.

Step 1: Take Some Measurements
Use a tape measure to measure the distance between the walls where each skirting board section will go. Don’t forget to make a note of each measurement. Aside from measuring the length, it’s important to consider the corners and how uneven the floor is.
Whether you’re cutting internal or external corners and if you have an uneven floor, will determine the cutting methods you’ll need to adopt. It’s not simply a case of cutting the skirting boards to the correct length and sticking them to the wall.
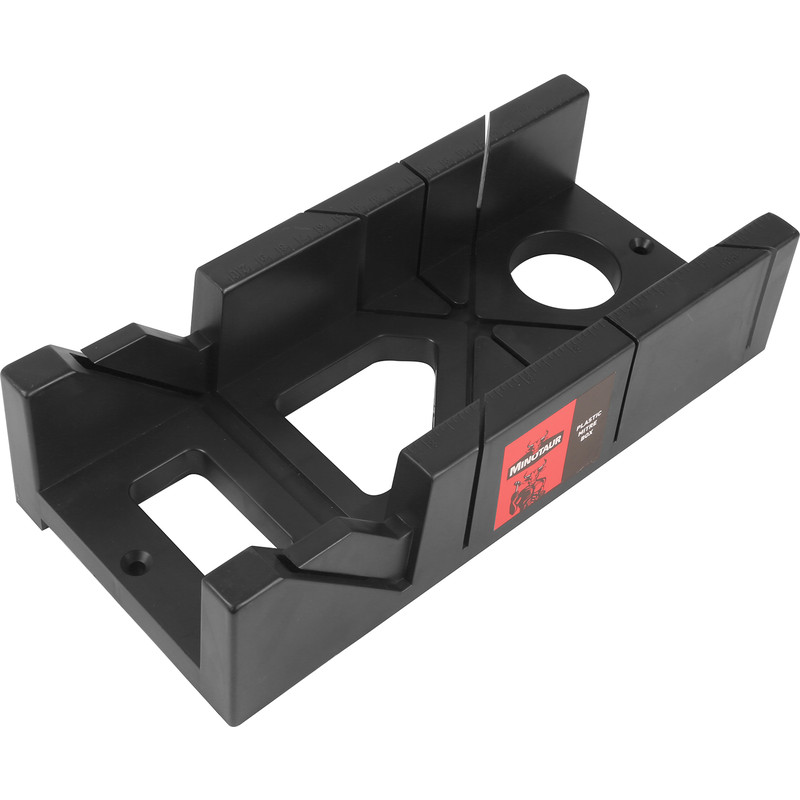
There are two methods when cutting the skirting boards; mitre cuts and scribing. Mitre cuts are made when fitting together two lengths of skirting board on external corners. Scribing, on the other hand, is typically used when fitting internal skirting boards or to ensure a flush fit to wood or laminate flooring where gaps may be present. You’ll likely need to use both techniques for the best finish.
Step 2: Cut Mitre Joints for External Corners
External corners require a neat 45-degree mitre joint where two skirting boards meet. This allows the boards to wrap smoothly around the outside corner of the wall. The length of the board should include its full length to the back corner (not just the visible face). Don’t subtract the thickness of the skirting board from your measurement here. Just measure wall-to-wall as the mitre will take care of the joint naturally.
How to do it:
- Measure from the wall to the outer corner for each side of the corner.
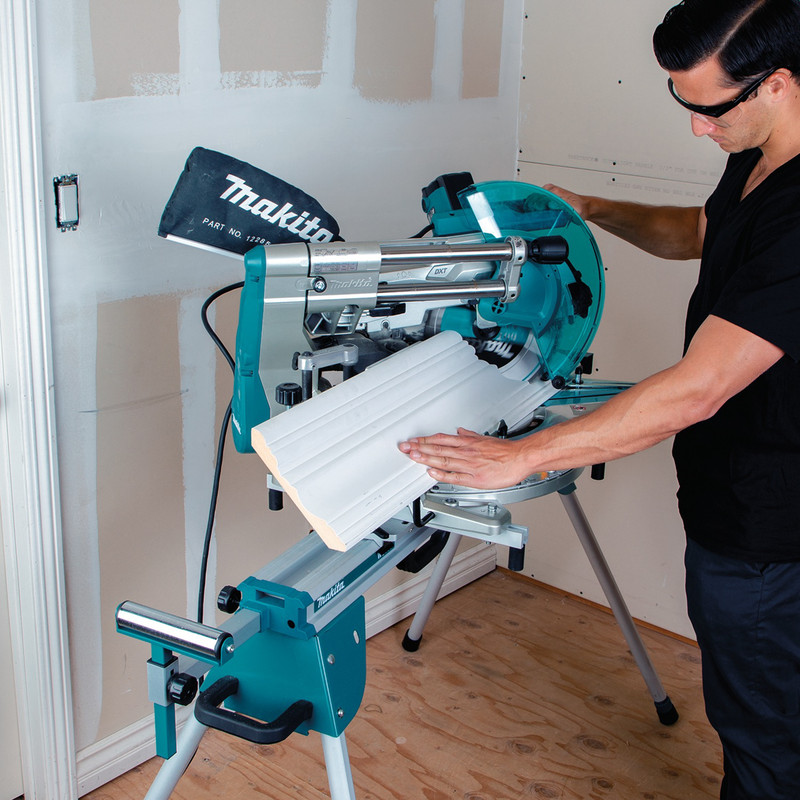
- Set your mitre saw to a 45-degree angle.
- Cut the first piece so that the angle faces inward (back of the board is longer than the front).
- Cut the second piece at the opposite 45-degree angle so it matches the first.
- Test-fit both pieces together at the corner. They should form a tight 90-degree angle.
Pro Tip: If the corner isn’t perfectly square (not exactly 90 degrees), you may need to adjust the mitre angle slightly for a better fit.
Step 3: Cut and Scribe for Internal Corners
It’s fairly common that internal corners within the home aren’t perfectly square, so instead of using a mitre joint (which could leave your skirting with unsightly gaps) you’ll want to use a scribed joint instead. This gives a much neater, tighter finish leaving you with an end result that looks more professional.
How to do it:
- Fit the first skirting board flush against the wall into the corner. Cut it straight (90 degrees).
- For the second board, use a mitre saw to cut a 45-degree mitre. This reveals the profile (shape) of the board’s face.
- Use a coping saw to carefully cut along the profile. This is known as "scribing."
- Sand or file the edge for a smooth finish and test fit against the first board.
- Adjust as needed until the scribed edge sits snugly over the face of the first board.
Pro Tip: Before using your coping saw, double check to ensure that the teeth face back towards the handle.
Step 4: Scribe for Uneven Floors
As with internal corners, it’s pretty rare to get a perfectly flat and level floor surface, especially in older properties. This means, if you fit a skirting board without allowing for any floor dips or rises, you could be left with noticeable gaps, particularly on wooden and laminate floors. On carpets, any unevenness is much less noticeable so you may get away with fitting the skirting without scribing.
How to do it:
- Place the skirting board against the wall where it will be installed.
- Use a pencil and a small offcut of wood (the same thickness as the largest gap) to trace the floor's contour onto the bottom of the skirting board.
- Cut along the pencil line using a jigsaw or coping saw, following the contour of the floor.
- Test fit the board and make fine adjustments with a sander or wood file if needed.
- Once it fits snugly, fix it in place with adhesive or nails.
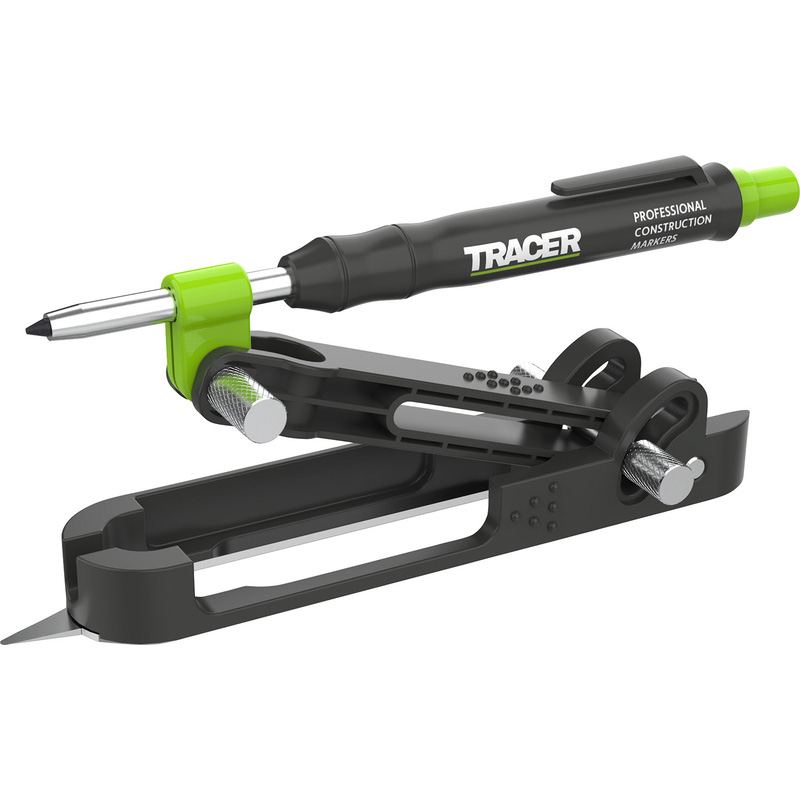
Step 5: Scribing Internal Corners & Flooring with a Scribing Tool
If you want to remove some of the guesswork and save time, scribing either internal corners or flooring can be done with a scribing tool. Here’s how it’s done.
How to scribe internal corners with a scribing tool
- Fit the first board tightly into the internal corner, flush with the wall.
- Cut the second board with a 45° internal mitre using a mitre saw. This reveals the moulding profile on the front of the board.
- Place the scribing tool against the profile of the first board (the one already installed).
- Transfer the profile by tracing it with the scribing tool onto the edge of the mitred second board.
- Cut along the traced line using a coping saw or jigsaw, carefully following the contours.
- Test fit the board. Sand or file any tight spots until it fits cleanly over the moulding of the first board.
How to scribe flooring with a scribing tool
- Position the skirting board upright against the wall, in its final position, resting on the floor.
- Set the scribing tool so the pencil or marker is offset to the floor by the same height as the largest floor gap.
- Run the scribing tool along the floor with the pencil marking the bottom of the skirting board. This will trace the contour of the floor onto the board.
- Remove the board and cut along the line using a jigsaw or coping saw.
- Test fit the board and sand where necessary for a tight fit against the floor.
- Install the board once the fit is flush.
Step 6: Dry Fit Before Installing
Before fitting the skirting boards to the wall, it's important to dry-fit them first. This essentially means to place them all where they'll be afixed and ensure they fit together properly and check that the joints align. Making any adjustment cuts where necessary and once you're happy, fix to the wall using grab adhesive or screws.
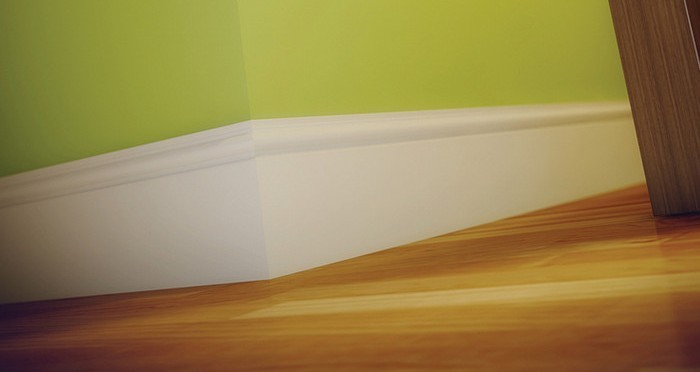
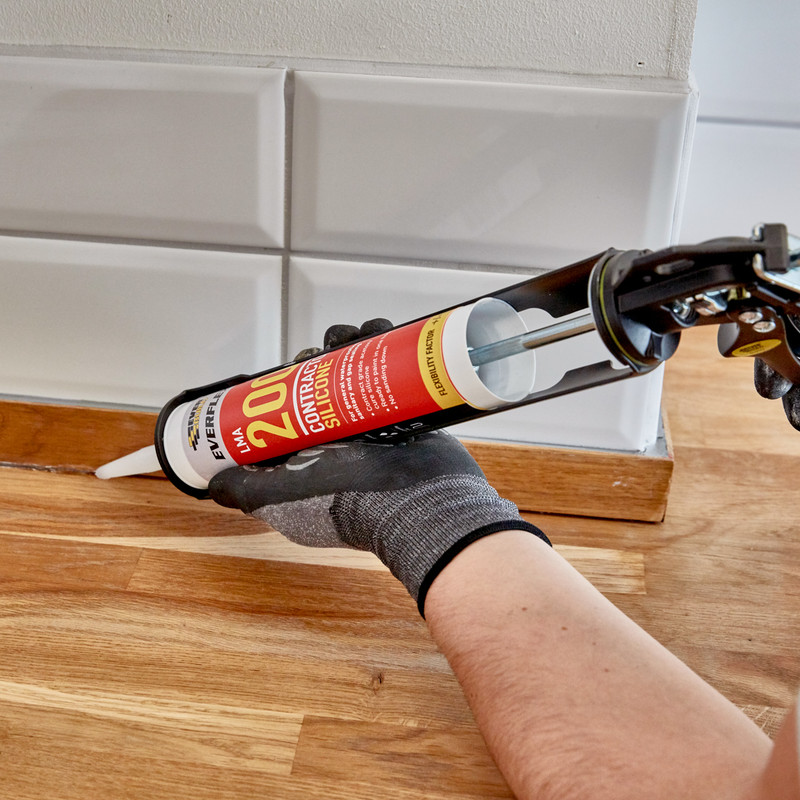
The final step is to check for any gaps between the wall and the boards. If you spot any, caulk the skirting boards for a seamless finish, and just before applying a coat of paint.