- Help & Advice
- How To Guides
- How to Caulk Skirting Boards
How to Caulk Skirting Boards
Applying caulk to your skirting boards is one of the easiest ways to seal gaps, prevent draughts, and improve insulation. Caulking also provides a clean, crisp finish just before you paint your skirting boards.
In this how-to, we’ll cover all the steps to applying decorator’s caulk to skirting boards for a clean, professional finish.
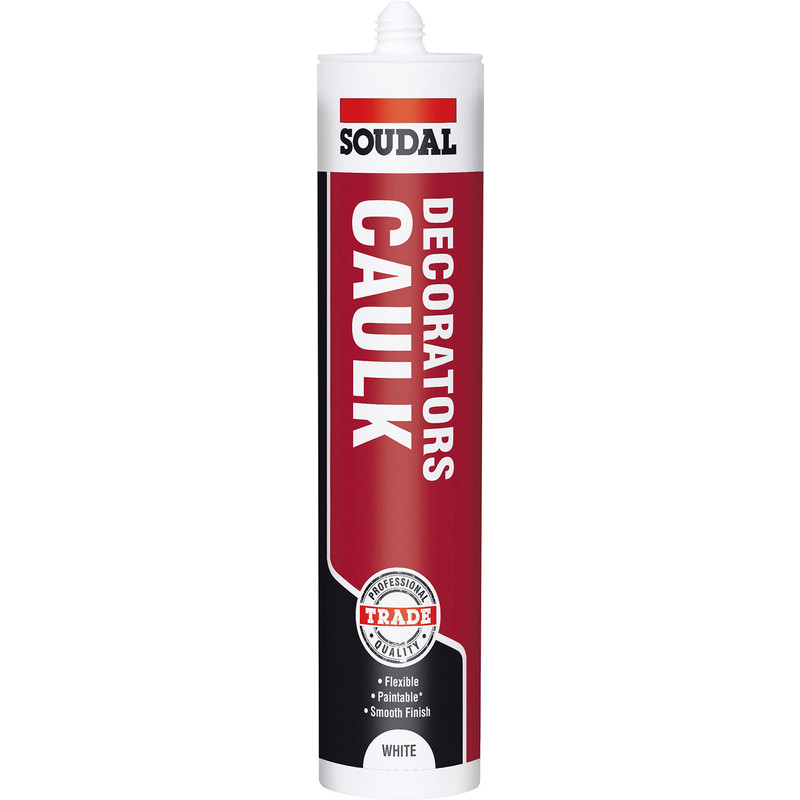
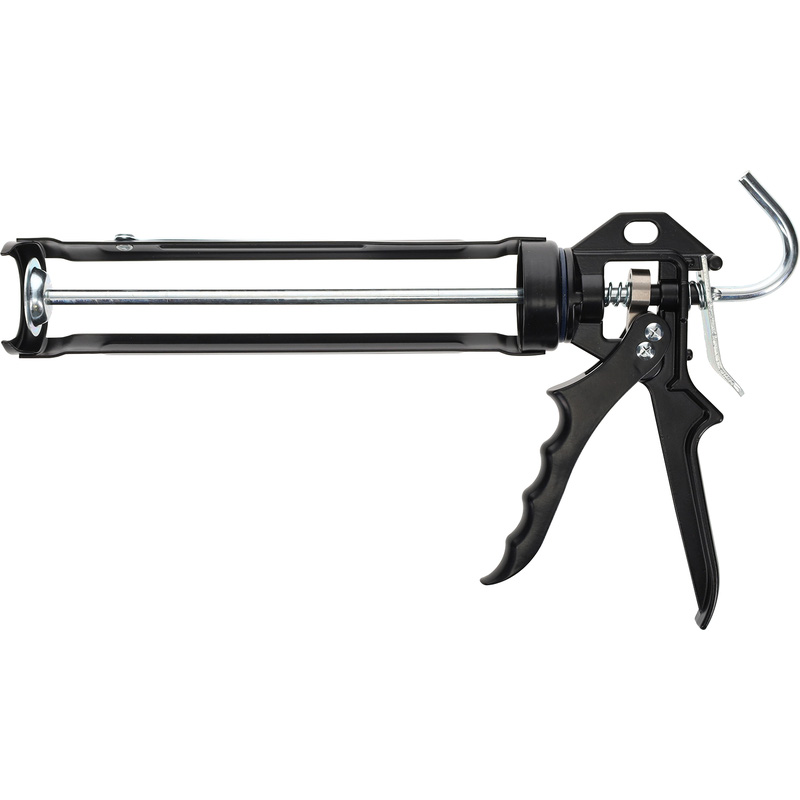
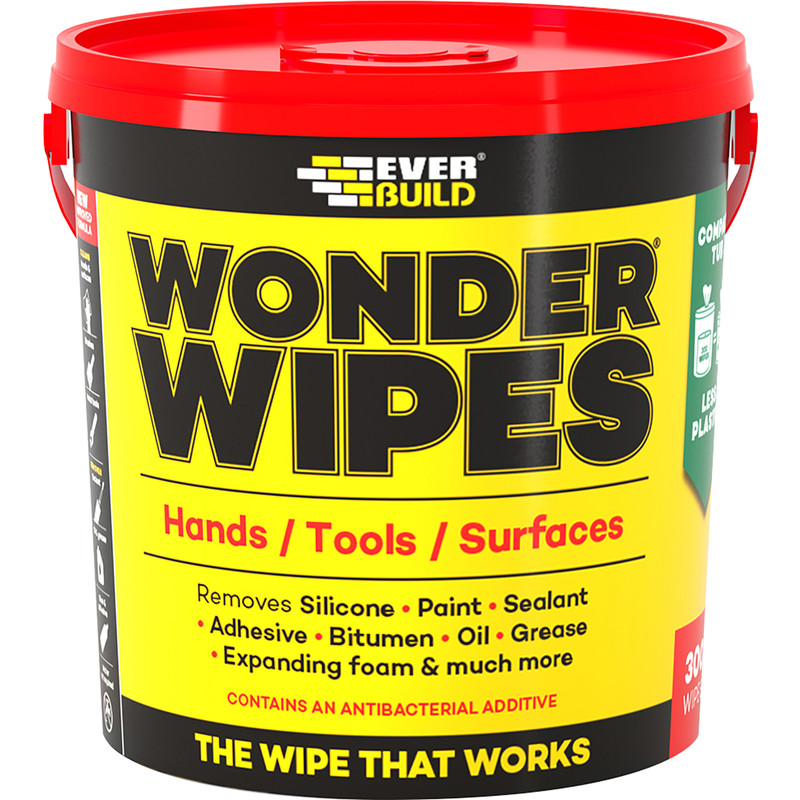
Tools You’ll Need to Caulk Skirting Boards
Tips When Applying Caulk to Skirting Boards
Fill Large Gaps
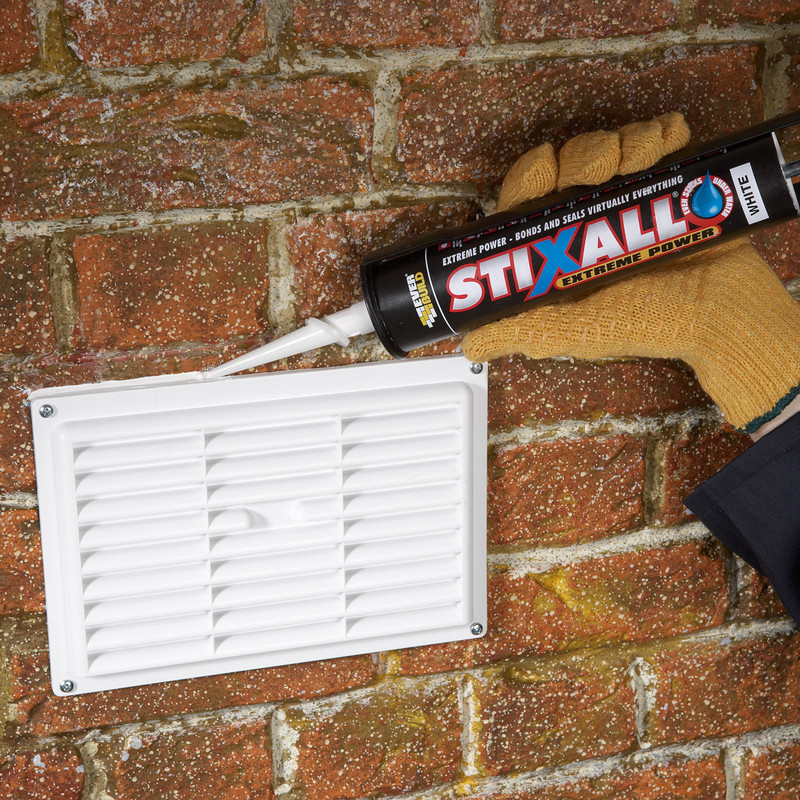
Before applying the caulk, check between the skirting boards and the walls looking for large gaps, anything wider than 3mm. If you spot any, it’s a good idea to fill these gaps with adhesive. This is because caulk shrinks as it dries so applying coving adhesive prior to caulk could prevent you having to go over the skirting boards twice. What’s more, it will help bind your skirting boards to the walls for a more secure finish.
Don’t Use Silicone In Place of Caulk
While silicone seems similar to decorator’s caulk, there are some differences that mean it’s not suitable for this particular DIY job. Once silicone has cured (dried) it’s waterproof and this means it can’t be painted. If you’d like to know more about the differences between caulk and silicone you can read about them in our guide: Caulk vs Silicone.
Apply Caulk at the Right Time
If you’ve got a newly plastered wall, you’ll want to ensure you’ve applied a mist coat before fixing any skirting boards and applying caulk. This is because mist coats are a very thin paint mixture and can be messy. That said, apply caulk before the final top coat of paint, as you'll need to 'cut in' the paint to the skirting boards, including the caulk itself.
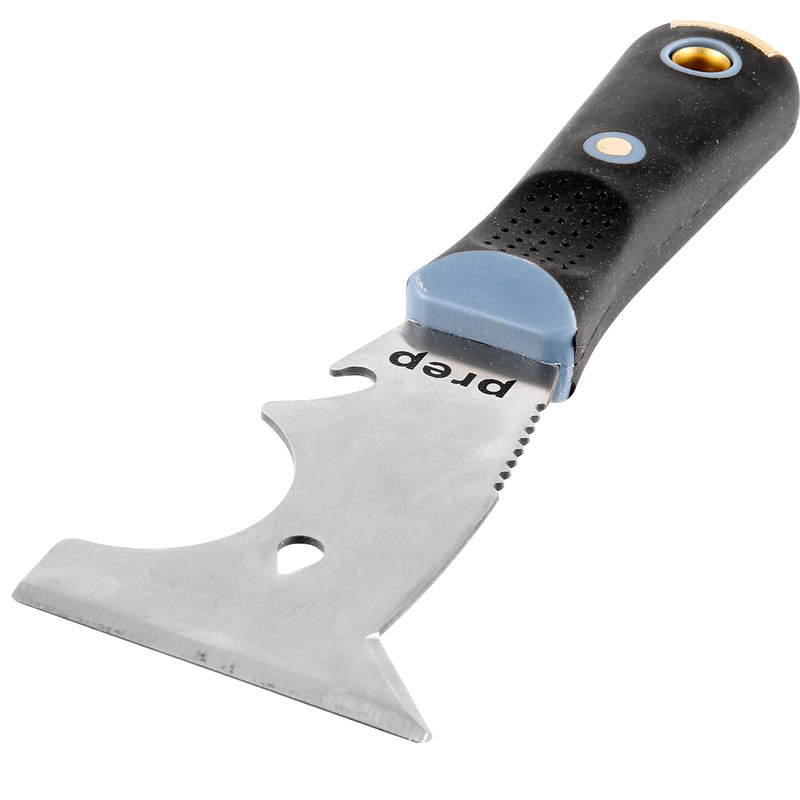
Step 1: Scrape Away Old Caulk
If you’re not applying caulk to newly installed skirting boards but instead simply tidying up an existing job, you’ll want to remove any old caulk first. Using a scraper, carefully scrape away the old caulk - take care not to damage the walls and skirting boards. When scraping between the skirting boards and wall, take care not to force the skirting boards as you may inadvertently pull the boards away from the wall creating large gaps.
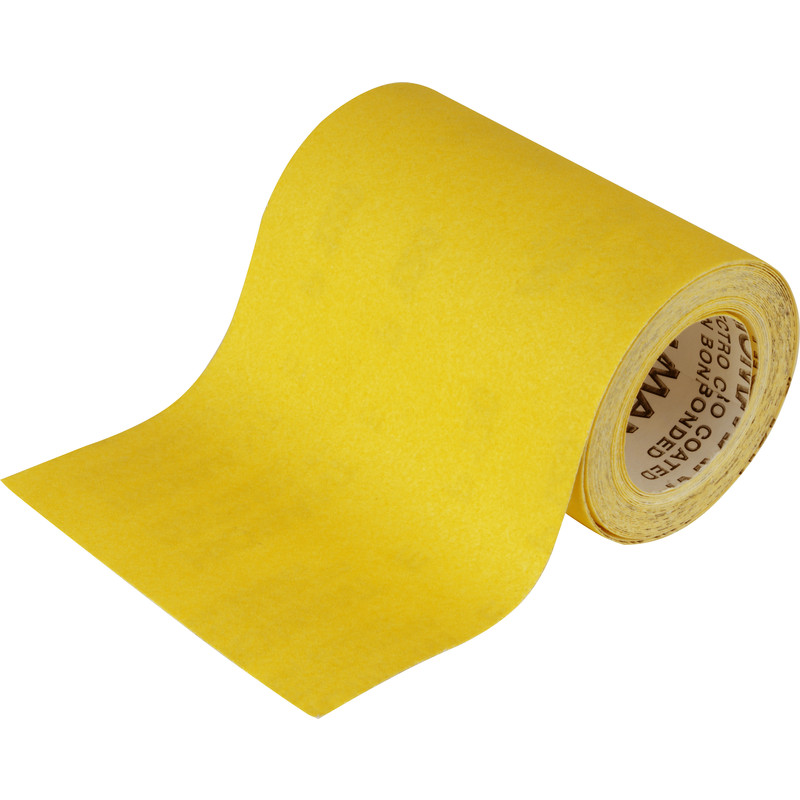
It’s a good idea to sand away any lumps and bumps so the caulk can be applied evenly. If you’re left with patches on the skirting boards, you’ll need to apply an undercoat before moving on to the next step.
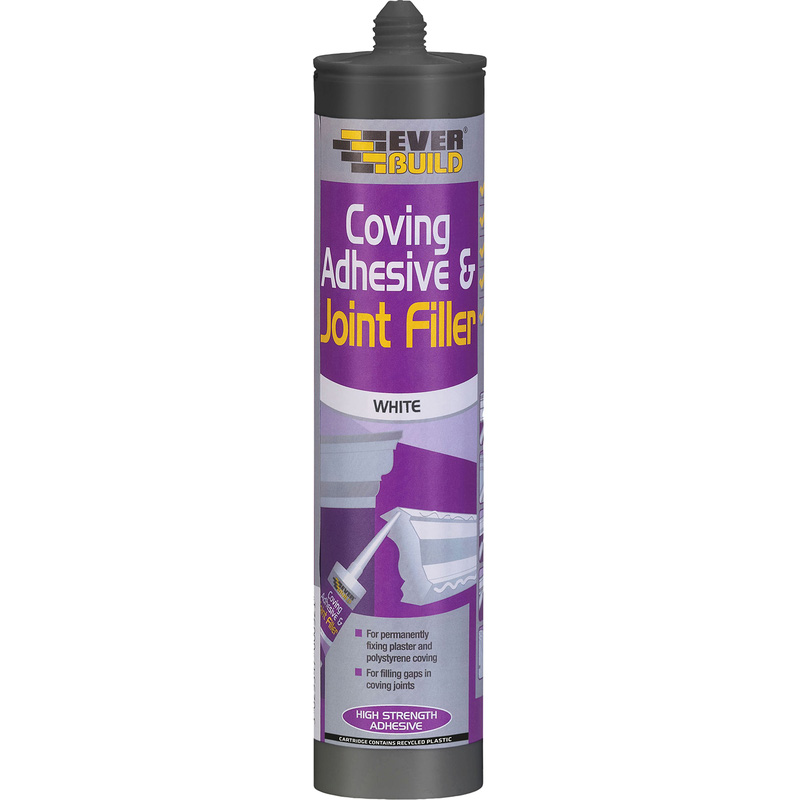
Step 2: Fill any Large Gaps
As well as shrinking as it dries, caulk can have a tendency to sink into large gaps. So, if you spot any between the boards and walls, apply some coving adhesive along the length of your skirting boards. Once dry, this provides an ideal surface for the caulk to be applied to, and offers a secure fit between the skirting and wall.
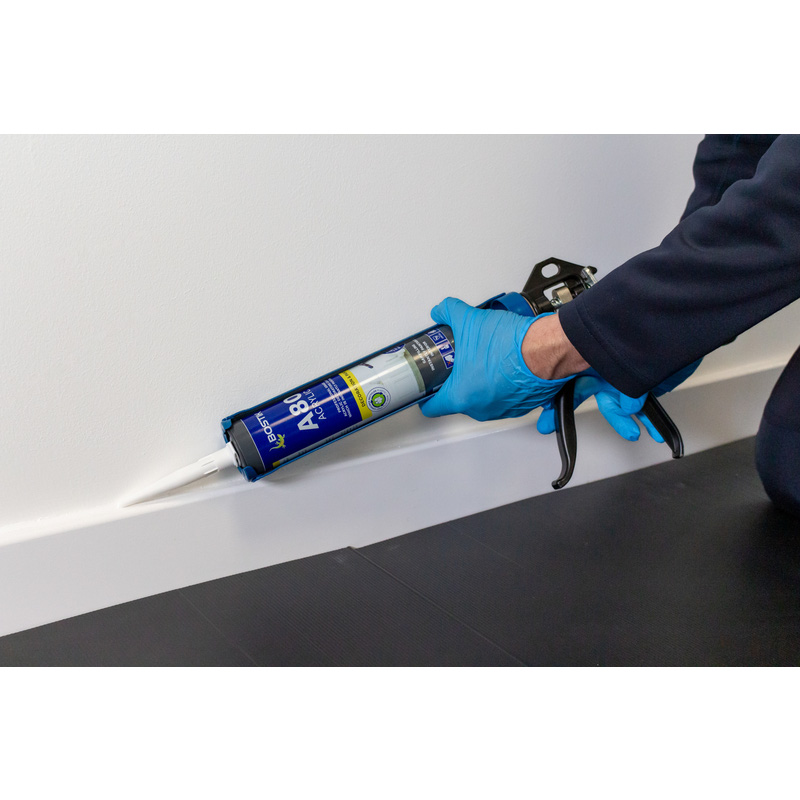
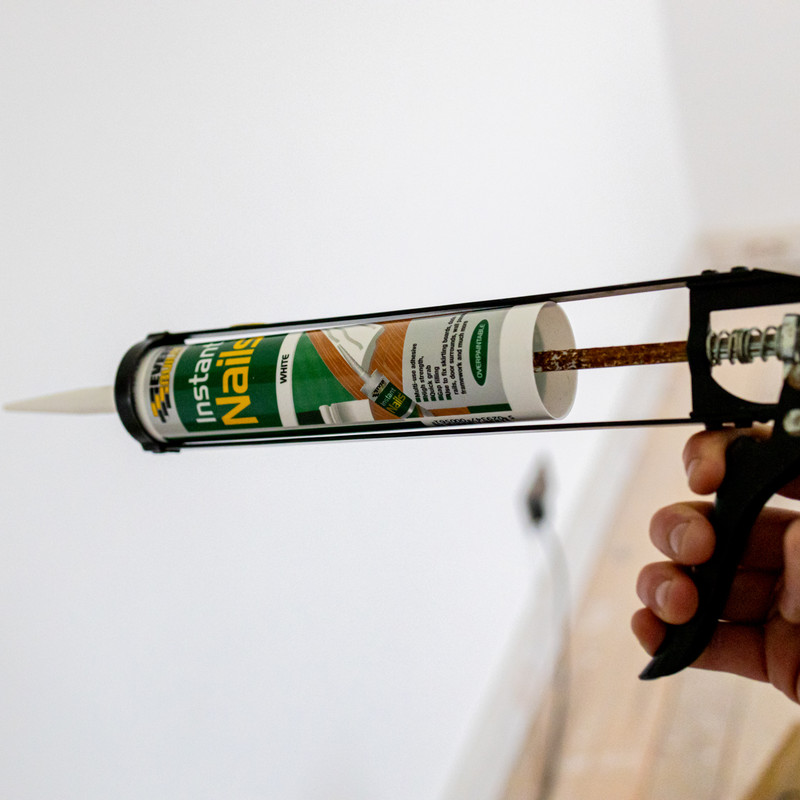
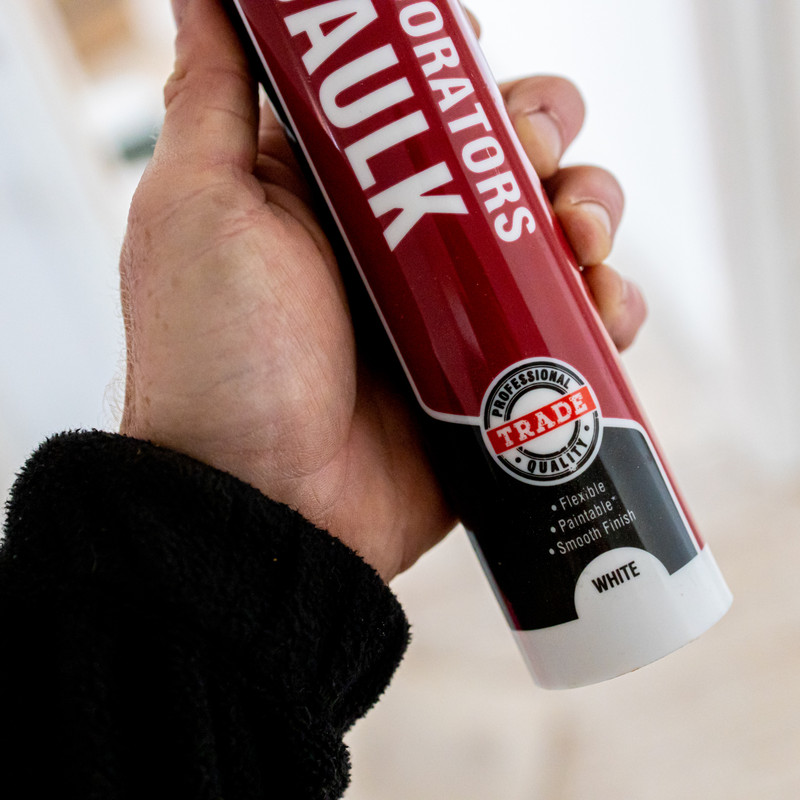
Step 3: Apply the Caulk
Take your tube of caulk and cut the very tip off of the nozzle, and at a slight angle. Try and avoid making the hole too big as this can cause too much product coming out resulting in wastage.
Position the nozzle at the end of the skirting board at an angle, apply a little pressure to the handle of the caulking gun to release the caulk. As soon as the product comes out, move along the skirting board edge while simultaneously squeezing the handle. Don’t worry if you notice any small gaps along the caulk as you can clean this up in the next step.
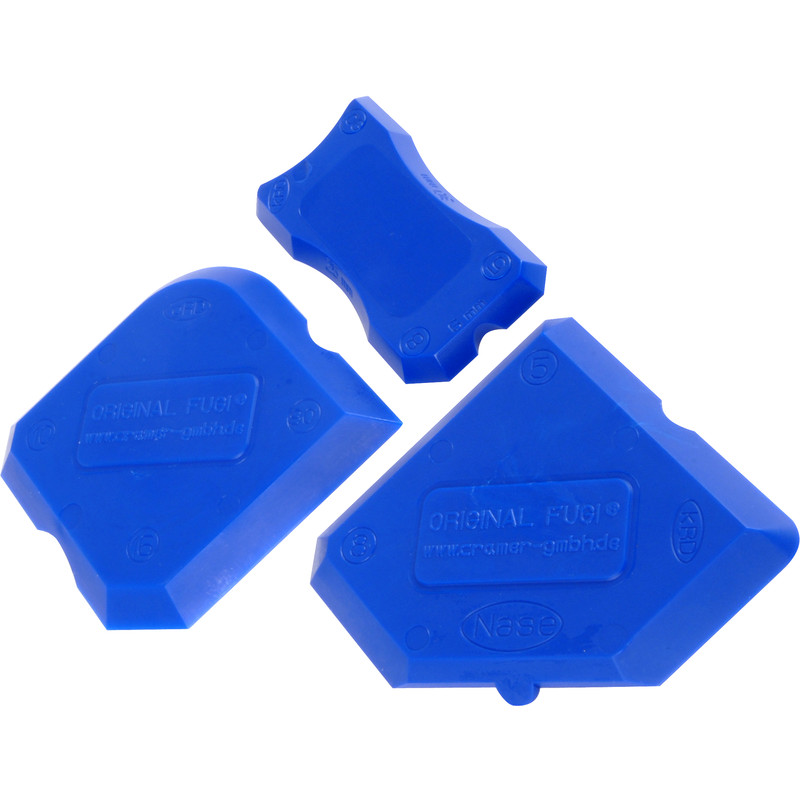
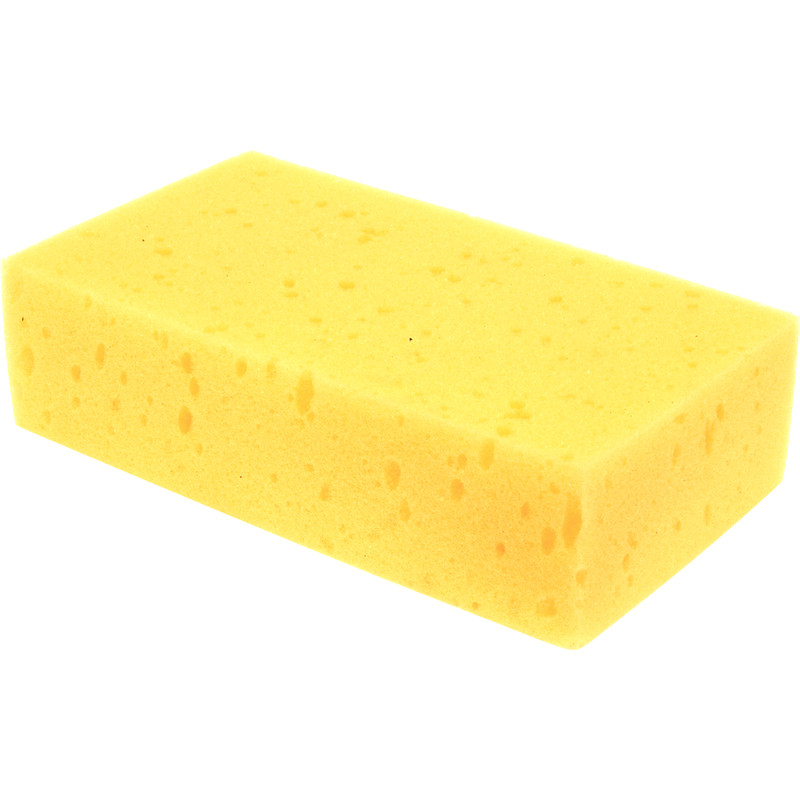
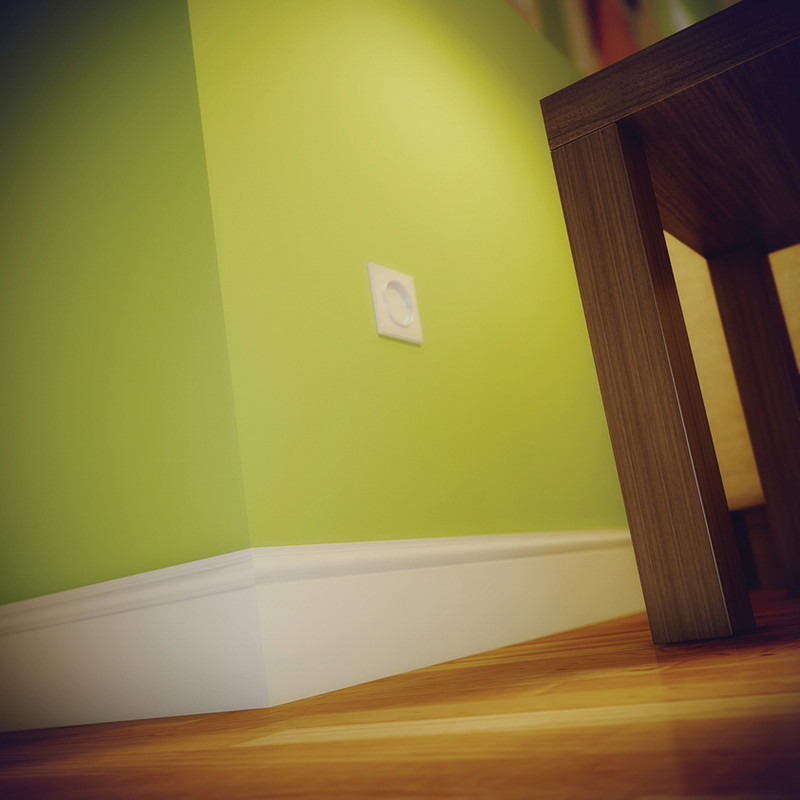
Step 4: Smooth the Caulk
There are a couple of ways to smooth out the caulk, either use a damp sponge or a smoothing tool - which are designed with this type of job in mind. In either case, position the tool (or damp sponge) at one end of the skirting board and in one swipe, carefully smooth along the freshly applied caulk. Excess caulk should fill any small gaps along the way.
Next, leave the caulk to cure and then re-check the finish. If it has shrunk slightly, you may need to apply another layer.