- Help & Advice
- How To Guides
- How To Care For Your Lawn

How To Care For Your Lawn
Regular maintenance of your lawn ensures it’ll stay looking lush and healthy all year round. All it takes is a bit of know-how and a little patience. In this lawn care guide, we’ll help you get the most out of your lawn, whether you’re starting afresh or just want to stay on top of things.
We’ll cover all the basics from sowing grass seed and removing tough thatch, to tips on watering and dealing with weeds.
Tips To Care For An Established Lawn
So, you’ve already got an established lawn but it needs tending to, and beyond mowing the grass you’re not sure what else is needed to get it summer-ready. That’s where our lawn care suggestions can help.
Typically, mowing the lawn should be done as and when necessary - this prevents the build-up of thatch and keeps the grass healthy and strong. You’ll find grass grows much faster in the spring and summer so it'll need doing more often. However, if the lawn has been left for some time, it may be a bit wild. In which case, it’s a good idea to carry out the following tasks as part of your lawn care and garden maintenance.
Step 1: Scarify the Lawn
Scarifying is a gardening process that involves removing any layers of thatch - a build-up of dead grass and moss - which builds up over time and at the base of the lawn. Scarifying a lawn can be done manually by using a rake or a mechanical scarifier. If you notice any thatch on your lawn then it's an essential task as leaving it can prevent water, air, and nutrients from reaching the grass roots. Scarifying helps to rejuvenate the lawn by allowing it to breathe and grow back thicker and healthier.
The best time to scarify is in spring (April–May) or early autumn (September) when the grass is actively growing and can therefore recover quickly. Before scarifying, mow the lawn fairly short, then go over the surface in one or two directions to lift out the debris. The lawn might look rough immediately afterward, but recovery begins quickly if the conditions are right.
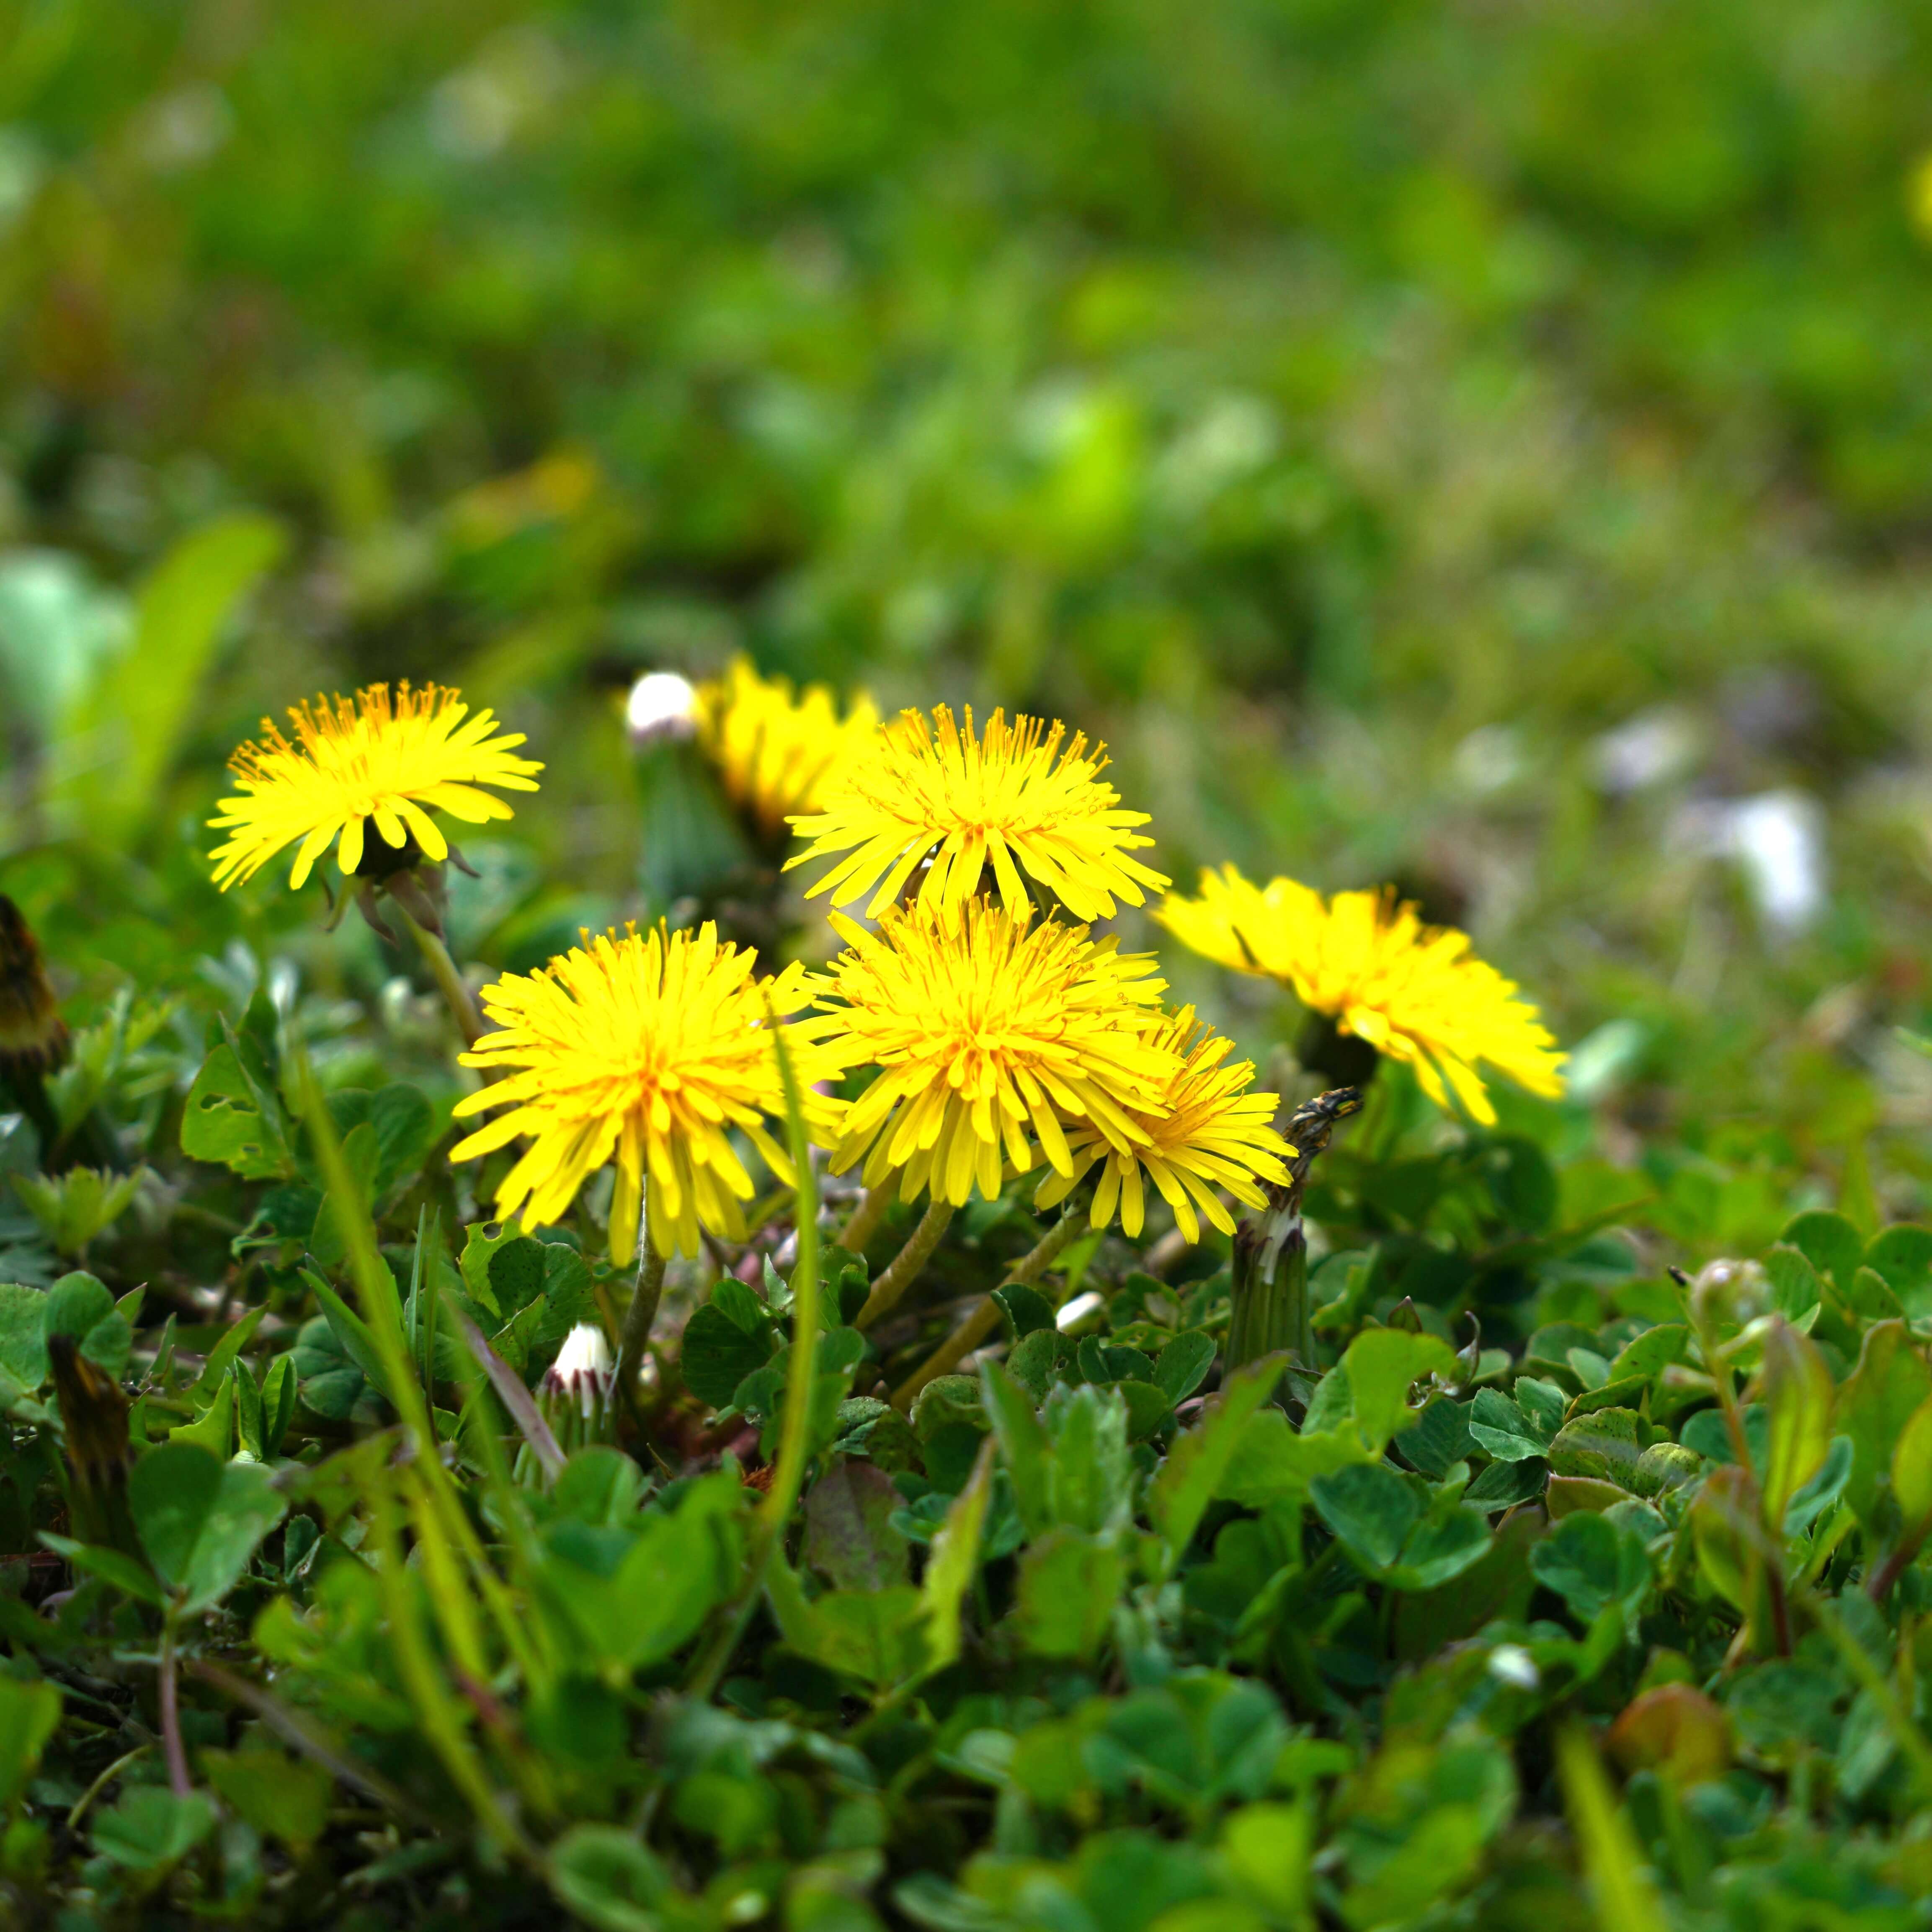
Step 2: Remove the Weeds
After scarifying, it's much easier to see and access any weeds that might have been hidden by thatch. It’s important to remove weeds, like dandelions, nettles and cleavers as these can compete with your grass for nutrients, water, and space. Doing this now ensures the grass has less competition and helps prepare a clean area for any reseeding.
You can weed manually by pulling them out with a hand tool - if doing this be sure to remove the roots otherwise they’ll grow back quickly. Alternatively, you can use a lawn weed killer that targets weeds but without harming the grass. When weeding, aim to do it on a dry day when the soil is slightly moist - this makes root removal much easier and any chemical treatments more effective. Be careful if you plan to seed soon afterwards, as some weed killers need a waiting period before seeding.
Step 3: Aerate the Lawn
Aeration involves perforating the soil with small holes to relieve compaction and allow air, water, and fertiliser to reach the roots. It’s especially beneficial in high-traffic lawns or if soil is clay-heavy, meaning that it tends to compact over time. It encourages deeper root growth and improves the overall resilience of your lawn.
The best times to aerate your lawn are in spring or autumn, ideally after scarifying and before seeding. Use a garden fork (push in and wiggle slightly) or an aerator machine (which removes small plugs of soil). If you combine this step with overseeding, aeration helps to open up the soil for better seed-to-soil contact and germination.

Step 4: Apply a Light Layer of Top Dressing
Top dressing involves lightly spreading a thin layer of soil, sand, or compost over the surface of your lawn. It helps smooth out minor surface irregularities, improves soil structure, and can help to support seed germination for better grass quality. Over time, it’ll also improve drainage and nutrient content.
Apply top dressing after aeration and/or before or after seeding by using a wheelbarrow and shovel or a grass spreader to scatter the mix, then use a stiff broom to work it into the grass evenly. Don’t smother the grass - apply just enough to fill in holes and lightly cover the surface. Afterwards, be sure to water the lawn thoroughly. As with most lawn care tasks, it’s best to apply top dressing in the spring or early autumn.

Step 5: Sow Seed to Fill in Bare Patches
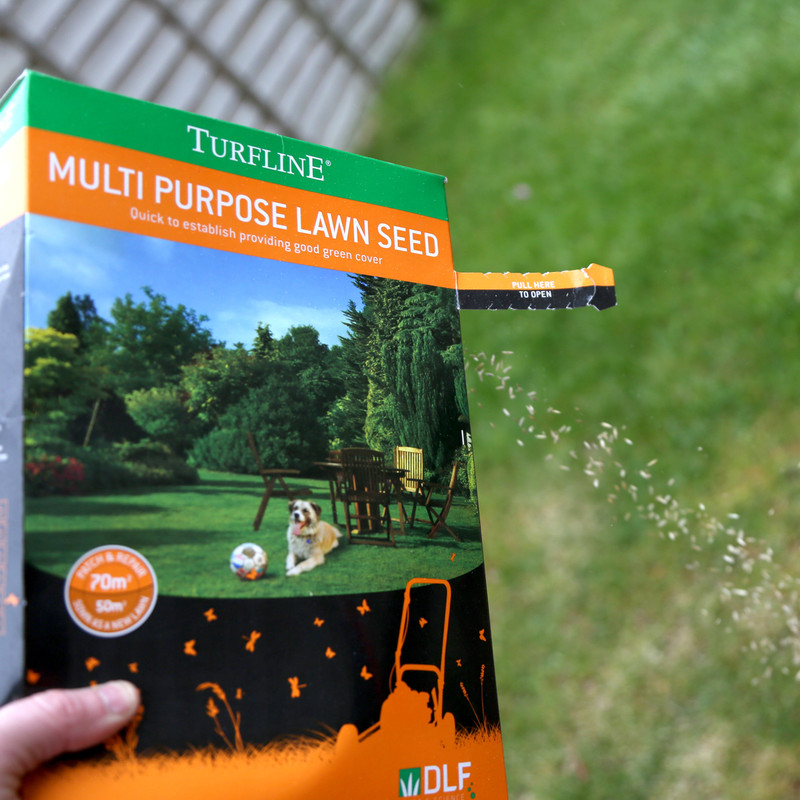
Once weeds are removed and the lawn surface is clear, it’s now a great time to fill in any bare or thin areas by sowing some fresh grass seed. Overseeding improves the overall density and health of your lawn, while patching specific areas helps maintain a neat and uniform appearance.
The best seasons to sow grass seed is spring and early autumn, when temperatures are usually mild and moisture levels are typically ideal. To fill patches, loosen up the soil using a rake, sprinkle seed evenly, and - if you like - cover with a thin layer of compost or topsoil to improve germination. Water carefully and keep the area moist until the new grass has sprouted. Be sure not to mow newly seeded areas until the grass has reached about 7-8 cm tall.
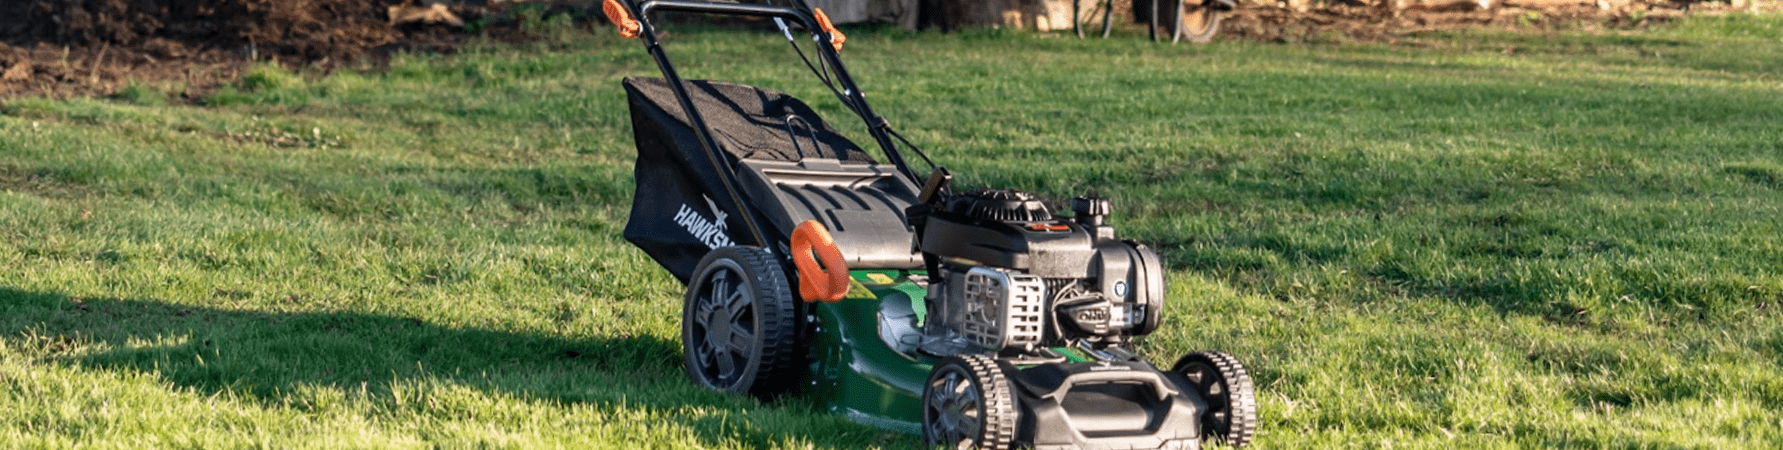
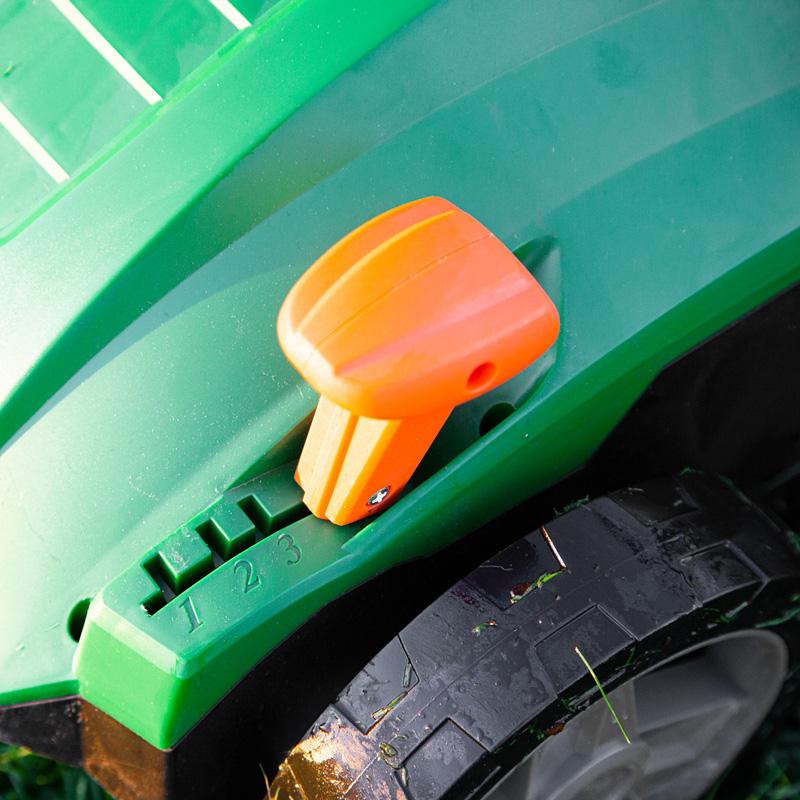
Step 6: Mow the Lawn
Mowing is a key maintenance task that encourages thick, healthy growth and will keep your lawn neat and tidy. Regular mowing helps the grass grow sideways, which naturally crowds out weeds, reducing their growth while creating a dense, lush appearance.
Only mow when the grass is dry, and never remove more than one-third of its height at once. For most lawns, sticking to a cutting height of around 4-6 cm is ideal. Make sure your lawnmower blades are sharp to avoid tearing the grass. If you've recently seeded, wait a few weeks and only mow once the new grass is tall and strong enough.

Step 7: Trim the Grass Edges
Trimming along the borders of your lawn is a great way of reaching where a mower cannot. This includes areas around paths, flower beds, and fences. Edging gives your lawn a clean, well-kept look and prevents grass from encroaching into other parts of your garden.
You can use garden shears for better precision, especially along well-defined borders. However, using a grass trimmer can be faster for large areas, but you’ll need a steady hand to avoid cutting away too much or leaving rough edges. Carry out this step once you’ve mowed the lawn, as this is when the boundary lines are more visible and easier to follow. Trimming the edges every couple of weeks or so will ensure your lawn looks well-kept throughout the spring and summer.

Water the Grass
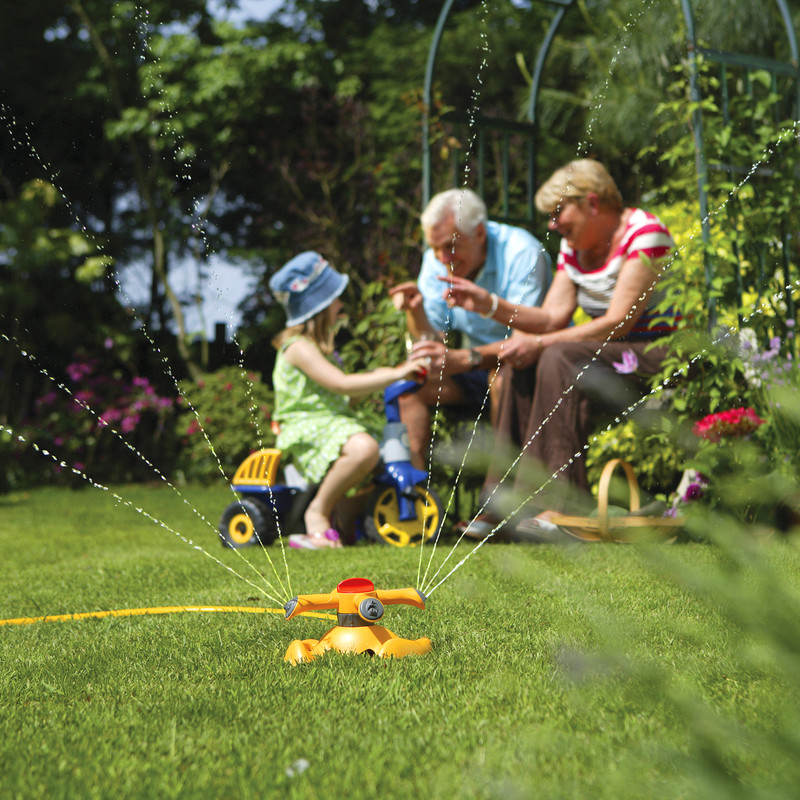
It’s a good idea to water deeply but less frequently for best results. Unless it rains, watering once or twice a week should be plenty and will allow the grass roots to take hold. You’ll probably need to water the lawn more often during hot, sunny weather so be sure to regularly check the soil - if it’s particularly dry, give it plenty of water until the top 4cm or so are damp. The best time to water any lawn is first thing in the morning or early evening - this ensures that peak afternoon heat won’t evaporate any of it.
You can use a sprinkler system for watering larger lawns - these are also ideal if you’re going away on holiday as they can be set up on a timer so you can be confident your garden is getting water even while you’re away. For smaller lawns, a hose will suffice. There are different hosepipe attachments to choose from; a spray gun attachment, for example, allows for even distribution of water.