- Help & Advice
- How To Guides
- How To Aerate A Lawn
How To Aerate A Lawn
If your garden grass is looking a bit tired and lacklustre it may be a good idea to carry out lawn aeration to encourage new grass growth, improving both its vibrancy and colour. Lawn aeration is a simple landscaping practice that involves making small puncture holes in the top layers of the soil, so that water, air and nutrients can easily reach the grass roots and ensure grass seeds germinate properly.
Over time, it’s normal for soil to become impacted, and when this happens water absorption becomes more difficult, so you may spot water pooling on your lawn. Eventually, grass starts to die off leaving your lawn with bare patches. This is where lawn aeration comes in. To get your lawn back to its former glory, follow our easy-to-follow steps in this how-to guide.
The Best Time To Aerate Your Lawn
The ideal time to aerate your lawn is during its active growing season, typically around late March to April. This allows the grass to recover more effectively and fill in any gaps created during the process. Aerating outside of this window, especially during colder months or periods when grass lies dormant, can put unnecessary stress on the lawn, hindering its ability to repair and thrive, especially if the aeration is done incorrectly.
Before aerating, it's important to inspect your lawn for signs of thatch. Thatch is a layer of dead grass, roots, and organic material that builds up between the soil surface and the living grass. While a small amount is normal, a thick, dense layer can block air, water, and nutrients from reaching the soil, reducing the effectiveness of aeration. If you notice a significant thatch buildup, it should be removed beforehand using a process called lawn scarification. This ensures that the aeration is as effective as possible and promotes healthier, more vigorous grass growth.

Step 1: Prepare the Lawn
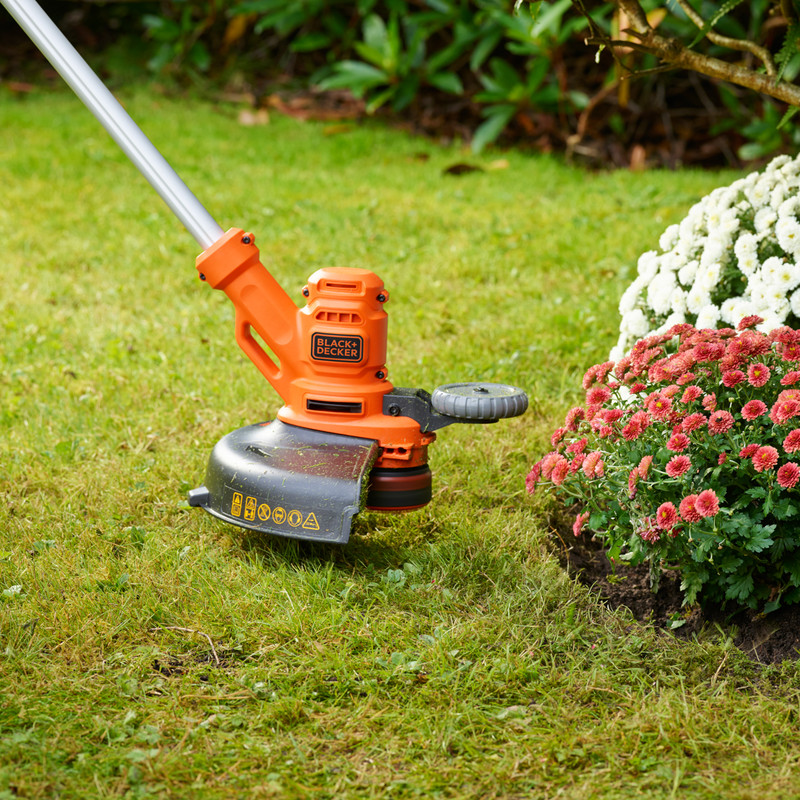
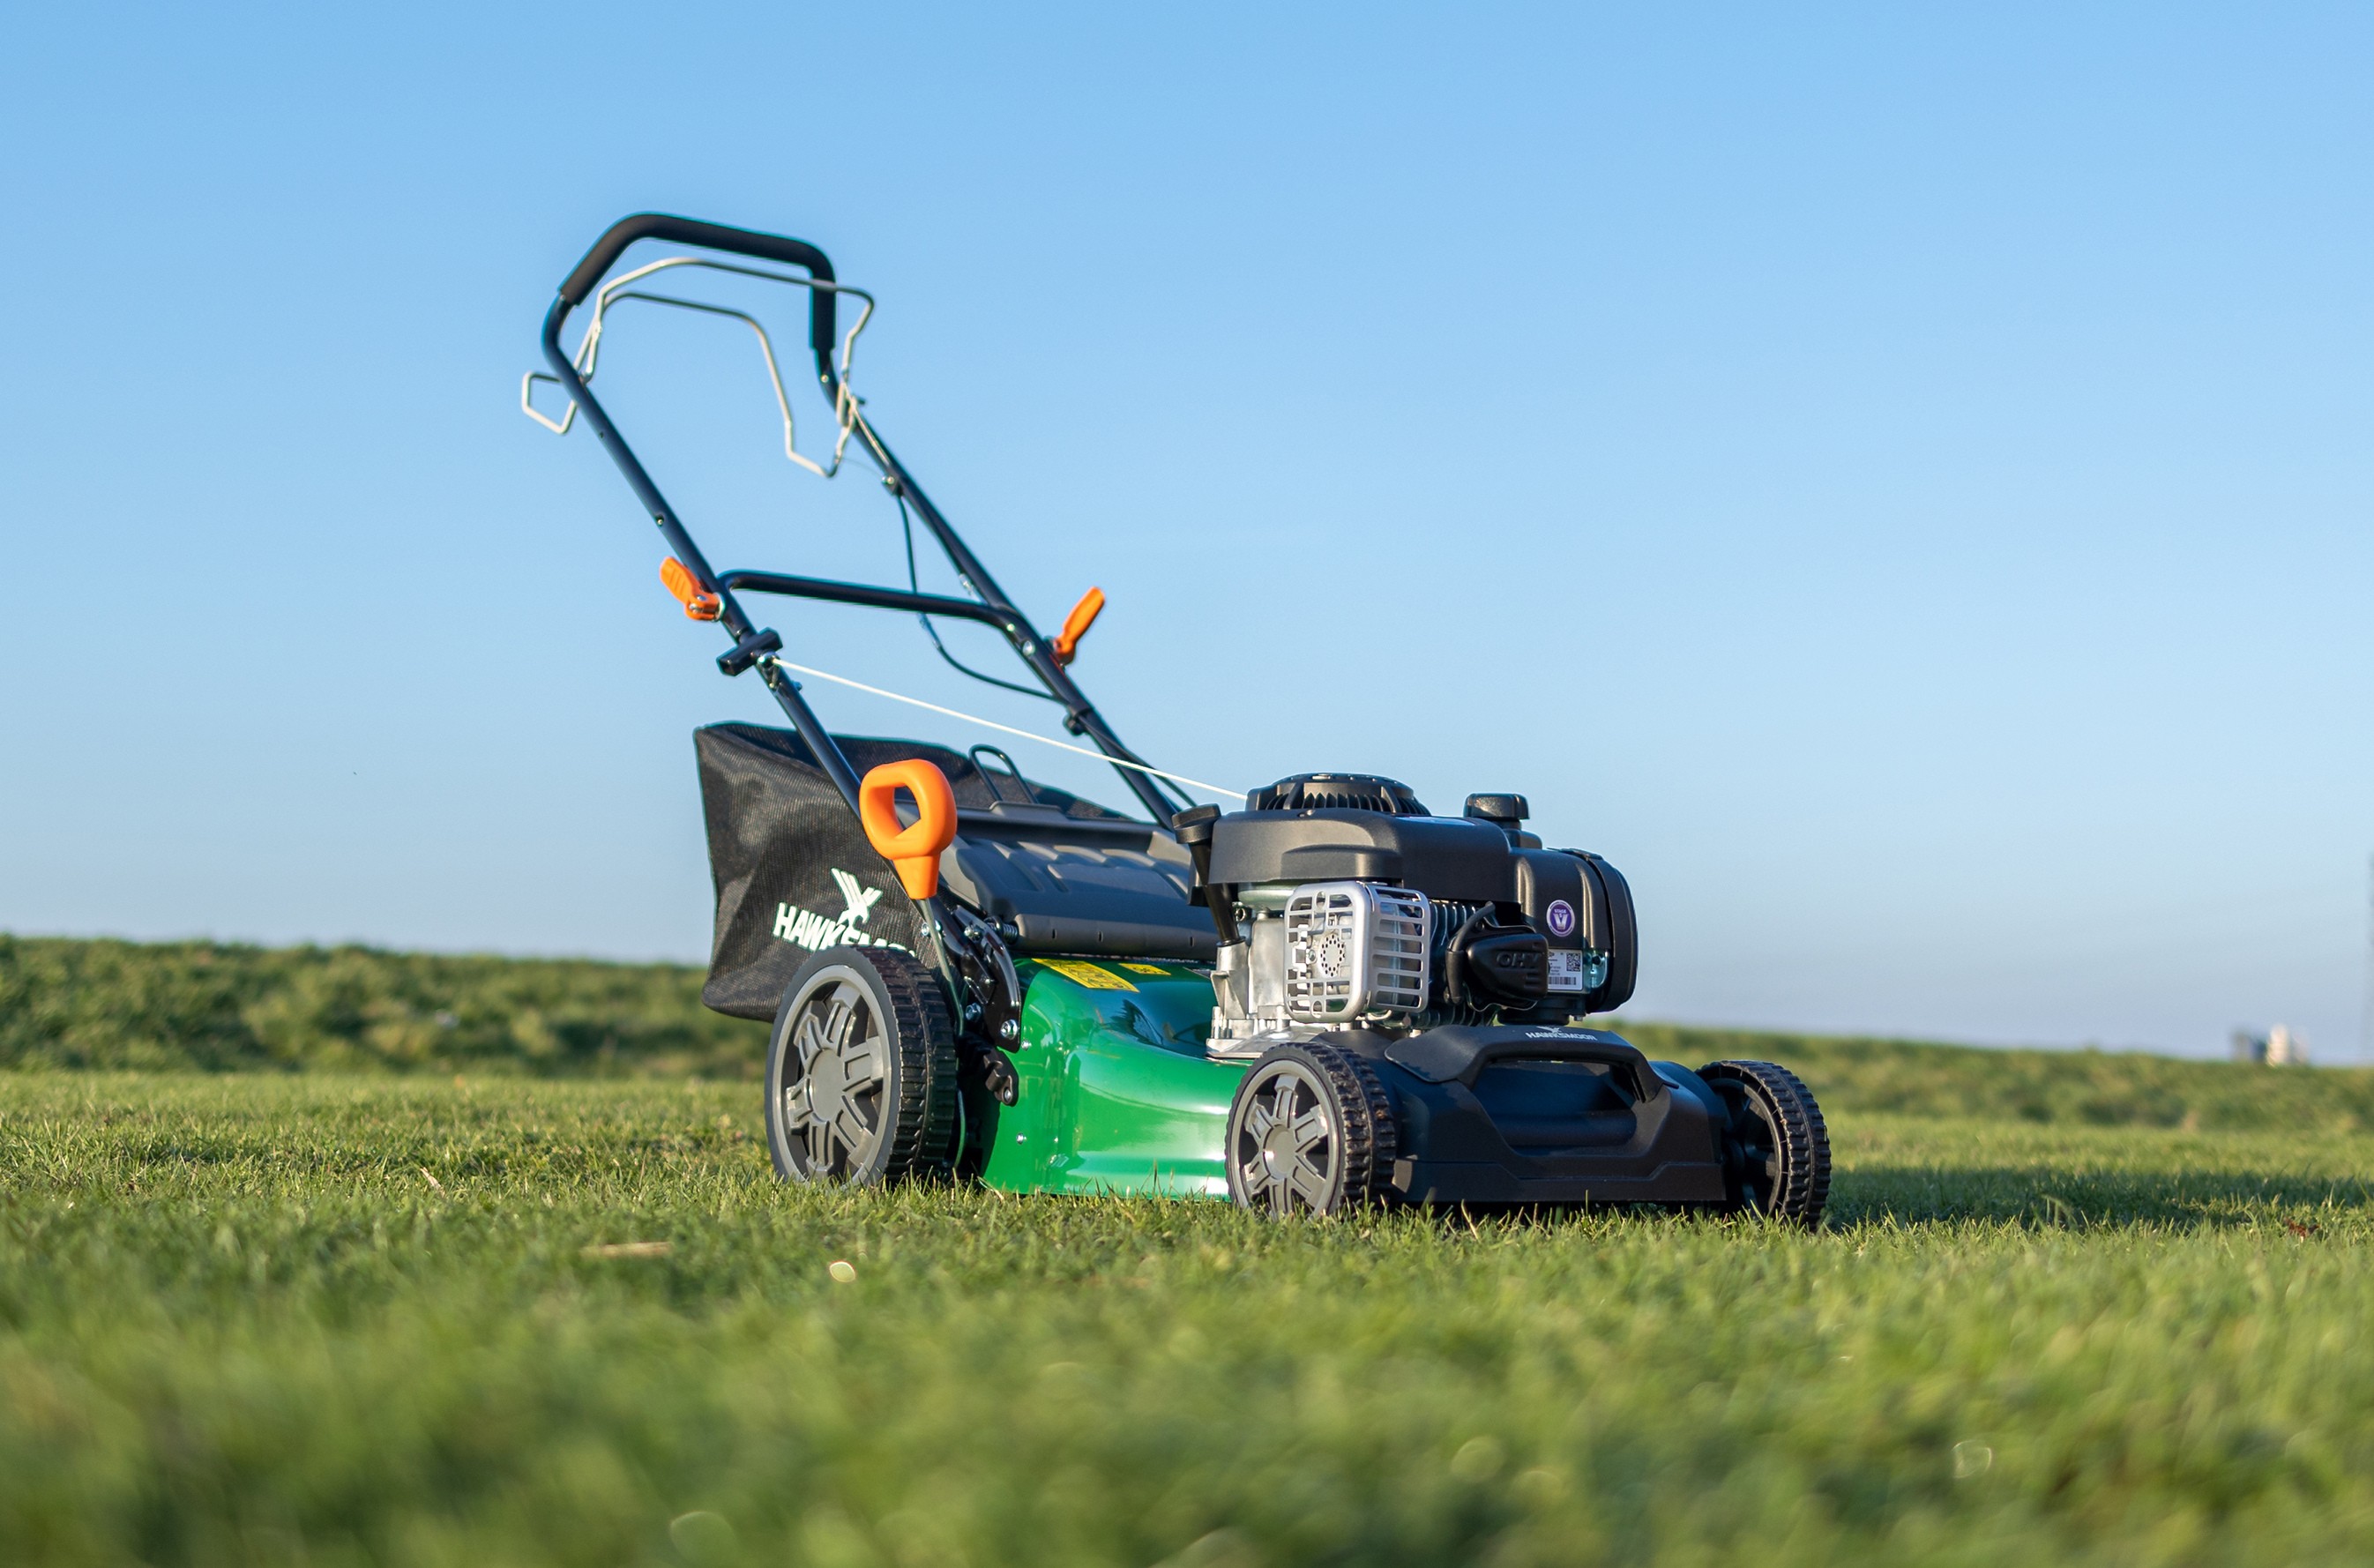
Before aerating, mow the grass slightly shorter than usual, being careful not to go too short. This helps expose the soil and makes it easier for the aerator (or garden fork) to penetrate. After mowing, remove any obvious debris like sticks, leaves, or rocks from the surface of the lawn.
If the ground is especially hard or dry, it's a good idea to water it that day before you plan to aerate. Moist soil is much easier to work with, and aeration tools will be far more effective. The soil should feel damp to the touch but not muddy.
Now is also the time to scarify the lawn if there's a build up of thatch - that's the tough layer of dead grass. By removing the thatch will ensure the holes made during aeration can actually do their job.
Step 2: Choose Your Aeration Method
Aeration can be done in a couple of ways and the best method depends on the size of your lawn and how impacted the soil is.
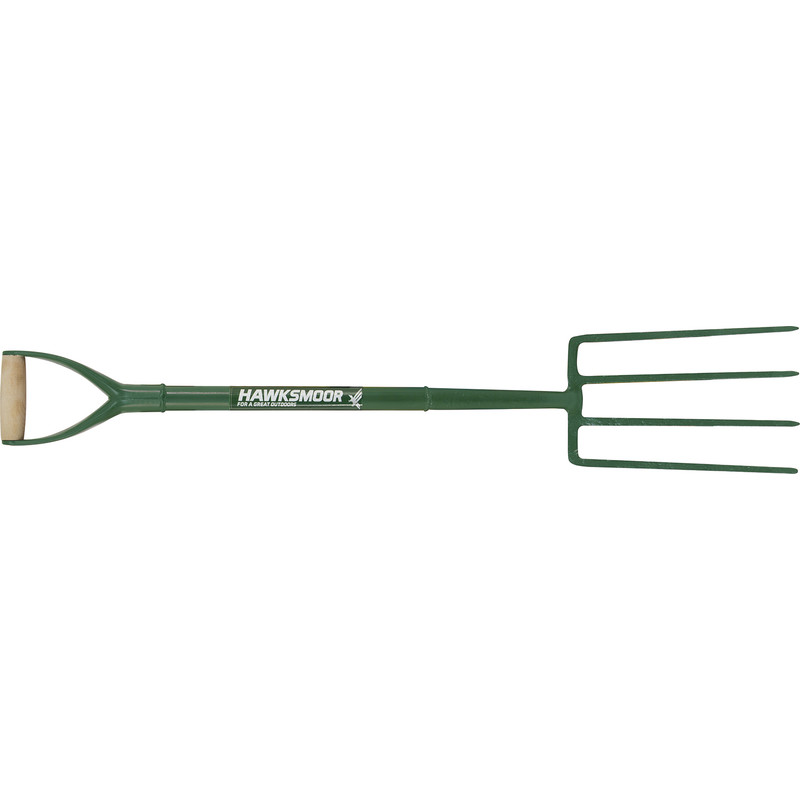
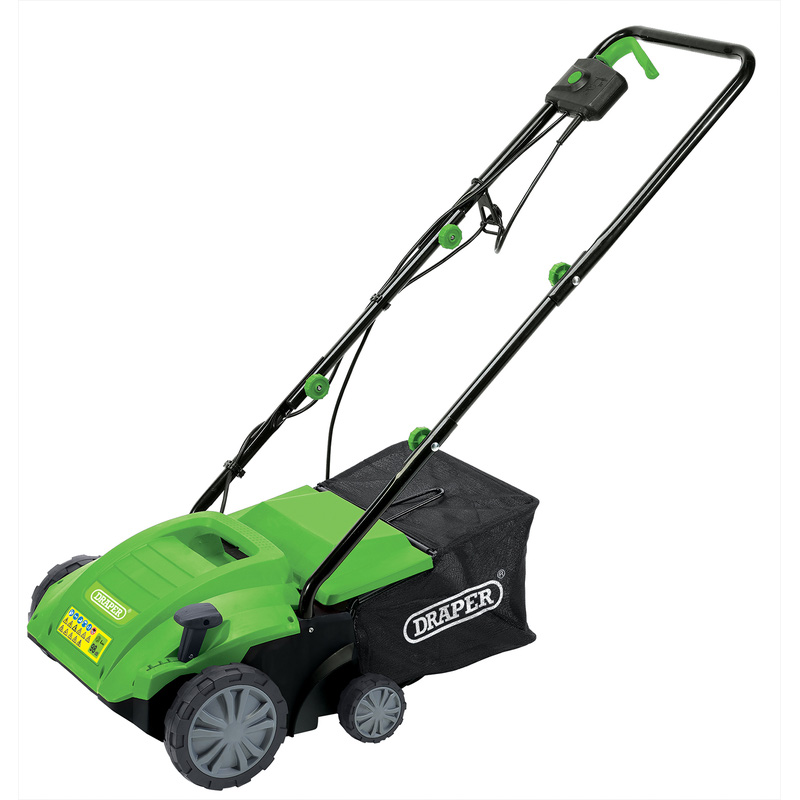
If your lawn is pretty small, or you only want to aerate localised areas, a simple garden fork can be work well. On the other hand, if you have a larger lawn, or perhaps the soil is seriously compacted, a motorised aerator would work best. This machine, sometimes dual-function with a scarifier, can remove small plugs of soil leaving behind open holes which can make a big improvement to both airflow and nutrient absorption.
For smaller lawns or localized areas, a manual aerator or even a garden fork can work well. A garden fork should be pushed into the soil to a depth of around 3 to 4 inches, then rocked back and forth to open up the ground.
Step 3: Aerate the Lawn Thoroughly
Whatever method you choose, begin by aerating in straight lines across your lawn, working systematically to cover the entire area. Go slowly and steadily, making sure to get good coverage. If you're using a garden fork, this should be pushed into the ground at a depth of around 3 to 4 inches, then rocked back and forth to open up the ground.
Once you’ve covered the entire lawn in one direction, it’s a good idea to go over it again at a 90-degree angle to your first pass. That way, you can be sure the cross-pattern opens up areas that are heavily compacted, improving the overall effectiveness of the aeration.
Step 4: Apply Lawn Feed or Grass Seed
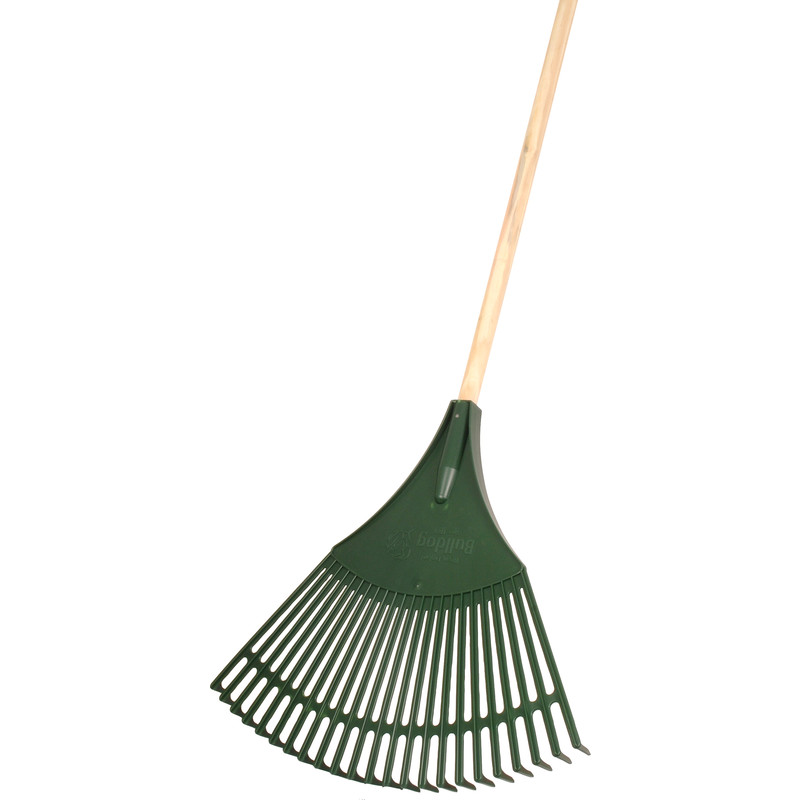
Once you've completed the aeration, now is the best time to add anything that'll benefit from direct access to the roots, such as lawn food. If your lawn is suffering from bare patches, sow grass seed straight away, being sure to spread the seed evenly across the area and gently raking it in to ensure good seed-to-soil contact.
If you plan to fertilise your lawn, do this a few days after aerating. This allows the grass to begin recovering and growing into the newly opened soil, and the fertiliser will have a more direct path to the root system. Make sure to water your lawn thoroughly after any seeding or fertilising, and keep the soil consistently moist in the following weeks to encourage strong root development.
Step 5: Give Your Lawn Time to Recover
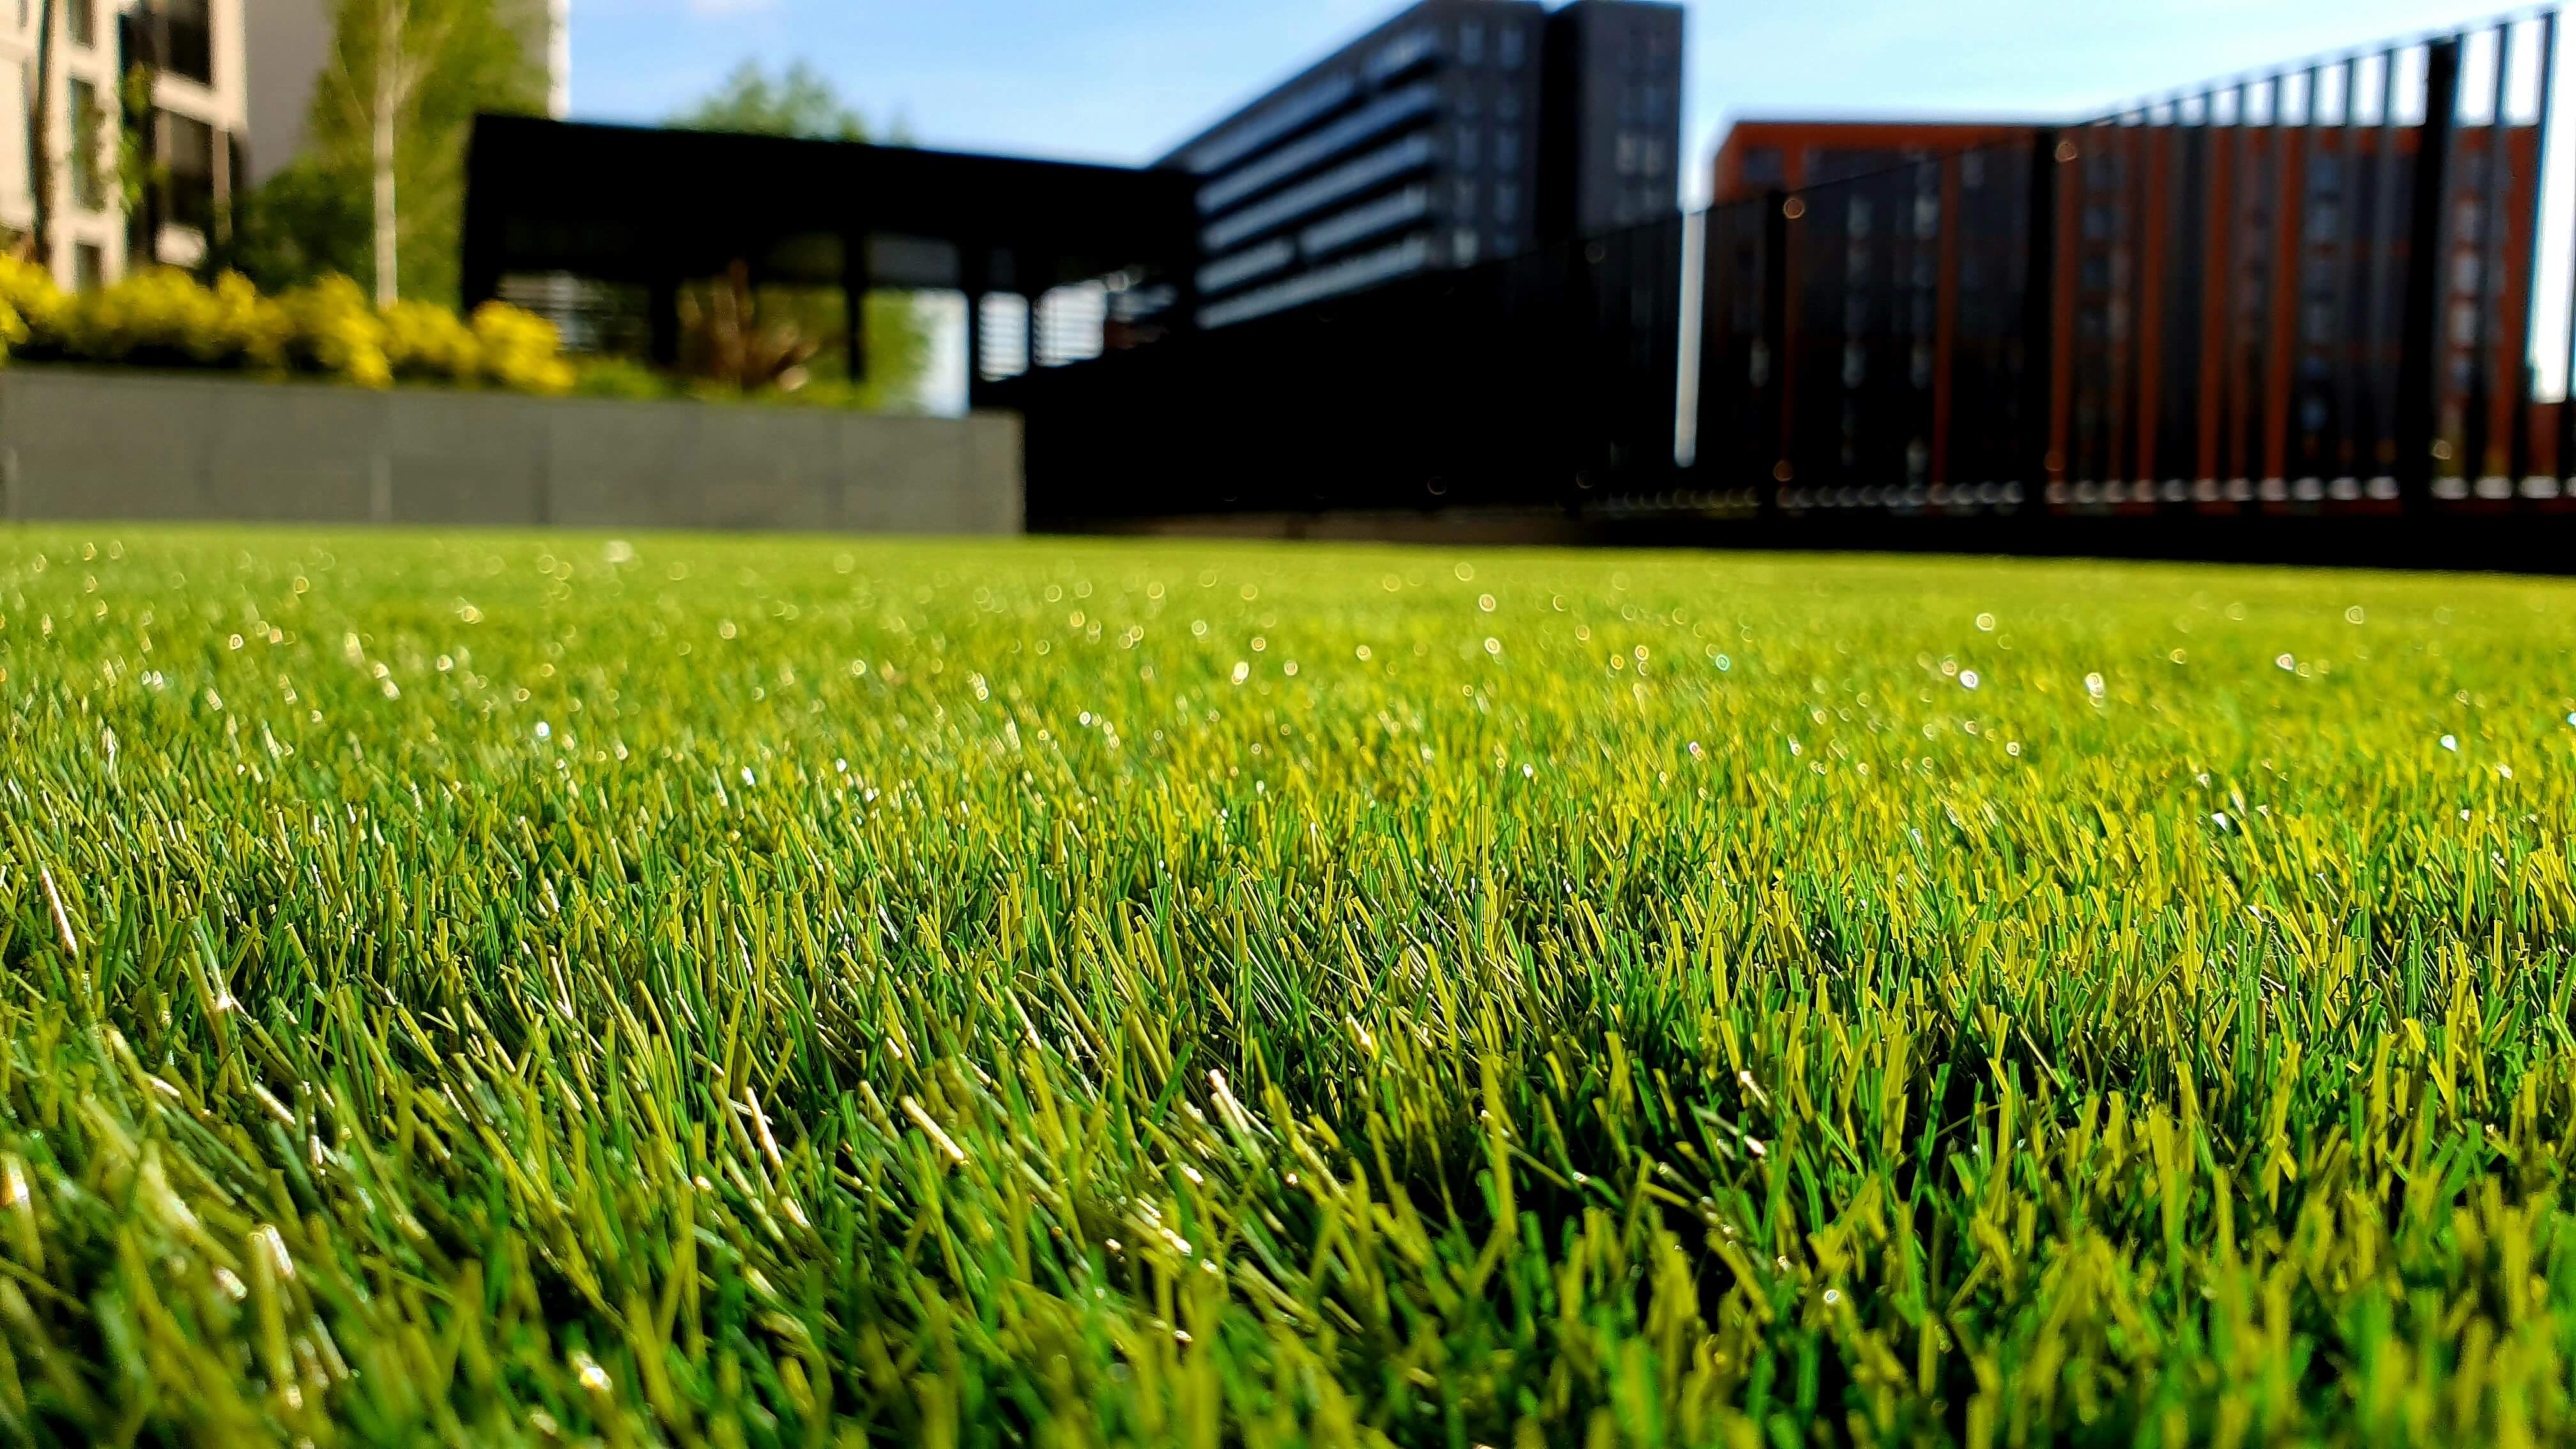
Give your lawn a few days to settle and start taking advantage of the improved conditions. Continue watering regularly, especially if you’ve applied grass seed.
You may notice that the lawn looks slightly rough or uneven at first, particularly if plugs are left on the surface, but this will smooth out with time. In a few weeks, you should begin to see thicker, greener growth and improved resilience in your lawn.