- Help & Advice
- How To Guides
- How To Replace Grass Trimmer Line

How To Replace Grass Trimmer Line
During the spring months, and as the warmer weather approaches, you’ll probably want to spend some time sprucing up your garden by mowing your lawn and trimming the hedges. Those final touches often involve using a grass trimmer to give your garden that professional landscaped finish.
But before you start, it’s a good idea to inspect the trimmer line, as it may need replacing. If your grass trimmer has been stored away for the winter, the thread may have become brittle due to the cold, or it may be worn and frayed from previous use. In any event, changing the thread means your trimmer will work as it should all summer long.
What Grass Trimmer Line Should You Use?
Before buying new trimmer wire, check what type of grass trimmer you have, as this could well impact the type of line you can use.
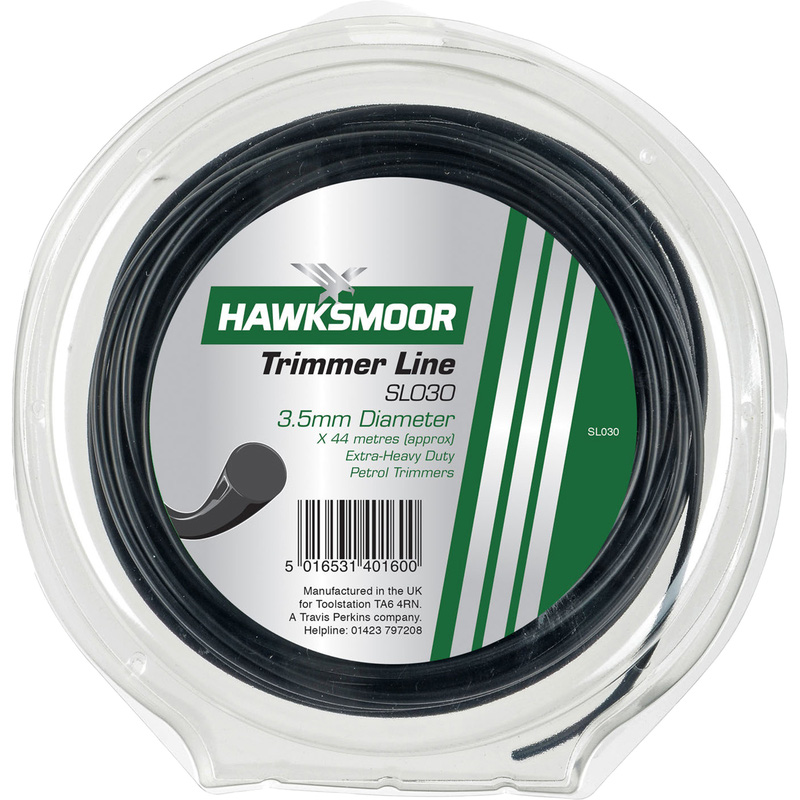
The first thing to consider is the diameter of the thread. Most grass trimmer lines vary anywhere from 1.5mm up to 3.5mm thick. If you’re planning on using your trimmer to tidy up edges around your lawn, a thinner line would suffice. On the other hand, if you need to tackle dense overgrowth and tough weeds, a thicker thread would be a better choice.
The shape of the trimmer line, whether round or square, affects both the cut and durability. Round line produces rougher, more abrasive cuts due to its shape, which doesn’t provide a clean edge. In contrast, square line has sharp, clean edges that offer a neater cut. However, the square edges can wear down more quickly, meaning square line doesn’t last as long as round line, which is more durable due to its smooth, flexible design.

Tools You Might Need to Replace Your Grass Trimmer Line
Step 1: Take off the Spool Cap
Most trimmers have a spool cap that keeps the line in place and prevents it from unravelling. If your grass trimmer has one of these, you'll need to remove it to get access to the spool line inside.
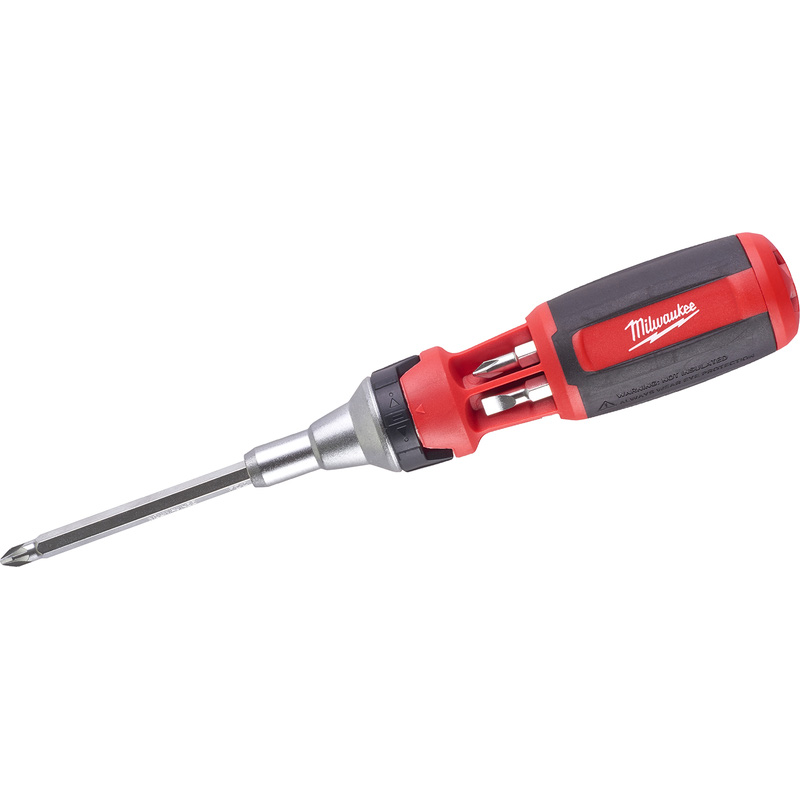
Some spool caps can easily be removed by hand. If it's a little stubborn, try prising it away using a screwdriver. Take care when doing this as you want to avoid damaging the cap.
If your trimmer doesn't have a cap, you should be able to retrieve the line straight from the spool.
Step 2: Remove the Spool and the Old Line
Carefully remove the old line from the spool, it may be easier to remove the spool itself from the housing, as this can allow for better access.
Now begin to unravel the wire. Some spools have a spring inside, so be cautious of it springing out when you remove the line.
Step 3: Cut the New Line
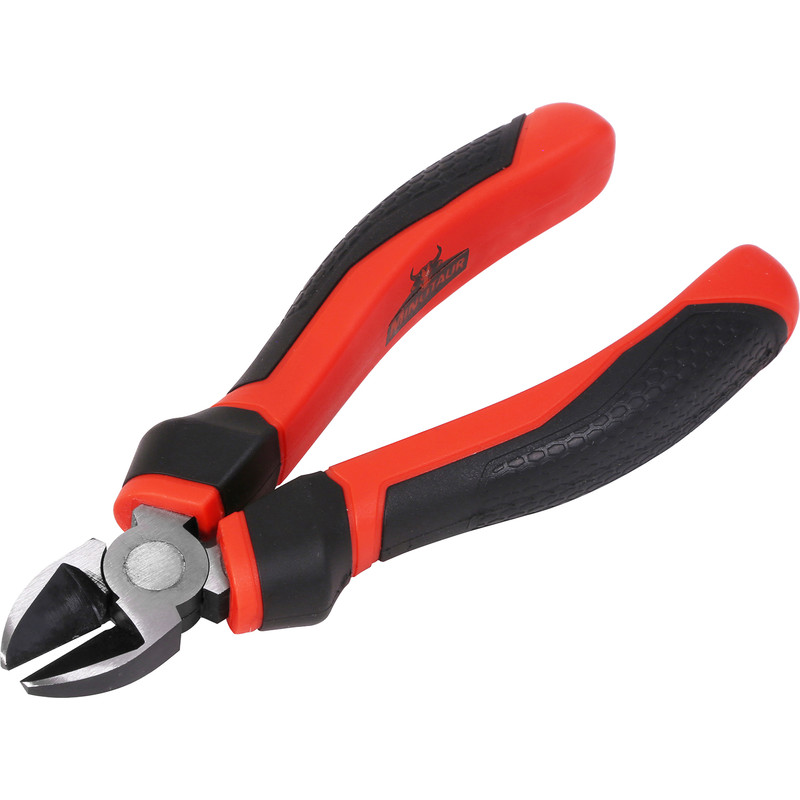
Take your new trimmer line and, using your wire cutters, cut it to the correct length. Typically, you’ll need about 6 metres or so of line, but check your trimmer's manual to confirm the exact length that you'll need.
Step 4: Feed the New Line onto the Spool
Find the centre hole of the spool and insert one end of the new line. Start winding the line in the direction indicated by the arrows on the spool. Be sure to wind it tightly and evenly so that it doesn’t get tangled when you reassemble it.
Step 5: Secure the Line
Once the spool is fully loaded, leave a bit of the line sticking out from the spool. Some spools have a notch to hold the line in place, use this to secure the line temporarily.
Step 6: Refit the Spool
Pop the spool back into the trimmer’s head, making sure that it’s aligned correctly. You may need to press it down slightly until it clicks into place.
Step 8: Replace the Spool Cap
Once the spool is securely in place, put the spool cap back on. Press it firmly to ensure it’s locked in position. Your trimmer should now be good to go!
But, before you start trimming, it's a good idea to check that the line isn't tangled. Do this by powering up the trimmer. Once it's switched on, carefully pull on the line to ensure it feeds smoothly.