- Help & Advice
- How To Guides
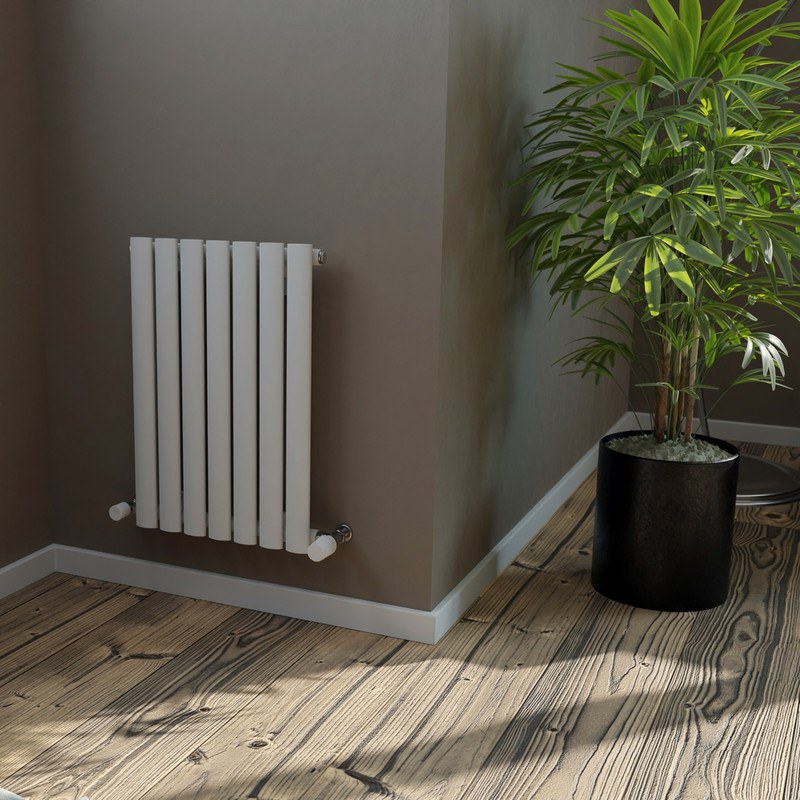
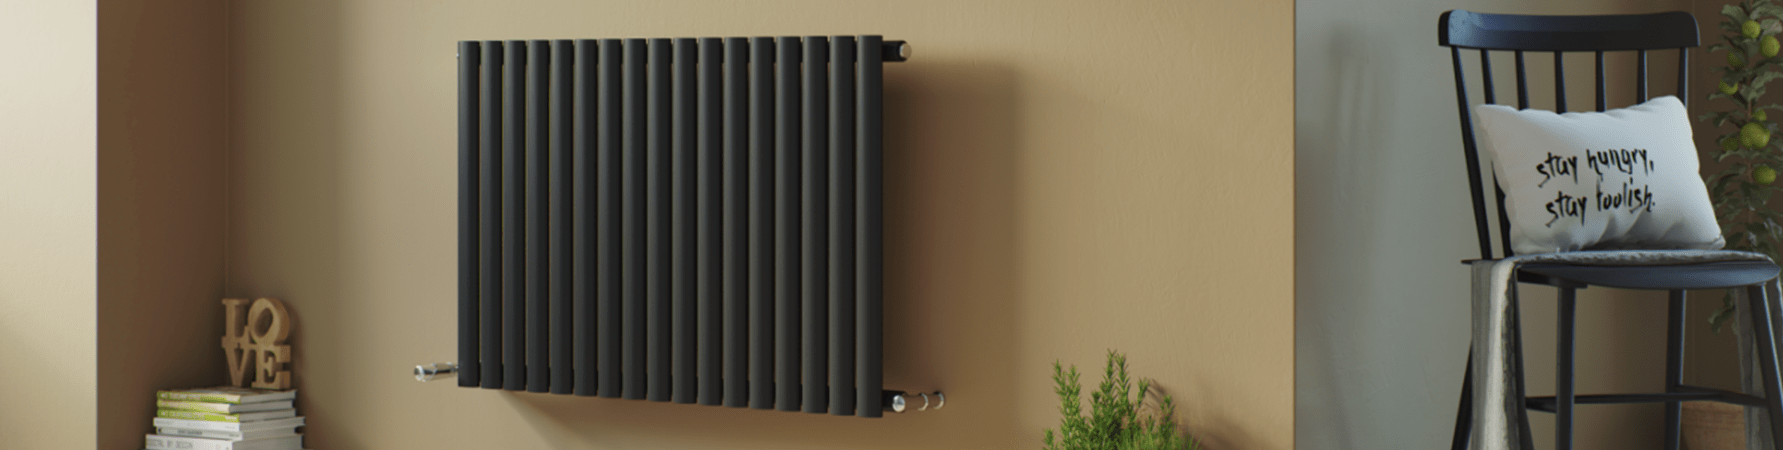
- How To Paint A Radiator
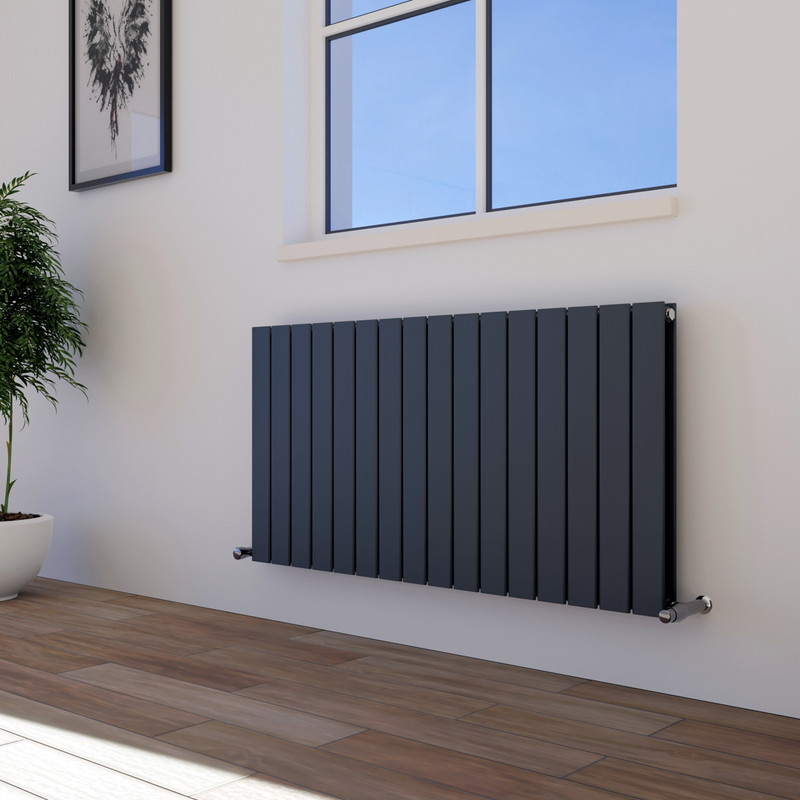
How To Paint A Radiator
Painting a radiator isn’t just about aesthetics - it can extend the life of your radiator, improve heat efficiency, and refresh a room’s look.
Whether you’re upgrading an old cast-iron radiator or refreshing a modern panel radiator, this guide will walk you through every step safely and efficiently.
What You’ll Need
-
Heat-resistant radiator paint (satin or gloss finish)
-
Mild detergent or degreaser
-
Sandpaper (120–220 grit)
-
Wire brush (for rust or flaking paint)
-
Paintbrushes (small and medium) or spray paint kit
-
Screwdriver or spanner (optional, for radiator removal)
-
Vacuum or cloth for dust removal
-
Rust primer (if needed)
Step 1: Prepare the Radiator
-
Turn off your heating and allow the radiator to cool completely.
-
Optionally, drain the radiator for easier painting.
-
Remove radiator covers or valves if possible to access all surfaces.
Tip: Painting a cold radiator prevents bubbling and ensures even adhesion.
Step 2: Clean the Surface
-
Use mild detergent or degreaser to remove dust, grease, and grime.
-
Rinse and dry thoroughly.
Tip: For particularly greasy radiators, consider a sugar soap solution
Step 3: Remove Rust and Old Paint
-
Use sandpaper or a wire brush to remove flaking paint and rust.
-
Smooth the surface slightly for better paint adhesion.
Tip: For stubborn rust, a rust converter or heat-resistant primer will help prevent further corrosion.
Step 4: Apply Primer (if Needed)
-
Apply a heat-resistant metal primer to bare metal or rusted areas.
-
Let it dry completely following the manufacturer’s instructions.
Step 5: Protect Your Surroundings
-
Lay down dust sheets to catch any paint drips.
-
Use masking tape to mask walls, pipes, and floor edges.
-
If using a spray paint, cover the surrounding walls to catch overspray.
Step 6: Painting the Radiator
Brush Method
-
Use a small brush for corners and crevices.
-
Use a medium brush for larger, flat surfaces.
-
Apply the paint in thin, even coats to avoid drips and streaks.
Spray Method
- Wear a respirator mask to avoid breathing in paint particles.
-
Hold the spray can 25–30 cm from the surface.
-
Apply in steady, overlapping passes in a vertical direction.
-
Thin coats prevent paint from pooling and provide a smooth, consistent finish.
Tip: Multiple thin coats are better than one thick coat, especially for cast-iron radiators.
Step 7: Drying and Curing
-
Allow the paint to dry fully before turning the heating back on.
-
Follow the paint manufacturer’s curing time—some paints require a few days to reach full durability.
Tip: Gradually heating the radiator after painting can help the paint set evenly.
Step 8: Reassembly
-
Reattach valves or covers.
-
Check for any touch-ups needed before full use.
Additional Tips
-
Dark colors may absorb more heat; ensure your paint is rated for radiator use.
-
Avoid painting moving parts such as valves or thermostats.
-
Regularly dust your painted radiator to maintain finish and efficiency.
-
Open windows and doors to improve ventilation and protect yourself from paint fumes.