- Help & Advice
- How To Guides
- How to Paint Coving
How to Paint Coving: A Step-By-Step Guide
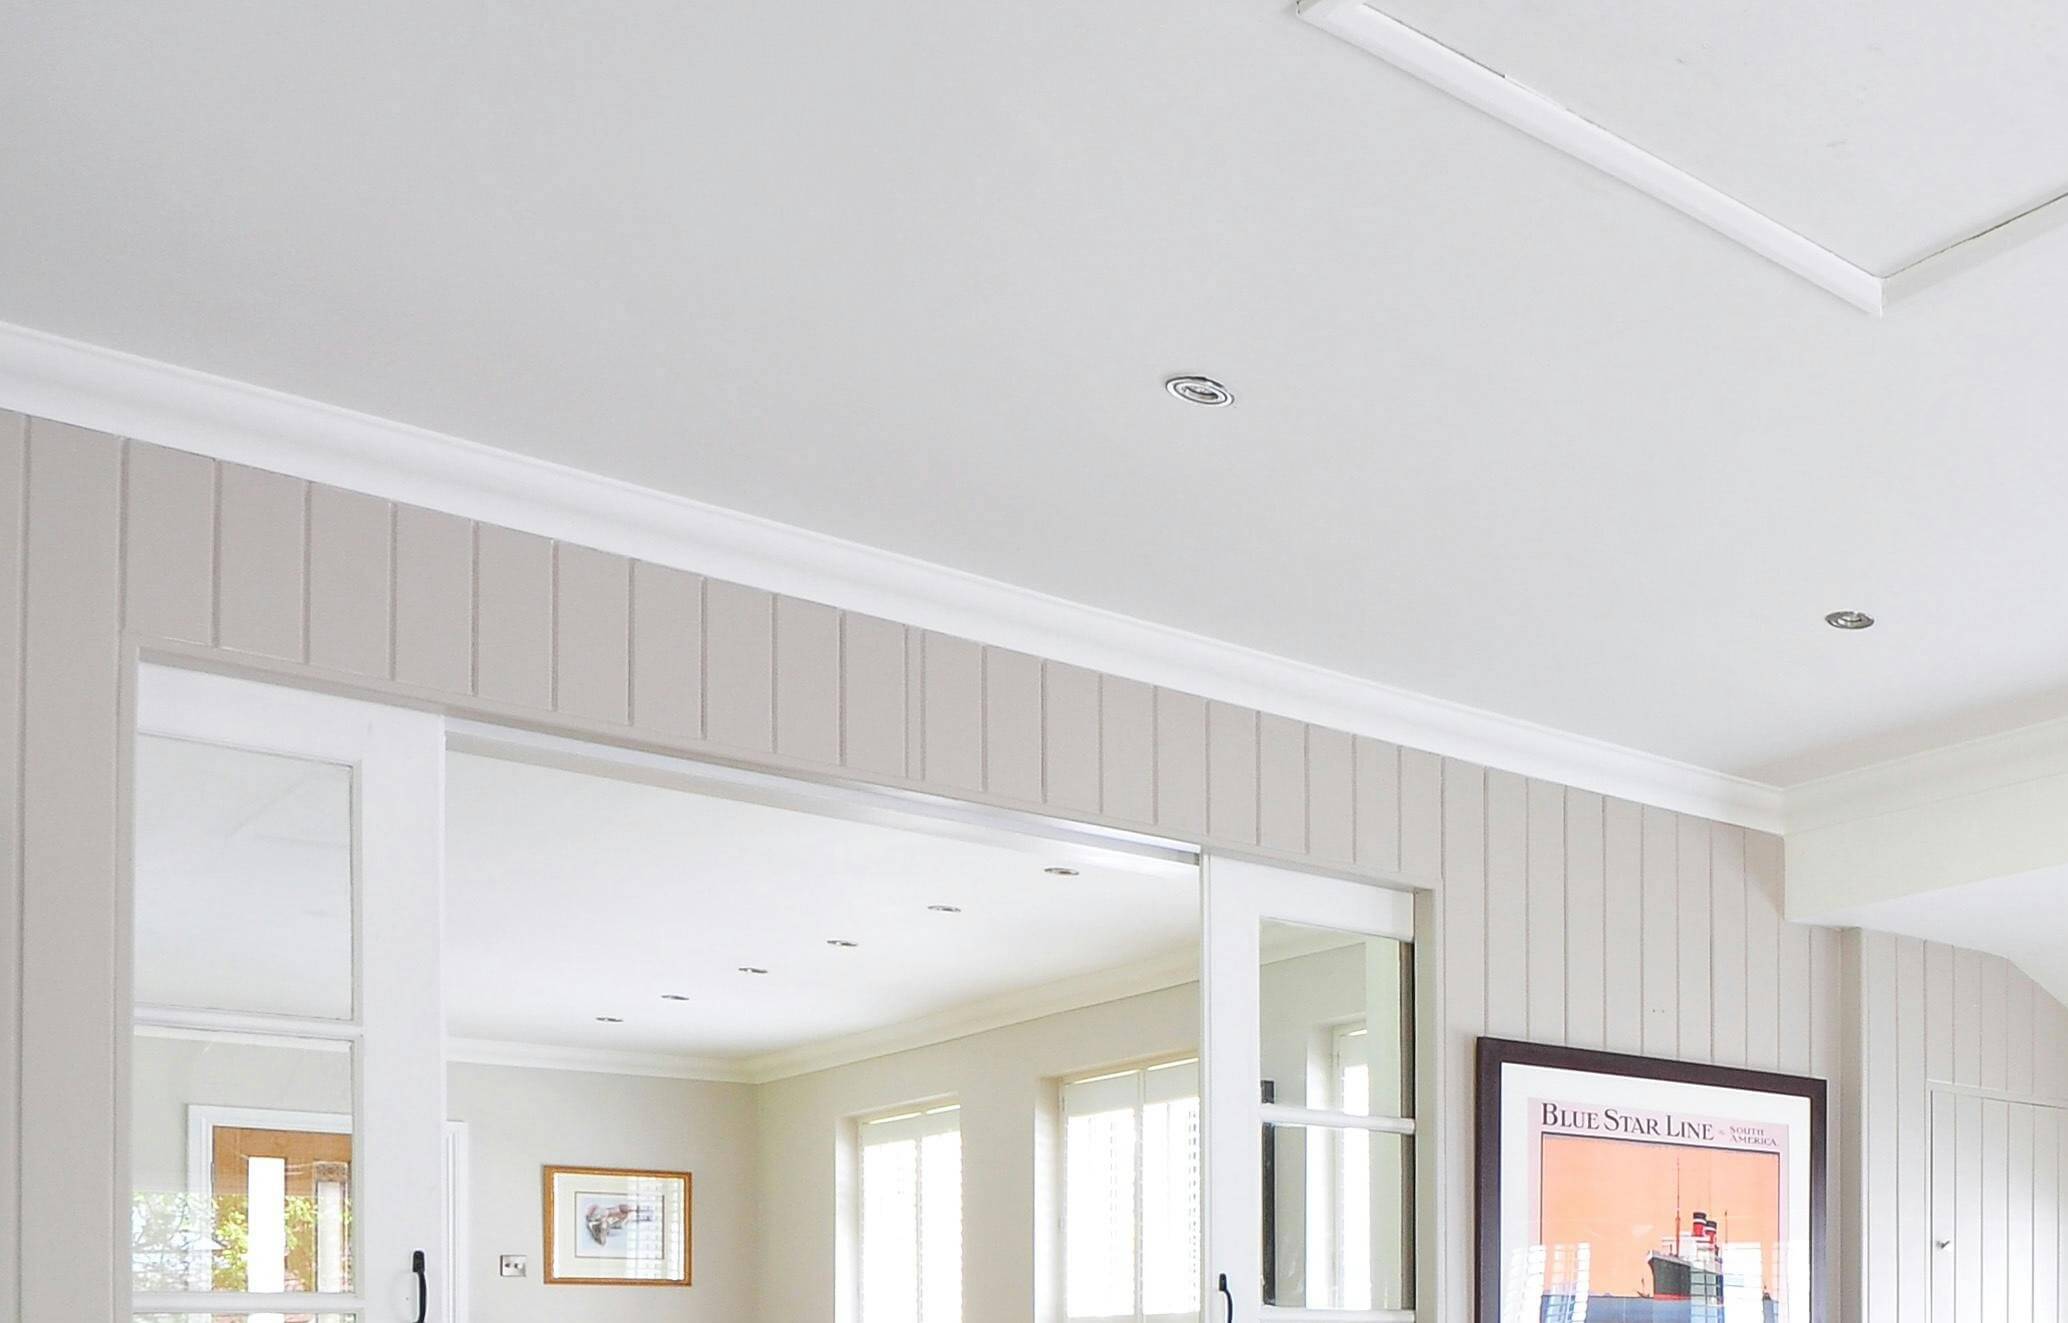
Painting coving is an easy way to spruce up the look of a room, giving the edges between your walls and ceiling a clean, crisp finish. Whether you want your coving to blend subtly with the ceiling or stand out as a decorative feature, the right painting technique makes all the difference.
What's more, it's a simple DIY job where, with the right preparation and tools, you can achieve smooth, professional-looking results without paying decorator prices. And if your coving still needs fitting, don’t forget to check out our how to fit coving guide.
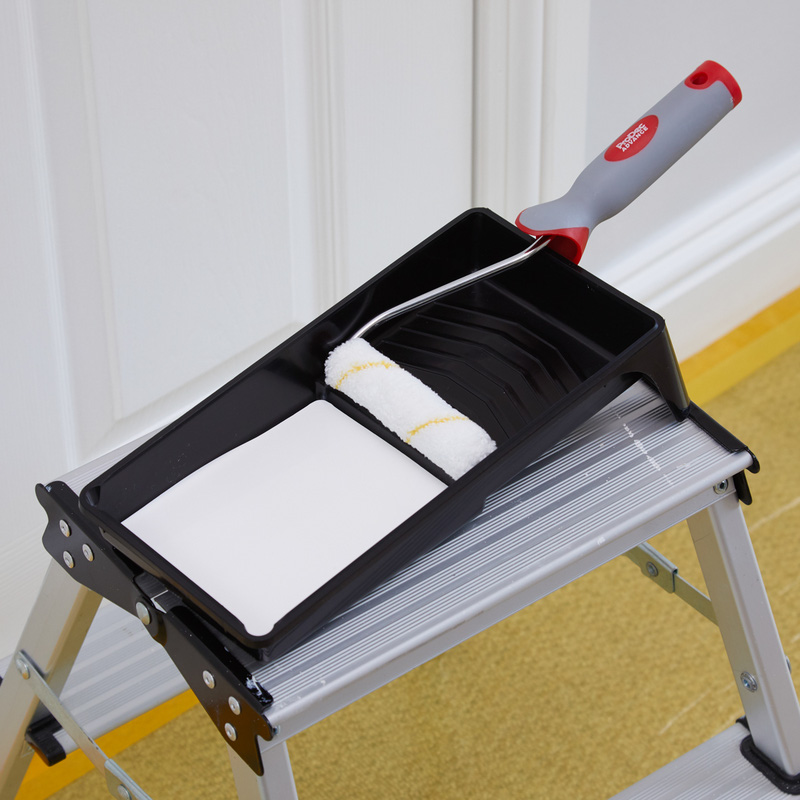
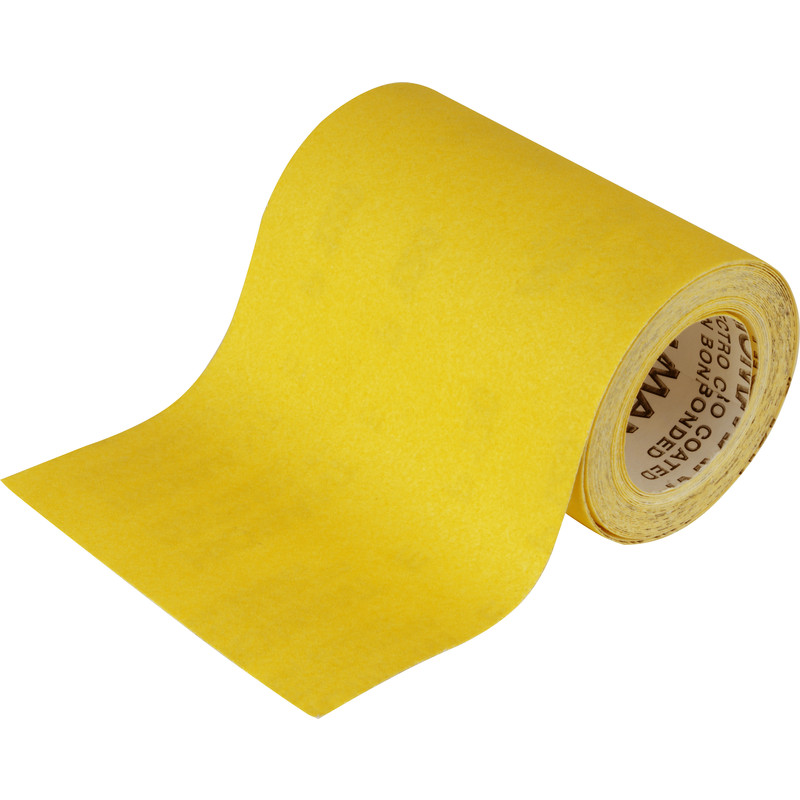
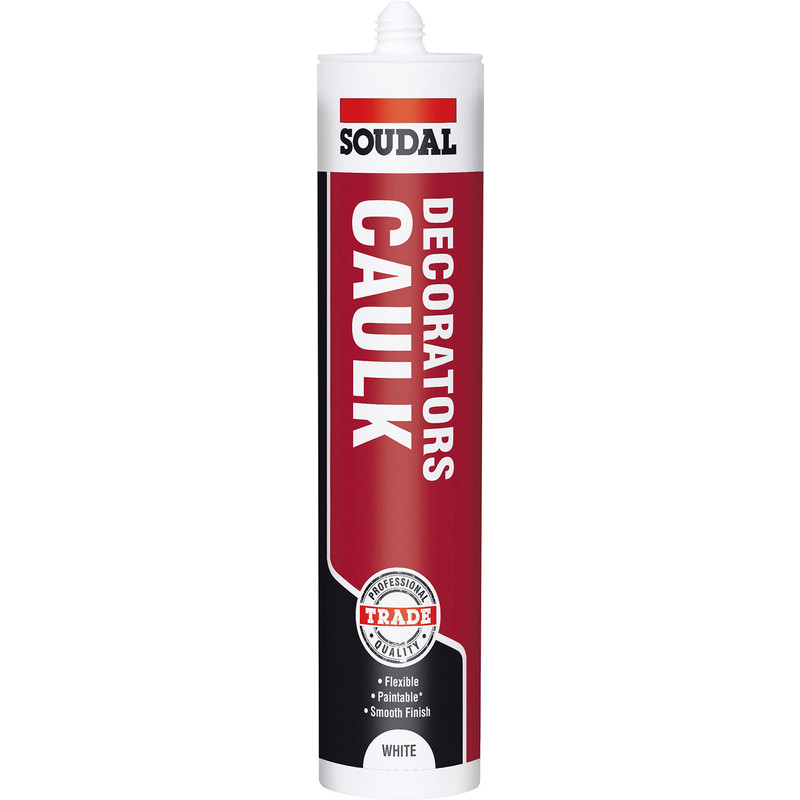
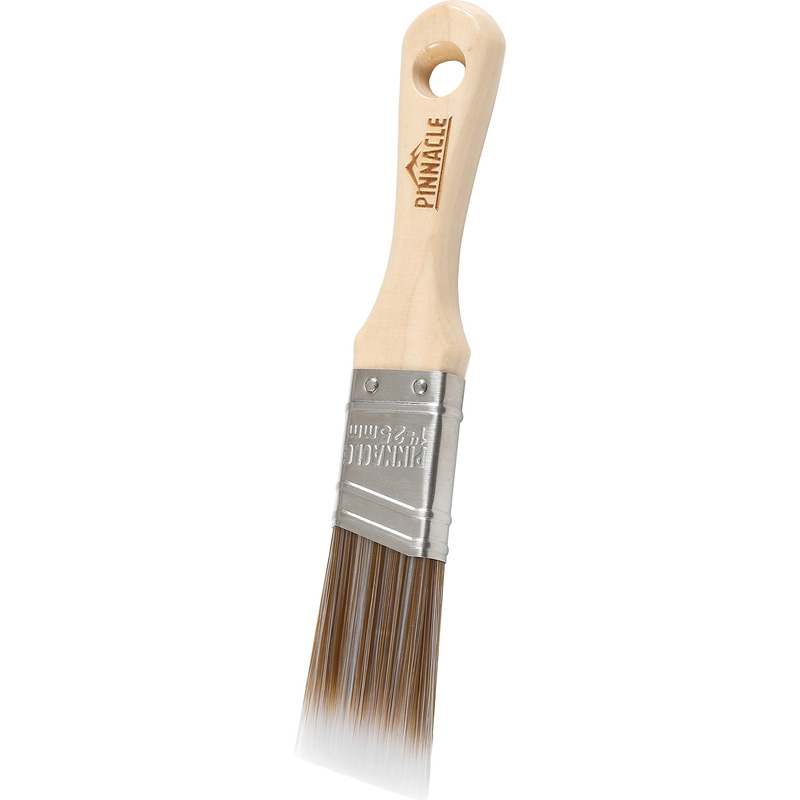
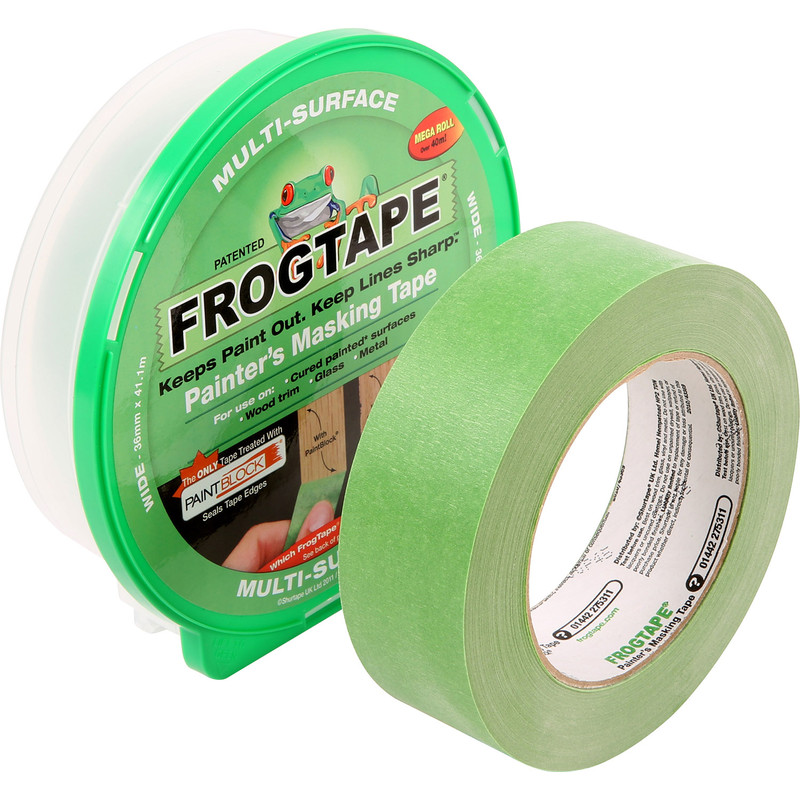
Essential Tools & Equipment

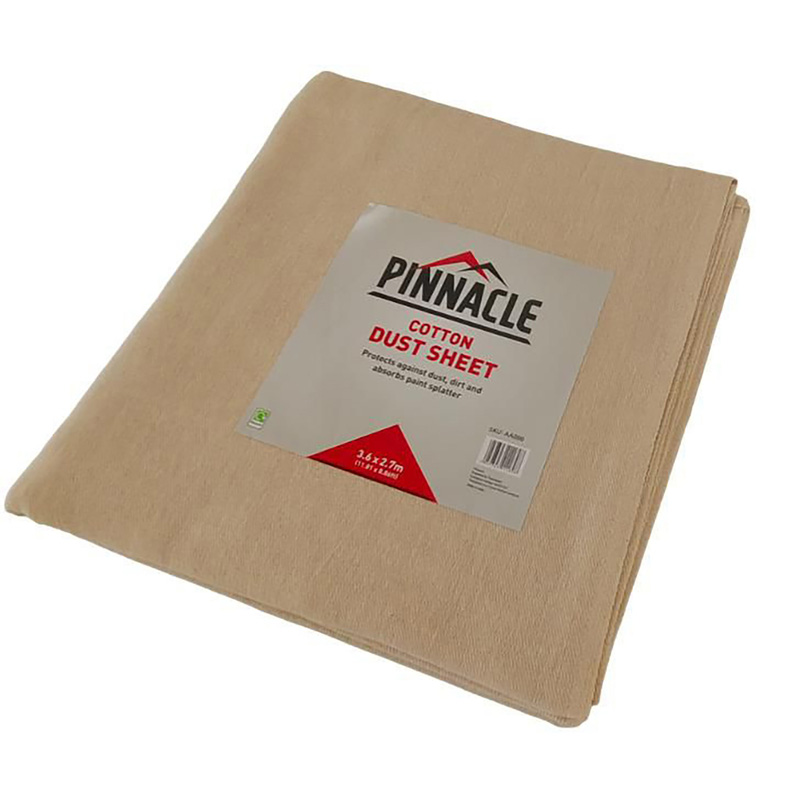

Step 1: Clear and Protect the Area
Before you touch a brush, make the space easy to work in. If possible move any furniture out of the way and pop some dust sheets over things like sofas and carpets to protect from any paint splashes.
Next, use masking tape to protect the wall and ceiling edges, along with any other decorative elements that you don’t want to catch with the paint brush. Doing this now will save you time cleaning up later on.
Step 2: Clean the Coving
It’s common for coving to be a bit of a dust catcher so before applying any paint you’ll want to give it a good clean. Failure to clean away dust could leave you with a paint finish that’s rough and blotchy! Wipe it down with a dry brush to remove any loose dust. For stubborn marks, use a damp cloth then wait for it to dry.
Step 3: Fill Gaps and Smooth Rough Areas
This step makes the biggest difference to the final finish. Start by checking the join between the coving and wall or ceiling looking out for cracks, gaps and uneven edges. Apply some caulk along any gaps to fill them in and smooth it out for a neat line. For any deeper dents or imperfections, use filler instead then wait for it to completely dry before sanding it down to smooth the surface ready for painting.
Step 4: Prime the Coving (If Needed)
If your coving is bare and made from MDF then adding a thin coat of primer is a great way of improving the durability of the overall paint finish and ensuring that the paint looks smooth and even. That said, if the coving has been previously painted and is in decent condition, feel free to skip this step.
Step 5: Cut in the Edges
Cutting in involves painting closely along edges using an angled paint brush, where a paint roller may struggle to reach. It helps to achieve a nice, clean finish. Do this by using a small angled brush and painting a thin edge between the coving and ceiling. Repeat the process and work your way along the bottom edge where it meets the wall. Be sure to take your time as neat edging gives the whole job a more professional look.
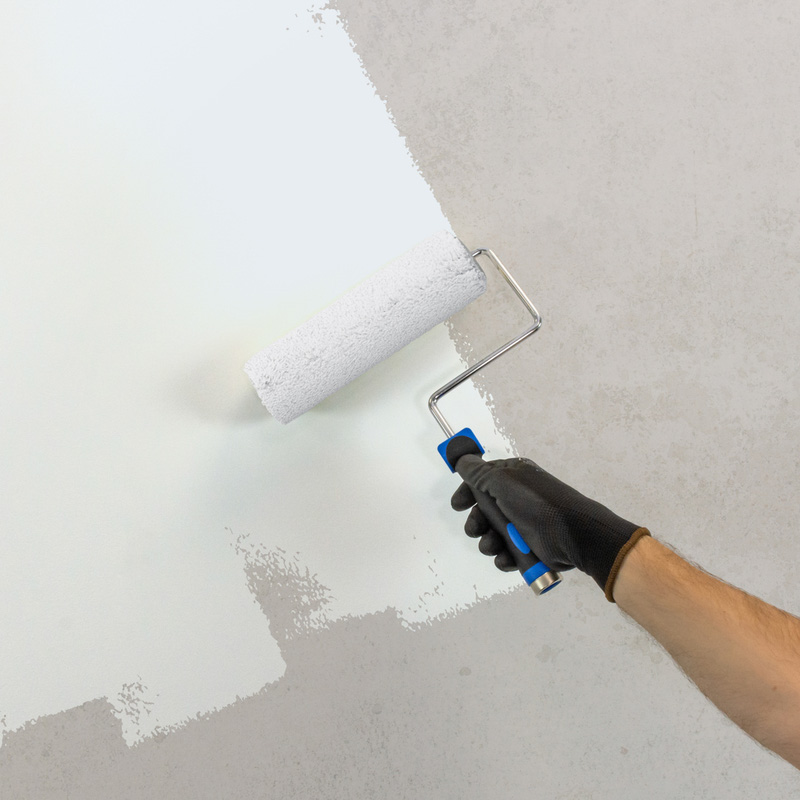
Step 6: Paint the Main Surface of the Coving
With the cutting in complete, you can now move on to the main areas of the coving. Switch your brush for a smaller roller or larger brush. Apply the paint in long smooth, controlled strokes, working along the entire length of the coving. To avoid any paint drips, try to avoid overloading your paint brush. Blend the brush marks as you go to prevent any streaks.
Step 7: Let It Dry and Apply a Second Coat
Most coving benefits from two coats of paint for the best finish, especially if your coving is decorative or detailed. Follow the drying time for the paint which is usually around 1 to 2 hours. Then, apply the second coat in the same way by cutting in first, then filling in the centre.
Once the painting is complete and almost dry, peel off any masking tape. Do this before the paint has fully cured to help prevent lifting any dried paint. That way you’ll be left with sharp, clean lines along the edges. Don't forget to clean your paint brushes ready for your next painting project.