- Help & Advice
- How To Guides
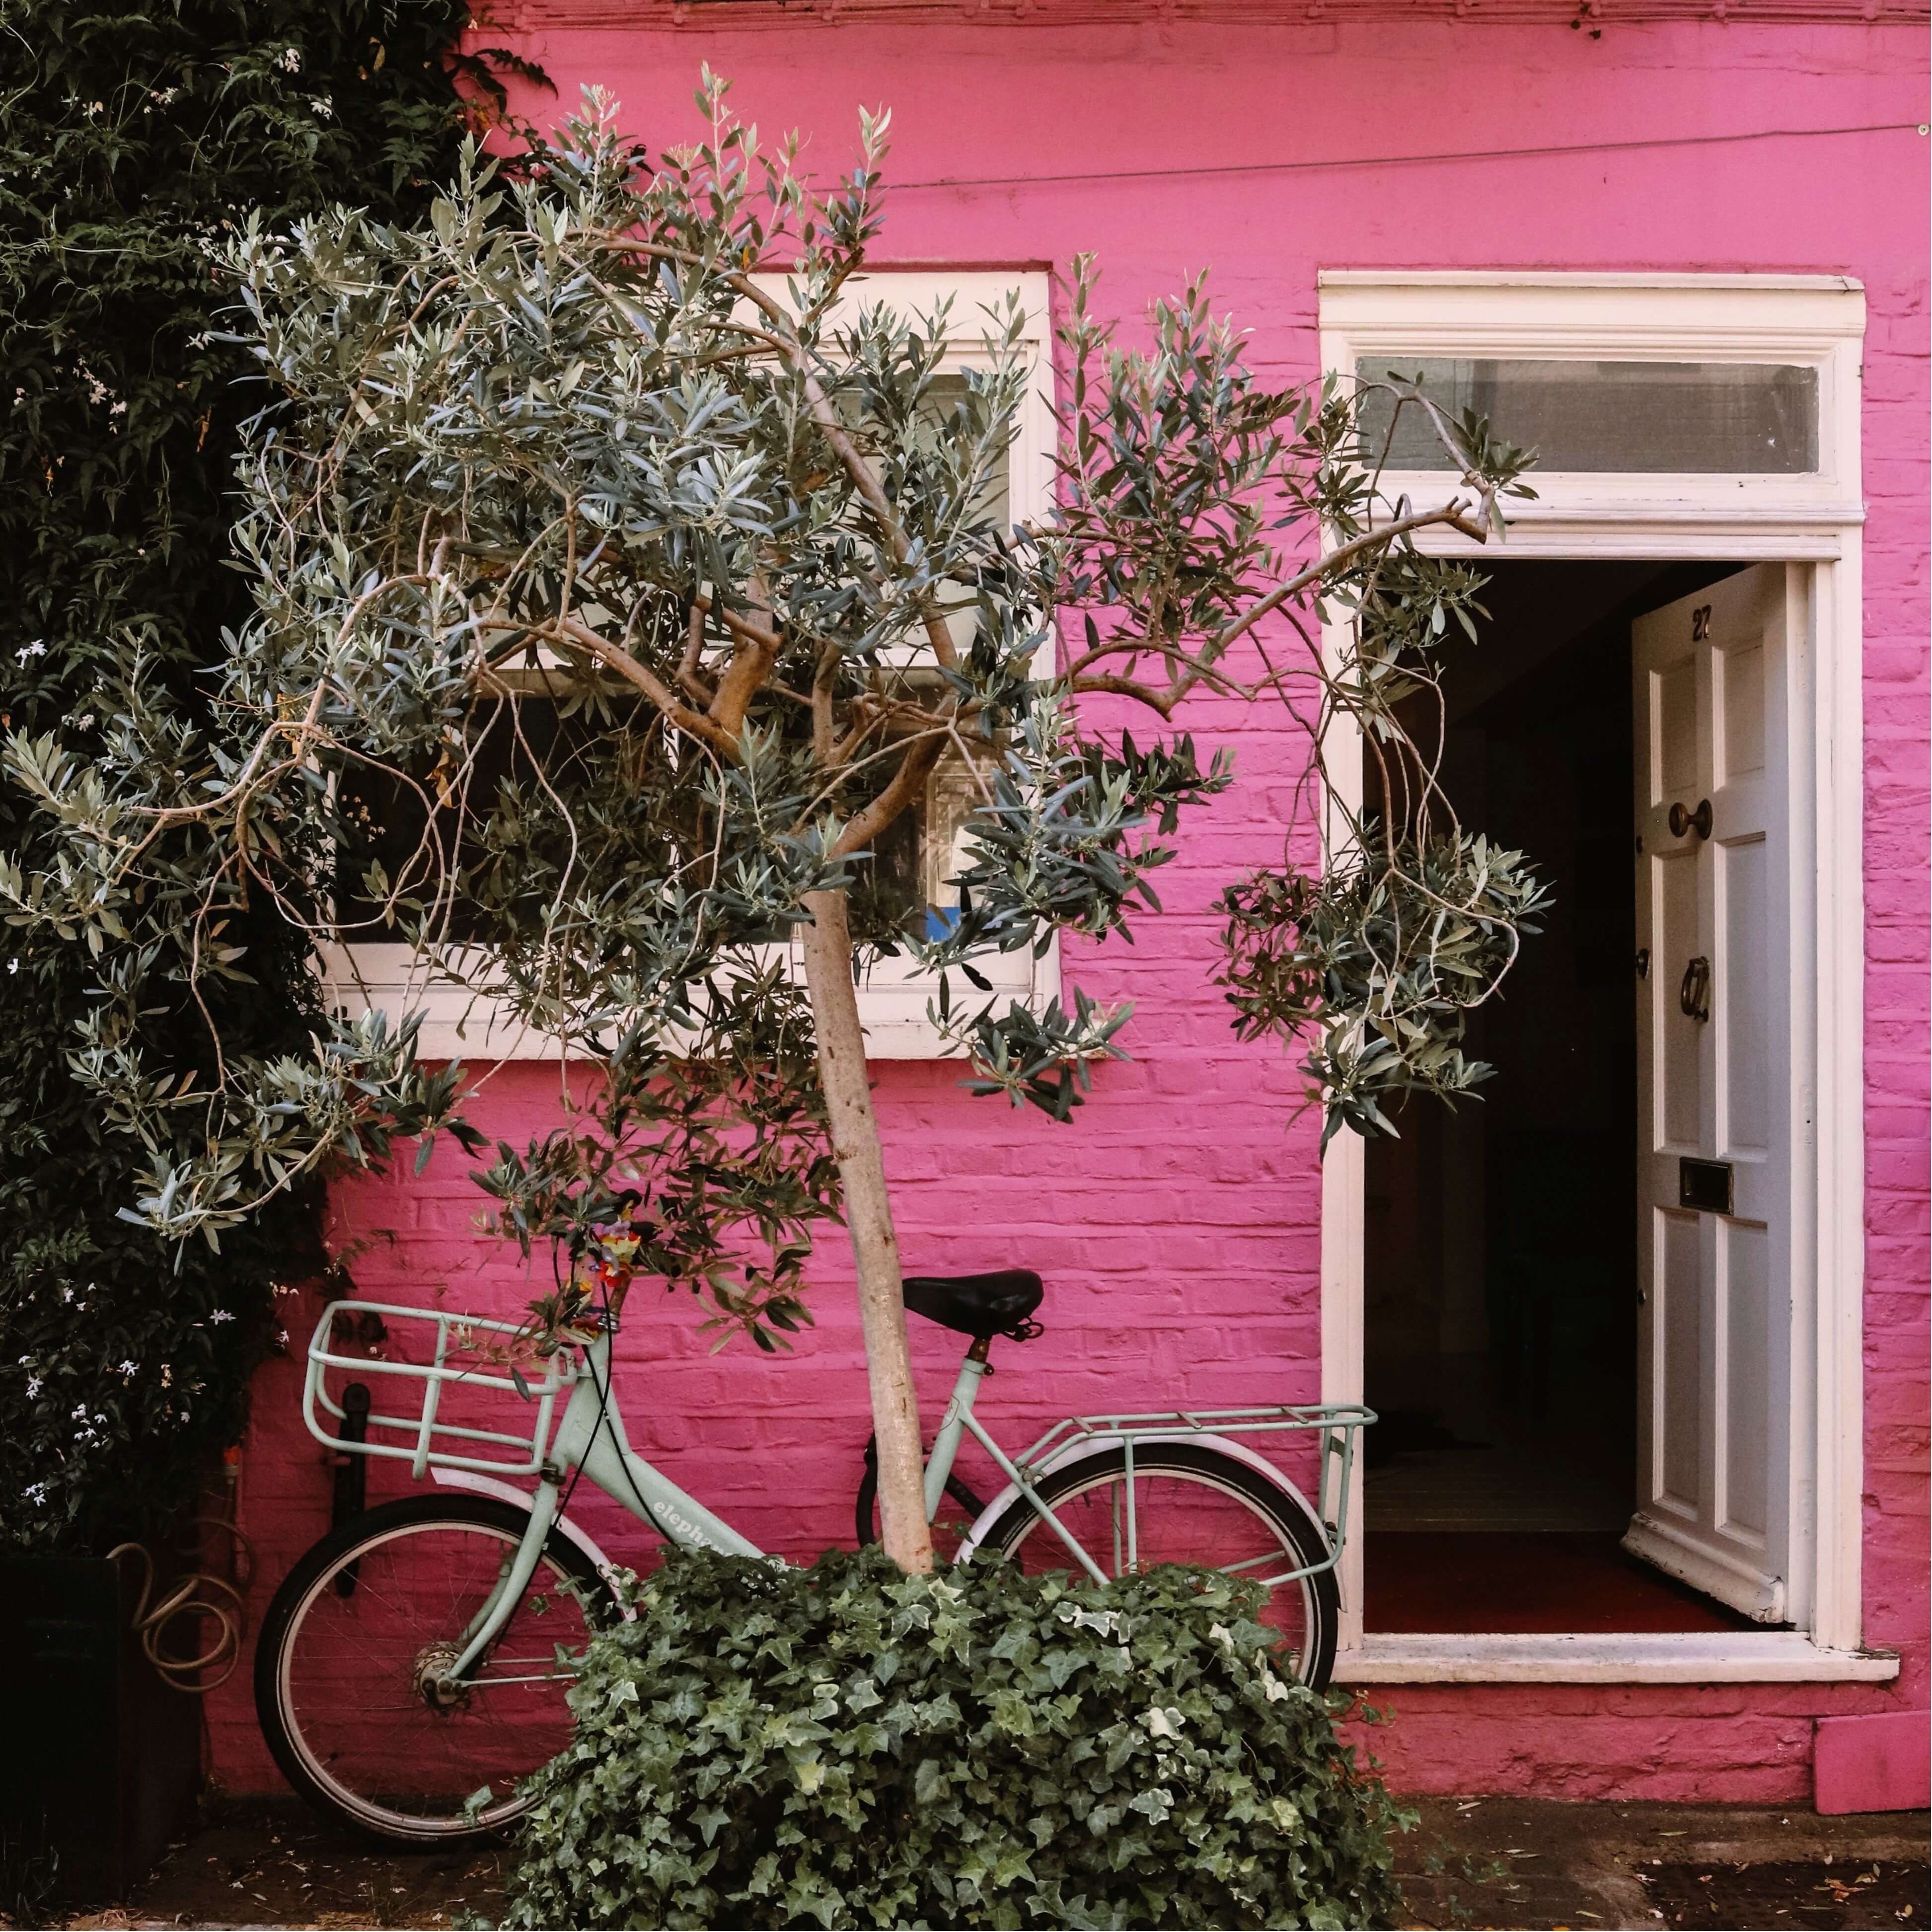
- How To Paint A Brick Wall
How To Paint A Brick Wall
If you’re considering painting the exterior brick walls of your home, it’s important to get it right. Failure to use the proper painting techniques, or indeed the right type of paint finish, could leave you with peeling or flaky paint, damp problems and discolouration.
The best way to avoid any of these issues is to follow our step-by-step instructions on painting a brick wall and keep in mind that it's a little different to painting an interior wall. They’re easy to follow and will leave you with a house that has fantastic kerb appeal, which is better protected against adverse weather conditions.
What Are The Benefits of Painting Brick
Aside from the aesthetics, there are several other advantages when you give your exterior brick work a lick of paint. Let’s take a look at what these are.
Easy Maintenance
A painted brick surface tends to be easier to clean and maintain compared to exposed brick work. As brick is porous this allows dirt to accumulate over time. However, paint helps to create a smooth, non-porous surface so that dirt, dust and stains can be wiped away more easily.

Protects Against Algae & Moss
Exterior brick walls can become a breeding ground for things like algae, moss and lichen, especially in damp or shaded areas. A couple of coats of masonry paint can help to inhibit this growth as it creates a waterproof barrier which stops moisture from penetrating the brick work.
Protection Against Bad Weather
As mentioned, brick is porous, which means that as well as accumulating dirt, it can also absorb water and this can lead to damage over time caused by the elements. This can result in mould growth, mildew, and even cracking. Exterior paint can provide a protective barrier against rain, snow and humidity.
Essential Tools for Painting on Brick


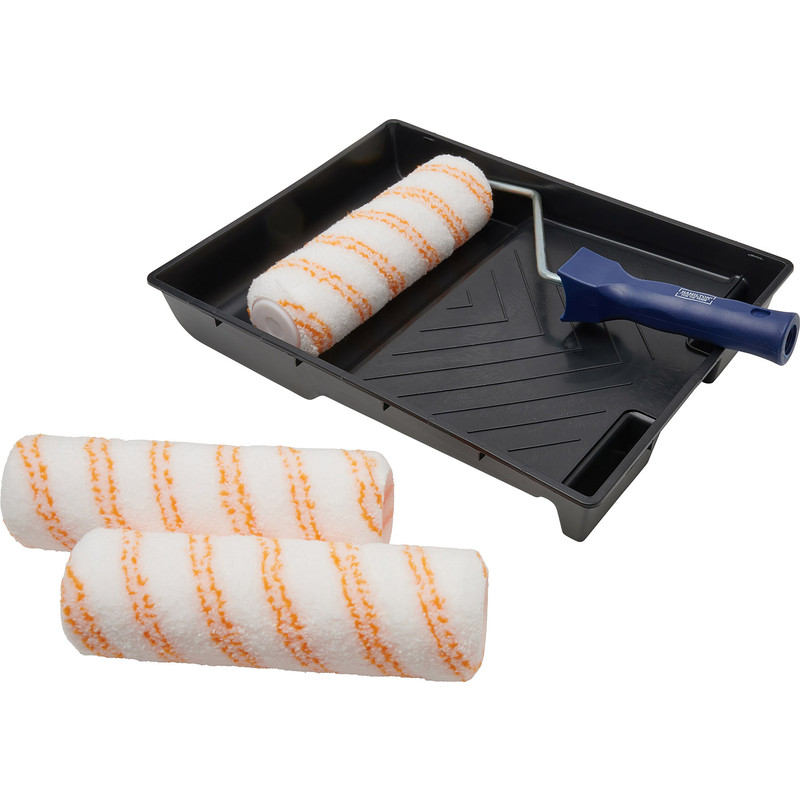
Steps For Painting Exterior Brick Work
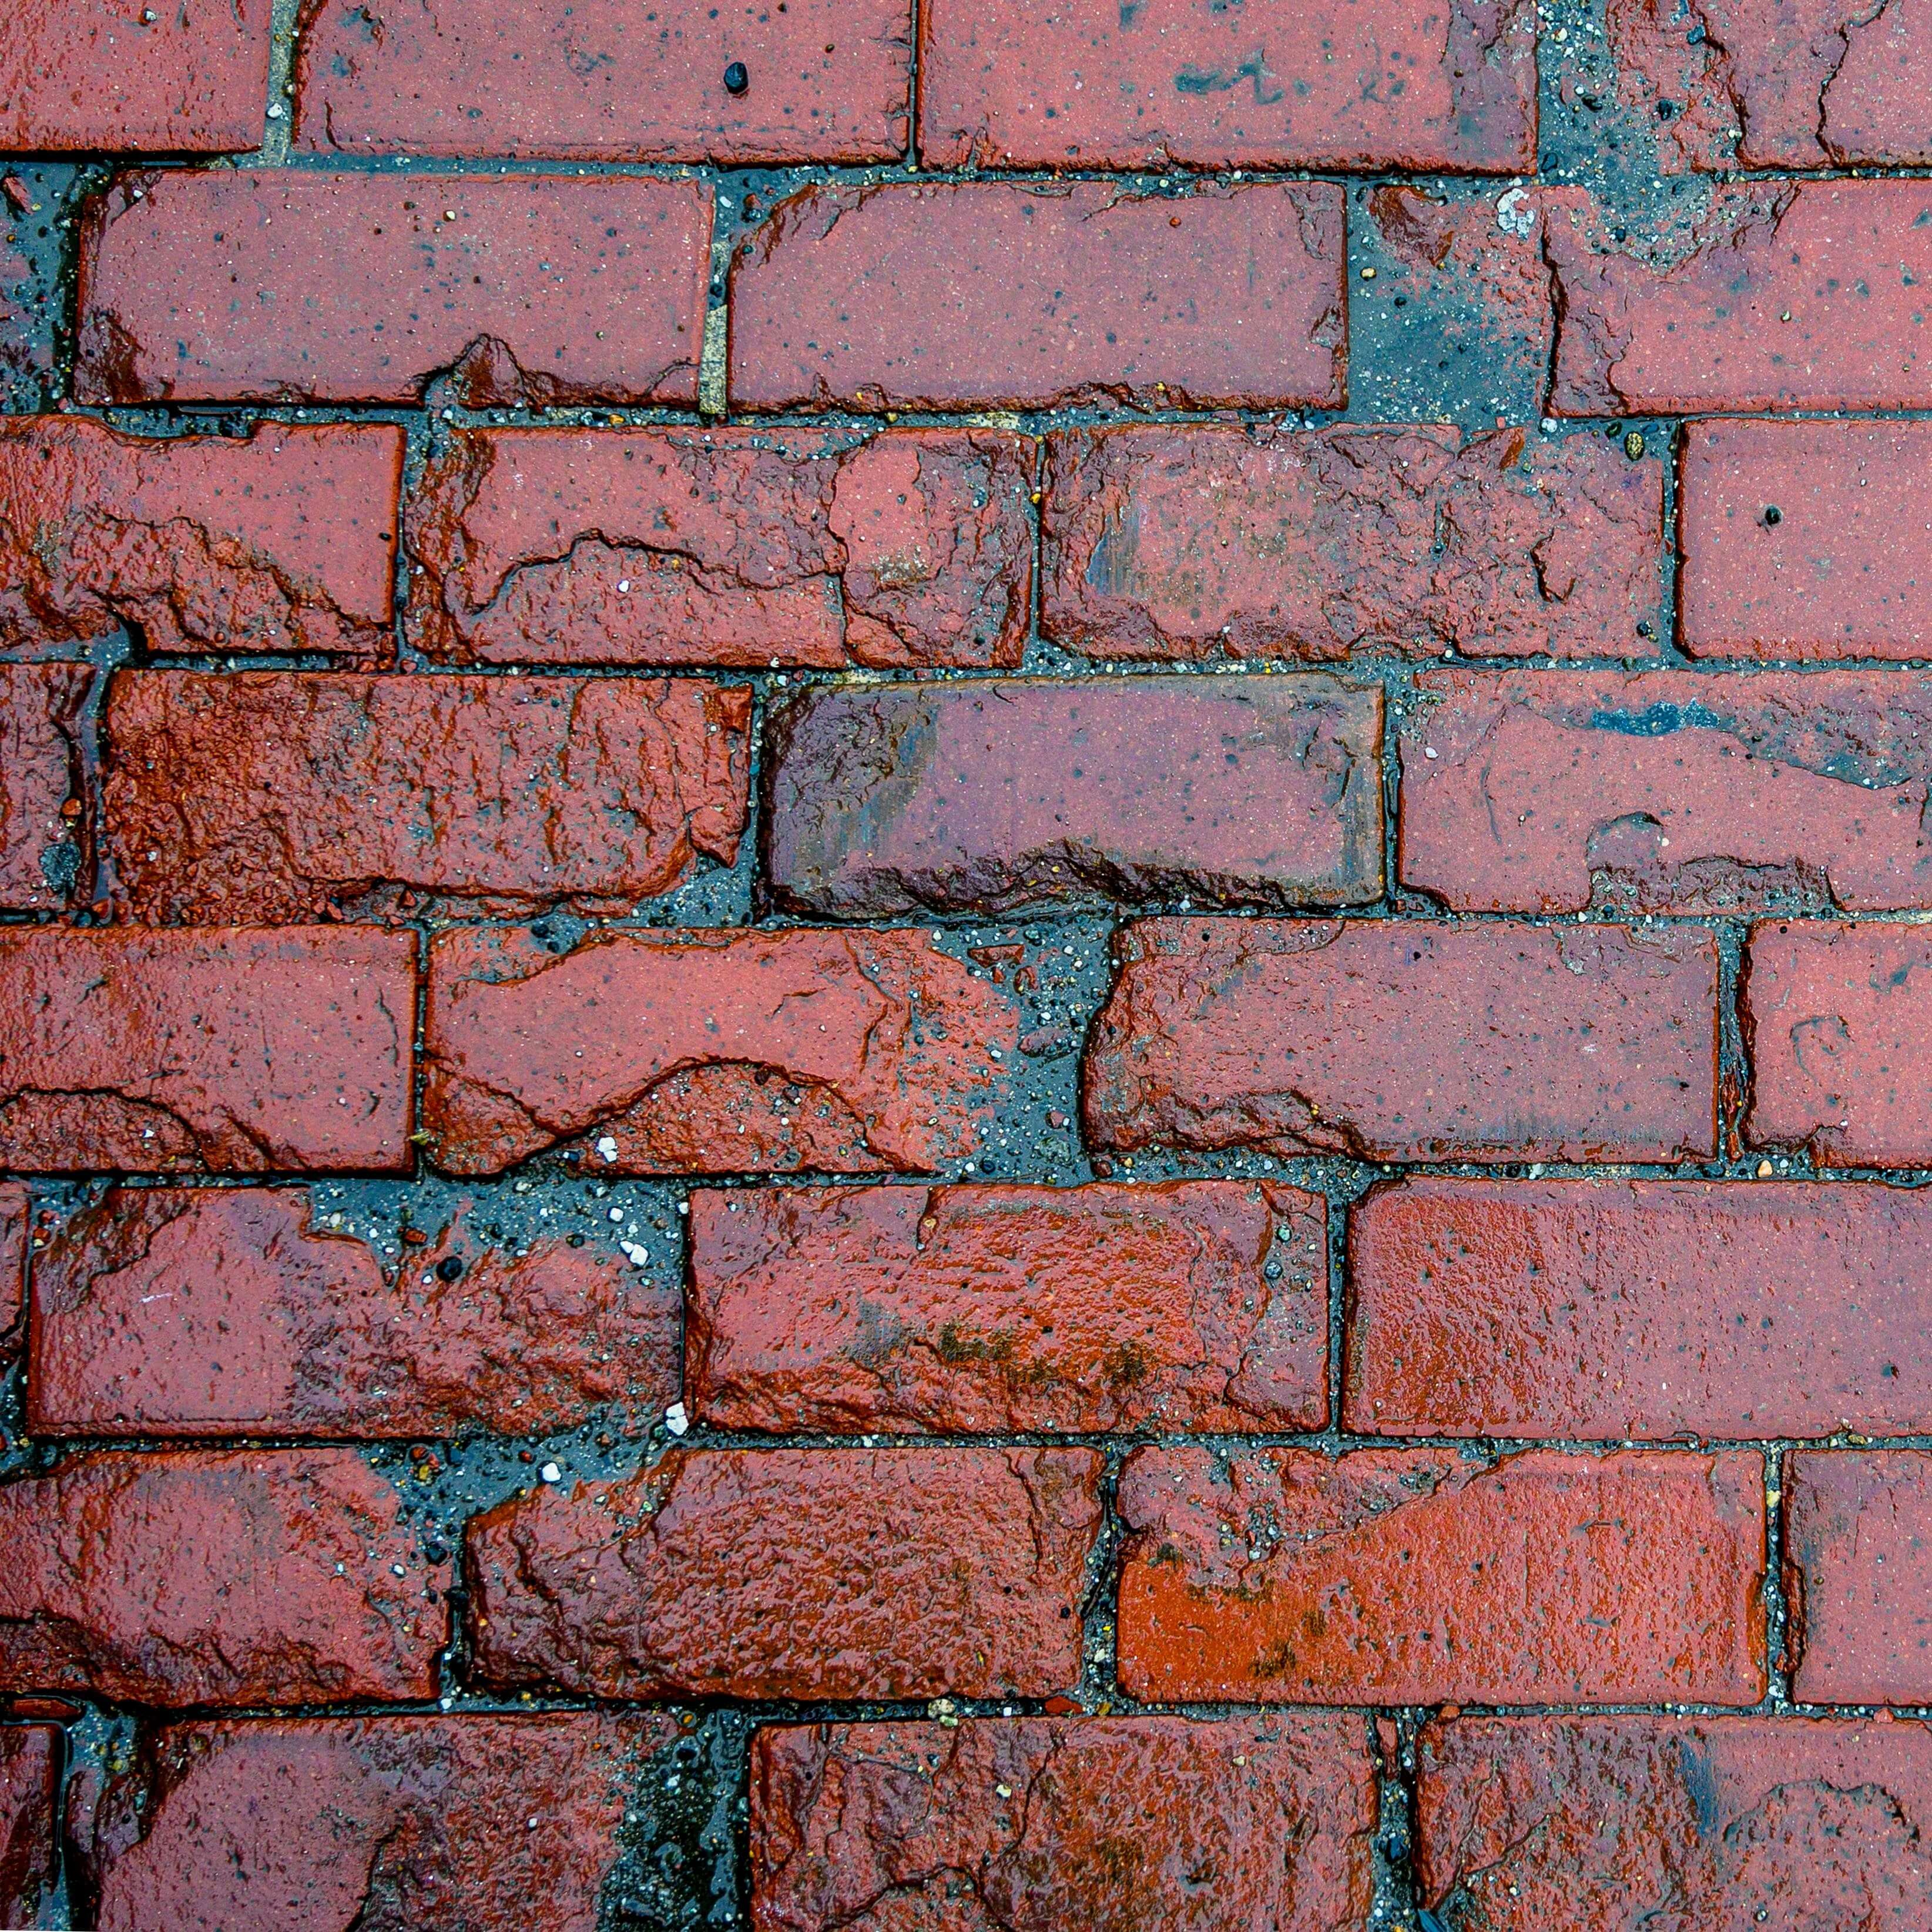
Step 1: Clean the Brickwork
Before painting, you need to thoroughly clean the brick surface to remove dirt, dust, and any mould or mildew. Don't be tempted to skip this step as painting directly on mouldy or dirty walls could mean that the paint won't adhere properly leaving you with a patchy finish! For best results, follow these steps:
-
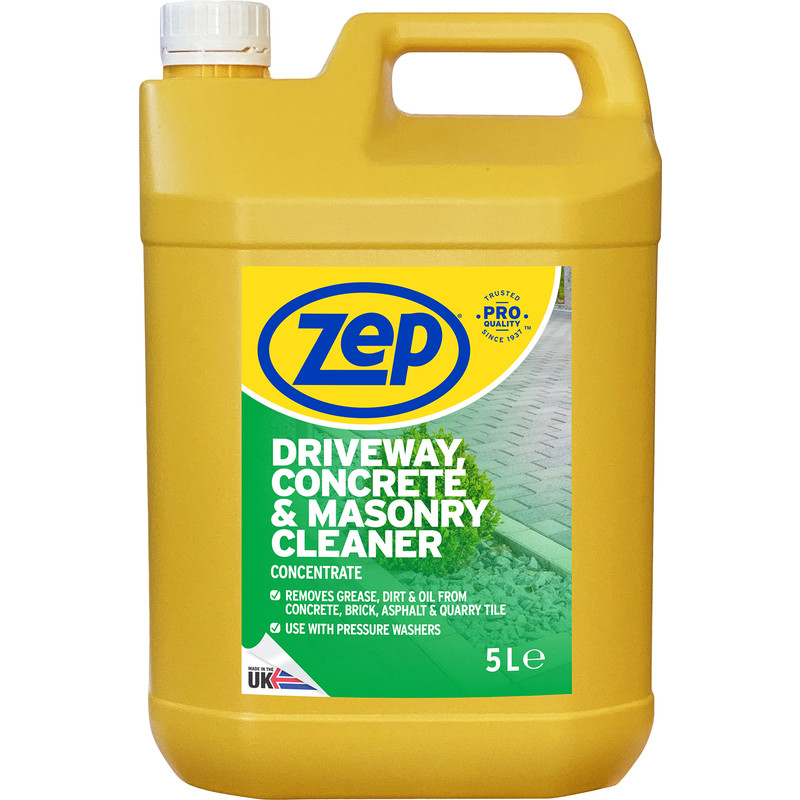
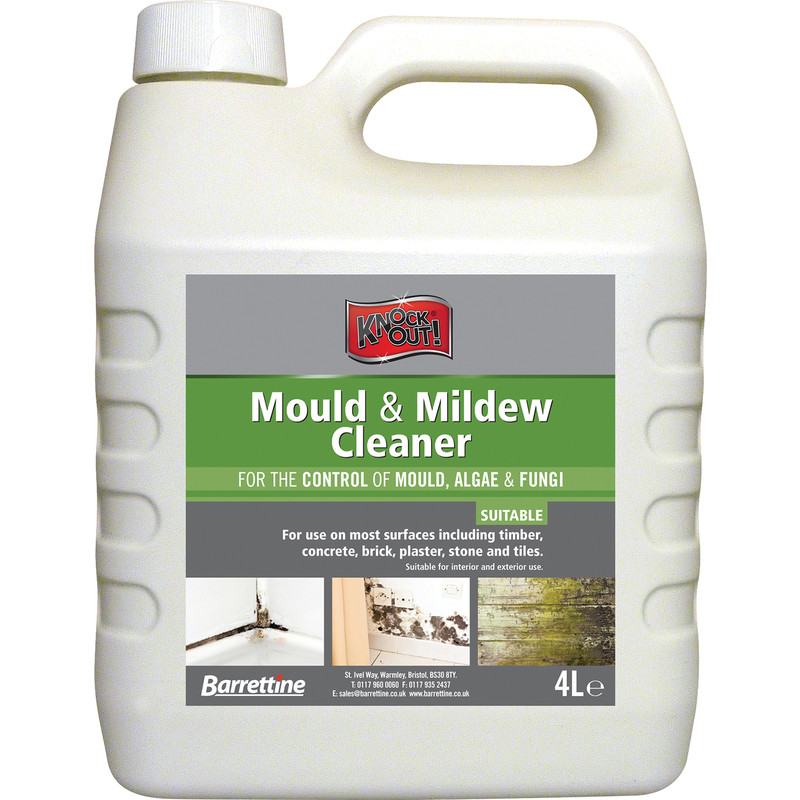
Mix warm water with some masonry cleaner in a bucket. If there’s mould or mildew on the bricks, make use of a mould remover
-
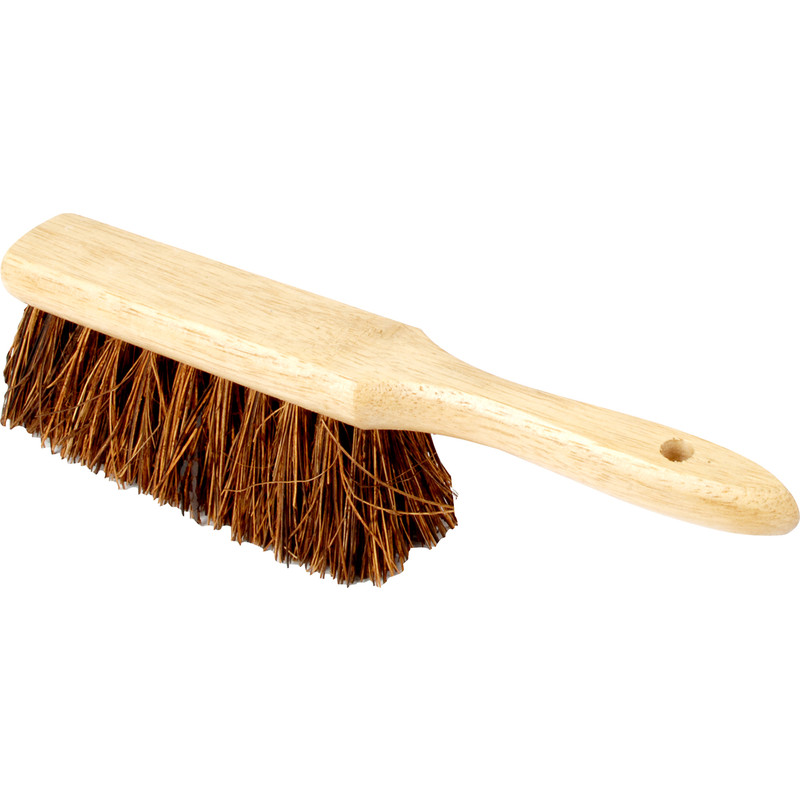
Using a stiff-bristle brush, scrub the brick surface, working in sections. Be sure to get into all the nooks and crannies.
-
If the brick work is particularly grimy, you can use a pressure washer on a low setting. Be sure to keep the nozzle at least a foot away from the wall to avoid damaging the mortar.
- After cleaning, rinse the brick thoroughly with clean water to remove any cleaning solution and residue.
- Finally, allow the surface to dry completely. This can take anywhere between 24–48 hours depending on weather conditions.
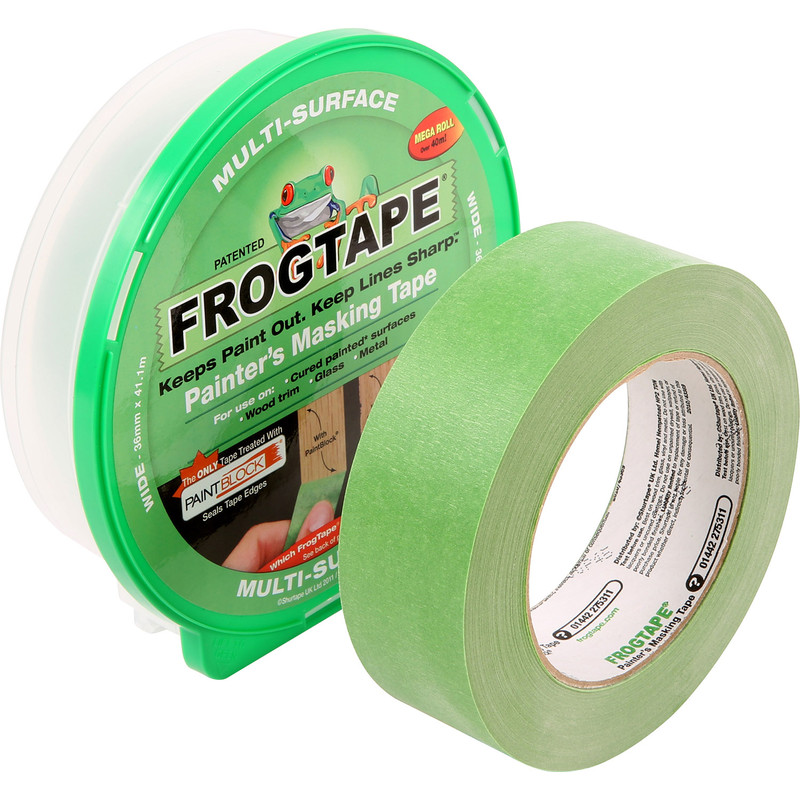
Step 2: Mask Off Areas You Don’t Want to Paint
To avoid getting paint on windows and door frames, it's a good idea to mask them off. Here's how to do it:
-
Apply masking tape around the edges of doors, windows, and other areas you want to protect. Ensure the tape is pressed down firmly so that no paint can seep underneath.
-
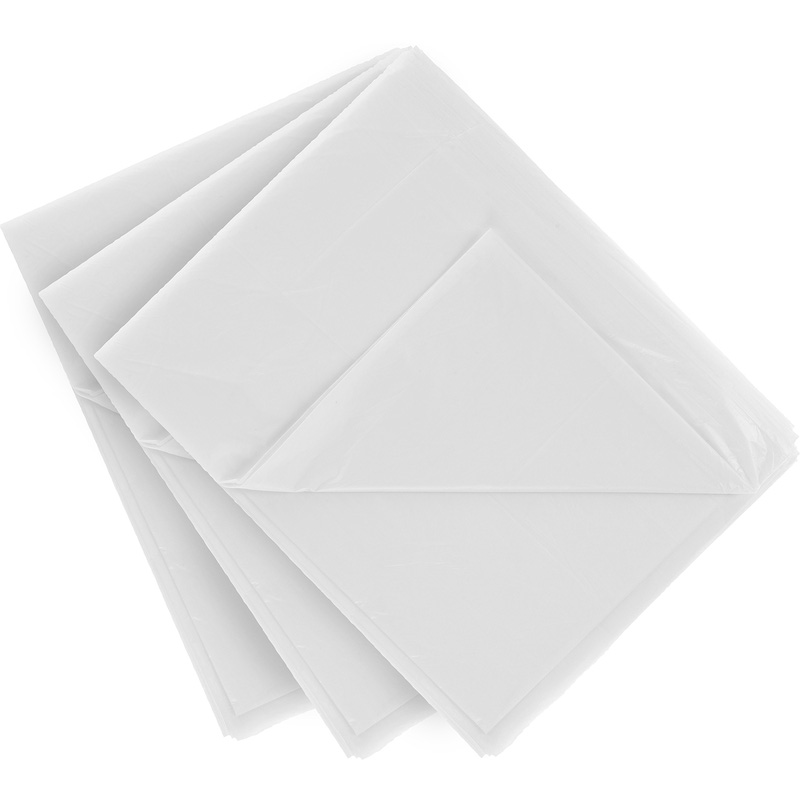
If you need to, cover larger areas like window panes or hardware with dust sheets and use your masking tape to secure the edges.
-
Masonry paint can be tricky to shift so if you want to protect the ground beneath the brick, throw down some additional dust sheets.
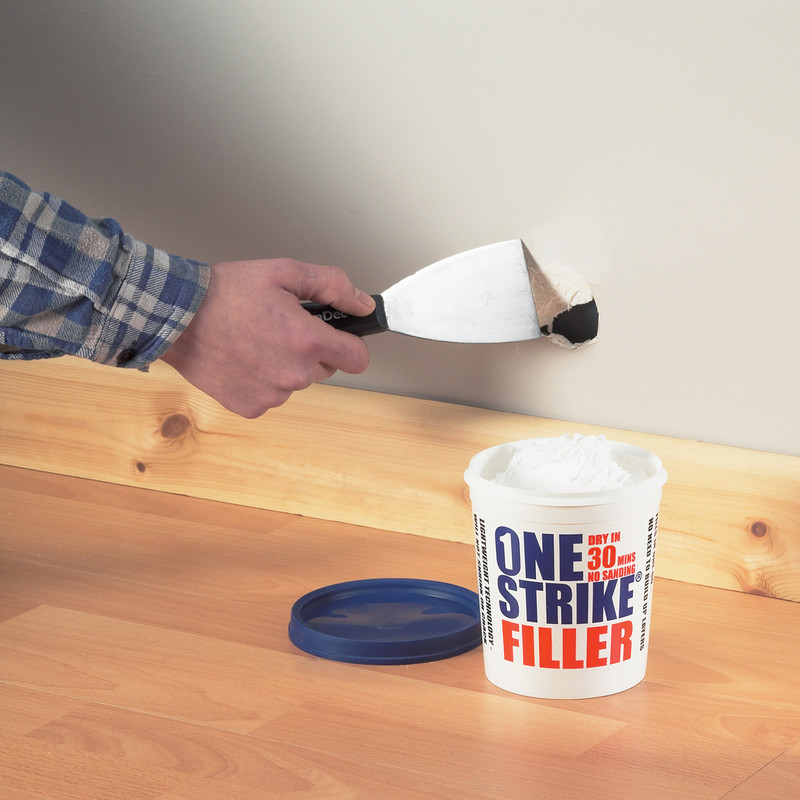
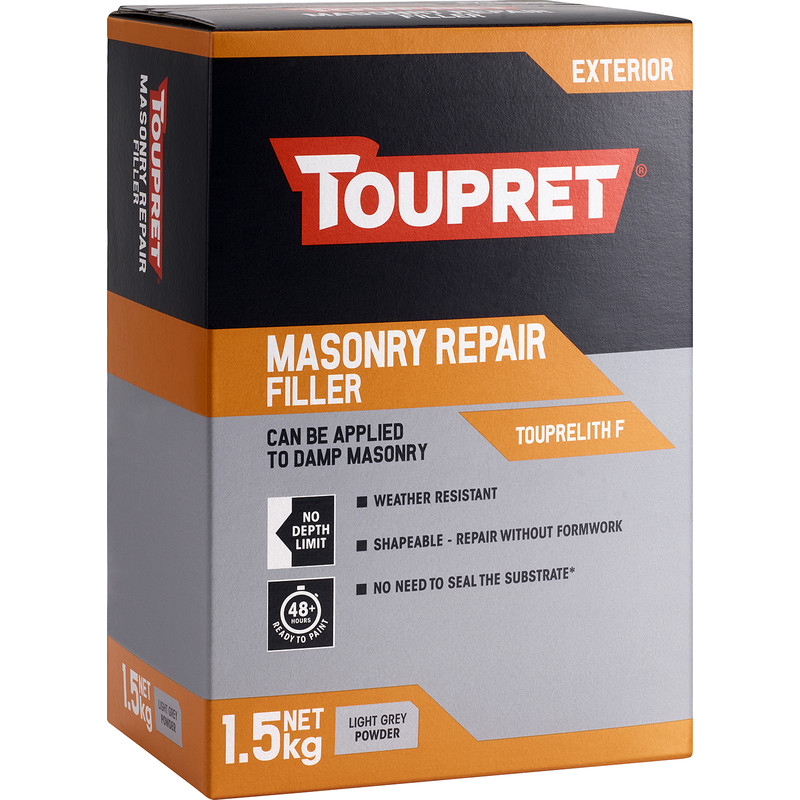
Step 3: Repair Any Cracks or Holes
If you spot any cracks or holes in the brick or mortar, take some time to fill these before you start painting.
-
Use a high-quality masonry filler to fill any visible cracks or holes in the brick or mortar.
-
After applying the filler, smooth it with a putty knife or scraper to level it with the surrounding brick.
- Let the filler dry according to the manufacturer’s instructions (usually 24 hours), and then lightly sand the area to ensure it’s flush with the wall.
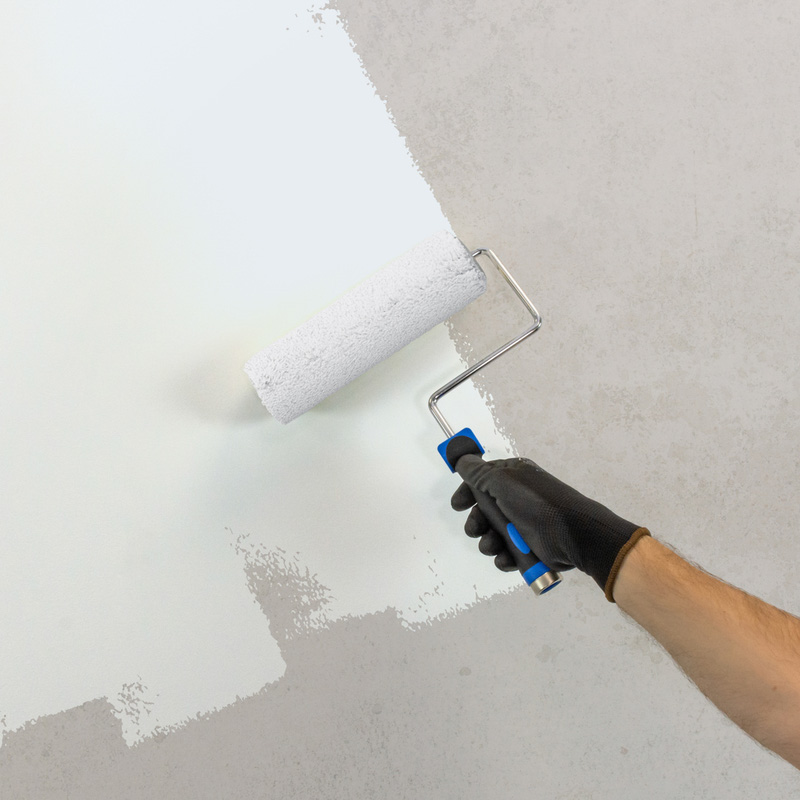
Step 4: Apply Primer
Priming is an important step to ensure the paint adheres properly and lasts longer. Make sure you use an undercoat specifically designed for masonry or brickwork.
-
Give the primer a good stir before applying to ensure it’s mixed properly.
-
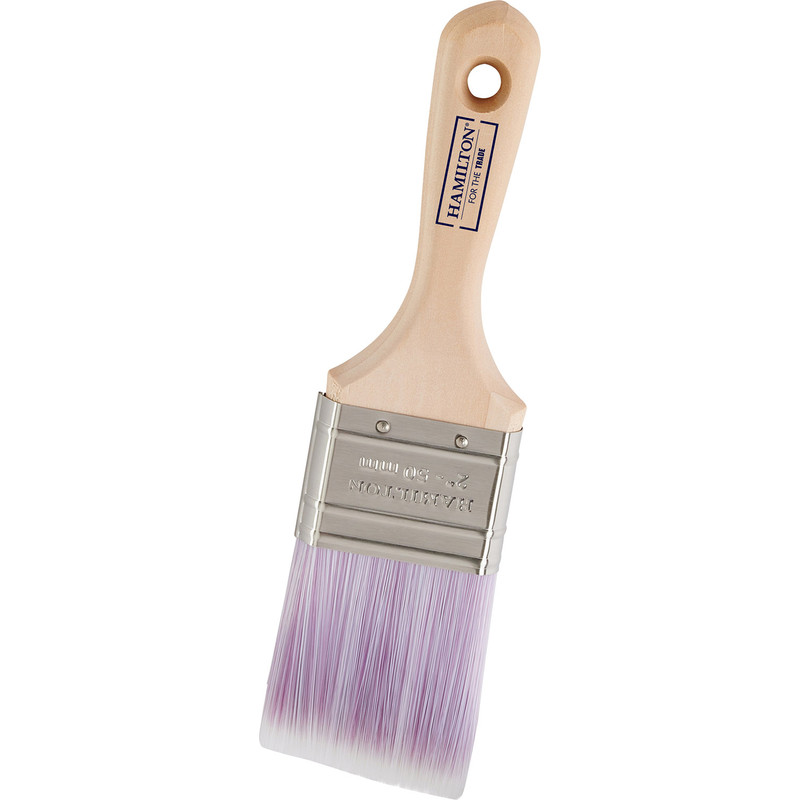
Use a paint roller to apply the primer in long, even strokes. For edges and corners, use a brush and make sure the primer is applied evenly across the surface.
- Let the primer dry completely, following the manufacturer’s instructions for drying times (usually 4–6 hours). In some cases, a second coat of primer might be needed, especially for very porous or rough brick.
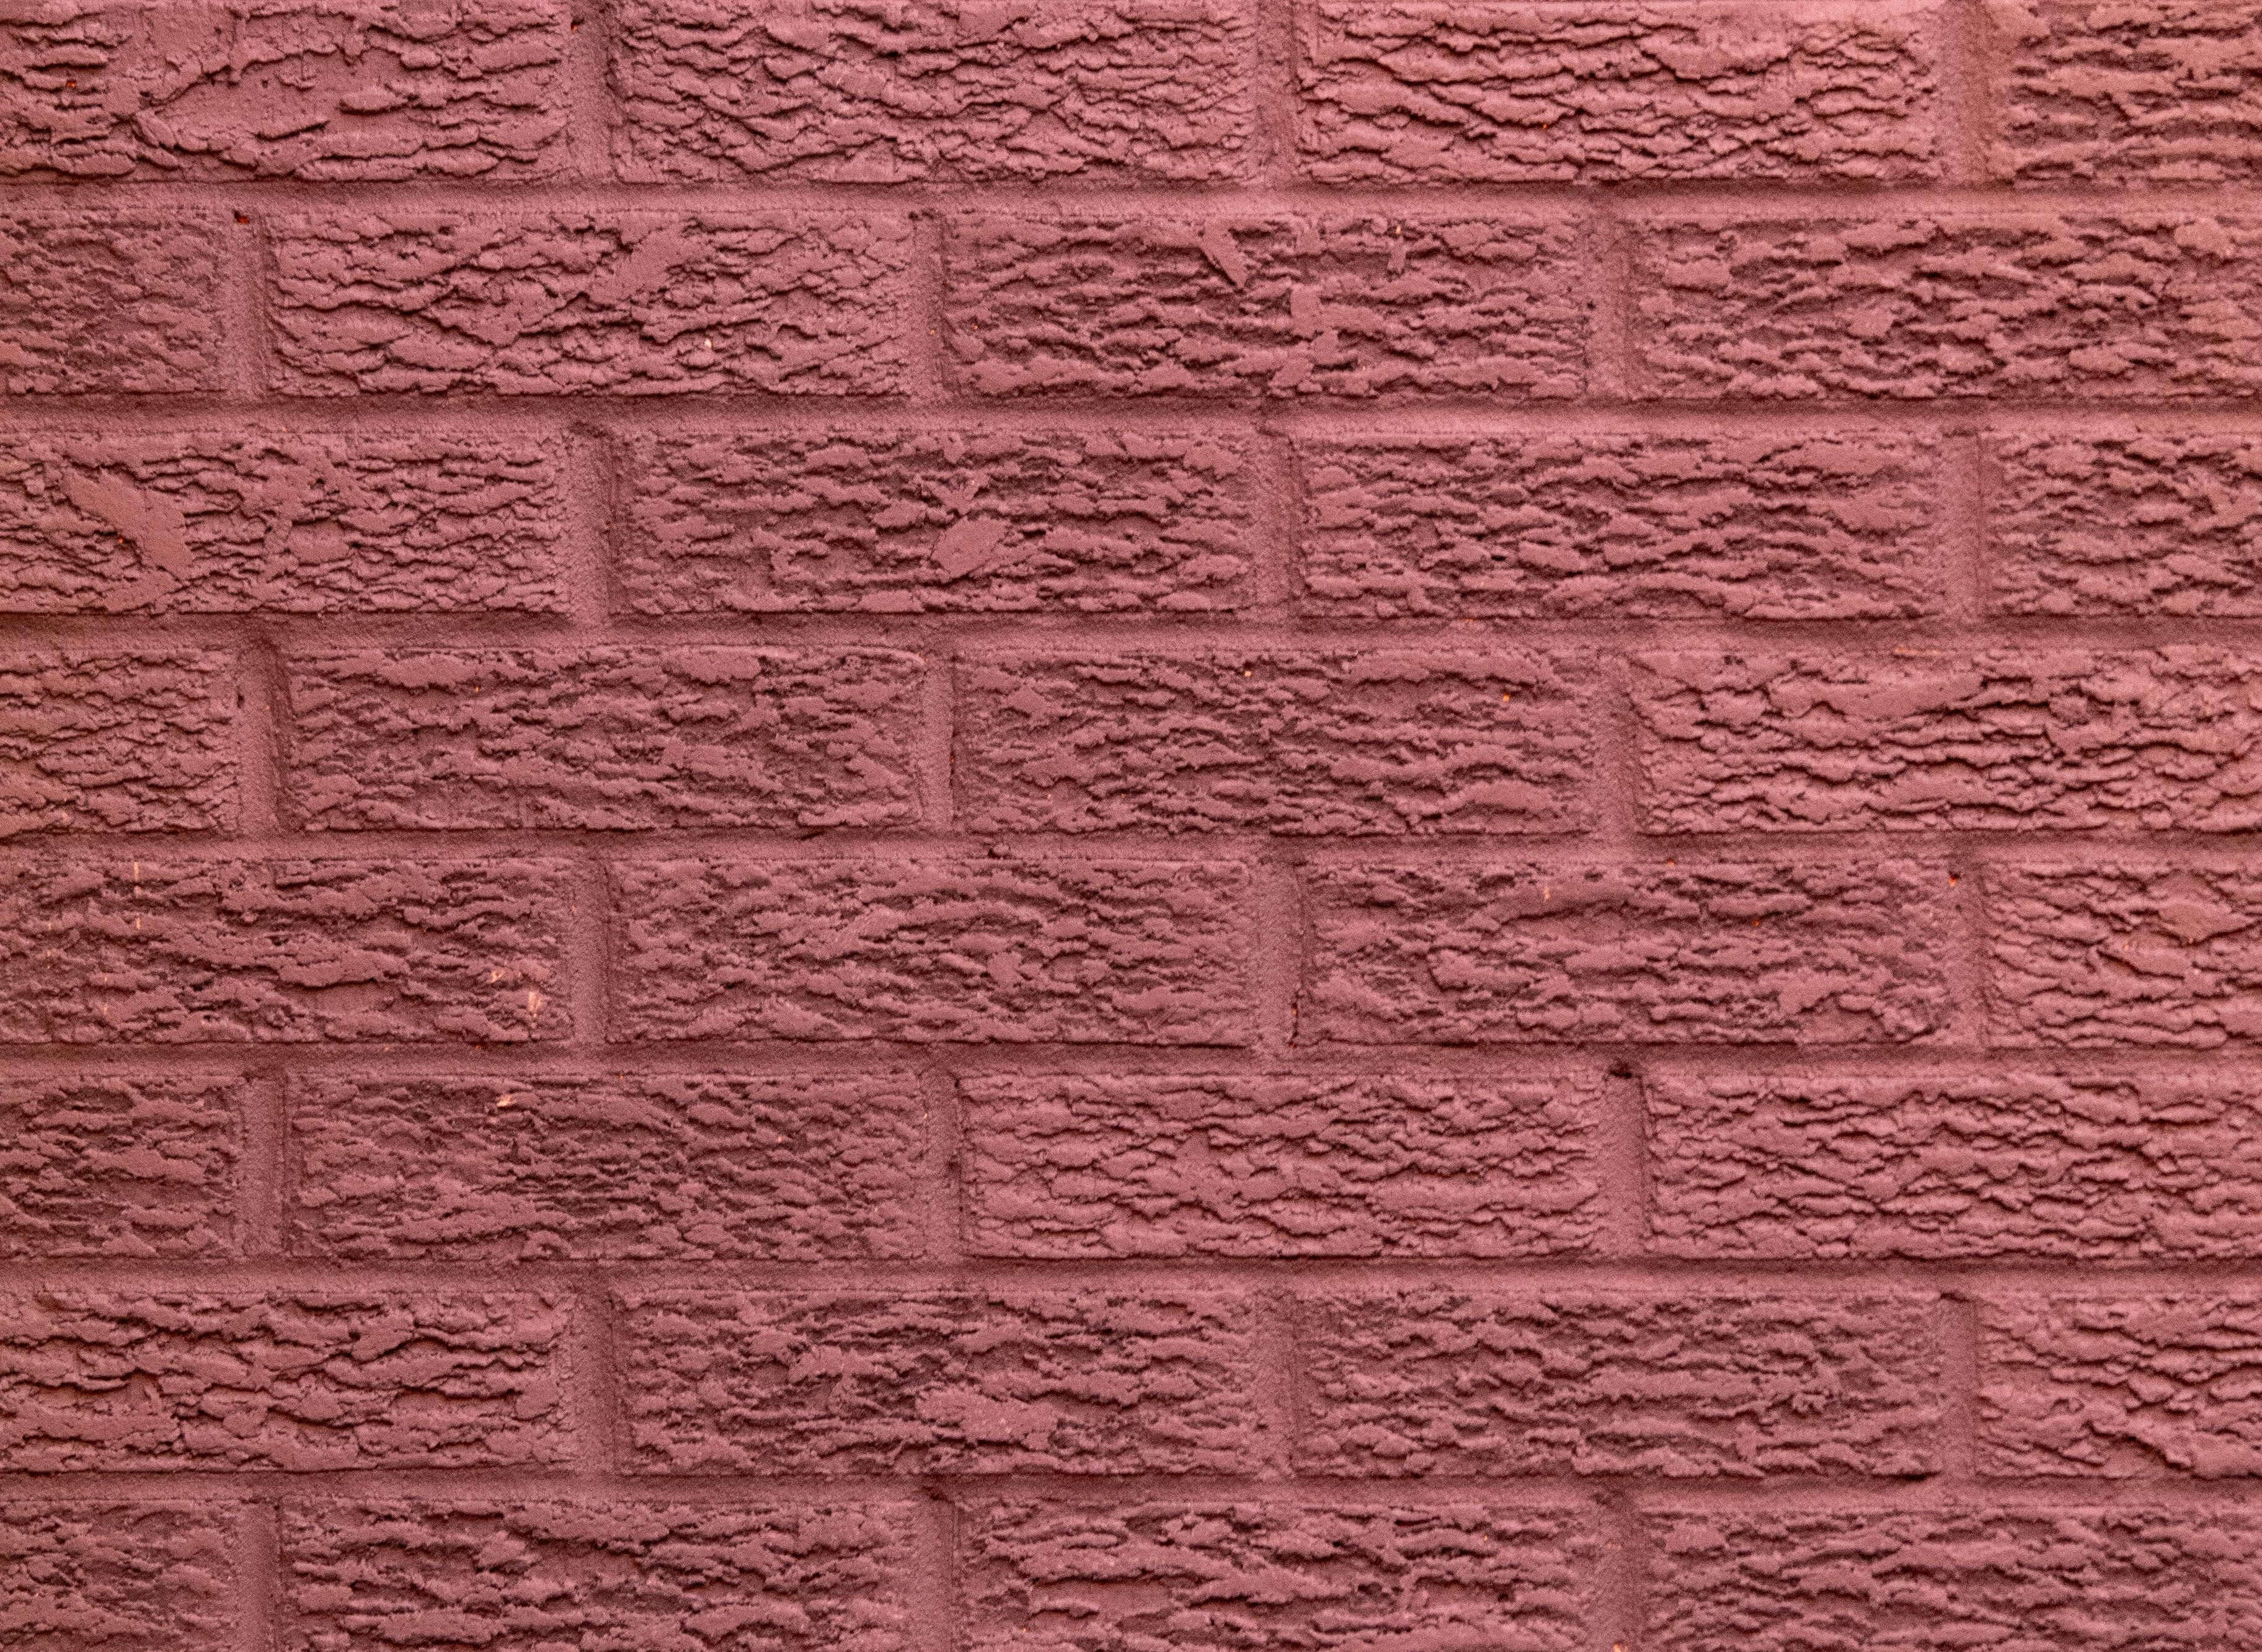
Step 5: Apply the Paint
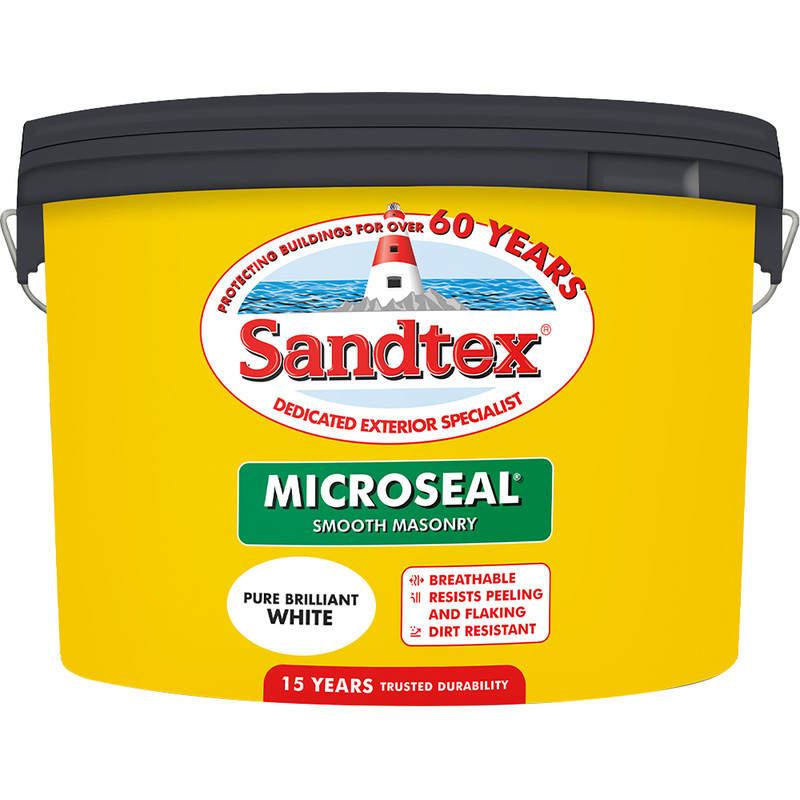
Once the primer has dried, it’s time to start painting. The ideal paint type to use on brick is masonry paint due to its breathability, durability and flexibility.
- As with the primer, give the paint a thorough stir to ensure an even consistency.
- Using a brush, carefully paint the edges and corners where the roller can’t reach. This includes around windows, doors, and other trim.
- For the main surface area, use a paint roller to apply the paint. Apply it in long, even strokes, working from the top down to avoid drips. Be sure to apply the paint in thin, even layers. This helps prevent a patchy finish.
- Depending on the colour and texture of the brick, you may need two or three coats of paint. Allow each coat to dry completely before applying the next (usually 4–6 hours between coats). This will help to achieve a uniform finish.
Step 6: Touch Up and Clean
Once the final coat of paint is almost dry, carry out a thorough inspection to make sure you've not missed any spots. Once you're happy with the final finish it's time for a tidy up.
- Carefully remove the painter’s tape from around windows, doors, and trim. Do this when the paint is still tacky to avoid damaging the finish.
-
Clean your paint brush and roller to keep them in good condition for future use.
Step 7: Allow the Paint to Cure
To make sure that the paint adheres well for a long lasting finish, it's important to allow for sufficient time so the paint can fully cure. This is where the paint has become fully hardened and is more resistant to everyday wear and tear. Until then, avoid things like heavy cleaning so you don't damage the finish.