- Help & Advice
- How To Guides
- How to Paint Pebble Dash

How to Paint Pebble Dash: 3 Effective Methods
When it comes to painting the exterior of your house, painting over a pebble dashed wall is considered one of the more challenging types of render to do. That’s because the highly textured, rough finish leaves lots of small gaps that can easily be missed, leading to patchy coverage and uneven colour. However, with the right tools and know-how, painting pebble dash can dramatically improve the appearance of your property, helping to protect the render from adverse weather conditions.
In this guide, we’ll cover the most effective ways to paint pebble dash, from proper surface preparation to choosing the best paint and application methods, so you can achieve a durable and professional-looking finish.
Essential Tools & Equipment
Method 1: Painting Pebble Dash with a Masonry Brush
Using a masonry brush is the most traditional method and gives you the greatest control over coverage.
It involves working the paint into the textured surface using firm, sweeping and dabbing motions to ensure it reaches all the recesses between the stones. It's worth noting that it can be very labour-intensive and time-consuming, but it allows you to avoid missed spots and running paint, especially around edges and hard-to-reach areas.
Step 1: Prepare the Surface
Clean the wall thoroughly to remove dirt, algae, and any loose material. A stiff brush or pressure washer can be used, but allow the wall to fully dry before you begin painting.
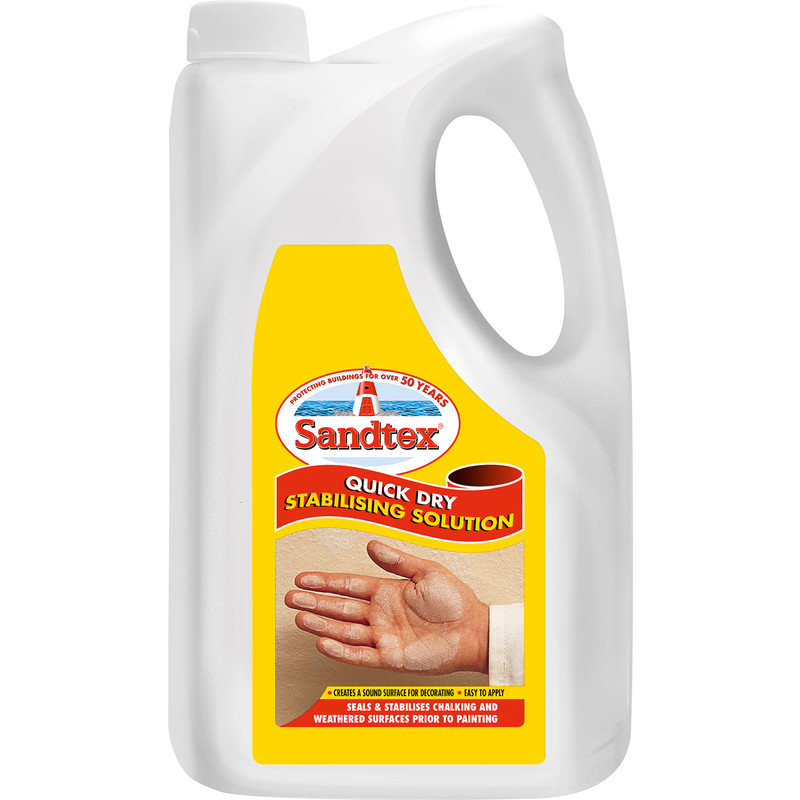
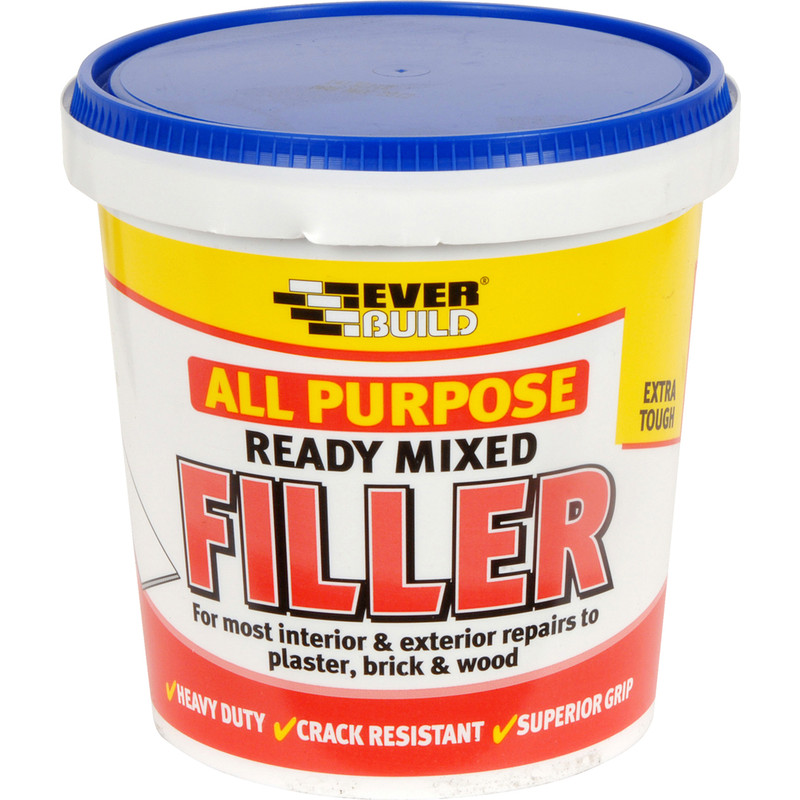
Step 2: Repair and Stabilise
Fill any cracks or damaged areas with filler and allow it to dry. Once cured, apply a stabilising solution if the surface appears powdery - this prevents too much paint absorption.
Step 3: Apply the Paint
Load the masonry brush with plenty of paint and apply using a combination of sweeping and stippling motions. Work the paint into the gaps between the stones to ensure full coverage.
Step 4: Work in Sections
Paint small sections at a time, maintaining a wet edge to prevent lap marks. Check from different angles for any missed areas.
Step 5: Apply Any Additional Coats
Allow the first coat to dry fully before applying a second coat, and be sure to follow the paint manufacturer’s recommended drying times.
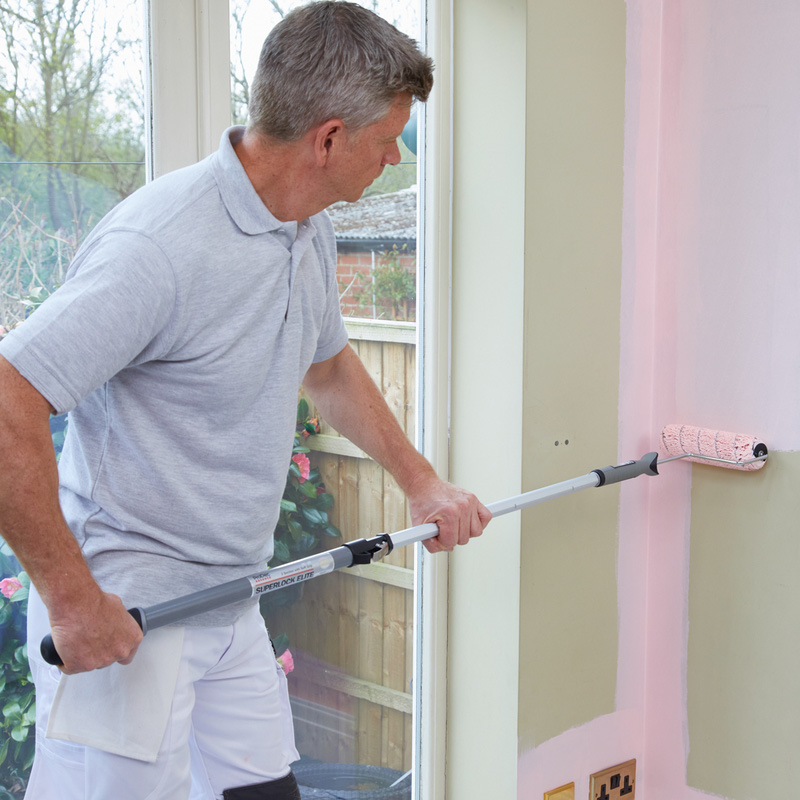
Method 2: Painting Pebble Dash with a Roller
A long pile roller can be used to paint pebble dash more quickly than a brush.
This method works best when combined with a masonry brush to backfill areas the roller can’t reach. It's a good idea to apply paint in multiple directions as this can help to improve coverage, but you'll need to take a little care to avoid excessive splatter and uneven paint thickness.
Step 1: Clean and Prepare the Wall
Start off by removing any surface contaminants and repair any defects that you spot on the walls. Then, use masking tape to mask off windows, doors, and surrounding areas to protect from any paint splatter.
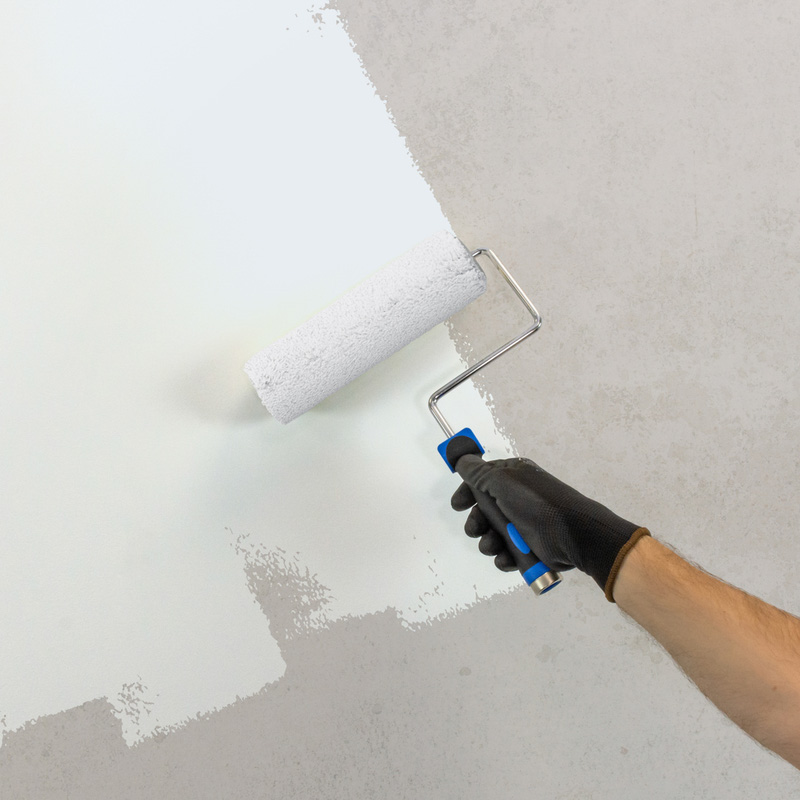
Step 2: Choose the Right Roller
Use a long-pile roller as these are better suited for painting on rough masonry surfaces. This helps the paint reach deeper into the texture of the pebble dash.
Step 3: Apply Paint with the Roller
Pour some paint into a roller tray, then load up the roller with paint. Roll paint onto the wall in multiple directions, taking time to apply moderate pressure. Be sure to avoid overloading the roller, as this could result in paint splashes.
Step 4: Back-brush the Surface
Immediately after rolling, use a masonry brush to push paint into recesses and even out coverage. Use a stippling motion to avoid leaving any unpainted gaps.
Step 5: Allow to Dry and Recoat
Once the first coat is dry, if needed, apply a second coat using the same roller-and-brush technique.
Method 3: Spray Painting Pebble Dash
Spraying paint using an airless paint sprayer is the quickest way of painting over pebble dash.
The high-pressure spray forces paint deep into the textured surface, providing even coverage in a short amount of time. That said, thorough masking is essential, as overspray has a tendency to travel a considerable distance.
Step 1: Mask and protect surrounding areas
Cover windows, doors, paths, and nearby surfaces thoroughly. Overspray can travel, so take extra care to avoid getting paint in places you don't want it.
Step 2: Prepare the paint and equipment
Use an airless sprayer suitable for masonry paint. Thin the paint only if recommended by the manufacturer and strain it to remove any lumps and prevent blockages.
Step 3: Apply the paint evenly
Hold the spray gun at a consistent distance and use smooth, overlapping passes to ensure even coverage.
Step 4: Back-roll or back-brush if required
For very deep textures, you may need to lightly back-roll or back-brush while the paint is still wet to improve coverage.
Step 5: Apply a second coat
Once dry, apply a second spray coat if needed to build durability and achieve a uniform, consistent finish.