- Help & Advice
- How To Guides
- How to Paint a Fence
How to Paint a Fence
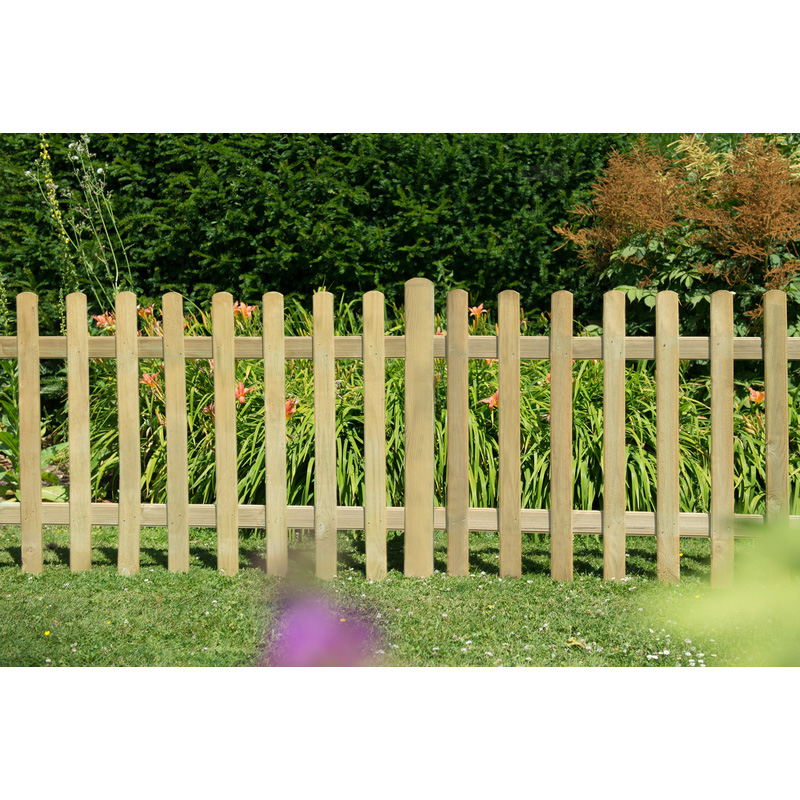
Tackling a bit of DIY in the garden often means painting the shed or cleaning the decking, but one job that’s sometimes neglected, but can make a big difference, is painting your fence. A newly painted fence doesn’t just boost your garden’s appearance, it’s also a great way of protecting the wood against adverse weather, which can leave your fence looking a bit tired and shabby.
That said, with the right preparation and technique, painting your fence can be a straightforward gardening project that keeps your outdoor space looking tidy and well kept all year round.
Tools You'll Need

Step 1: Give the Fence a Good Clean
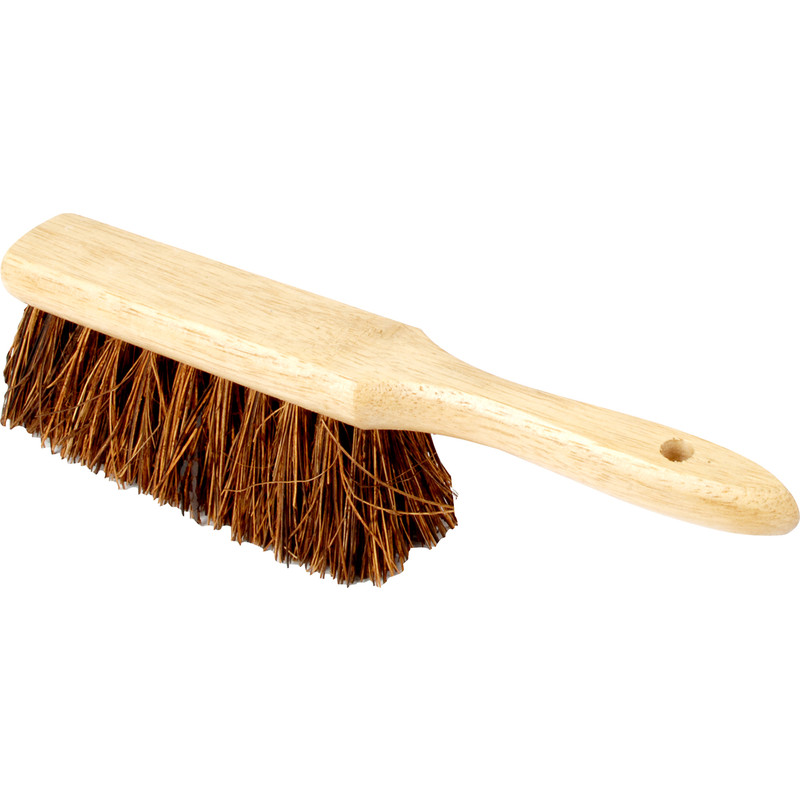
Before any painting happens, spend a bit of time getting the fence into decent shape. Brush off dirt, dust, cobwebs, and any flaky old paint with a stiff brush.
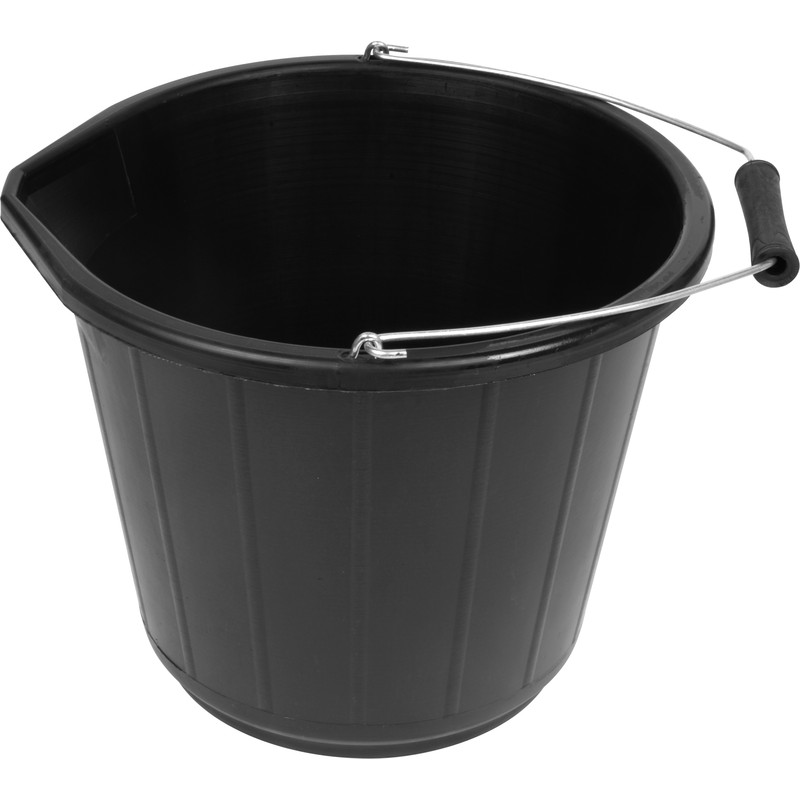
If the panels are especially grubby, a quick wash with warm soapy water helps the new paint stick properly. Just make sure you let the fence dry completely as painting on damp wood can lead to streaks and patchiness.
Step 2: Protect the Surrounding Area
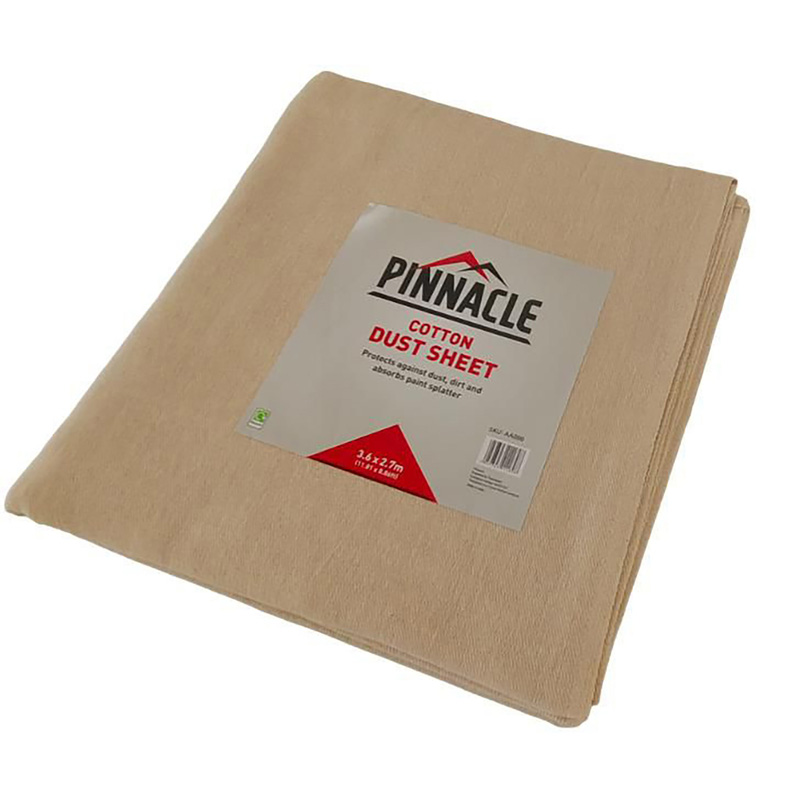
Once the fence is clean and dry, protect anything you don’t want to accidentally get paint or stain on. Lay down a few dust sheets along the bottom of the fence, especially if you’re working near patios or flowerbeds.
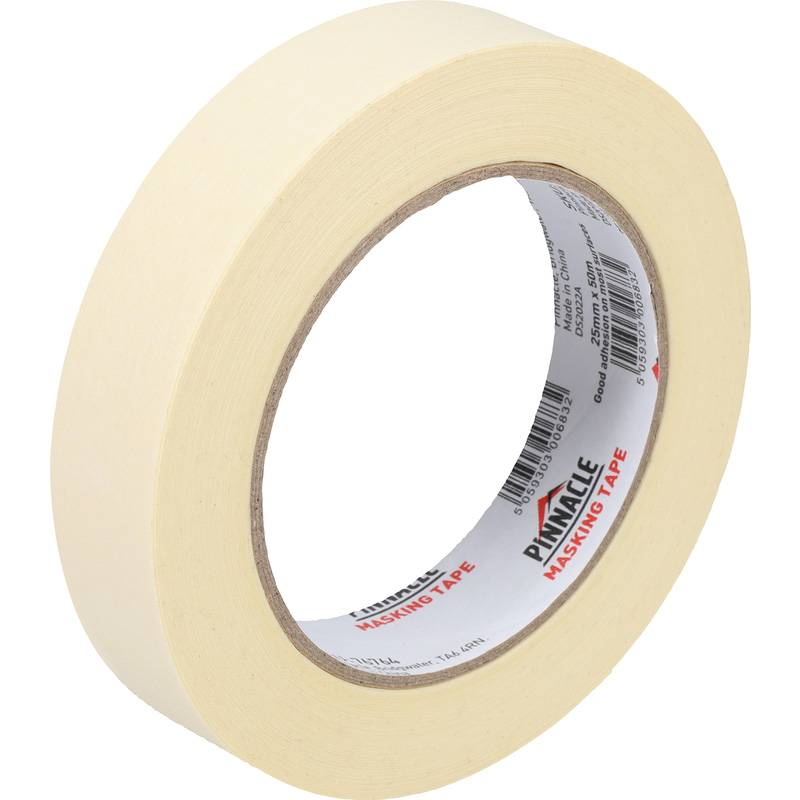
Next, mask off hinges, latches, and any neighbour’s panels that you’d rather keep paint-free. Doing this helps to keep clean-up to a minimum.
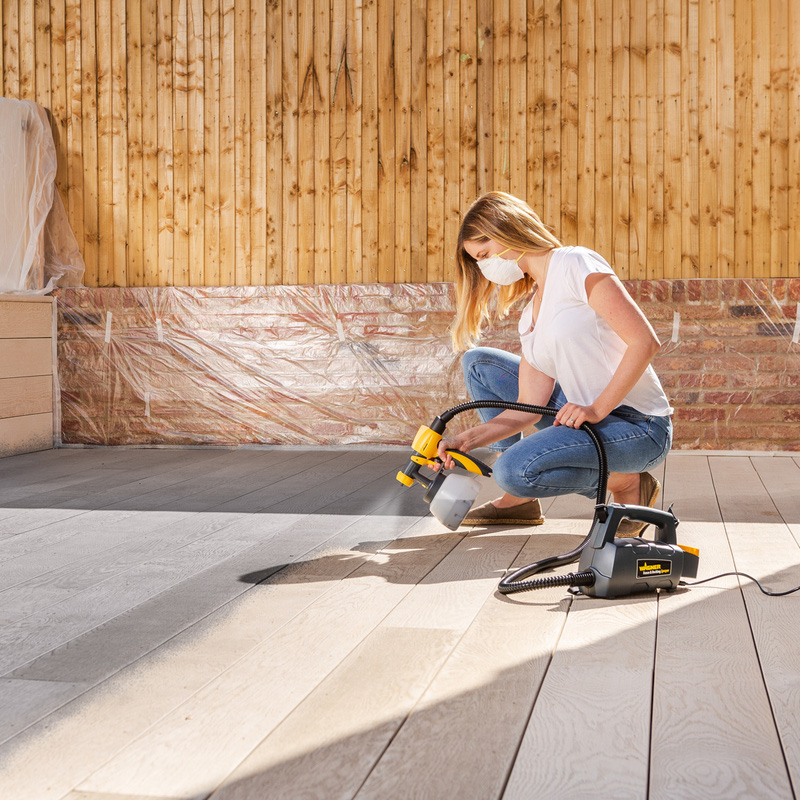
Step 3: Prep the Paint and Start at the Top
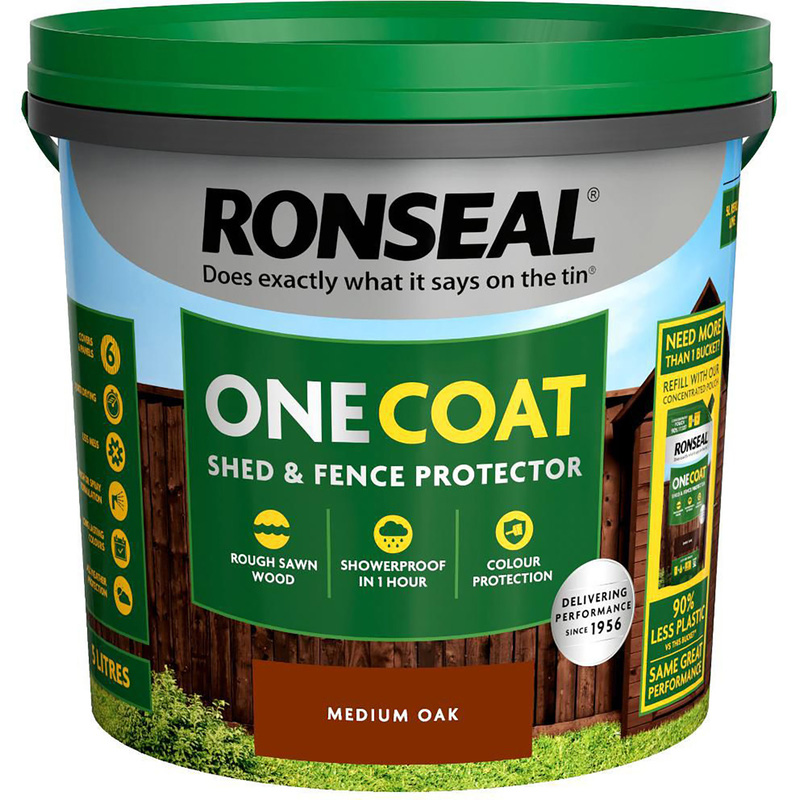
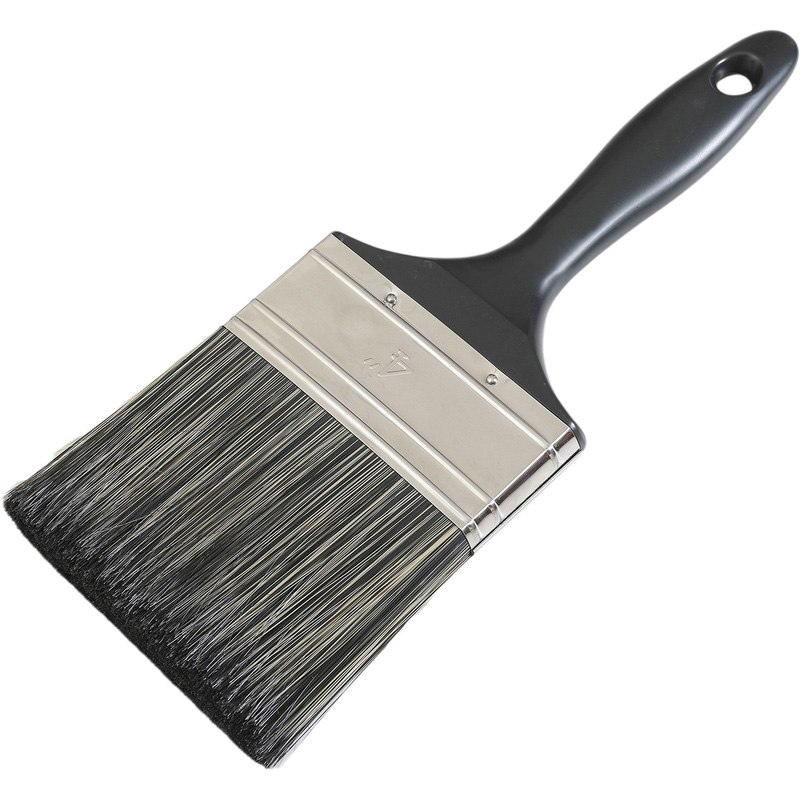
It’s common for paint to separate when it’s been sitting on a shelf for a while so be sure to give it a good stir so the colour is properly mixed. Load up your paint brush and begin painting from the top of the panel, working your way down in smooth, steady strokes.
Following the direction of the wood grain helps you get a neat finish. If you’re using a sprayer, keep your movements even and slightly overlapping so you don’t end up with light or heavy patches.
Step 4: Let the First Coat Dry Properly
Once the first coat is done, pop the kettle on and take a break, allowing time for the paint to fully dry. Drying times usually vary by product, so check the tin, but generally it’s best not to rush this stage. A fully dry first coat gives you a much better surface for the next one and helps the colour settle evenly with less chance of a streaky finish.
Step 5: Apply the Second Coat
When the fence is dry, go in with your second coat. Apply it the same way - from top to bottom using long, smooth strokes. This is the coat that really brings out the depth of colour and strengthens your fence’s defence against rain, sun, and changing weather.
Step 6: Touch Up If Needed
Once everything is dry, take a step back and check for any missed spots. Touch up if needed, and then admire your newly painted fence!