- Help & Advice
- How To Guides
- How to Build a Fence

How to Build a Fence
If your garden fence has taken a battering over the years from adverse weather and seen better days, it might be worth erecting a new one. A newly built fence ensures privacy, adds an element of security to your home while improving the overall appearance of your garden. What’s more, it’s cheaper and easier to build compared to a wall.
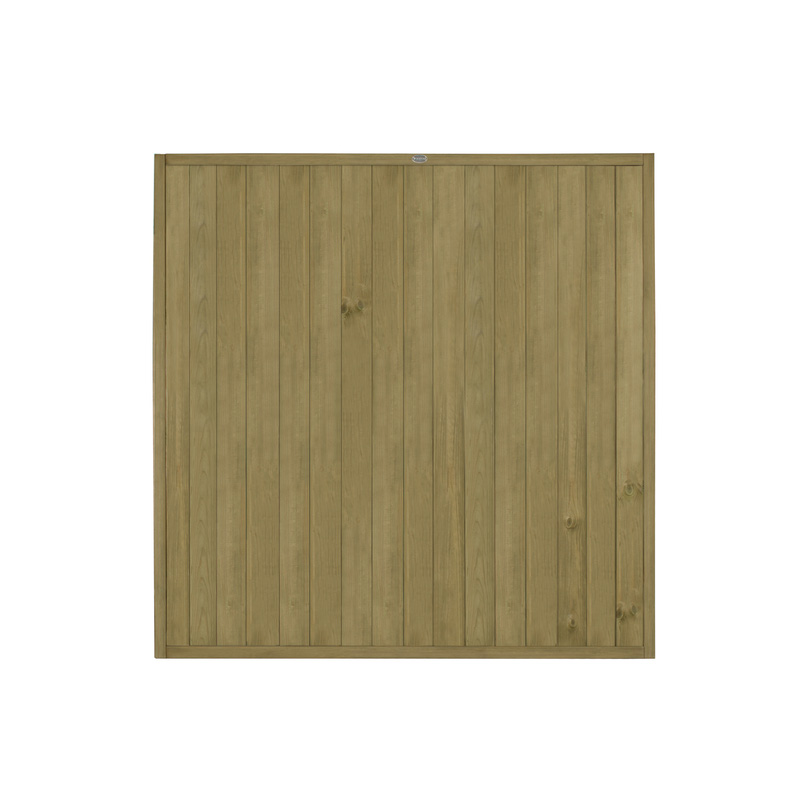
While there are different types of fence panels, wooden ones tend to be easier to install and this guide will cover all the necessary steps for building a fence that will look good and last for years to come.
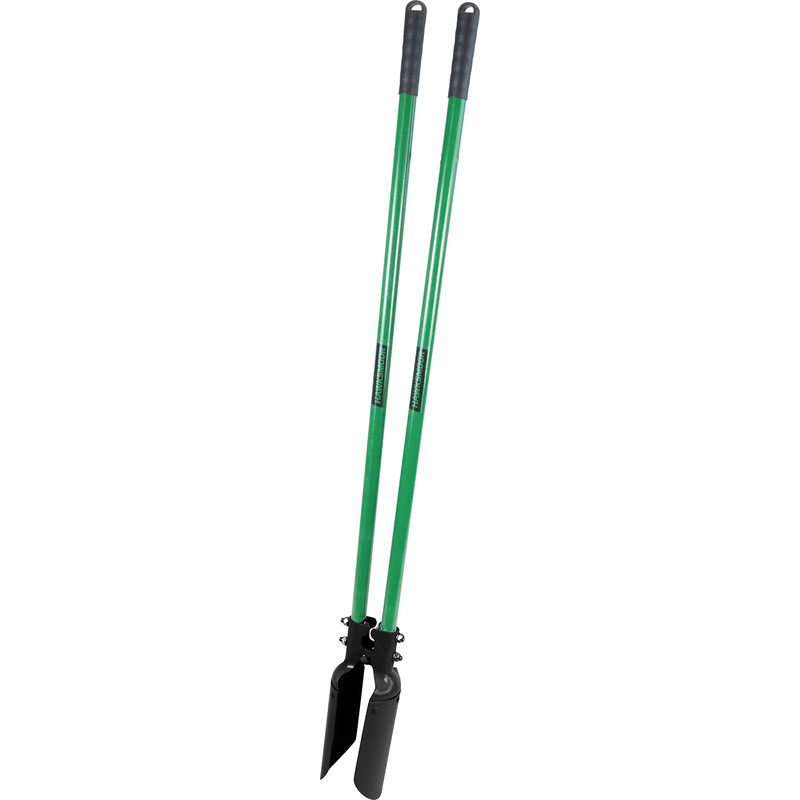
Essential Tools for Building a Fence
Thing to Consider Before you Start
Height of the Fence
Before building your fence, consider the height requirements based on your needs - privacy, security, or decorative purposes. Local regulations may determine how tall your fence can be, especially at the front of the property. Measuring and planning the height correctly will also help you choose the right panels and post lengths.
Removing an Old Fence
If you're replacing an existing fence, factor in the time and effort needed for removal. This may involve pulling up old posts set in concrete and disposing of panels. Check if any parts can be reused or recycled, and be aware of nails or sharp edges during the dismantling process.
Maintenance Requirements
Wooden fences require regular maintenance to stay in tip-top condition. This includes staining or painting to protect against weather, as well as inspecting for rot, insect damage, or loose boards. Choosing treated wood can reduce maintenance but may come with higher upfront costs.
Check for Cables
Before digging post holes, it's crucial to check for underground cables or pipes. Hitting a cable can be dangerous and expensive to repair, so this step ensures safety and avoids unnecessary delays.
Step 1: Mark Out Where the Fence Panels Will Go
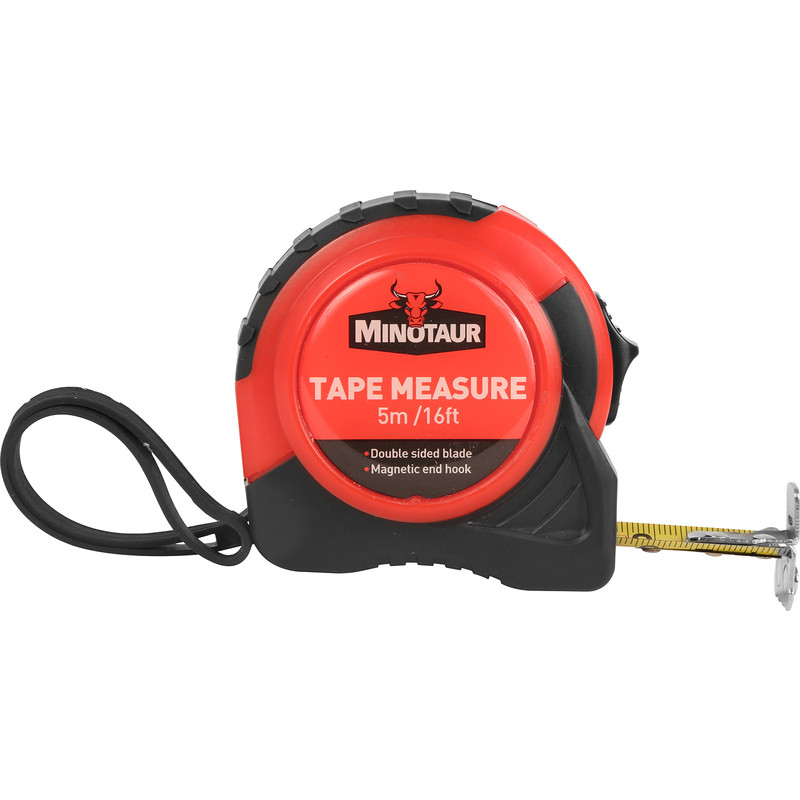
First thing you’ll need to do is create an outline for where your fence panels and posts will go. Take a tape measure and measure along the length of your new fence. Make sure you account for the length of each fence panel and fence post.
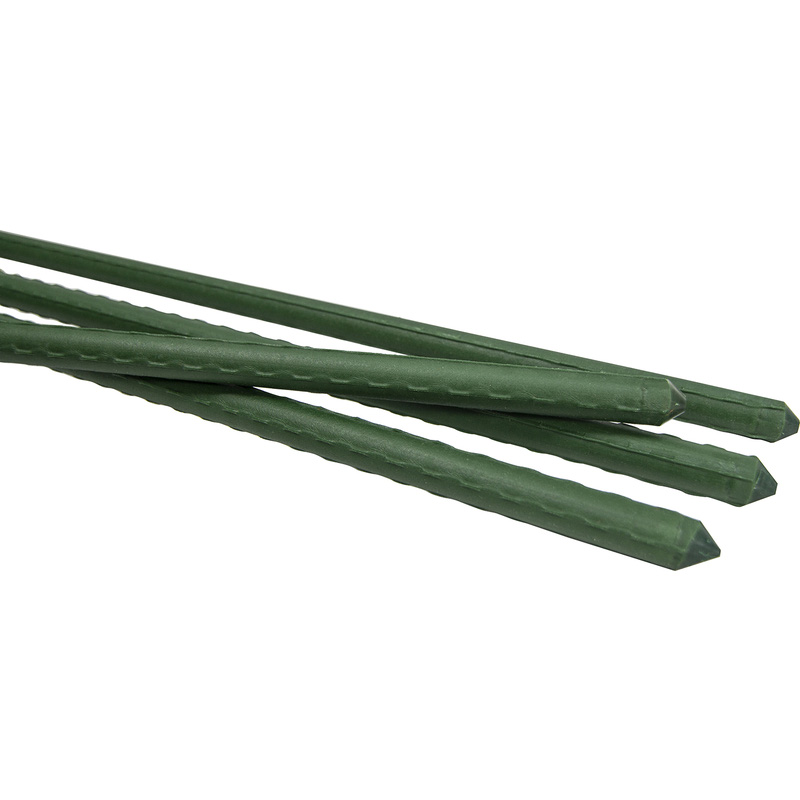
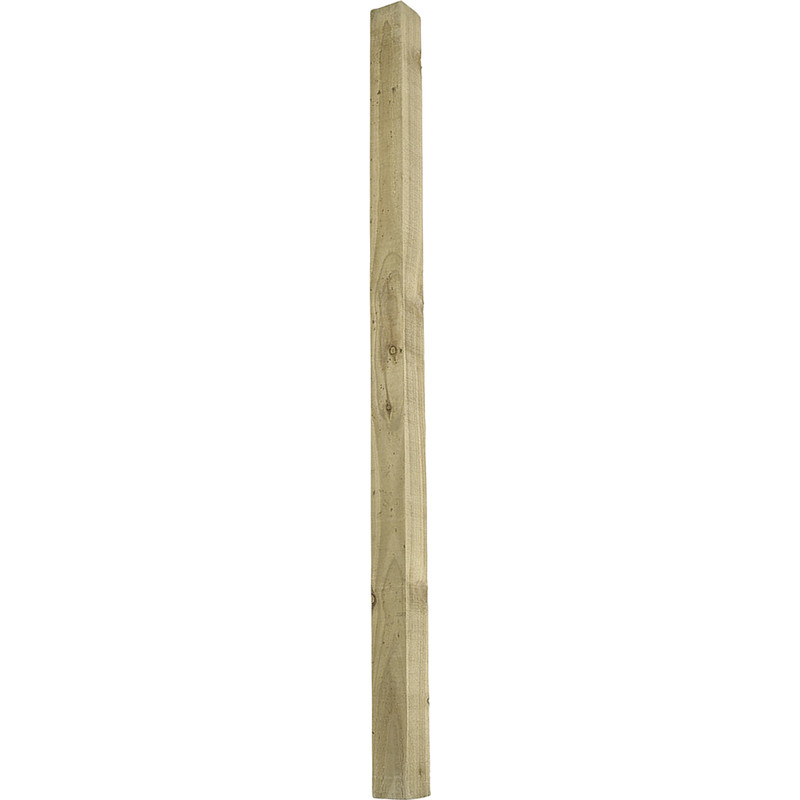
Many wooden panels are 6 feet wide (or 1.83m) while fence posts are commonly 75mm. In that instance, you’ll need to space your fence posts 1.90m apart. Mark out where each fence post will go by inserting a garden stake into the ground.
Step 2: Dig Holes For the Fence Posts
With everything measured up, it’s now time to dig the holes ready for the fence posts to be installed. You can use a regular spade for this or, for better accuracy and neater holes, use a post hole digger instead. Work your way along the length of where the fence will go until you’ve dug every hole - be sure to dig each hole to the same depth.
When it comes to how deep you need to dig, it’s usually recommended to bury about a third of the fence posts' total length for good stability. Keep in mind, that soil conditions and weather - particularly high wind areas - can determine sufficient depth as you may have to dig a little deeper.
Step 3: Install the Fence Posts
Before fitting the new fence posts, it’s a good idea to soak them in a wood preservative for a few hours (or ideally overnight). While fence posts are usually pre-treated, this can extend their life that little bit more.
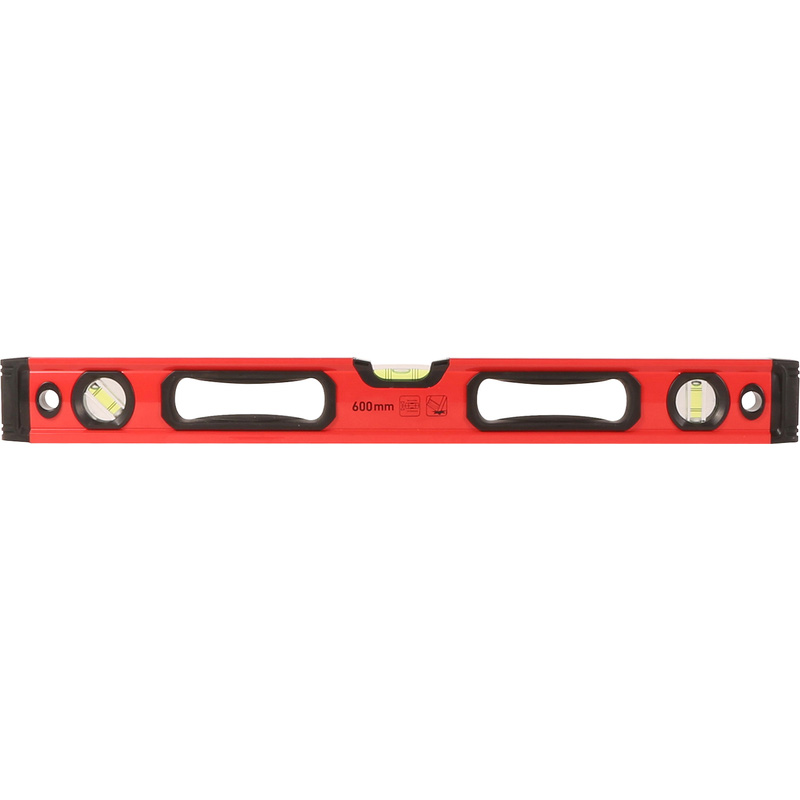
Start by placing both ends of the fence posts in the pre-dug holes and using a spirit level to check that they’re both perfectly vertical. Once in place, you’ll need to use something to support them both, keeping them upright. You can do this by temporarily screwing in some timber lengths until you move on to adding the concrete mix. Continue to add the remaining fence posts along with timber supports - make sure to use your spirit level on each post to ensure they’re vertical. Once all the posts are in position, lay a piece of timber across the top of two fence posts so you can check that they are horizontally aligned. Repeat this all the way along.
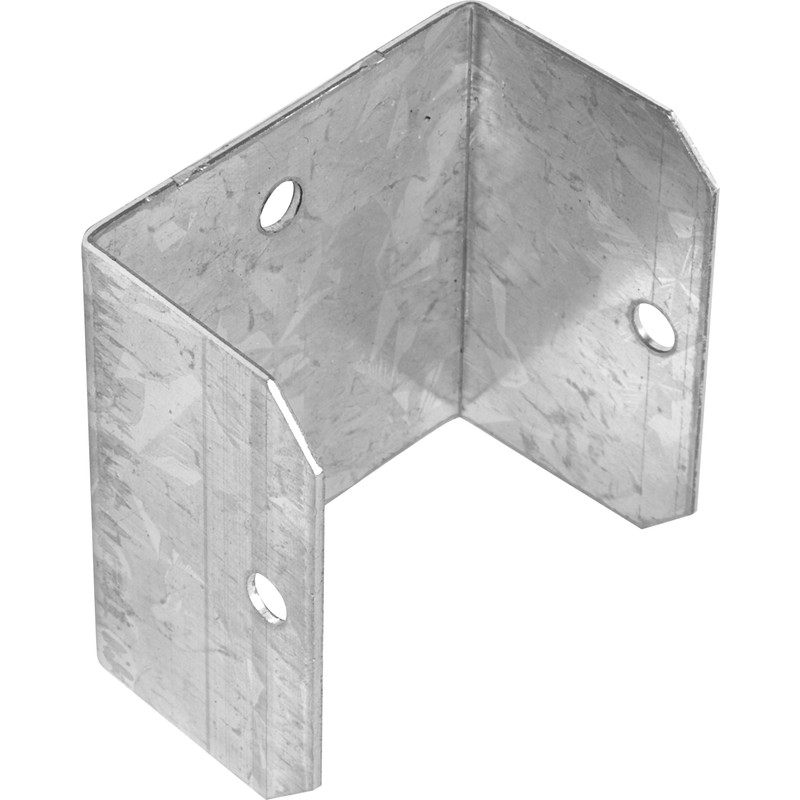
Step 4: Screw on Fence Panel Clips
For a secure fit for your fence panels, it’s a great idea to use fence panels clips. They’re super easy to use and prevent the need for nailing the panels to the posts, making installation of the fence panels much quicker. Another benefit of using clips is that if you ever need to replace a panel, it’s straightforward to slide out and replace it with a new one.
Mark on each fence post where you’ll screw on a fence clip - you’ll need to put one at the top 150mm down from the top of the post, and one at the bottom, 150mm up from the ground. Then, use a screwdriver and some wood screws to fix the clips on either side of the fence posts.
Step 5: Erect the Fence Panels
With all the clips in place, you can now move on to erecting the fence panels. It can be helpful to get someone to give you a hand with this next step. Carefully lift and slide each fence panel into position making sure they slide in between the fence panel clips.
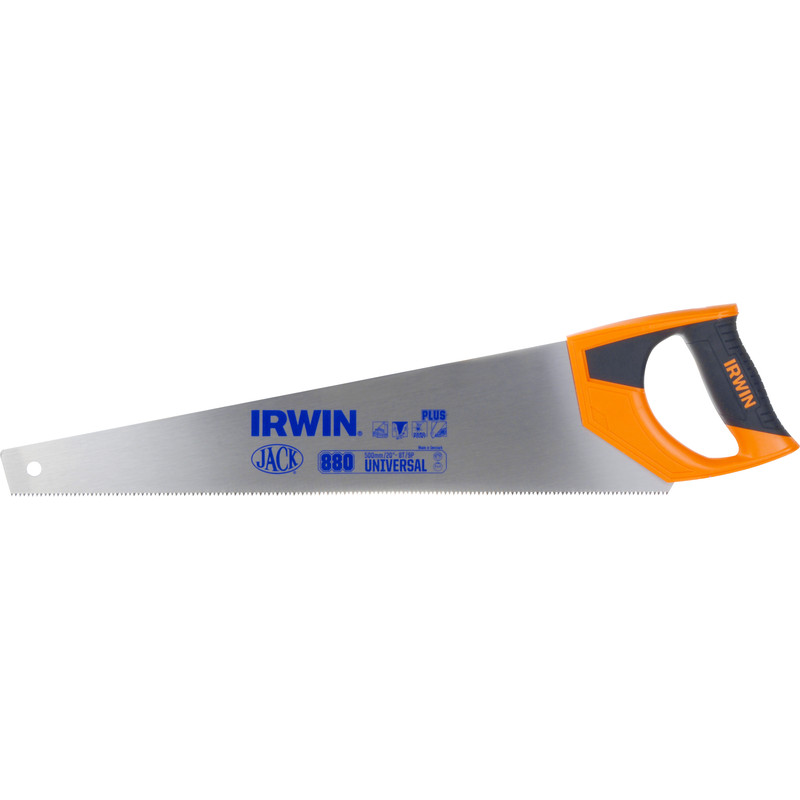
In the event that you need to cut the last fence panel down to size, start by removing the framing battens on one end of the fence panel, then move it to the correct width. Next, carefully re-centre the middle batten. Do the same on the other side of the fence panel, then use a hammer and nails to fix them into place. Finally, saw off the end of the fence panel using the repositioned end batten as a guide.
Step 6: Raise the Fence Panels From the Ground
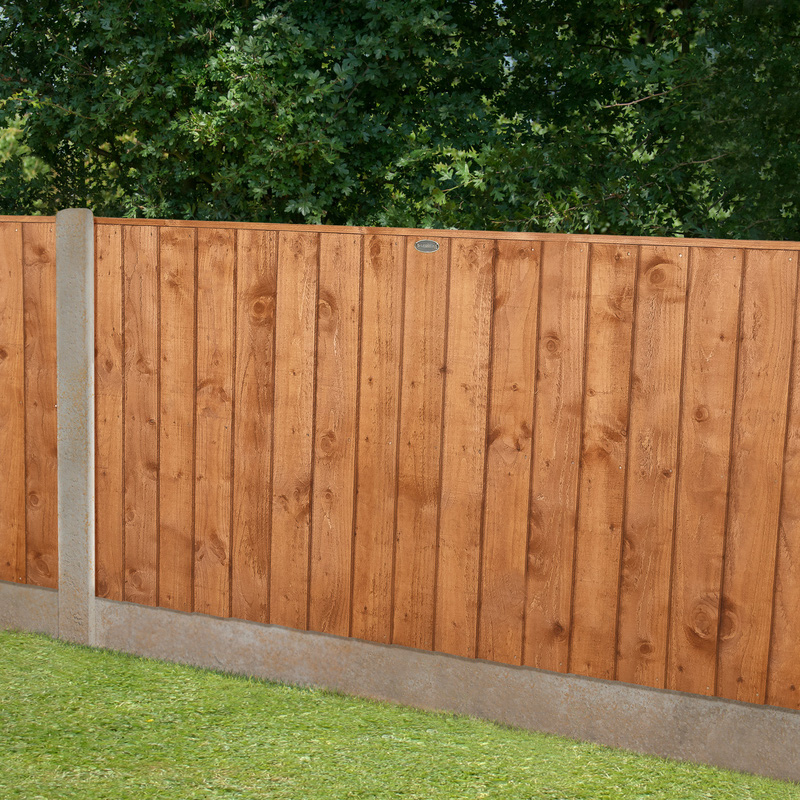
To prevent the fence panels from rotting, it’s important to raise them away from the ground by about 50mm. As with step 5, a second pair of hands will come in handy at this point. To keep the panels elevated from the ground, wedge a brick (or similar support) under each panel - this is only temporary. Before screwing the panels to the fence clips, use your spirit level to check they’re horizontal.
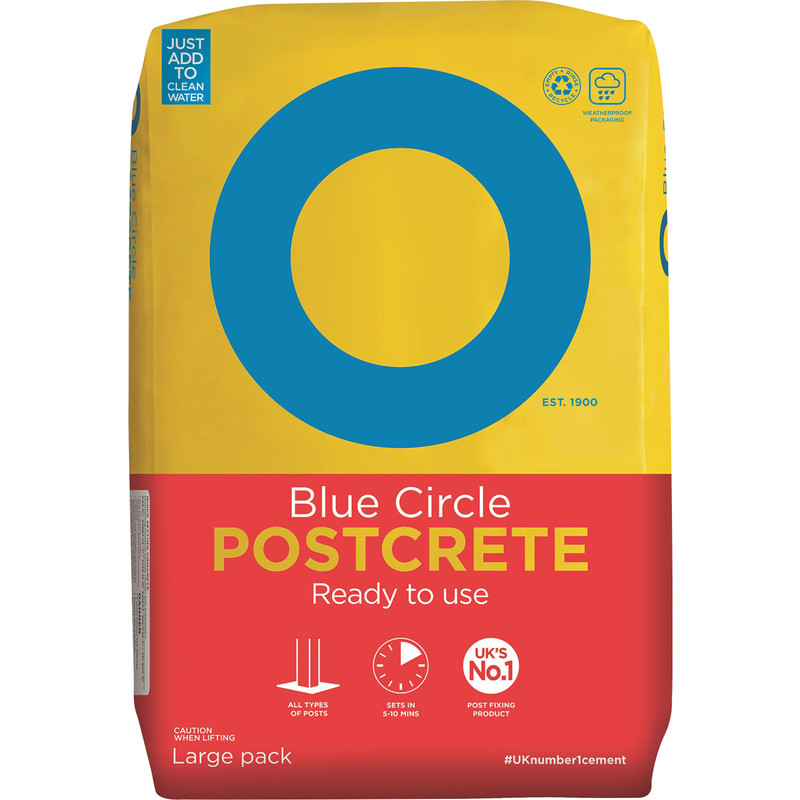
Step 7: Pour Concrete Mix into Fence Post Holes
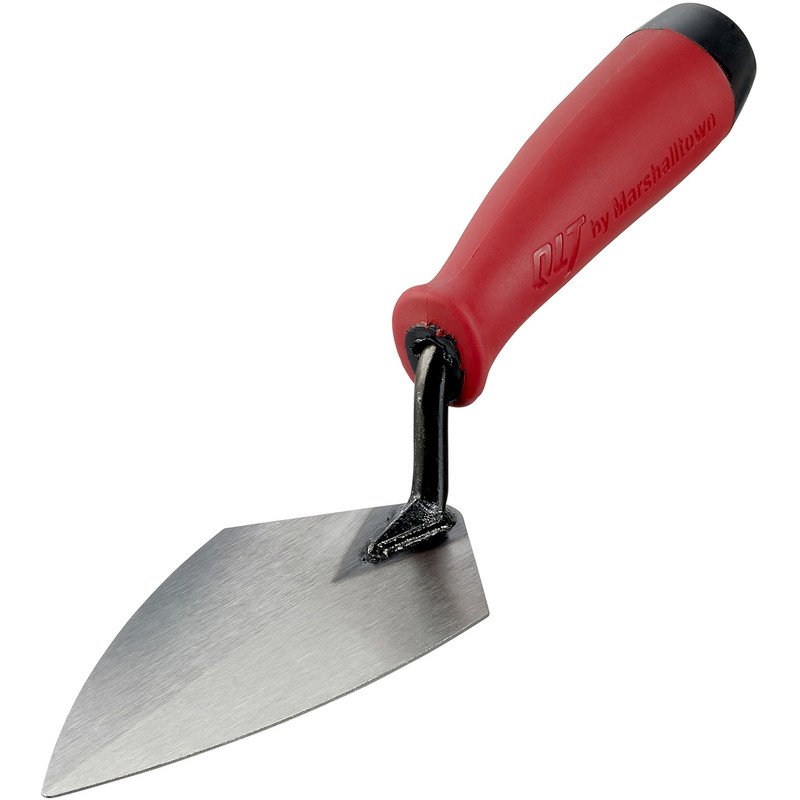
Mix up the concrete as per the manufacturer’s instructions and take care when pouring in to each of the fence post holes. Pour in enough mixture until it's just above ground level then, using a trowel, smooth the concrete downwards. This allows the rainwater to run off without pooling at the base of the post. Before moving on to the final step, allow the concrete mix to fully dry.
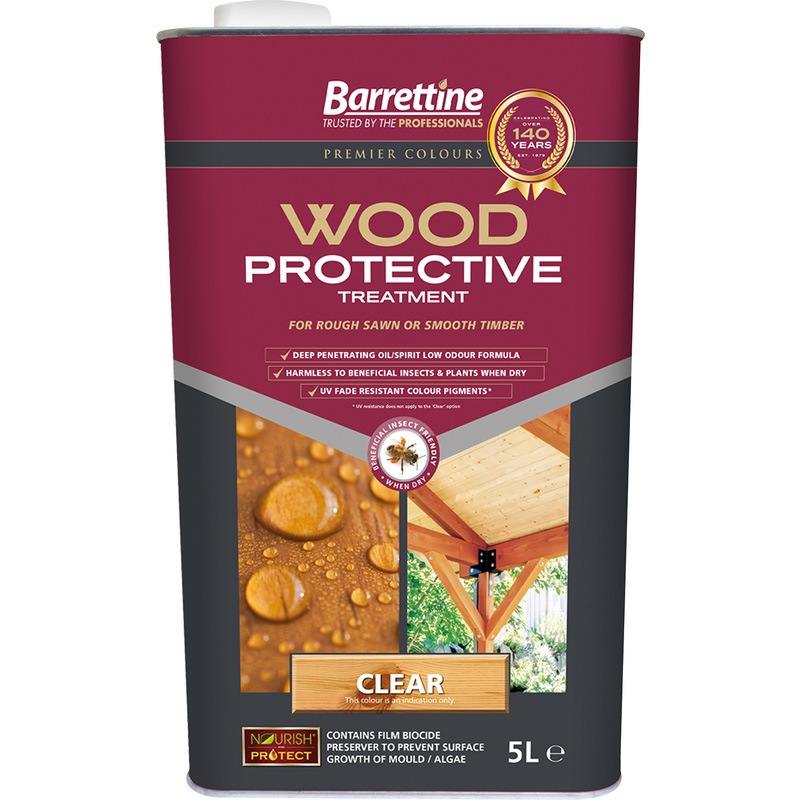
Step 8: Paint Your Fence
Now the concrete has set, you can remove the temporary supports and apply a lick of paint. Painting your fence is a great way to protect it from the elements and whether you choose a wood protector to maintain its natural colour or choose something a bit different is down to personal preference.