- Help & Advice
- How To Guides
- How To Mix Concrete

How To Mix Concrete
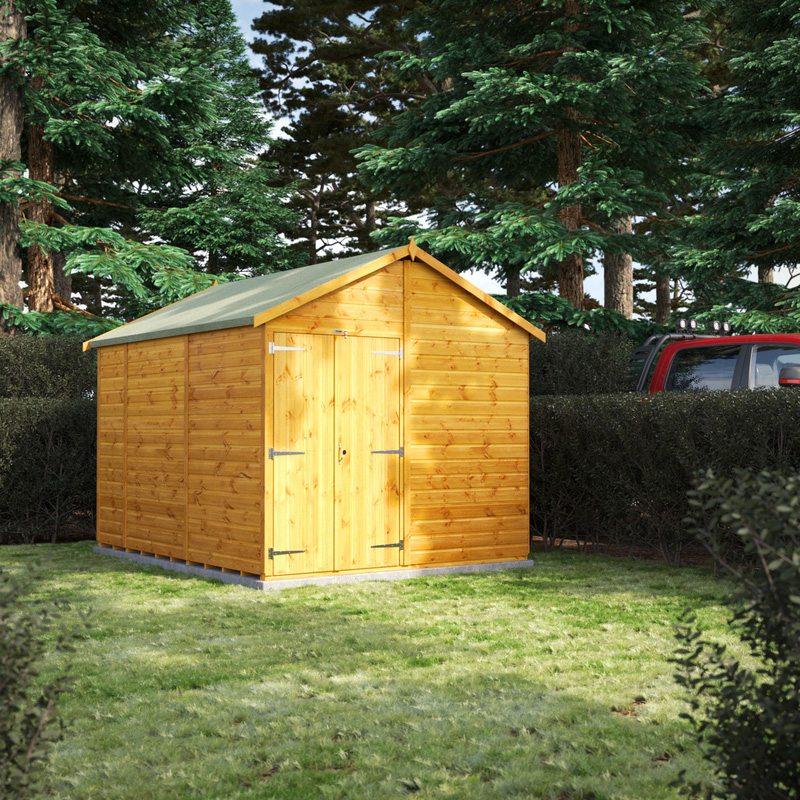
If you’re looking to mix up a batch of concrete, whether it’s for laying a shed foundation, leveling a driveway or anything in between, it’s important to achieve the right consistency - and this is known as slump. Keep reading as this is where we get a bit more technical.
Slump is broken down into several different categories (known as classes) ranging from S1 through to S5. S1 indicates the driest mix with the least amount of water, resulting in a much stiffer consistency. It’s the most difficult slump class to work with, sets quickly but holds its shape well. S1 slump is most often used by tradespeople working on construction sites doing things like bedding in pipework, or laying bases for roads and pavements. What’s more, once S1 concrete is laid it needs to be compacted into place using a vibrating plate to get rid of any trapped air, improve its strength and get it into any voids - it won’t self-settle due to its thicker consistency and fast drying time.
At the other end of the scale, S5 is much more fluid and pours very easily and that’s down to the increased amount of water added to the initial concrete mix. You might think this makes it easier to work with but, that’s not the case. Because S5 slump is so runny, this makes it difficult to control, with a high risk of spills and leaks - especially if it’s being laid on uneven surfaces. It can be tempting to add more water to a concrete mix to thin out the consistency but in doing so can result in a weaker concrete, cracking or shrinkage. So, where is S5 slump typically used? Well, it’s most often used on jobs that require mass concrete pours like creating footings or foundation for large structures such as buildings, bridges and even wind turbine bases.
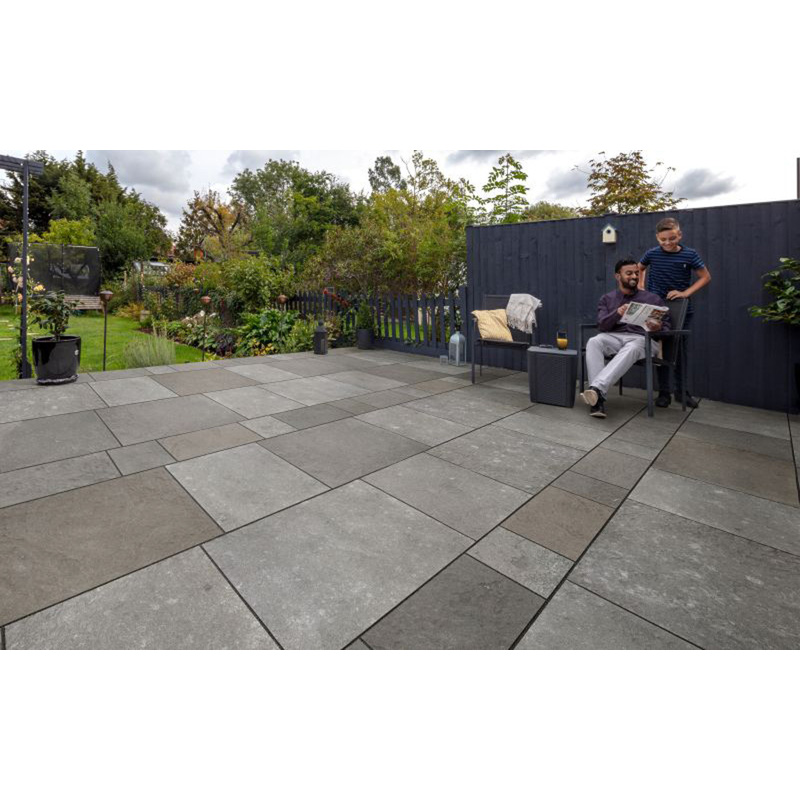
If you’re carrying out some work at home that involves smaller volumes of concrete you’ll be best opting for a S2 or S3 slump - these mixes offer a better balance between stiffness and workability. S2 is slightly stiffer and holds its shape well, making it ideal for tasks like setting fence posts or small footings. S3 offers a more workable consistency that can be easily placed and levelled by hand, which is perfect for shed bases, driveway repairs, patios, and small slabs. These classes are much easier to manage with standard tools and don’t require specialist equipment like vibrators or compactors, making them ideal for most DIY applications.
Essential Tools & Equipment


What is the ratio for mixing concrete?
For creating an S2 or S3 slump class it’s important to get the right ratios between the different materials: cement, sand, aggregate and water. Getting the right balance means you’ll achieve a good mix that’s easy to work with and durable.
A commonly used general-purpose concrete mix for DIY projects like shed bases, pathways, or driveway repairs is a 1:2:4 ratio - that’s 1 part cement, 2 parts sharp sand, and 4 parts aggregate by volume.
For an S2 slump, which will give you a slightly stiffer mix, you can go with a ratio of 1 part cement, 2½ to 3 parts sand, and 4 parts aggregate. You should then add just enough water to bind the mix without making it sloppy. The goal here is to achieve a consistency that holds its shape when shovelled but is still workable with some effort. This kind of consistency is ideal for things like setting post bases or smaller footings.
On the other hand, for an S3 slump, which is a bit more workable and easier to handle, stick to a ratio of 1 part cement, 2½ parts sand, and 4 parts aggregate. Then gradually increase the water content until the mix has a slightly creamier texture. It should flow more easily when poured, making it suitable for shed bases or driveway slabs, but still not runny. For better control over the mix’s consistency, you can also use a plasticiser instead of simply adding more water - this helps improve workability without compromising on the strength of the concrete.
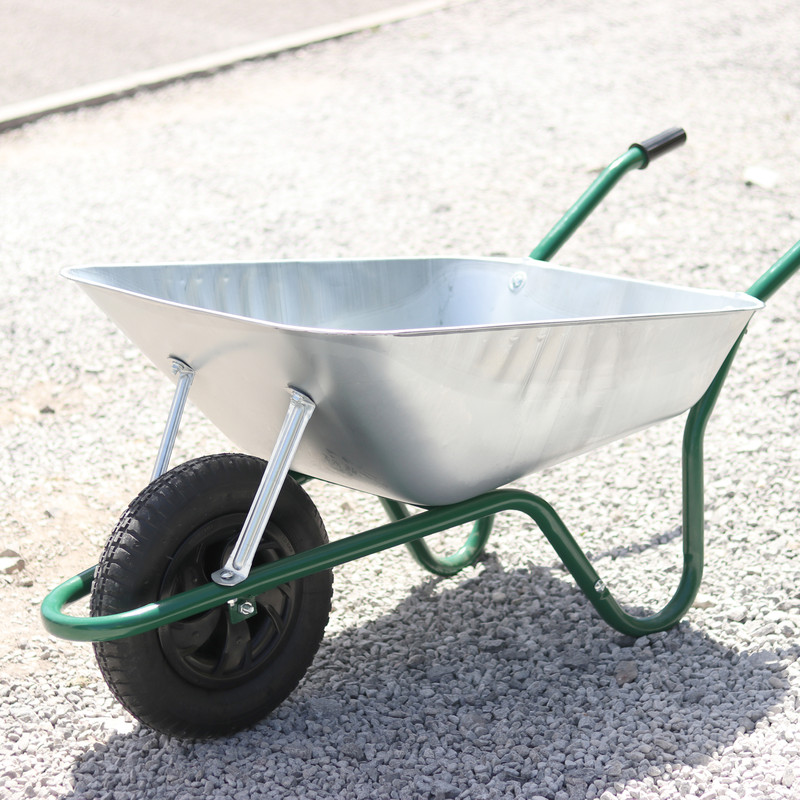
When mixing, take your time and add the water gradually. This will ensure you don’t end up with a concrete mix that’s too wet. Using a wheelbarrow, bucket, or another measuring container helps keep your ratios consistent from batch to batch. If you’re unsure, try mixing a small test batch first to get a feel for the right texture before scaling up.
Step 1: Prepare Your Mixing Area
Start by choosing a flat, clean area close to where the concrete will be poured. If you're mixing the concrete by hand, lay a plastic sheet or use a wheelbarrow as your mixing surface. If you're using a cement mixer, place it on level ground with everything you need within easy reach.
Step 2: Measure Your Materials
Measure each component using the same container to maintain consistency. For example, for every 1 bucket of cement, measure out 2.5 to 3 buckets of sand and 4 buckets of aggregate, depending on whether you're aiming for an S2 or S3 slump.
The goal is to maintain a consistent ratio from batch to batch to ensure even strength and consistency.
Step 3: Dry Mix Thoroughly
Before adding any water, combine the dry materials - cement, sand, and aggregate - and mix them thoroughly. This ensures even distribution and prevents clumps. The colour of the mixture should be uniform throughout, with no patches of unmixed cement or sand.
Step 4: Add Water Gradually
Once your dry mix is ready, begin adding water slowly. For an S2 slump, add just enough to bind the mix together into a stiff consistency. The mix should hold its shape when shovelled and require a bit of effort to place.
For an S3 slump, add a little more water to make the mix slightly more fluid. It should be soft enough to pour and level easily, but still cohesive and not overly runny. If you prefer, add a small amount of plasticiser to help improve workability without weakening the mix.
Step 5: Check the Consistency
With the water added, assess the consistency of your mix. An S2 mix will feel firm and hold its shape when scooped, ideal for structural base work where form is important.
On the other hand, an S3 mix should spread more easily and require less effort to level, making it more suitable for surfaces like shed bases and driveways. If it feels too dry, add a small amount of water; if too wet, adjust with a bit more dry material.
Step 6: Use the Concrete Straight Away
Concrete begins setting as soon as the cement reacts with water, so once mixed, aim to use it within around 30 to 45 minutes. If you're working on a larger area, it's best to mix the concrete in batches to prevent waste and ensure consistent workability throughout the job.
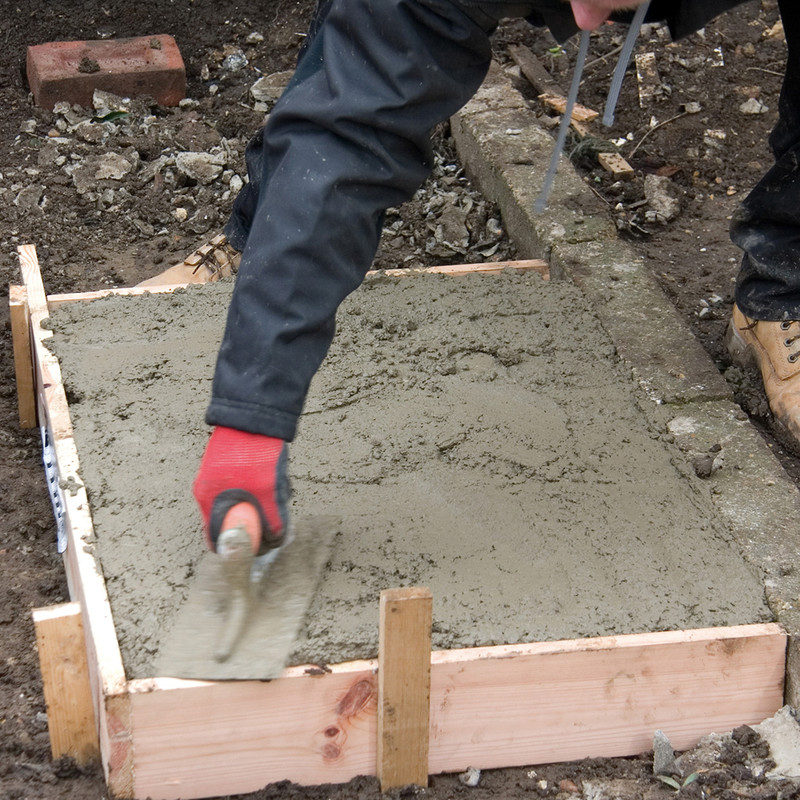
Step 7: Place and Level the Concrete
Pour or shovel the concrete into your prepared formwork. For S2 mixes, you may need to tamp it down a bit more firmly to eliminate air pockets and help it settle. For S3 mixes, the concrete should flow more easily and can be levelled using a rake or straightedge. Take your time to get a smooth, even surface, especially for visible areas like driveways or patios.
Step 8: Cure the Concrete Properly
Once the mixed concrete is in place, it's essential to protect it as it cures. Cover it with plastic sheeting or similar to prevent it from drying out too quickly. Curing should continue for at least 24 to 48 hours to prevent cracking and to allow the concrete to reach its intended strength.