- Help & Advice
- How To Guides
- How to Lay Vinyl Floor Tiles

How to Lay Vinyl Floor Tiles
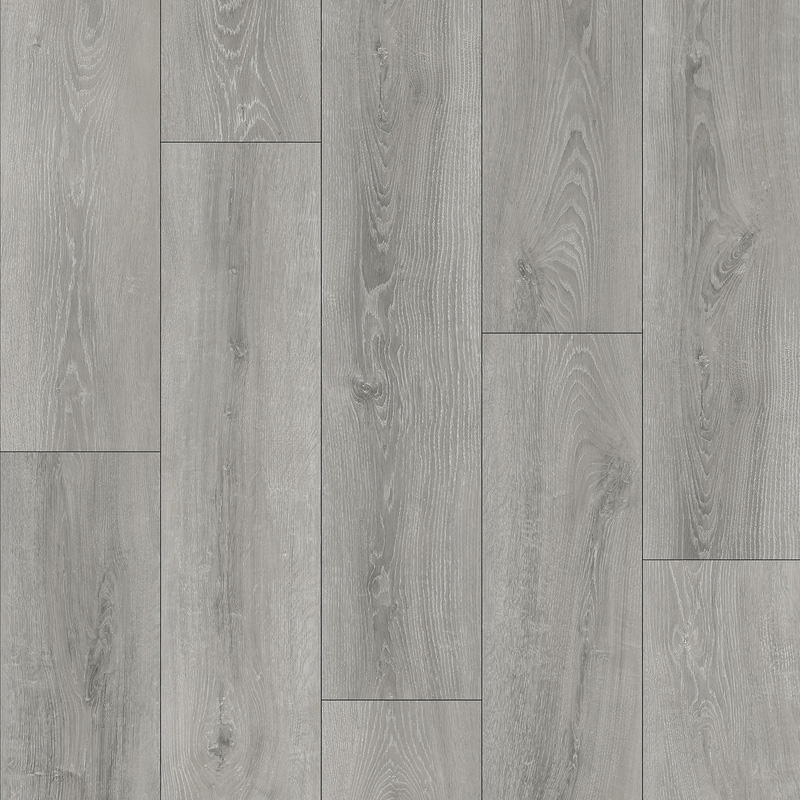
Vinyl floor tiles are a great way to spruce up any room in your home, but they’re particularly popular in high-traffic areas like kitchens, bathrooms, and hallways thanks to their durability, water resistance, and easy-to-clean surface.
If you’re planning to take on the DIY project of laying vinyl floor tiles yourself, you’re in the right place. With just a few basic tools, a bit of prep, and the right guidance, you can achieve a professional-looking finish in no time.
In this guide, we’ll take you through everything you need to know, from measuring, to cutting, laying, and sealing your tiles, so you can give your chosen room a brand new look!
Essential Tools & Equipment


Things to Consider Before you Start
Check the Floor
Check the floor is flat and level before laying any tiles - an uneven floor means that click and lock tiles won’t align properly and imperfections will be easily visible. What’s more, damage can occur to the tiles over time.
Get Rid of Old Flooring
Remove any old flooring before you start - whether it’s old carpet or tiles, it’s best to pull everything up as you’re more likely to end up with a result that’s more durable and that will last longer.
Remove Nails & Screws (if any)
After getting rid of any old carpets etc., remove nails or screws that protrude from the floor. You can do this easily by using a crow bar or nail puller. If it’s easier, simply hammer them in until they’re flush with the floor.
Remove Skirting Board
Remove skirting boards. It’s important to remove skirting boards before laying any tiles as this allows for an expansion gap so that the vinyl expand and contract without buckling. You can refit the skirting once the tiles are in place.
Step 1: Work Out How Many Tiles You Need
Grab your tape measure and make a note of the length and width of the room to be tiled. Times these together to get your square footage. For example, if the room you’re tiling is 3m by 3m this equates to 9 square metres.
Many of our vinyl tiles come in packs of 10 which cover a total surface area of approximately 2.2 square metres. This means, in this instance, you’d need a total of 5 packs of tiles. You’ll have tiles left over but having spare can come in handy.
Step 2: Find the Centre Point of the Room
Finding the centre of the room helps you lay your tiles in straight, even rows. It also means any small cuts around the edges will be spread out evenly, rather than ending up all on one side, this is useful as many homes have walls that aren’t straight.
Here’s the easiest way to find the centre point:
1. Measure the width of the room
-
Measure straight across from one wall to the opposite wall.
-
Divide the measurement by two and mark the midpoint on the floor.
2. Measure the length of the room
-
Measure from one end of the room to the other.
-
Divide this number by two and mark the midpoint.
3. Create your centre lines
-
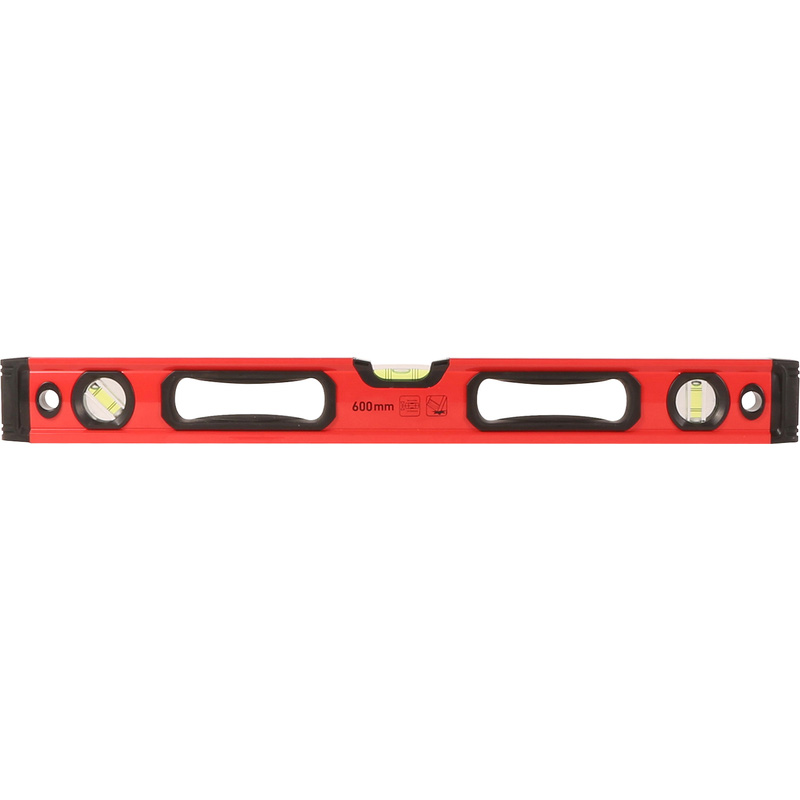
Join the two width midpoints using a spirit level, or similar.
-
Repeat with the two length midpoints.
-
Where the lines cross is the exact centre of the room, this is your starting point.
You'll use these lines as your guides when laying the tiles.
Step 3: Prep the Floor
Once you’ve found the centre of the room, give the floor a good sweep or vacuum to remove dust, grit, and any loose debris. A clean surface will help the tiles stick properly.
Next, apply a coat of floor primer using a roller or large paint brush. Even if you’re using self-adhesive tiles, priming is still worthwhile as it helps seal porous surfaces like plywood and gives the adhesive a better surface to grip. This reduces the chance of tiles lifting at the edges over time and helps ensure a longer-lasting finish.
Be sure to allow the primer to dry fully before moving on to the next step.
Step 4: Dry-Lay the First Tiles
Place one tile in each quadrant around the centre point (like a plus sign). This helps you check for the following:
-
your centre lines are straight
-
the tiles sit neatly along the lines
-
you won’t end up with very thin cuts at any wall
If something looks off, adjust your lines before committing.
Step 5: Laying Self-Adhesive Tiles
If you are using self-adhesive tiles, begin by choosing the tile that fits into your starting quadrant. Peel back only a small section of the backing and line the tile up carefully with the centre lines.
Once you are happy with the alignment, remove the rest of the backing and press the tile into place, smoothing outward from the centre. Continue laying tiles along the two centre lines first, as these will act as your main guides.
Step 6: Laying Non-Adhesive (Glue-Down) Tiles
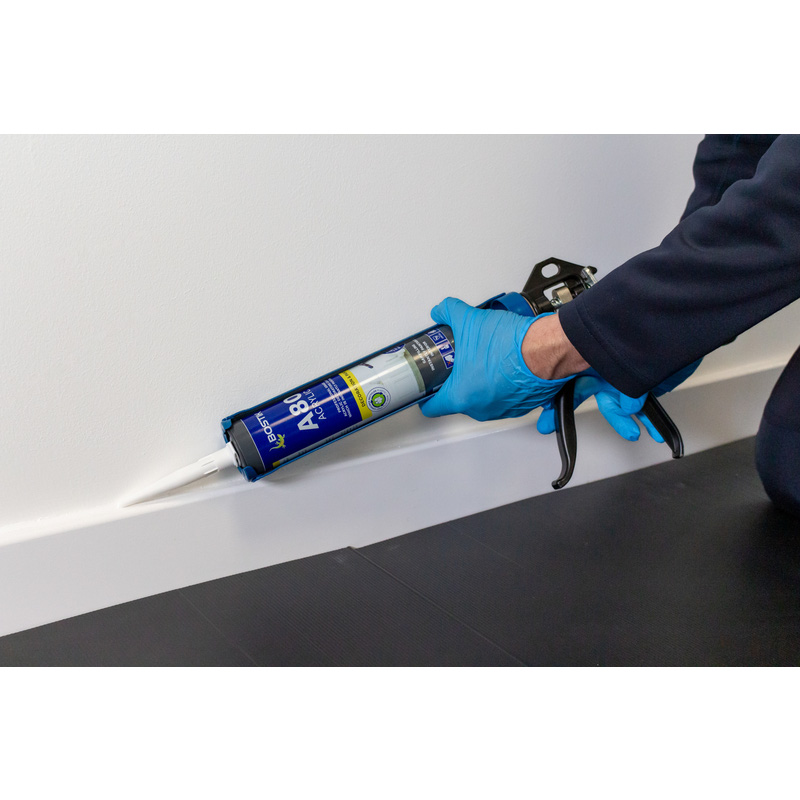
If you are using glue-down tiles, start in the same way by working in your chosen centre quadrant. Spread adhesive over a small area of the floor using a notched trowel. Place the first tile precisely on the centre lines and press it down firmly.
Continue laying tiles along both centre lines to form a straight cross through the room, be sure to apply firm pressure with your hands as you go.
Once the first cross of tiles is complete, you can begin filling in each section of the room by working outward from the centre toward the walls. This keeps the layout consistent and prevents any drift in the pattern.
Step 7: Continue Laying the Tiles
After establishing your centre lines, continue working outward toward the walls. It helps to complete one quadrant at a time because this keeps your lines straight and prevents you from stepping into wet adhesive if you are using glue-down tiles. Some types of vinyl tiles need a small expansion gap between each tile, usually around one or two millimetres, so check the manufacturer’s instructions before continuing.
As you lay tiles, step back every few rows and double check that everything is still aligned with your centre guide lines. Catching small misalignments early can save you a lot of time later on.
Step 8: Cut Tiles to Fit Edges and Corners
Most rooms will require some tiles to be cut to fit along edges, around door frames, or around obstacles such as pipes.
To measure a cut accurately, place a full tile on top of the last one you’ve laid, then slide another tile up to the wall or skirting. Mark where the top tile overlaps the one beneath it, and that mark will give you the correct width to cut. For straight cuts, score the tile firmly with a utility knife and snap it along the line. For curved areas, create a cardboard template first and trace the shape onto the tile.
Leave a small gap between the tile and the wall to allow for any expansion. Don't worry, this gap will be hidden when you reinstall skirting board. Once cut, press each tile firmly into place.
Step 9: Press and Finish the Floor
When all the tiles are laid, press them down firmly by hand. This helps remove air pockets and ensures the adhesive bonds properly.
If you used glue-down tiles, wipe away any adhesive that has squeezed out before it dries. Allow the floor to settle for several hours, or as recommended by the manufacturer, so the adhesive can set fully.