- Help & Advice
- How To Guides
- How To Lay A Patio
How To Lay A Patio
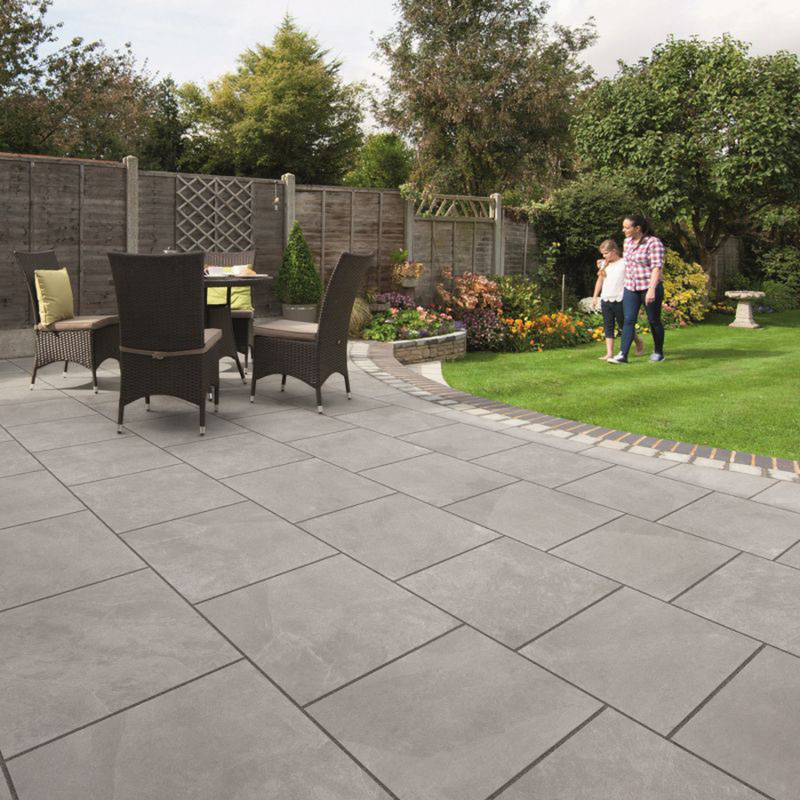
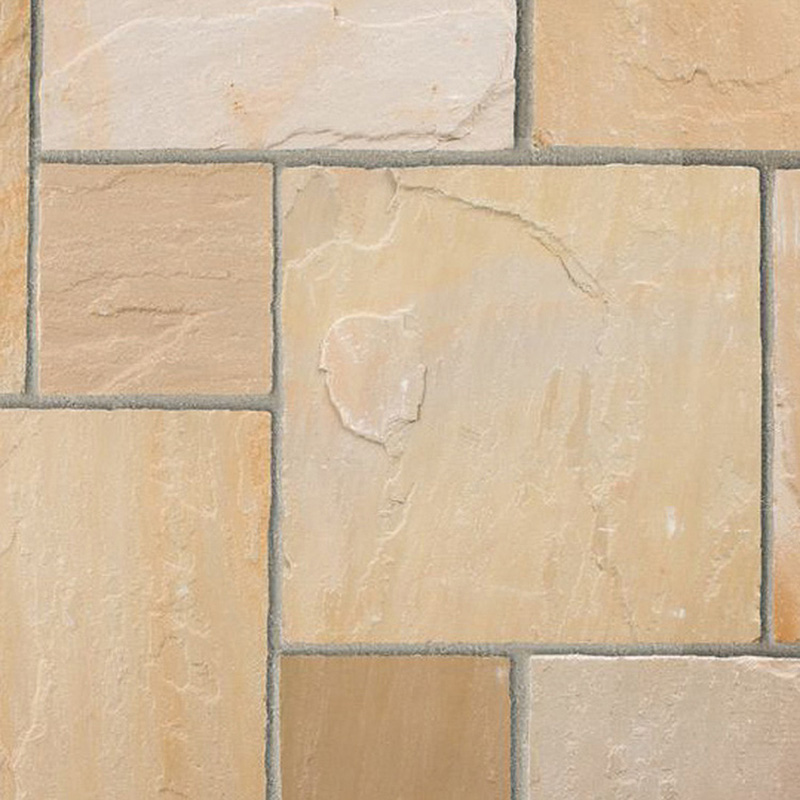
Laying a natural stone garden patio can transform your outdoor space into a beautiful sun terrace and make all the difference to your outdoor living. In this guide, we'll walk you through the step-by-step process of laying a natural stone patio, ensuring you achieve a professional finish that lasts for years.
Essential Tools & Equipment
You may also find that thick timber pegs, sticks, or anything you have lying around that you can use as a marker. For the sub base, you'll need MOT type 1.


Step 1: Preparing The Ground
-
Remove any existing paving or turf from the area.
-
Dig down to a depth of approximately 150-160mm to create space for the sub base.
-
Note that the required depth may vary depending on the type of paving you are using.
Step 2: Marking Out The Patio
-
Use a square, marking paint, and timber pegs to mark out the exact dimensions of your patio.
-
Use marking paint and a tape measure to mark out the size of the patio by spraying it at each corner.
-
Using a square to get precise angles, spray more paint to join up the initial markings.
-
Dig out any extra turf within the painted lines.
-
If you’re laying your patio right next to your home, it is crucial that you make sure the top of the patio is 150mm – or two full brick heights – below the damp proof course to protect your home from moisture.
Step 3: Set The Right Fall
-
Hammer a timber peg into one of the back corners of the patio until the top is completely level with the surrounding turf.
-
Hammer in a second peg on the front corner of the patio on the same side.
-
Using a spirit level, check the level of the second peg. You don’t want it to be completely level, or rain will collect on the patio.
-
Make sure the second peg is sloping towards the grass 16mm for every metre. For example, if you’re building a 2m patio, you should have a 32mm slope between the first and second peg.
Step 4: Dig Out More Soil
-
For the space you’ve dug out, it should be between 150mm and 160mm deep.
-
Measure the depth of the entire area using the string line as a guide, and dig out the amount of soil to get to the 150mm to 160mm guideline across the whole space.
-
Getting the right depth is crucial, as cutting corners at this stage could lead to the patio slabs sinking later down the line.
-
Once the soil is dug out, you should have a firm base, which you can check by trying to dig your heel into the foundation. If your heel sinks in, dig a little more soil out.
Step 5: Laying The Sub Base
-
Fill the dug-out area with MOT type 1 up to around 50mm below the bottom mark on the timber peg.
-
Compact the sub base using a vibrating plate, going over the area a couple of times to give you a firm base.
-
Next, fill the rest of the MOT type 1 sub base, using your rake to distribute it evenly. ensuring stability and preventing future sinking. Depth may vary based on the paving type.
-
Use the vibrating plate to compact the sub base until it’s around 60mm below the string line – this gives you 40mm for the laying bed, and about 20mm for the slabs.
Step 6: Mix Your Mortar
-
Mix your mortar with some water.
-
The mortar mix should not be too wet or your slabs will slide around, or too dry as there won’t be a strong enough adhesion. It should be damp and workable, meaning you’ll use about the same quantity of water as cement.
-
It’s best to add the water slowly and keep mixing to get the right consistency.
Step 7: Laying The Paving Slabs
-
Prepare a full contact mortar bed for each stone slab to a depth of 40mm.
-
Before laying each slab, use a stiff brush to remove any dust from the manufacturing process as this will affect the adhesion.
-
Lay the stone, ensuring each piece is level and follows the string lines.
-
Tap the slab lightly to ensure a strong bond to the mortar below.
-
Each paving slab should be a minimum of 6mm apart.
-
As you lay the stones, mortar will creep up between them. Use a tuck pointer to remove this mortar as you’ll be sealing the gaps with a jointing compound later.
Step 8: Pointing The Patio
-
Leave the paving slabs about a day or more before standing on them, so you can make sure the mortar is dry.
-
Ensure the gaps between the stones are at least 24mm deep and 6mm apart.
-
Empty the jointing compound over the paving slabs, and use a stiff brush to move it around the patio and into the gaps.
-
Using a tuck pointer, press the jointing compound into the gaps.
-
Sweep away any excess compound and clean the patio surface.