- Help & Advice
- How To Guides
- How to Fit a Dado Rail

How to Fit a Dado Rail
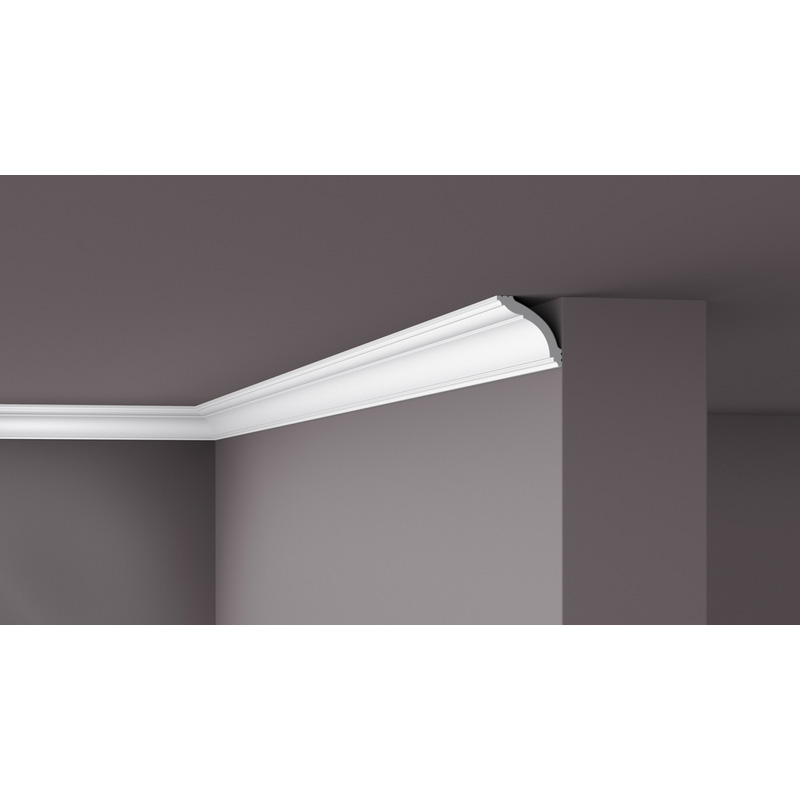
Fitting a dado rail is the perfect solution if you want to divide a wall into two sections. Whether it’s for decorative purposes or simply to protect the wall from scuffs and scrapes caused by larger items of furniture, a dado rail adds both style and practicality to a room. It creates a natural break in the wall, which can be used to introduce contrasting colours or wallpaper in the upper and lower sections.
While it’s a straightforward DIY job that most people can attempt, it’s important to get it right to ensure a straight and level finish. If you’ve never fitted a dado rail before, follow our steps to get it right the first time.
Essential Tools & Equipment


Step 1: Mark the Height on Walls
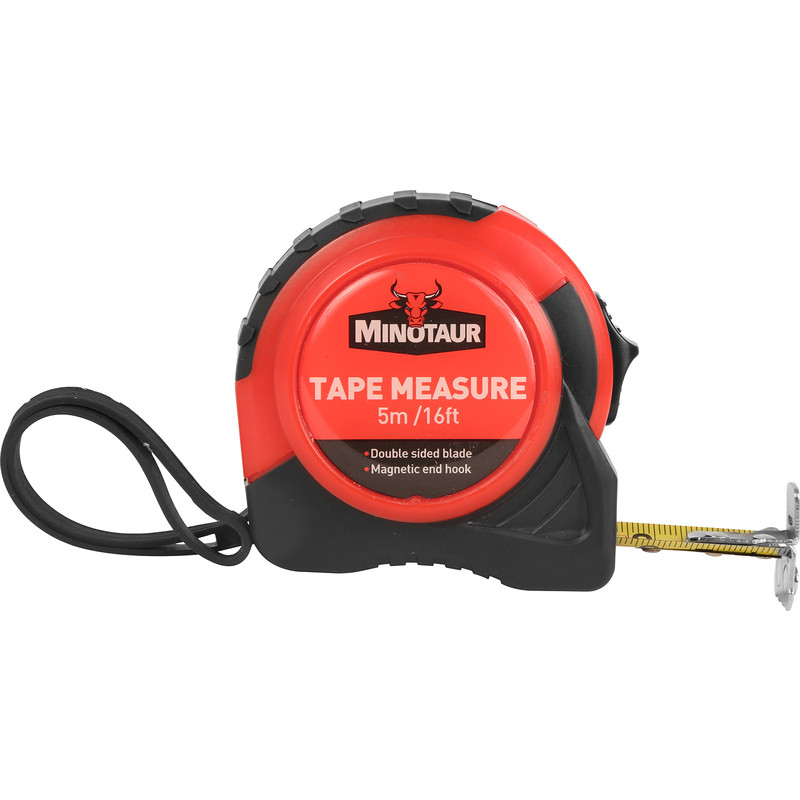
First thing you need to do is decide at what height you’d like the dado rail to be fitted. Typically 1 metre up from the ground is common and sits at around the same height as a door handle. When taking the first measurement, measure from the skirting board as this ensures a consistent height - carpets, rugs etc can result in unequal measurements.
Starting at one corner of the wall, use your tape measure and run it up the wall from the top of the skirting board (if you’re measuring at 1m from the ground be sure to exclude the skirting board height). Mark this height with a pencil. Now move to the other end of the wall and repeat this step. Do this on the walls you plan on fitting dado rail to.
Step 2: Mark the Height on Stairs
Marking out dado rail heights on stairs can be a little more complicated compared to a flat wall and that’s because stair stringers are sometimes curved or at different angles. In which case, it’s important to measure each section of the stair stringers.
Take your spirit level and place it against the wall from the top of the skirting board, at the bottom of the stairs. Draw a line up the wall, using the spirit level as a guide and up to your chosen height. Do the same again at the top of that section. Continue doing this marking out the top and bottom of each section where the angle of the stringers is different.
Step 3: Mark the Chalk Lines
Now it’s time to place chalk lines on the walls and between each of the marked points you made earlier. Start by loading up the chalk line box with chalk and then get some assistance if you can, ask them to pull the line tight from one pencil mark to the other. The pull the line away from the wall allowing it to snap back against the wall - this should leave a fine chalk line spanning from one mark to the other.
If you don’t have anyone on hand to help out, you’ll need to secure one end of the line by hammering a small nail into the wall and hooking it over, then proceed as above. Repeat this process until you have a series of chalk lines which indicate where your dado rail will be fitted.
Step 4: Cut the Dado Rail to Size
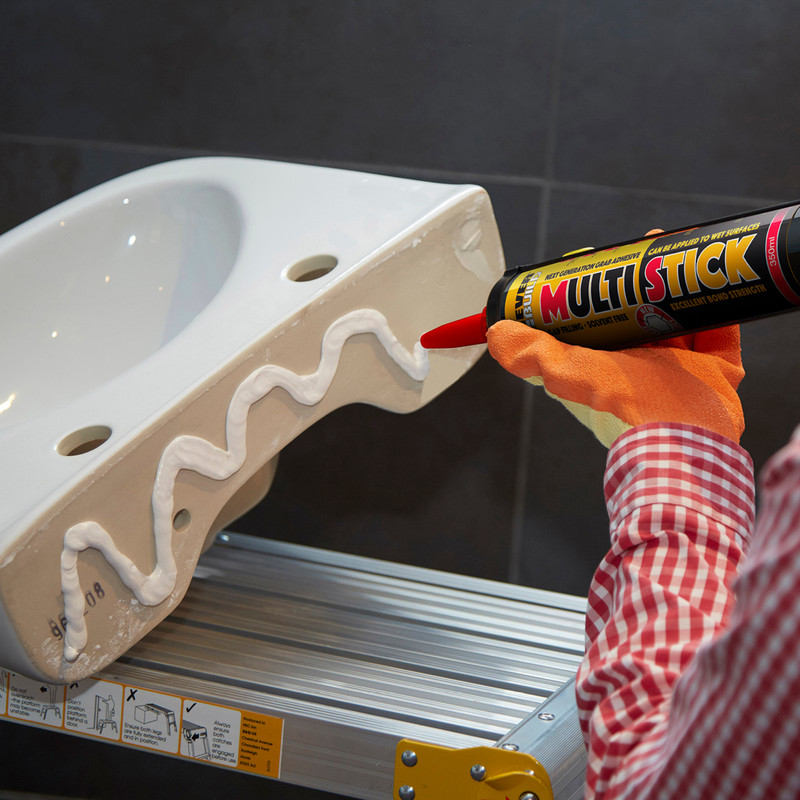
Use your tape measure and measure along the length of each of the chalk lines. It’s easier to do one section at a time and fit the dado rail as you go. After taking the first measurement, cut the dado rail to length using a saw. Next up, apply a thin layer of grab adhesive along the length of the dado and stick it to the wall ensuring it lines up with your pencil marks and the chalk line. Wipe away any excess with a damp cloth and leave to dry.
If you’re faced with a long section of wall, you could find the length of dado rail comes up a little short. In that event, you’ll need to connect two pieces together. To do this, take one length of dado rail and trim away the end at a 45 degree angle then fit to the wall with the adhesive. Measure the gap left over and cut this piece to size ensuring you cut one end to a 45 degree angle (make sure the angle faces the opposite direction so both pieces of dado rail can fit together). Double check the piece will fit, then glue to the wall. For extra strength, you could pop a bit of wood glue on the end of the dado rail where the ends meet up.
Step 5: Joining Up External Corners
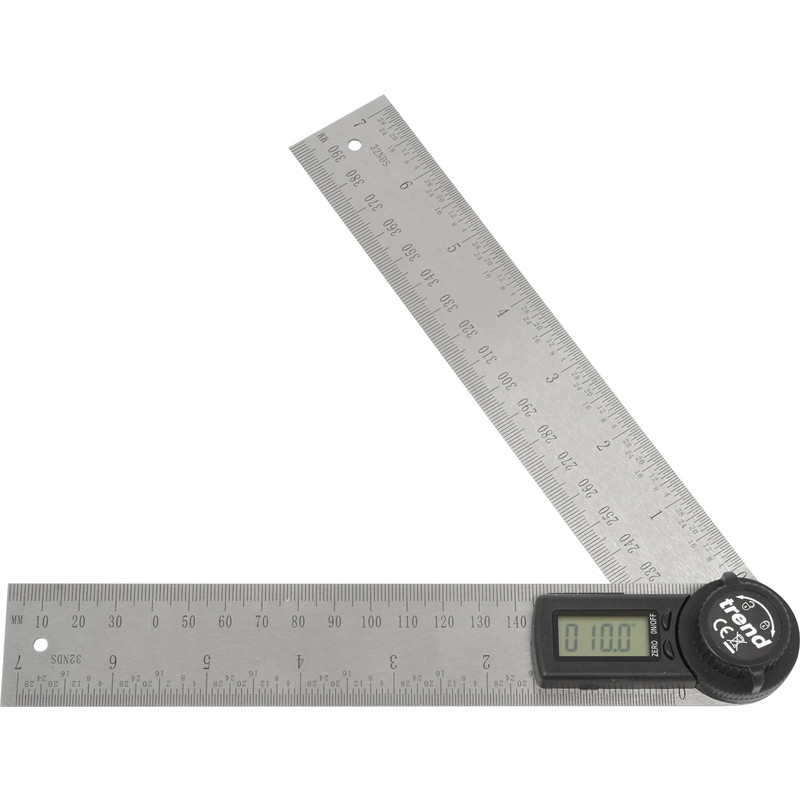
If you have any external corners (corners that face outwards) you’ll need to join up the dado with an external mitre. To do this, take your angle finder and position it around the corner ensuring that both sides are touching each wall. Make a note of the angle shown on the screen.
Next, divide the angle by two, this gives you the correct angle to cut each piece of dado rail so they join neatly at the corner. Most external corners are 90 degrees, so you’ll usually cut each end at a 45° angle. However, older properties or uneven walls might result in something slightly different.
Use a mitre box to cut the ends of each dado rail at the correct angle. Make sure you cut the angles in opposite directions so that when you bring the two pieces together, they form a clean, continuous line around the corner.
Once cut, dry-fit both pieces to check the join. If they line up neatly, apply grab adhesive to the back of each section and press them into place along the chalk line. For a tighter bond at the joint itself, apply a small amount of wood glue to the mitred ends before joining them. Wipe away any excess glue, then hold in place (you can use masking tape or panel pins) while the adhesive sets.
Step 6: Joining Up Internal Corners
Internal corners (corners that face inwards) can be a little trickier than external ones, as walls are rarely perfectly square. While it’s possible to mitre both ends, a more reliable method is to scribe one piece to fit the contour of the other. This technique gives a neater, tighter finish—especially useful in older properties where walls and corners may not be uniform.
Start by fitting the first length of dado rail so it runs right into the corner. This piece will have a simple straight cut and be fixed to the wall as normal using grab adhesive.
Next, take the second piece of dado rail that will butt up to the one you’ve just fitted. Start by cutting a 45° angle on the end using a mitre saw or mitre box, this reveals the profile of the moulding. Then, using a coping saw, carefully cut along the profile line. This process is known as coping and allows the moulded shape of the dado to slot neatly over the first piece, creating a seamless joint even if the corner itself isn’t perfectly square.
Once you’ve cut the profile, test the fit by pushing the coped end against the fixed dado in the corner. Trim or sand any tight spots until it sits flush. When you’re happy with the fit, apply adhesive to the back of the rail and fix it to the wall as usual.
Step 7: Finishing Touches
Once all your dado rails are securely fixed to the wall and the adhesive has dried, it’s time to finish off the job.
Start by filling any small gaps between joins, especially in corners or where two lengths meet. Use a flexible decorators' caulk or wood filler, depending on the size of the gap. Apply with a caulking gun or filling knife and smooth over with a damp cloth or finger. This gives a clean, seamless appearance once painted.
Check along the top and bottom edges of the dado rail for any slight gaps where it meets the wall. These can also be filled with a thin bead of caulk. Be careful not to overfill, and always smooth out the bead to leave a neat finish.
If any panel pins were used to hold the dado rail in place while the adhesive dried, sink them just below the surface using a nail punch, then fill the holes with a bit of wood filler and sand smooth once dry.
Finally, sand down any rough edges, then paint or finish the dado rail as you prefer.