- Help & Advice
- Buying Guides
- Caulk vs Silicone
Caulk vs Silicone: What’s the Difference?
Should you be using caulk or silicone? That’s a question often asked when doing DIY projects around the home, whether it's sealing a bath or repairing a crack in the wall. While there are different types of sealants, in this article, we’ll be explaining the differences between the two most common; caulk and silicone. We'll also provide some useful tips and tricks for application, along with when and where to use them for best results.
Understanding the Difference Between Caulk and Silicone?
While both caulk and silicone are a type of sealant and used to fill joints, cracks and gaps, their main difference lies in their flexibility once cured. Silicone sealant remains flexible once dry whereas caulk becomes inflexible. This is due to their formulation.
Typically, decorator’s caulk tends to be latex or acrylic-based and this means it’s water soluble, making it relatively easy to work with. Once applied with a sealant gun, it’s malleable; simply smooth it into place with a tool or wet finger and leave it to set. While caulk is less stretchy compared to silicone, it can be painted once cured making it ideal for colour matching.
On the other hand, silicone sealant, as you might expect, contains more silicone, making it more flexible and elastic. It often contains properties that make it resistant to mould and mildew, making it suitable for areas prone to water and high moisture, such as bathrooms and kitchens. That said, compared to caulk, it lacks the benefit of being paintable and is usually more difficult to work with without the right tools on hand, such as a sealant smoother.
When to Use Caulk
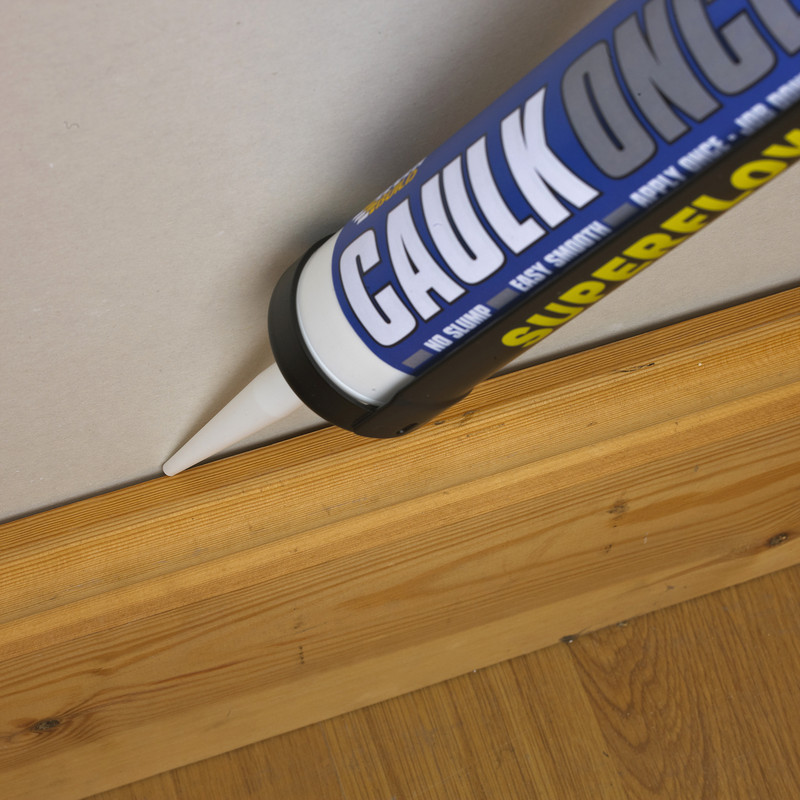
Skirting Boards and Architraves
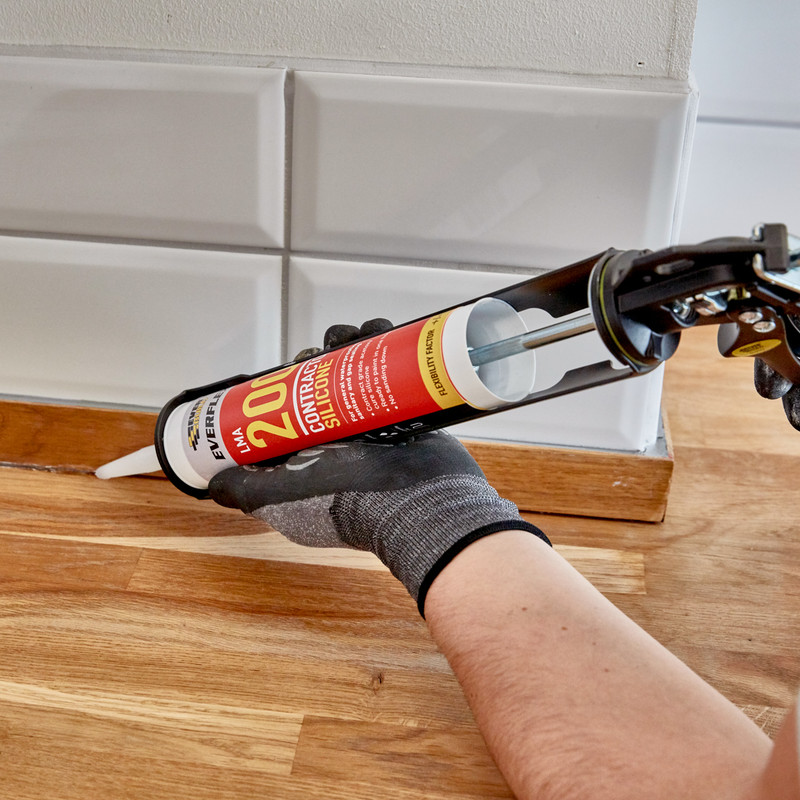
Caulk is perfect for filling gaps between skirting boards and architraves. It helps to create a clean, professional finish before you undertake any decorating work. Decorator’s caulk is particularly well-suited here as it’s easy to smooth, requiring no particular tools, fast-drying, and paintable, making it ideal for indoor environments that aren’t susceptible to high moisture levels.
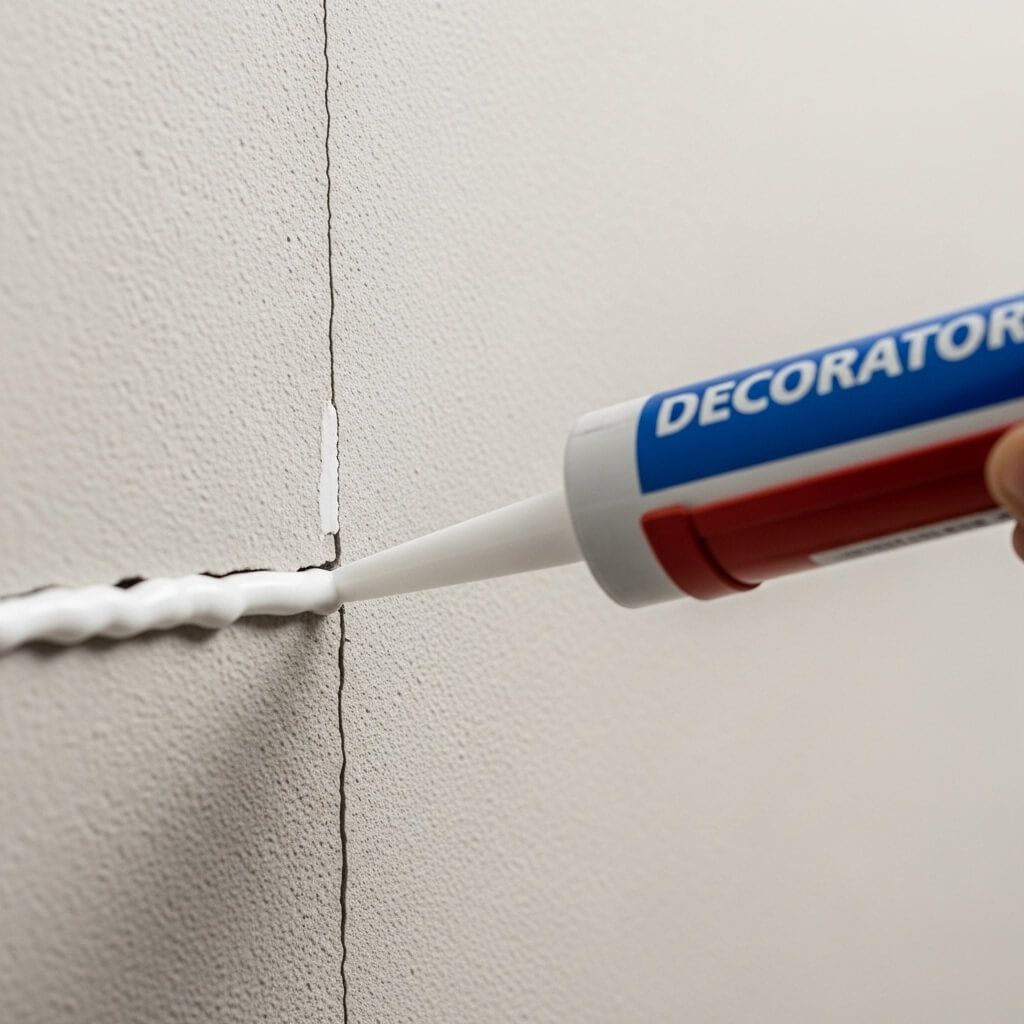
Cracks In Walls and Plaster
For small cracks in plaster or in between walls and ceilings, acrylic caulk can offer a quick and neat solution. While it dries down to a more rigid finish compared to silicone, it can still accommodate very minor movements and, because it’s easy to paint over, this makes it a more practical option when it comes to cosmetic repairs around your home.
Interior Door and Window Frames
Using decorator's caulk around internal door frames and window reveals helps to seal gaps and reduce draughts. Since these areas aren’t typically exposed to high humidity or water, caulk offers an effective, easy-to-apply seal that can be painted over for a neat and tidy appearance.
When to Use Silicone
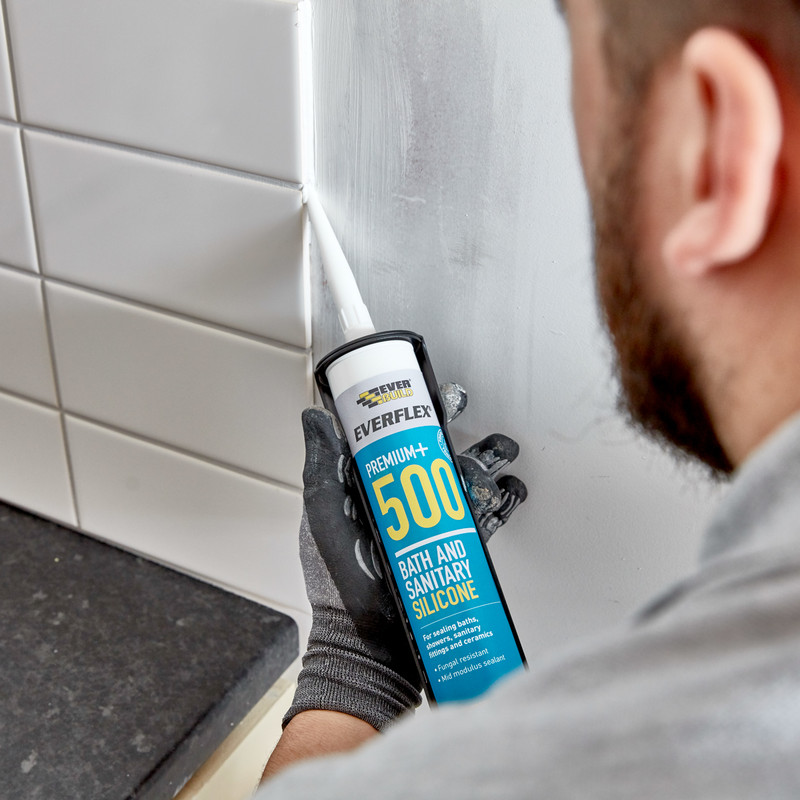
Bathrooms and Wet Rooms
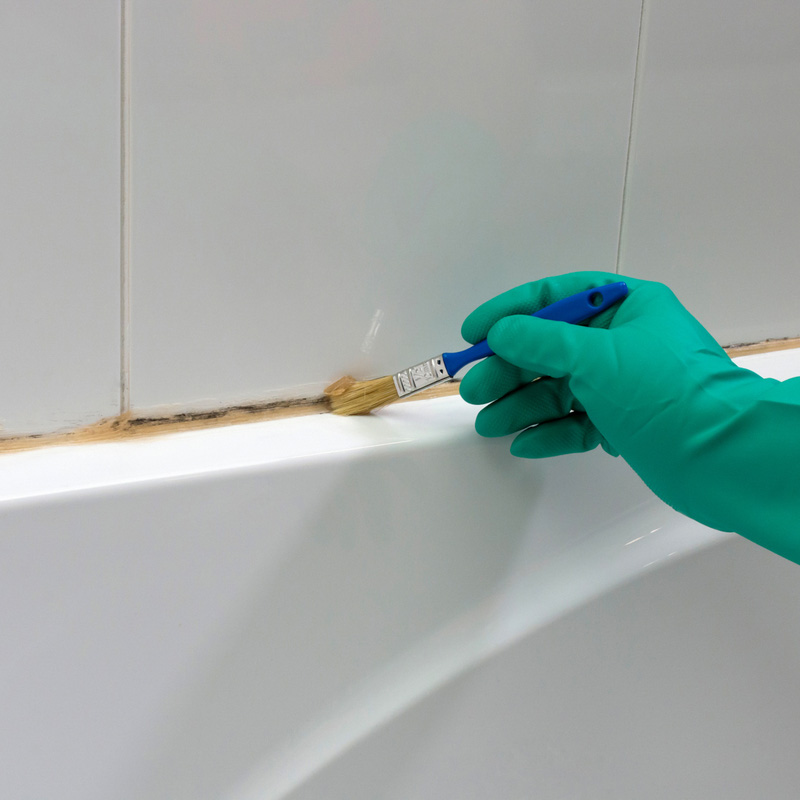
Silicone sealant is essential in bathrooms, around showers, baths, and sinks. It provides a waterproof and mould-resistant seal that won’t degrade, even when it's continually exposed to moisture, unlike caulk, which is not suitable for wet environments. It also retains it's flexibility, which prevents cracking.
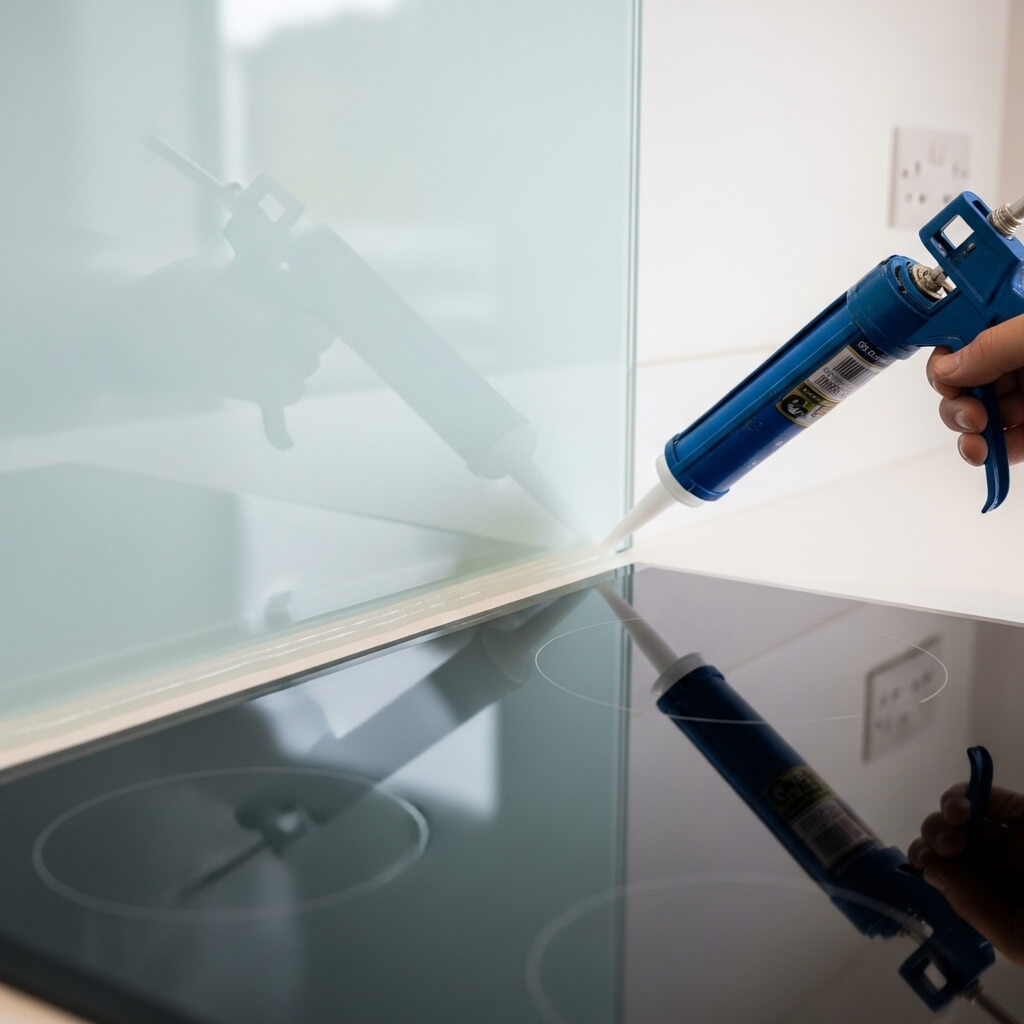
Kitchen Worktops and Splashbacks
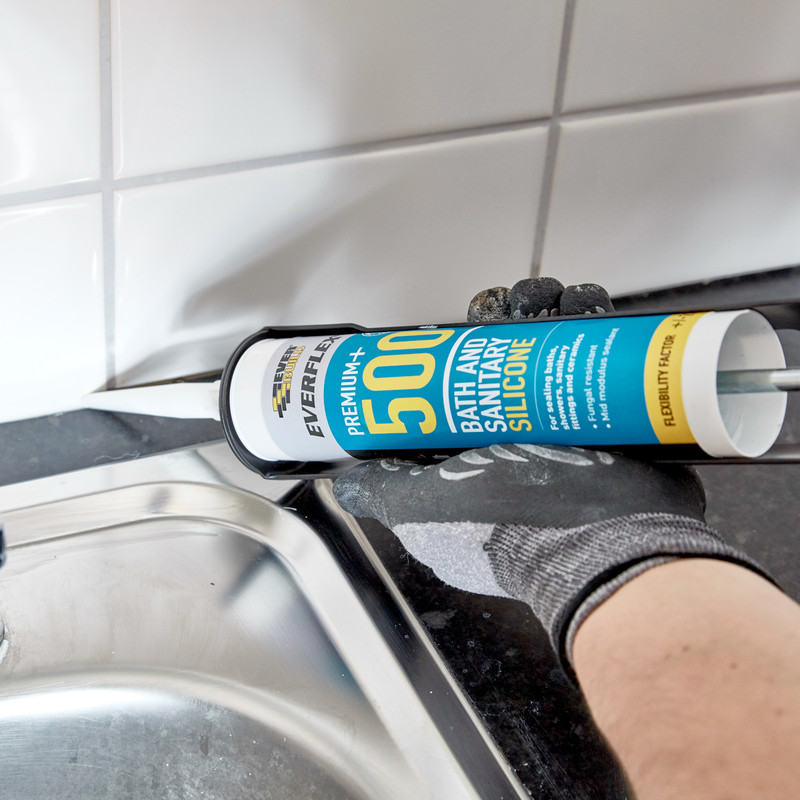
Use silicone sealant where kitchen worktops meet splashbacks, tiles, or sinks. It provides a water-tight, durable bond that's resistant to strong cleaning chemicals and temperature changes. Clear or colour-matched silicone gives a discreet, long-lasting finish in busy kitchen spaces.
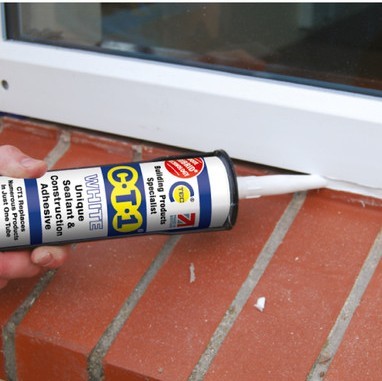
External Doors and Windows
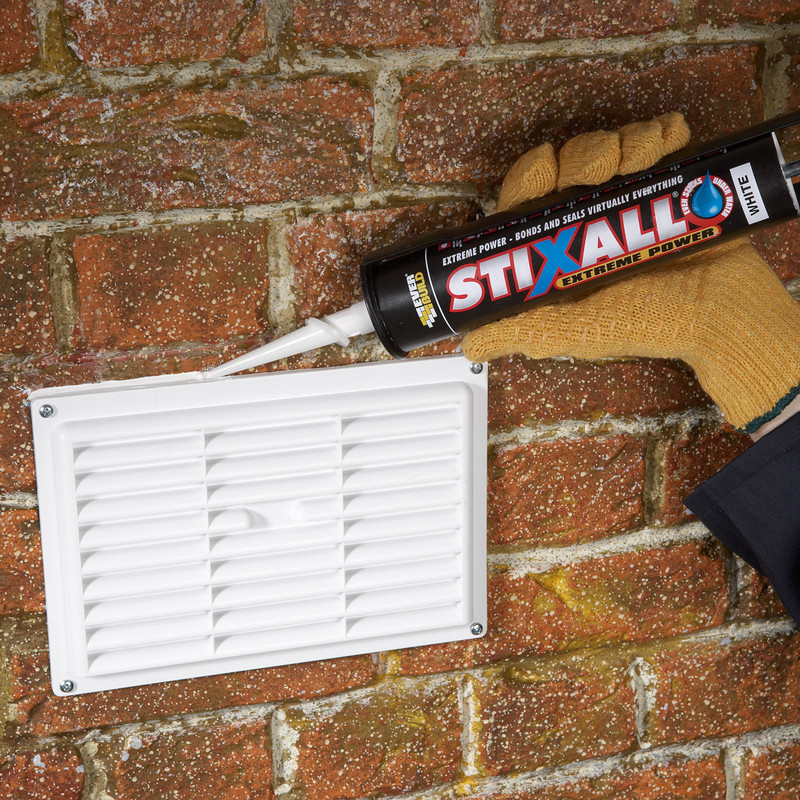
Silicone is the better choice for sealing around exterior doors and window frames. It’s weather-resistant, flexible, and UV-stable, making it ideal for withstanding rain, wind, and temperature changes. It's superior durability means it lasts far longer than standard caulk, especially in outdoor settings.
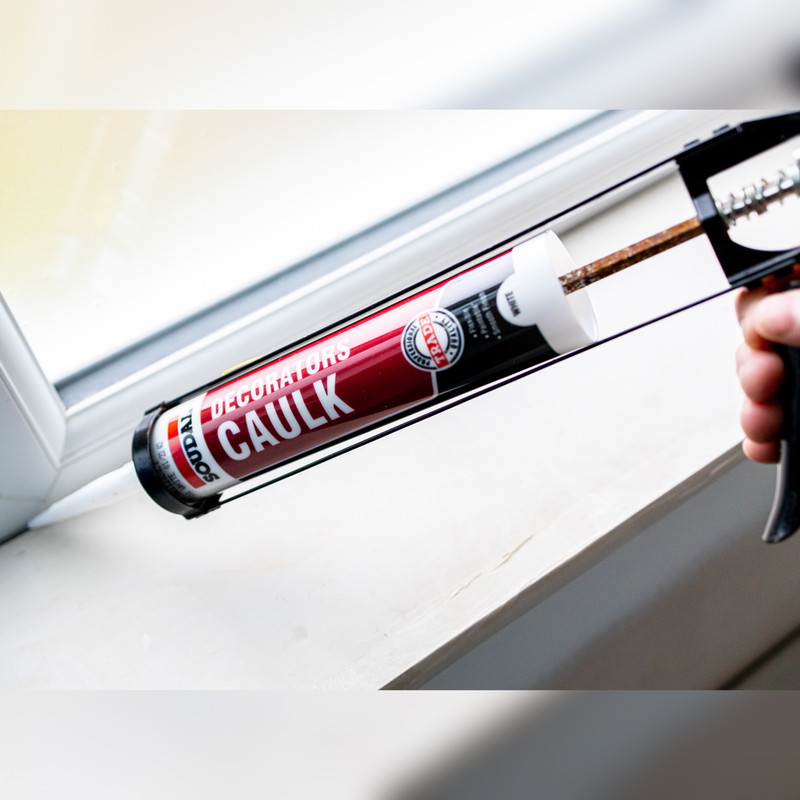
How to Apply Silicone and Caulk
Both silicone sealant and caulk can be applied directly to where it’s needed with a caulking gun, also referred to as a sealant gun. However, there are some handy tips and tricks that you can make use of to achieve the best application and finish.
Cut the Tube Correctly
Whether you’re using silicone or caulk, you’ll need to make a cut at the tip of the tube. To prevent excess product from making a mess, keep the cut small to minimise the amount of product that comes out. Also, make the cut at a slight angle (matching the angle at which you'll be holding the tube when applying). If the caulk or silicone is difficult to apply, try making the cut a little larger - viscosities can vary among the different types of sealants, so this may involve a bit of trial and error before you get it right.
Use a Smoothing Tool
It’s quite common to use your finger when smoothing caulk into place once it’s been laid and while this can be effective, resulting in a very thin layer of sealant that can quickly lift and wear. For the best application, we’d always recommended using a proper sealant tool for a consistent coating and even finish. Using a suitable forming tool will also close off any small gaps that you may not have noticed, which helps to prevent water ingress and subsequent mould growth.
Properly Clean the Area
Before applying any silicone or caulk make sure the area has been properly cleaned and no, we’re not suggesting you do this for aesthetic reasons! If, for example, you want to apply some silicone beading along an angled joint, without a thorough clean first you could be siliconing directly over dirt and dust. Not only could this impact the finish of the sealant, you may be left with a finish that’s not water-tight. So, save yourself time in the future by having a proper clean-up before you get to work with your caulking gun.
Don't Tape Edges
When applying silicone (note: this doesn’t apply to caulk) to edges such as skirting boards, it’s sometimes recommended to apply a length of tape either side of the joint to be sealed with silicone, as this can leave you with a very neat, clean strip of silicone. However, once you’ve removed the tape, this causes a very slight lift to the edges of the sealant, leaving it exposed to moisture and bacteria. Over time, this can often result in mould and mildew growth, meaning you may have to re-seal the area again.
Avoid Detergent Mixes
Don’t be tempted to spray the area with a detergent solution prior to applying any silicone. This is a common tip by tradespeople, and while it can make the silicone easier to handle because it won’t stick to your hands, the greasy mix also prevents the sealant from adhering properly to the surface. What’s more, applying silicone over moisture can cause it to become trapped, which then becomes a breeding ground for bacteria which could lead to mould growth and the end result is unlikely to be water-proof.
Maintain Consistent Speed
When applying the sealant, make sure you stick to a consistent speed and avoid going too fast or too slow. Applying sealant too quickly will likely leave you with gaps making subsequent patching quite difficult. Conversely, moving too slowly will probably result in excessive amounts of product being applied, and when you move on to tidying it up with your smoothing tool, it’ll be hard to clean up and you’ll be left with lots of wasted sealant.