- Help & Advice
- How To Guides
- How to Use a Sealant Gun
How to Use a Sealant Gun
A sealant gun, sometimes referred to as a caulking gun, makes for light work and better accuracy when it comes to applying the different types of sealants. That said, while these handy tools offer many benefits when working on a range of DIY tasks around the home, proper use is key to achieve a clean, professional-looking finish.
In this guide, we’ll run through the best way on how to use a sealant gun so even if you’ve never used one before, you’ll know exactly what to do from start to finish.
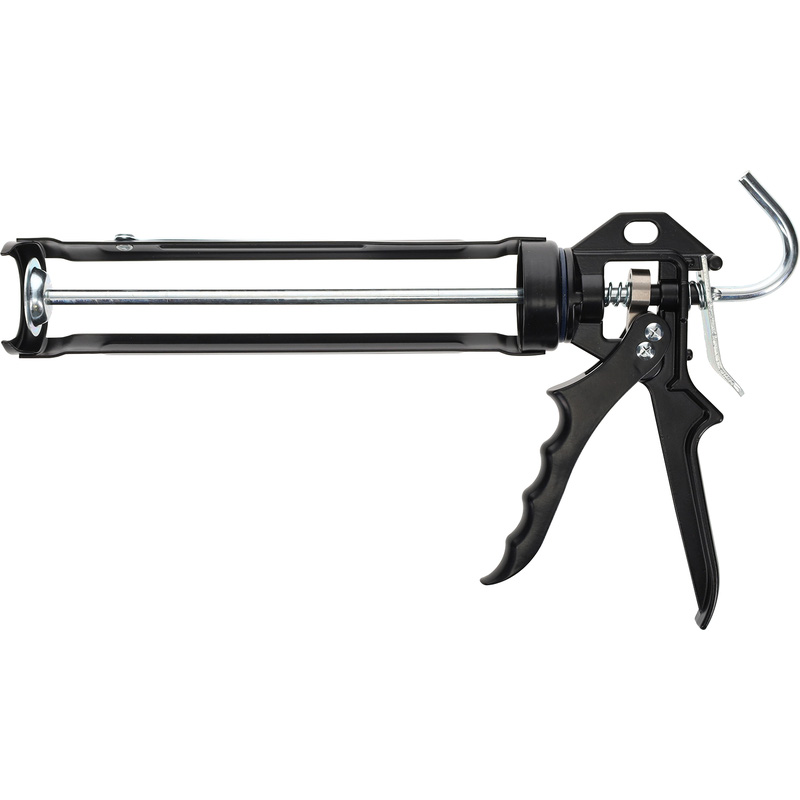
Essential Tools & Equipment
Benefits of Using a Sealant Gun
There are several benefits of using a sealant gun that can make it a worthy addition to your toolbox.
Less Product Waste - it’s easy to apply too much sealant, but by using a gun you’ll have much more control over how much product is dispensed which can result in much less sealant being wasted.
Better Finish - You’ll achieve a much better finish when using a sealant gun thanks to the precise application. The gun allows you to place the sealant exactly where it’s needed leaving you with even lines and less mess.
Saves Time - Whether you’re sealing a bath or undertaking some general repairs, applying sealant manually can take more time than is necessary. Using a gun ensures a continuous bead of sealant so you can apply it quickly and seamlessly.
Step 1: Prepare the Sealant Cartridge
Start by cutting the seal from the tube of sealant - this is the threaded neck of the tube where you’ll screw on the nozzle. This is easily done with a pair of scissors or a sharp knife. Simply cut away the very top, taking care not to remove too much of the thread. Once done, screw the applicator nozzle onto the cartridge.
Step 2: Load the Sealant Tube into the Gun
Just beneath the plunger rod you’ll find a small lever. Press this down and this will allow you to pull back the plunger rod - pull it all the way back to make room for the tube of sealant. Load the sealant in, nozzle first and push into place. To keep the cartridge secure, pump the trigger handle a few times until you feel some resistance.
Step 3: Cut the Tip off the Nozzle
Now you’ll need to cut away the end of the nozzle in order for product to be released. To do this, trim the nozzle at an angle - this helps the sealant flow more smoothly. Keep in mind, the closer you cut to the tip, the thinner the line of sealant will be; cutting further back gives you a thicker bead.
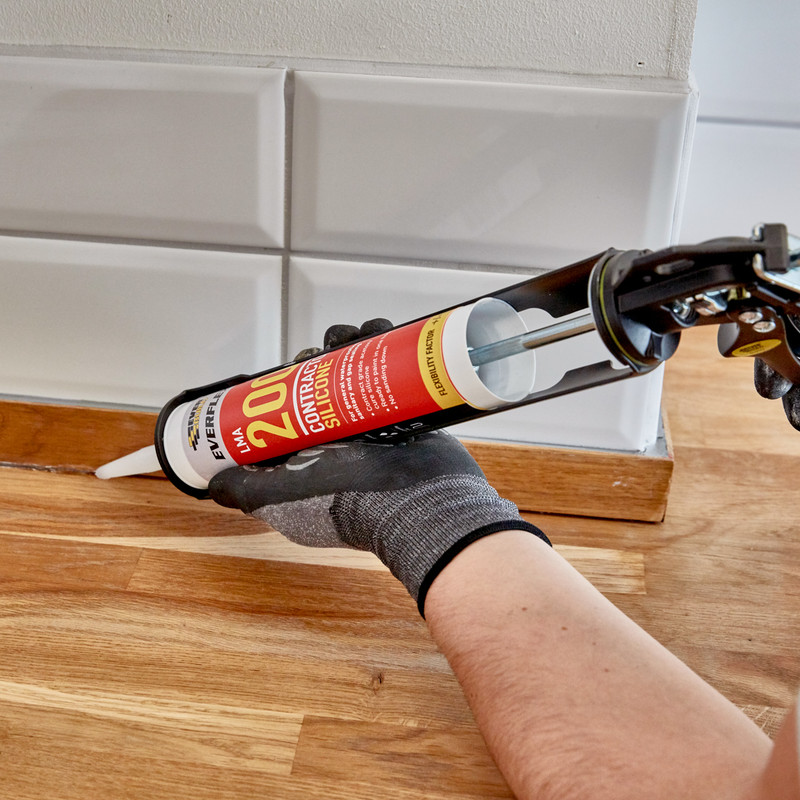
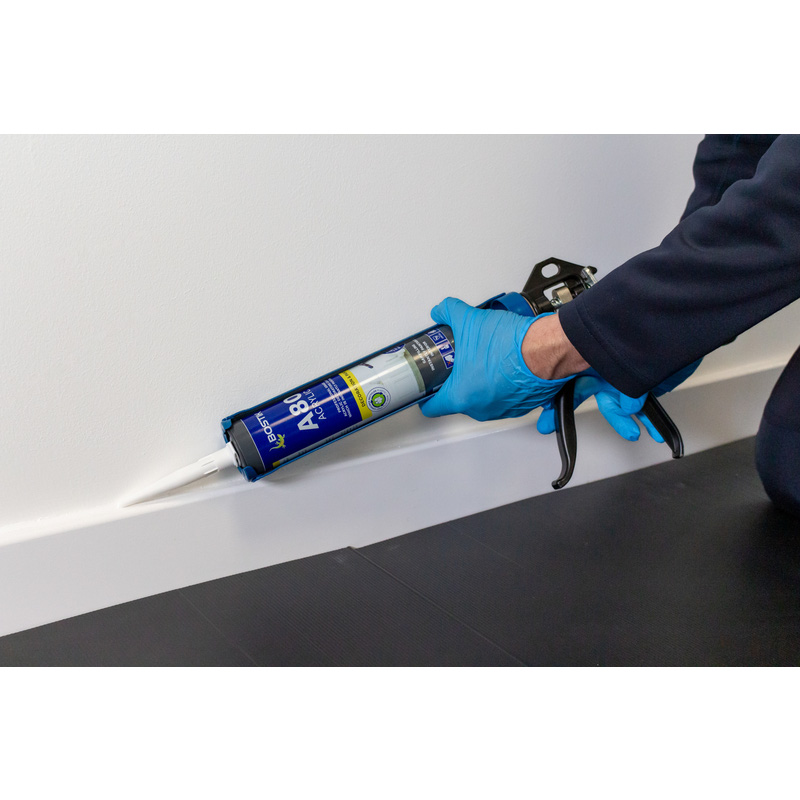
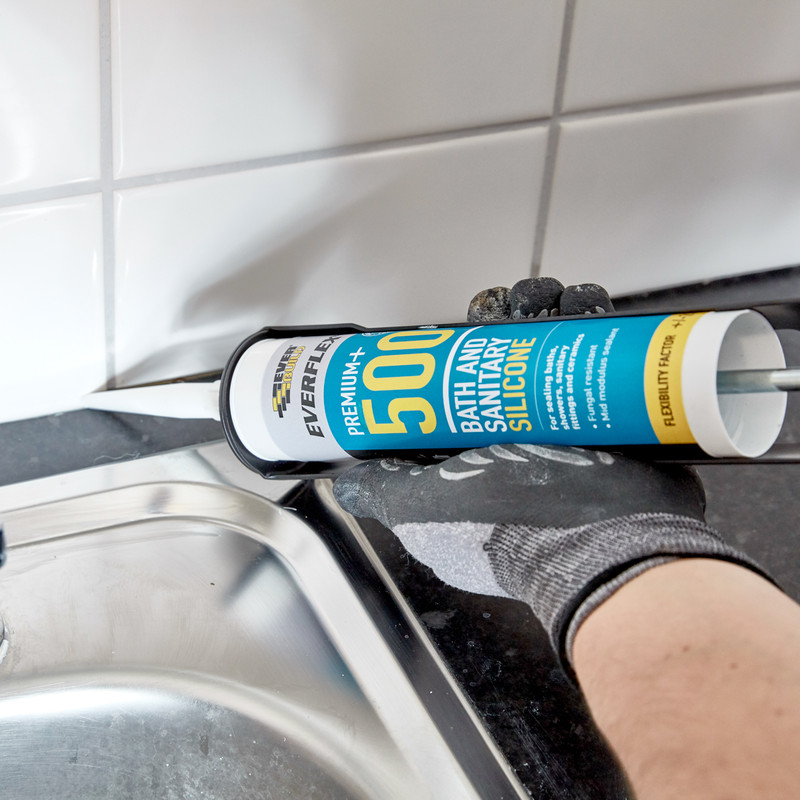
Step 4: Apply the Sealant
With the cartridge loaded and the nozzle cut, you’re ready to apply the sealant. Hold the gun at roughly a 45-degree angle to the surface and place the tip of the nozzle at the start of the area you’re sealing. Gently squeeze the trigger while moving the gun steadily along the joint. Try to keep a consistent speed and pressure to create an even, continuous bead of sealant. It’s best to work in one smooth motion rather than stopping and starting, as this helps achieve a neater finish.
Step 5: Smooth the Sealant
Once the sealant has been applied, smooth it out before it begins to skin over. You can use a sealant finishing tool, a damp finger, or a smoothing spatula. Lightly run it along the bead to press the sealant into the joint and remove any excess. This not only improves the appearance but also helps ensure a strong, watertight seal.
Step 6: Release Pressure and Clean Up
When you’ve finished applying the sealant, press the release lever on the gun to relieve pressure on the cartridge. This prevents excess sealant from continuing to ooze out of the nozzle. Wipe the nozzle clean with a cloth and replace the cap if your cartridge has one. Finally, clean up any stray sealant while it’s still wet, and allow the sealant to cure fully according to the manufacturer’s instructions.