- Help & Advice
- How To Guides
- How To A Trim Hedge
Maintaining your hedge and keeping it well-trimmed not only enhances curb appeal, but it can improve its health, reduce the spread of harmful pests and ensure that sufficient sunlight reaches other plants and flowers in your garden.
Whether you're new to hedge trimming or an avid gardener, learn how to trim your hedge by following our essential steps and top-tips. By following this guide, you'll learn the most efficient techniques to ensure your hedges remain in top shape throughout the year.
Essential Tools & Equipment
Step 1: Choose Your Trimming Method
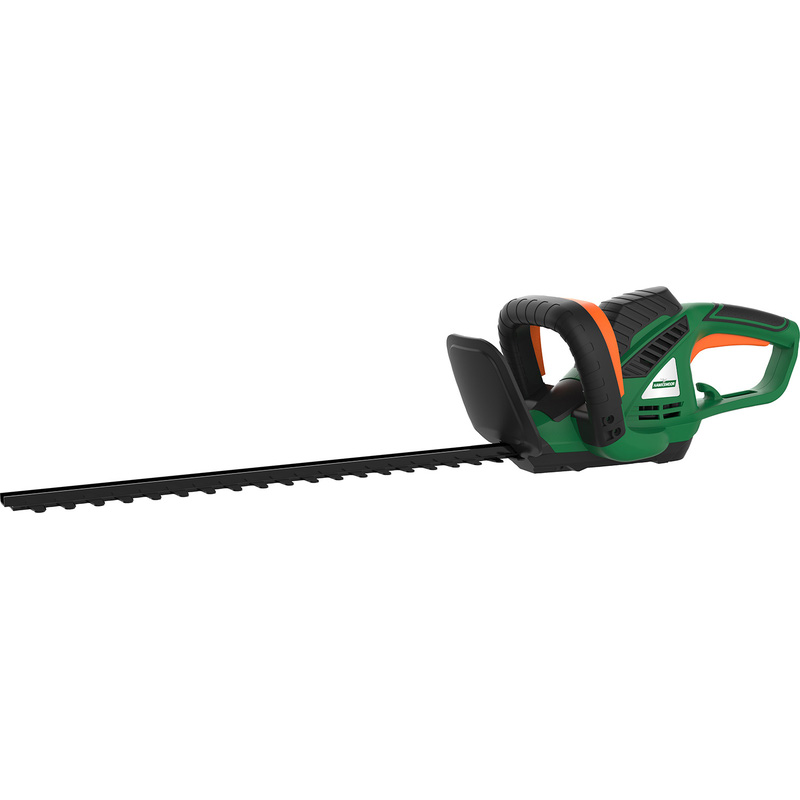
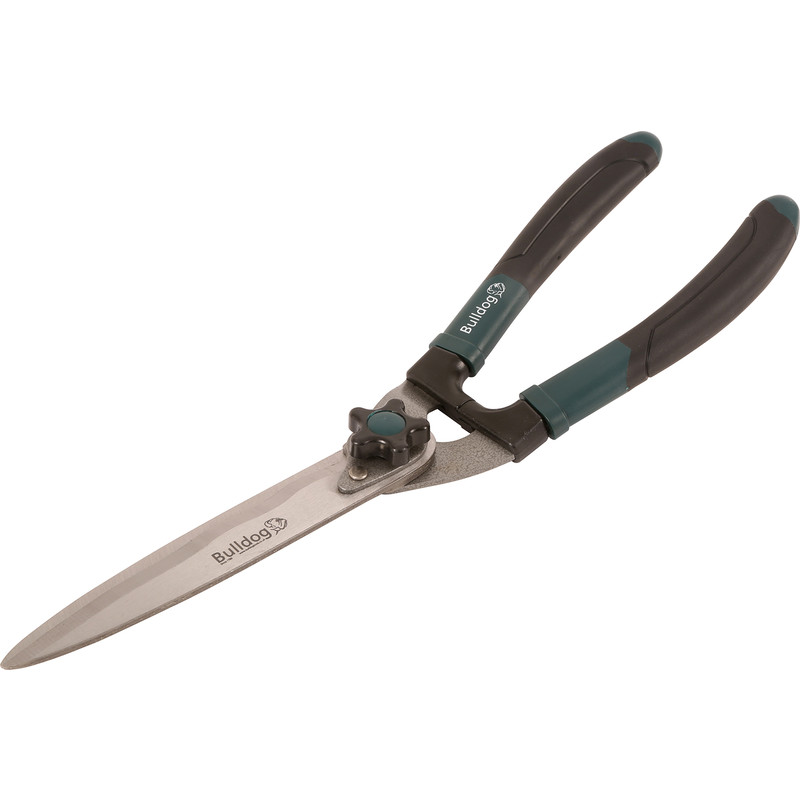
When it comes to hedge trimming, you have a few different tools to choose from. There's an electric or petrol hedge trimmer, or manual shears. The best choice depends on the precision required, size of the hedge, and the speed of the job. Let's look at some differences between the types of hedge trimmers:
- A petrol or electric hedge trimmer is fast, making them ideal if you have a particularly large hedge or you want to get the job done quickly. Keep in mind that the finish won't be as neat when compared to using shears.
-
In contrast, manual shears are much more labour intensive, requiring more time and energy to trim your hedge. That said, they also allow for much better precision, leaving you with a neater finish and a hedge that heals faster.
You can make use of both types of hedge trimmers if you prefer. Complete the bulk of the trimming with a petrol or electric trimmer and use the shears to tidy up and create some neat lines for a more professional finish.
Step 2: Start Trimming The Hedge From The Bottom
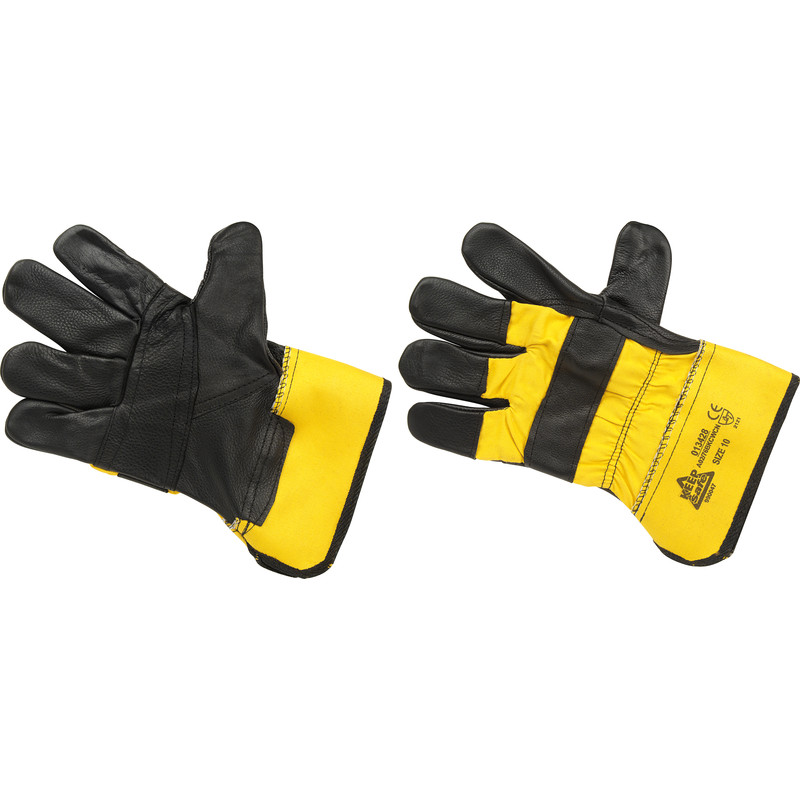
Now that you've chosen you're prefered hedge trimming method, it's time to get to work! Don't forget your safety goggles and gloves if you're using power tools.
- If using a electric or petrol hedge trimmer, start by trimming from the bottom of the hedge and carefully move upwards using a long, sweeping motion. This is much safer and reduces the likelihood of injury.
- When using shears, begin at the bottom, making short careful cuts. Be sure to keep the shears parallel to the side of the hedge for a neater finish and to prevent damage to the leaves.
Step 3: Shape the Hedge for Even Growth
A good tip when trimming your hedge is to keep the top narrower than the bottom. This allows sunlight to reach all parts of the hedge, promoting even growth and preventing the lower sections from becoming sparse and looking drab. Additionally, a narrower top helps snow slide off more easily in winter, reducing the risk of damage.
- For a tidy finish, try and cut more branches than leaves. Whether you're using manual shears or electric trimmers, make sure they're really sharp as this will prevent tearing of the leaves.
-
If your hedge has particularly thick branches, it's a good idea to check if your hedge trimmers are capable of cutting through them. If not, consider using a chainsaw to remove the bulk of the hedge then tidy up with shears or electric trimmers.
Step 4: Cleaning Up After Trimming
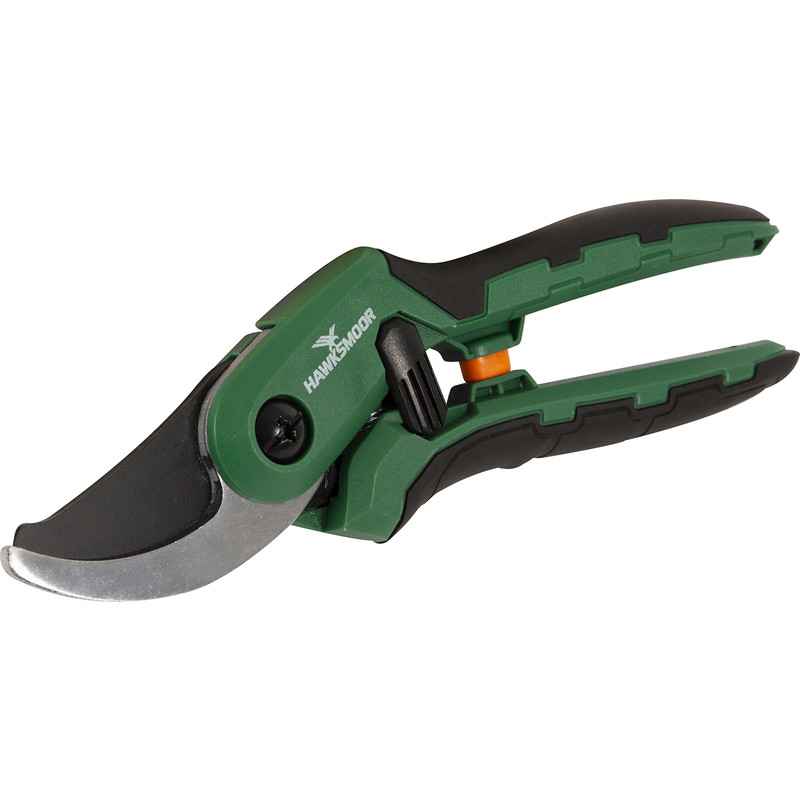
After trimming, gather clippings using a brush or rake. On gravel surfaces, you could lay down tarpaulin prior to trimming to catch clippings for easy disposal. For a perfect finish, use secateurs to clean up any snags or missed spots.


