- Help & Advice
- How To Guides
- How to Paint Behind a Radiator
How to Paint Behind a Radiator
So, you’re in the middle of sprucing up your interior walls with a fresh lick of paint and you reach a radiator! What do you do?
It’s common for most people to avoid painting behind a radiator simply because they want to avoid the seemingly daunting task of removing it, or it just seems like too much of a messy job. But it doesn’t have to be.
By getting your hands on the right tools and following our how-to guide, you can finish the job properly without the hassle of removing the radiator or leaving any unsightly gaps.
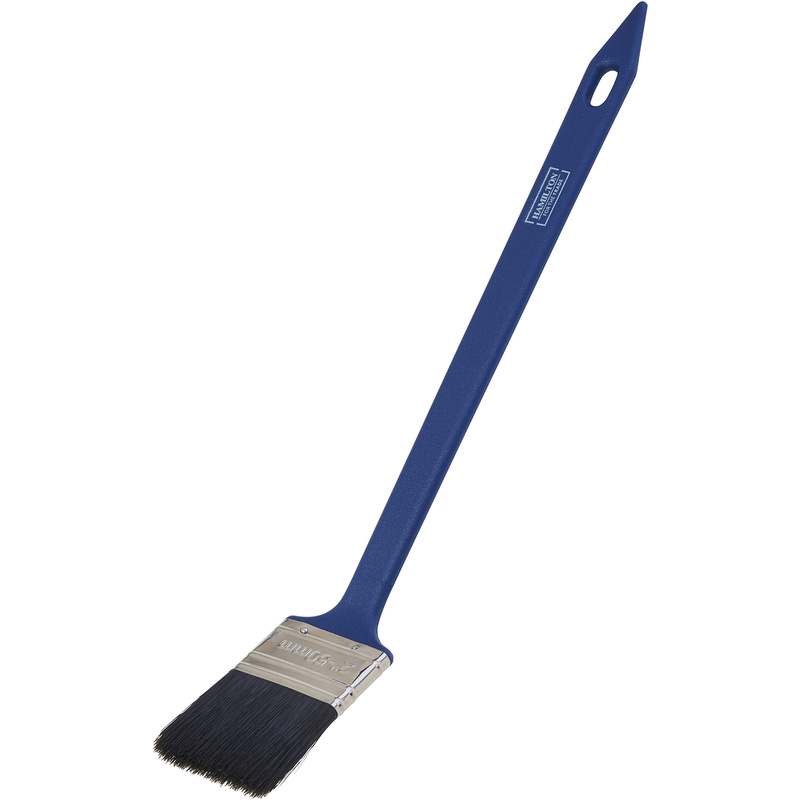
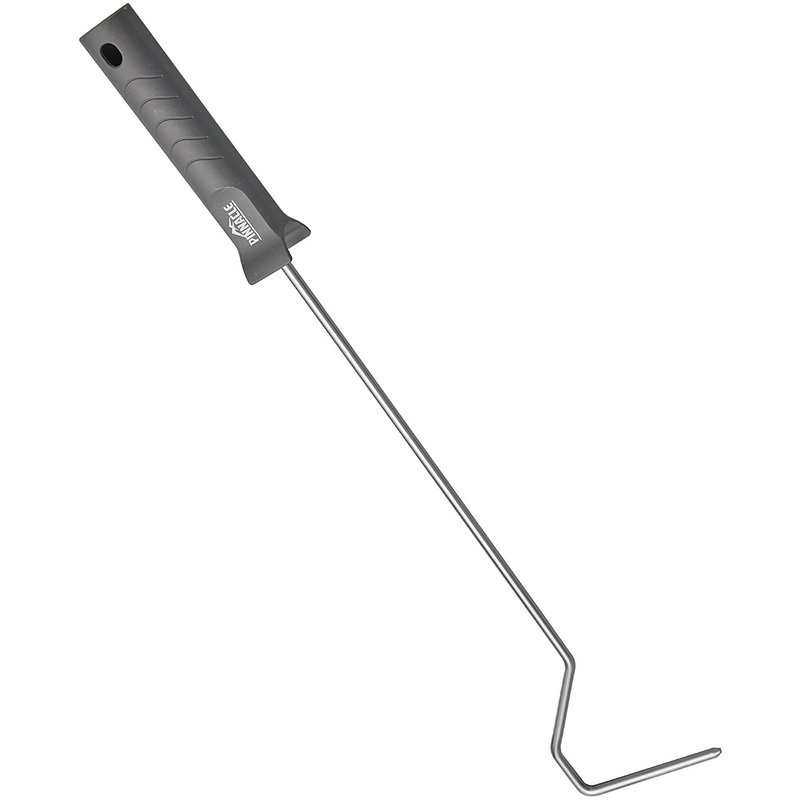
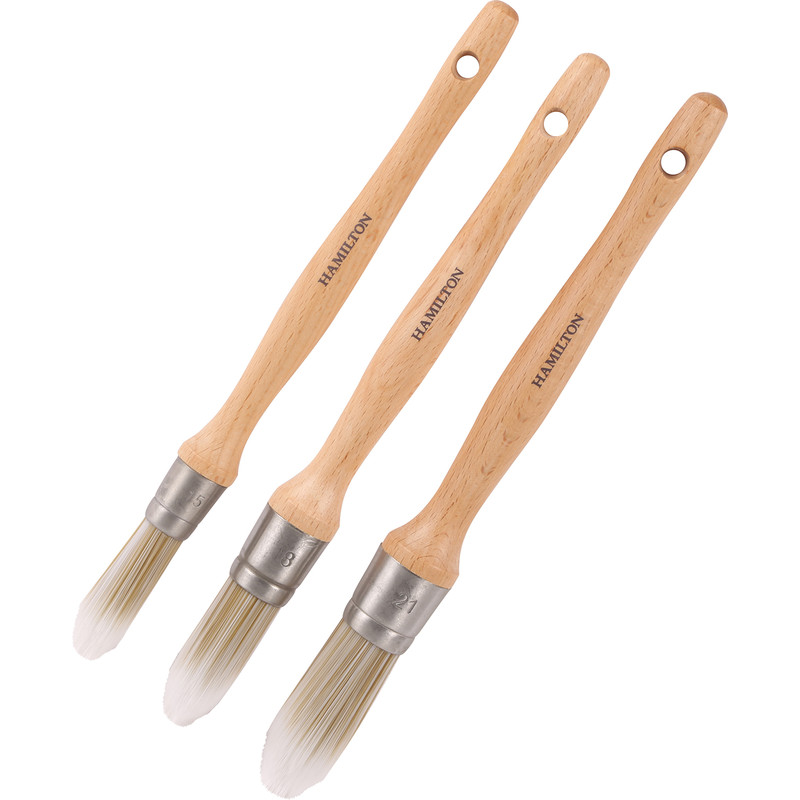
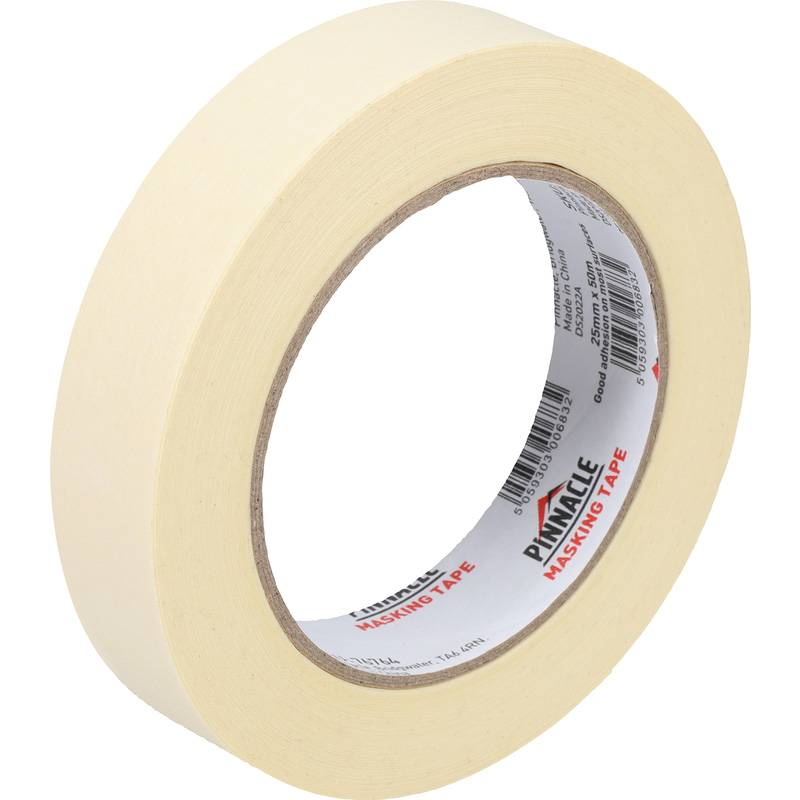
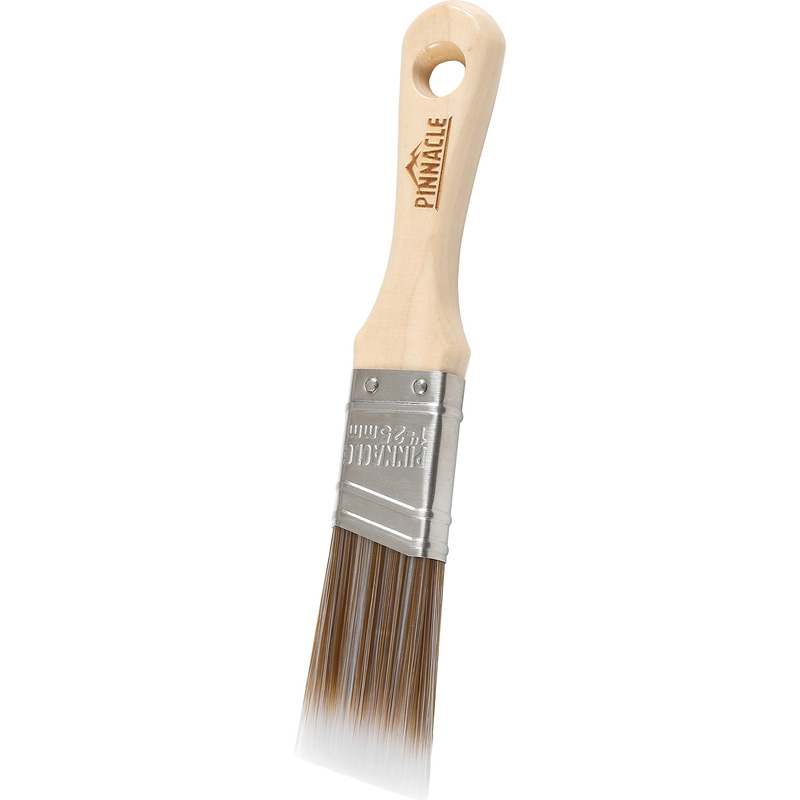
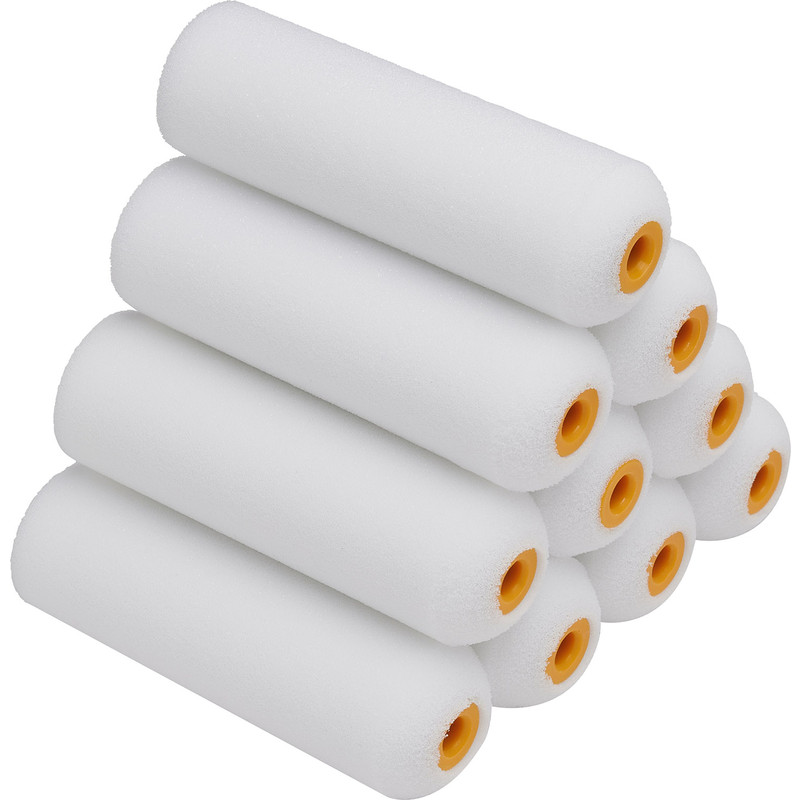
What Tools You’ll Need To Paint Behind A Radiator
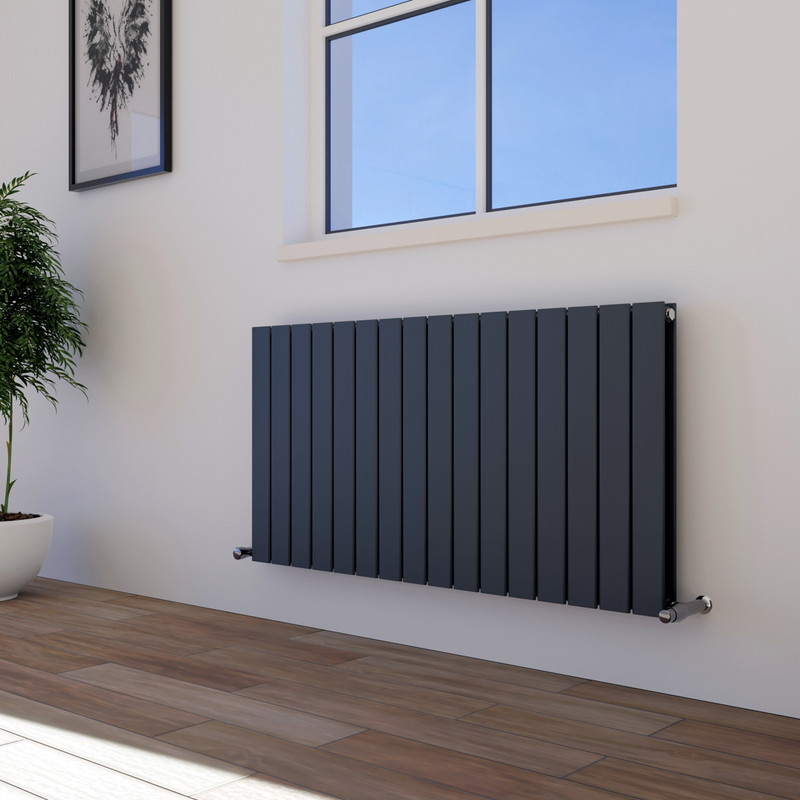
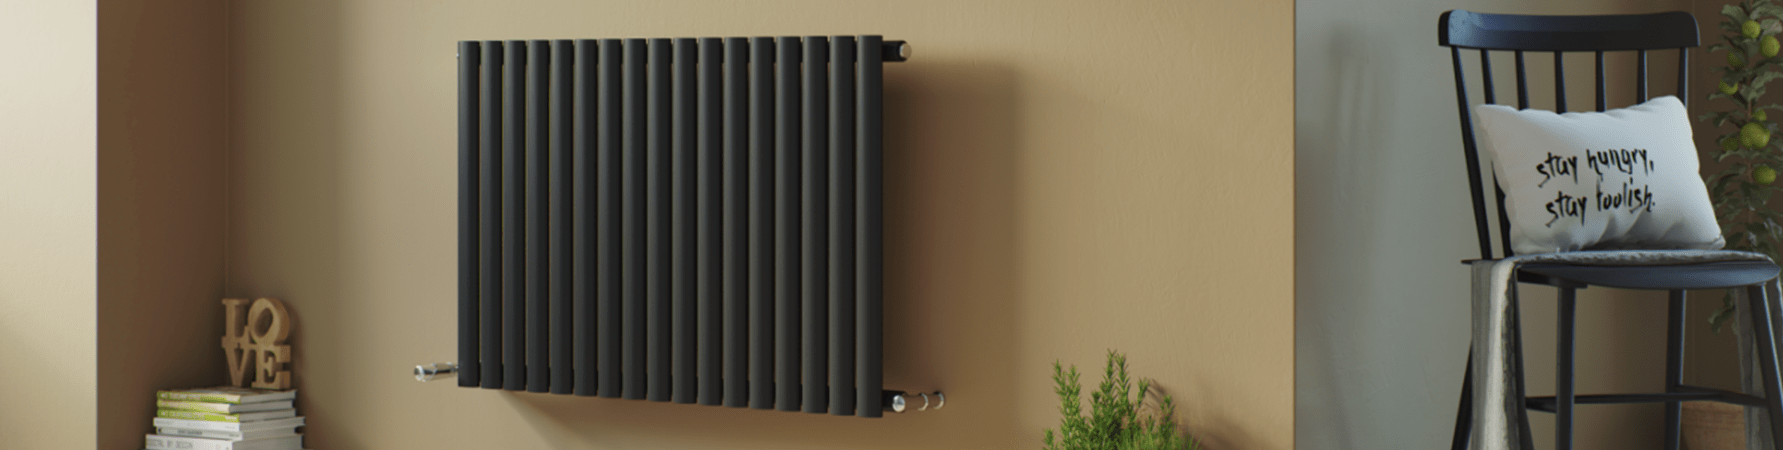
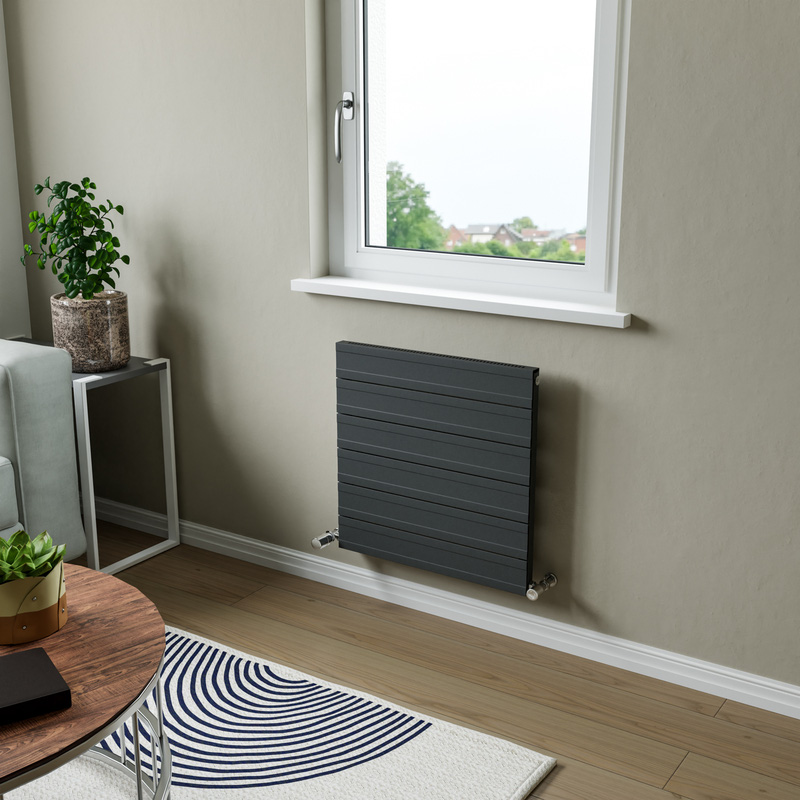
Step 1: Turn off the Radiator and Clean the Area Behind it
If your radiator is already switched on, you’ll need to turn it off and give it sufficient time to cool before moving onto cleaning.
It’s common for dust and grime, along with the odd cobweb, to build up behind your radiators. So before getting on with any painting, give it clean using a dusting brush (or similar soft bristle brush). For hard to reach areas, try using some air duster spray.
Step 2: Apply Masking Tape to Protect from Paint
Take your masking tape and carefully apply it along the length of the skirting board, directly beneath the radiator you want to paint behind. Next, tape around the edges of the radiator. Don’t skip this step as you want to avoid getting paint in places you don’t want it!
Step 3: Paint Along the Skirting Board Edges
Take your angled paint brush and carefully paint the bottom of the wall, immediately above the skirting boards - cutting in along the edges. Now, take your long reach paint brush and use this to reach up under the radiator, paint in long strokes for even coverage.
While painting, consider temporarily removing radiator thermostats and lockshield valves to give you a little extra room and ease of access behind the radiator.
Step 4: Paint Underneath the Sides of the Radiator
Load a little paint onto your long arm roller and carefully roll on either side of the radiator, move the roller in a horizontal direction going as far behind the radiator as the roller can reach. The roller may reach the radiator bracket, but don’t worry too much about this as any paint markings won’t be visible. Anywhere the roller can’t reach, touch these areas up with the sash paint brush.
Step 5: Apply a Second Coat
Once the first coat of paint is completely dry, use the same method, following steps 3 to 5, and apply a second and final coat. Leave this to dry before reattaching the TRV and lockshield valve then remove any masking tape.