- Help & Advice
- How To Guides
- How To Remove A Radiator
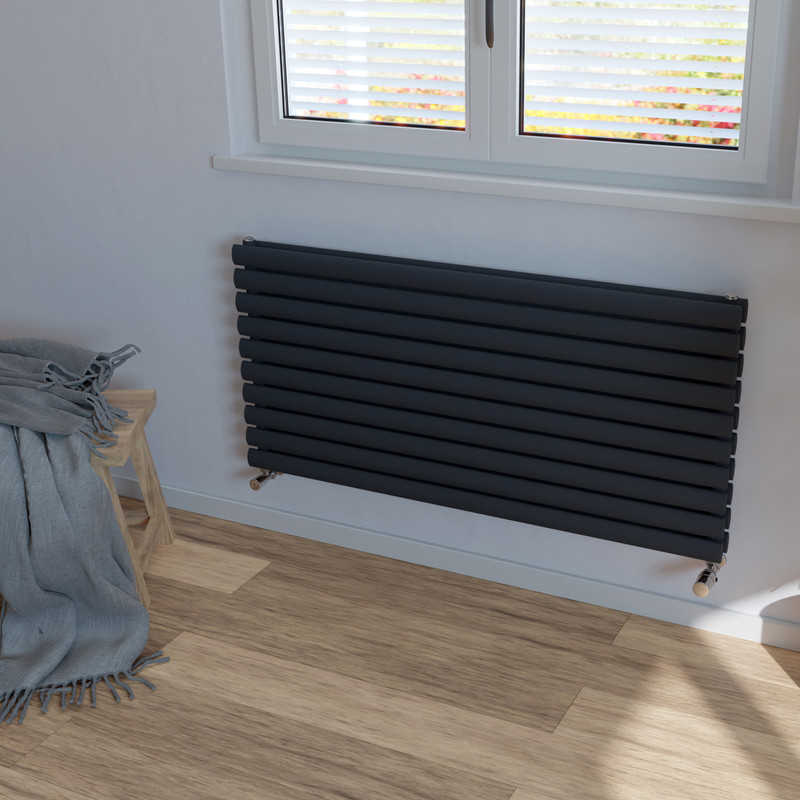
Whether you're redecorating a room or buying a new radiator, you'll need to know how to remove the current one. With the right tools and instructions, it's a straightforward and quick job.
The steps in this how-to guide are easy to follow ensuring you can remove a radiator with ease. As with any DIY job, if you're unsure, always seek the advice of a qualified professional.
Essential Tools To Remove A Radiator
Step 1: Check the Boiler Pressure
Before you make a start, you'll need to make a note of the pressure in your heating system, that's if it's a pressurised system. This is important for when you later need to repressurise the radiator.
On the other hand, if you have a vented heating system with water tanks in the loft, you can jump to the next step.
Step 2: Isolate the Radiator
Next up, you need to isolate the radiator by turning off the radiator valves. It's important to do this so that the rest of your heating system remains unaffected while you work.
- Turn off both radiator valves, these are located at each end of the radiator.
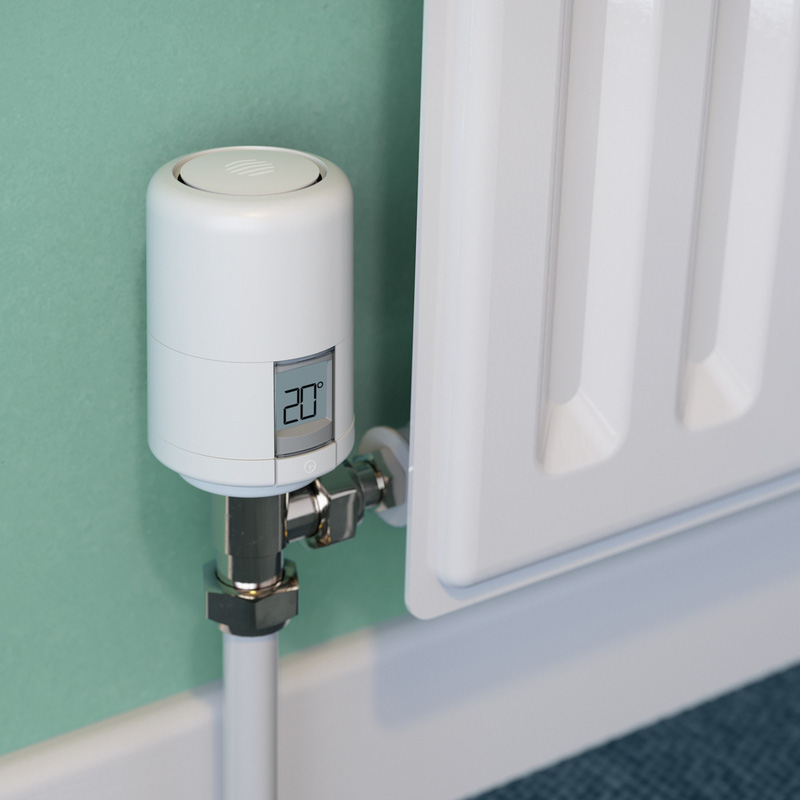
- For a thermostatic radiator valve (TRV), rotate it fully clockwise to shut it off.
-
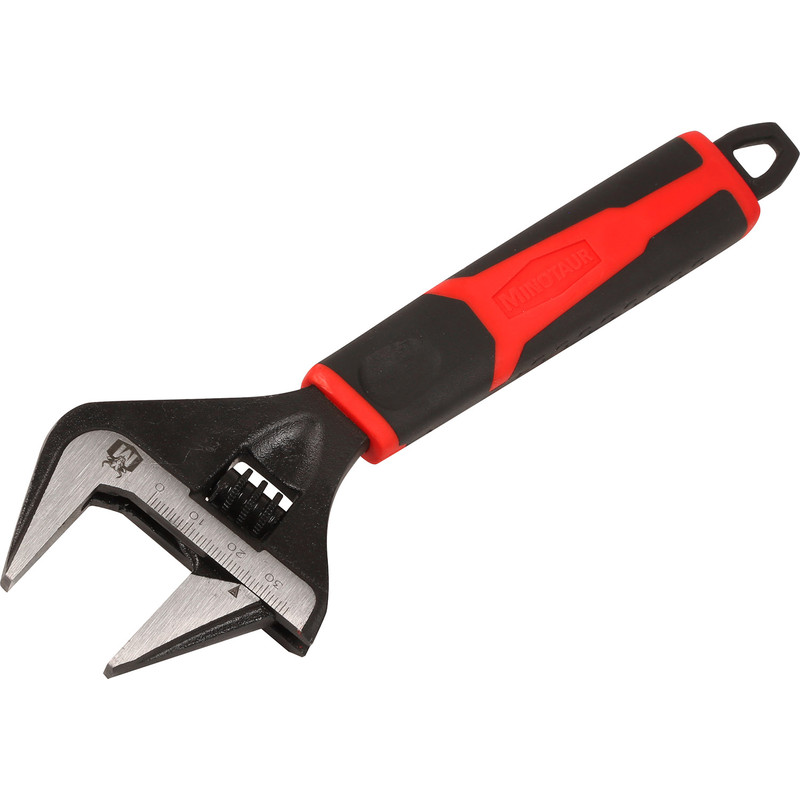
Using an adjustable spanner, fully close the lockshield valve.
Count the number of turns needed to close the valve, as you'll need to reopen it the same number of turns to balance the system later.
Step 3: Release Pressure from the Radiator
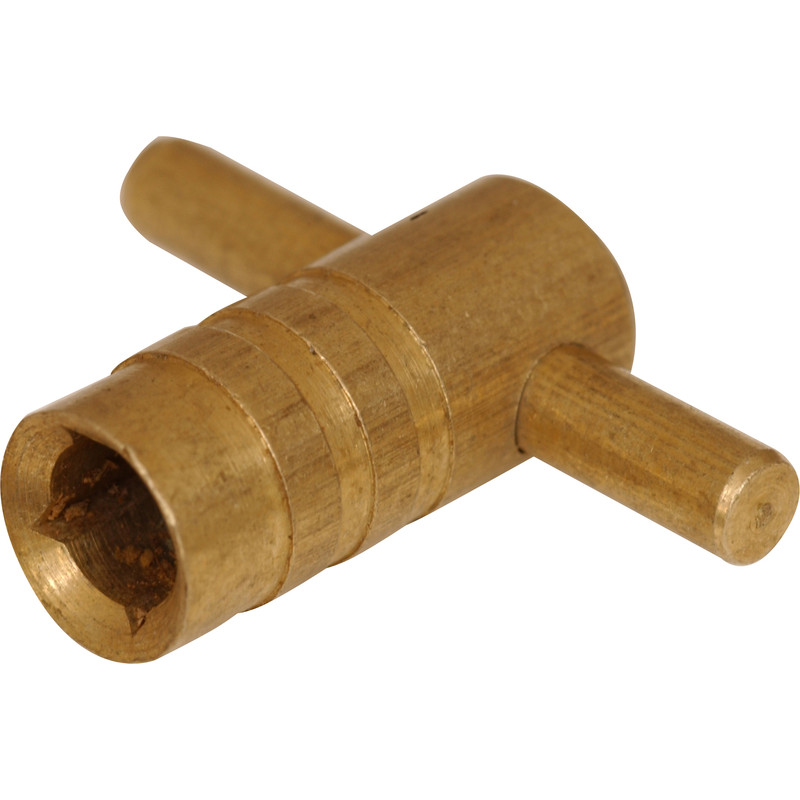
Using a radiator bleed key, you now need to bleed the radiator in order to release the pressure. Ensure the valve opening faces away from the wall to avoid any water stains. If water continues to flow, double check that the valves are closed tightly.
Step 4: Drain the Radiator
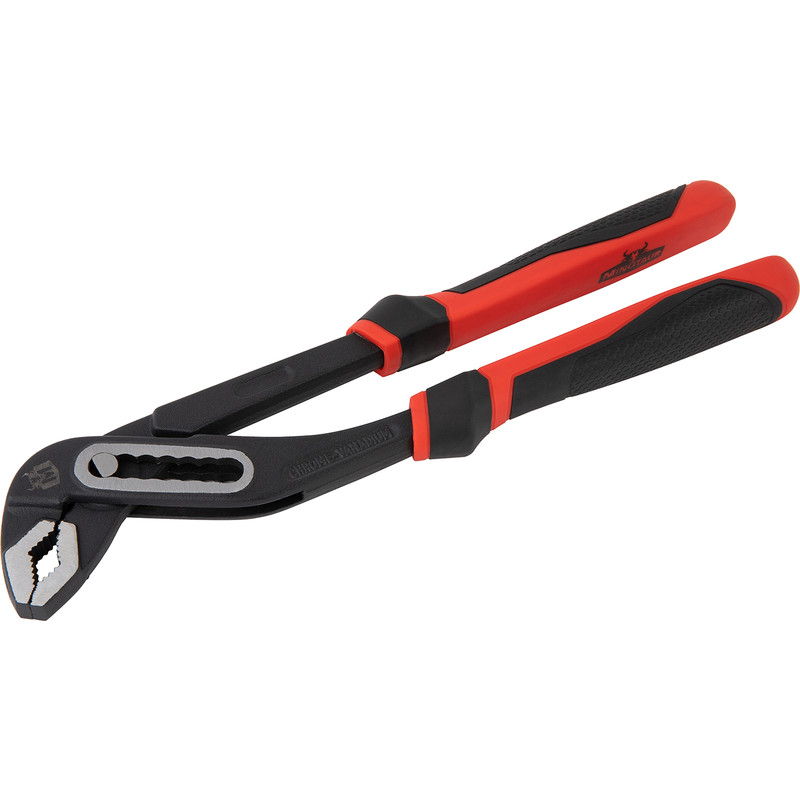
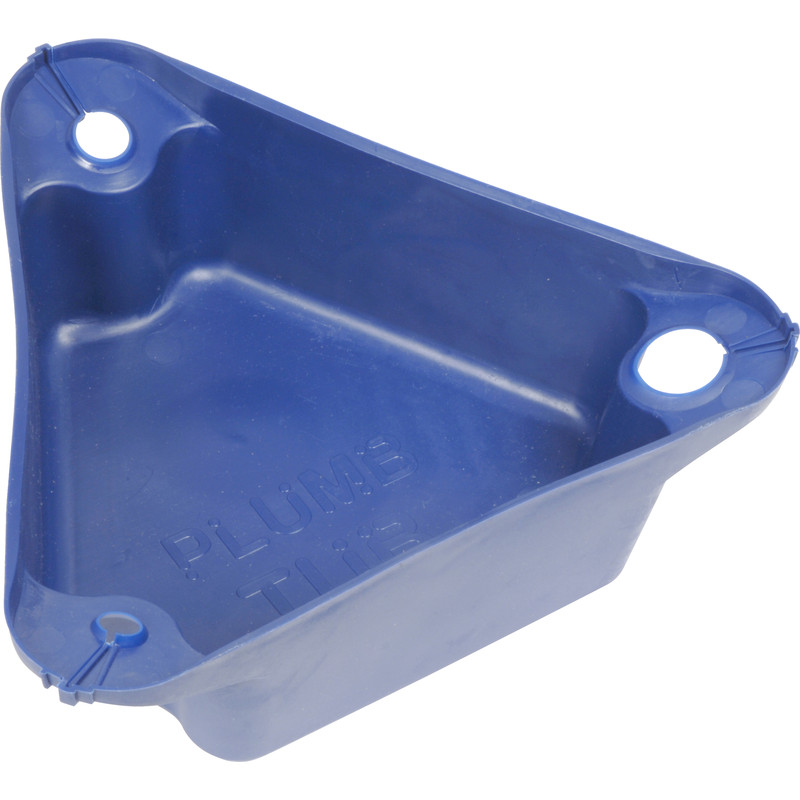
Place a plumb tub directly beneath the valve to catch the water. Use plumbing grips to hold the valve securely and an adjustable spanner to loosen off the nut, allowing water to drain. For faster drainage, open the bleed valve again to let more air in.
Step 5: Remove the Radiator
Once the water has completely drained, carefully lift the radiator off its brackets. Keep in mind that some radiators can be quite heavy so you may need some help. Tip it upside down to prevent any remaining water from leaking and move it aside.
Step 6: Refit the Radiator
After finishing your decorating, lift the radiator back onto the brackets and realign the valves.
-
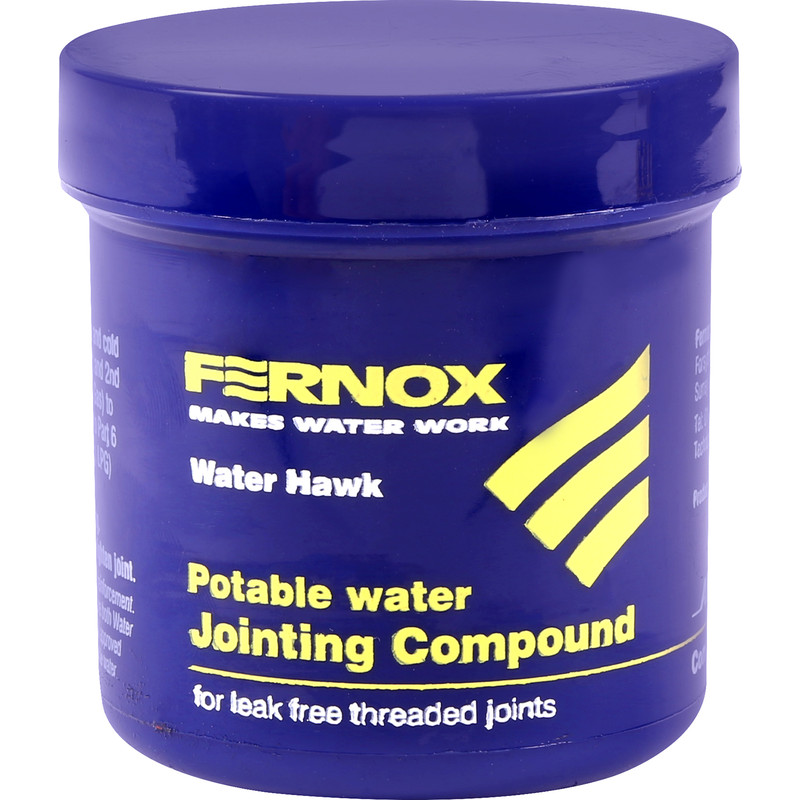
Apply jointing compound to the olive, then tighten up the nuts using the adjustable spanner and grips.
- Open the lock shield valve by the same number of turns you noted earlier, followed by the TRV.
Step 7: Bleed the Radiator
Bleed the radiator again to remove any air that may have entered. Once water starts to flow from the bleed valve, close it tightly.
Step 8: Repressurise the System
If your system is pressurised, check the boiler pressure. Use the filling loop to top up the pressure as needed. Lastly, consider adding inhibitor to the system to protect it from future corrosion.

