- Help & Advice
- How To Guides
- How to Paint a Window Sill

How to Paint a Window Sill for a Professional Finish
Over time, it’s common for window sills to become grubby, scuffed, or discoloured from everyday wear and tear. Sunlight, condensation, and general use can all contribute to a tired-looking finish.
Giving them a fresh lick of paint can make all the difference, instantly brightening the room, covering imperfections, and adding a sense of “newness” to the space. Whether you're refreshing an old sill or updating one that’s recently been replaced or repaired, a good paint job is a simple DIY task that anyone can do.
Tools You’ll Need


Step 1. Prepare the Workspace
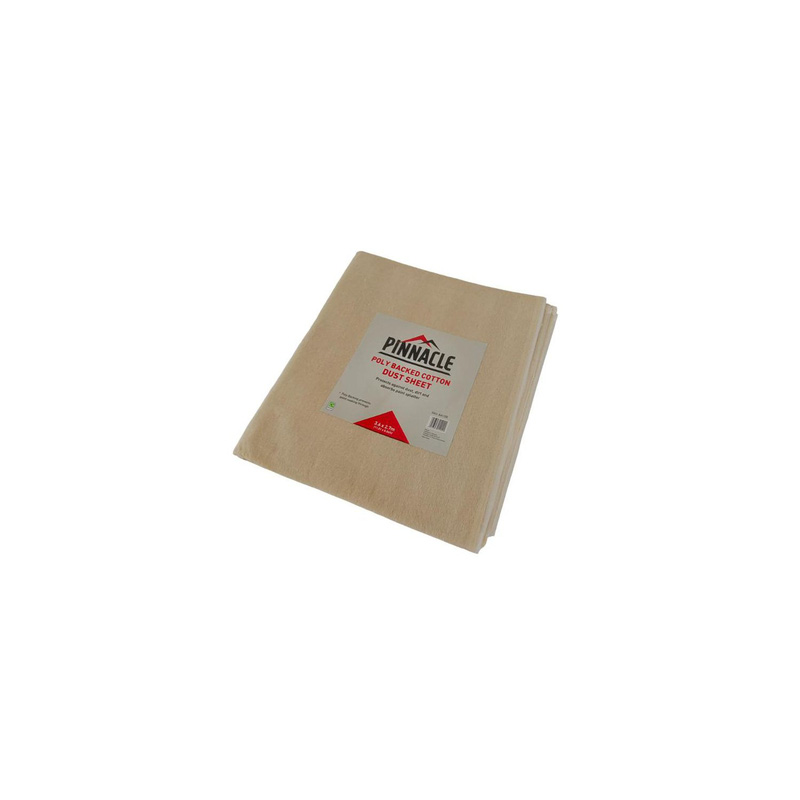
Start by laying down a dust sheet or a few old towels to protect the floor and any nearby furniture. If you’re using any solvent based products, open the windows and doors to improve ventilation and protect you from any fumes.
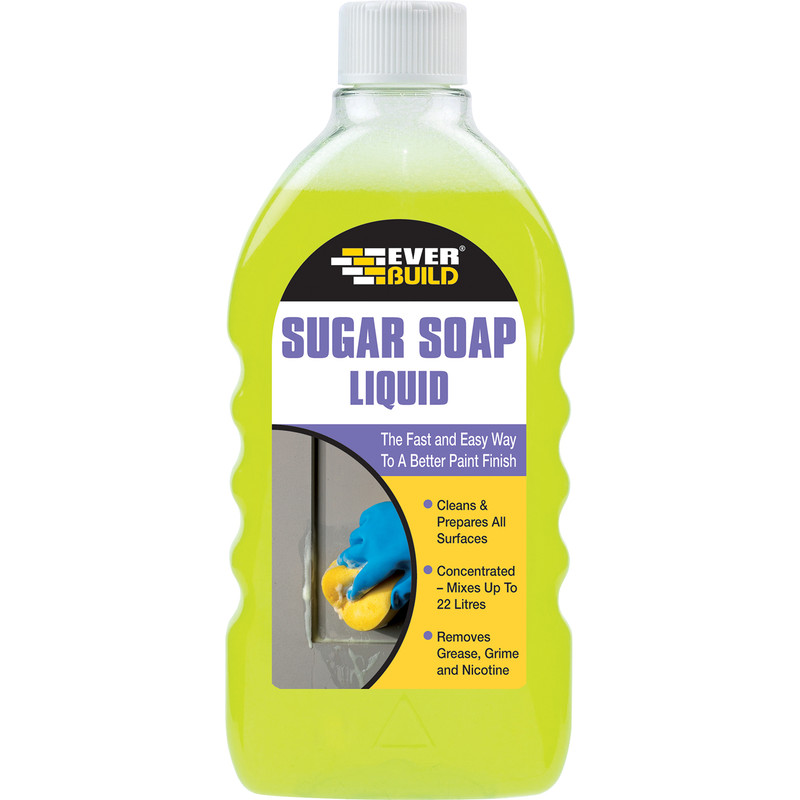
Give the window sill a good clean with some detergent and water, or sugar soap to get rid of any dirt, grease and residue. A clean surface will help the paint to adhere properly and ensures a smoother finish.
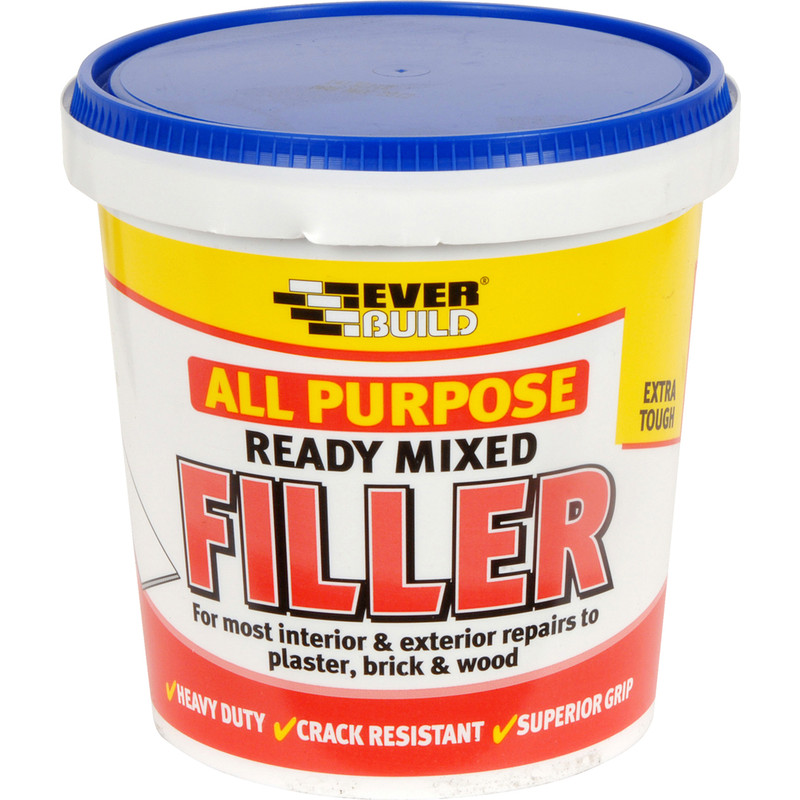
Step 2. Repair Any Damage
Once the sill is clean and dry, check for chips, cracks, or dents. If you need to , apply a little wood filler using a filling knife, pressing it firmly into any damaged areas. Give the filler plenty of time to fully dry before moving on to the next step.
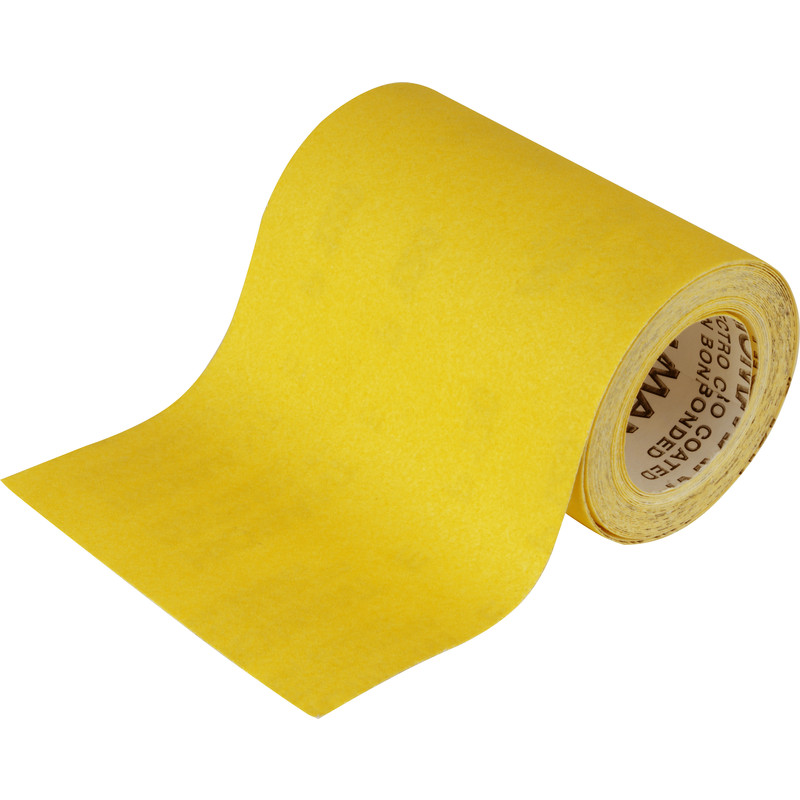
Step 3. Sand the Surface
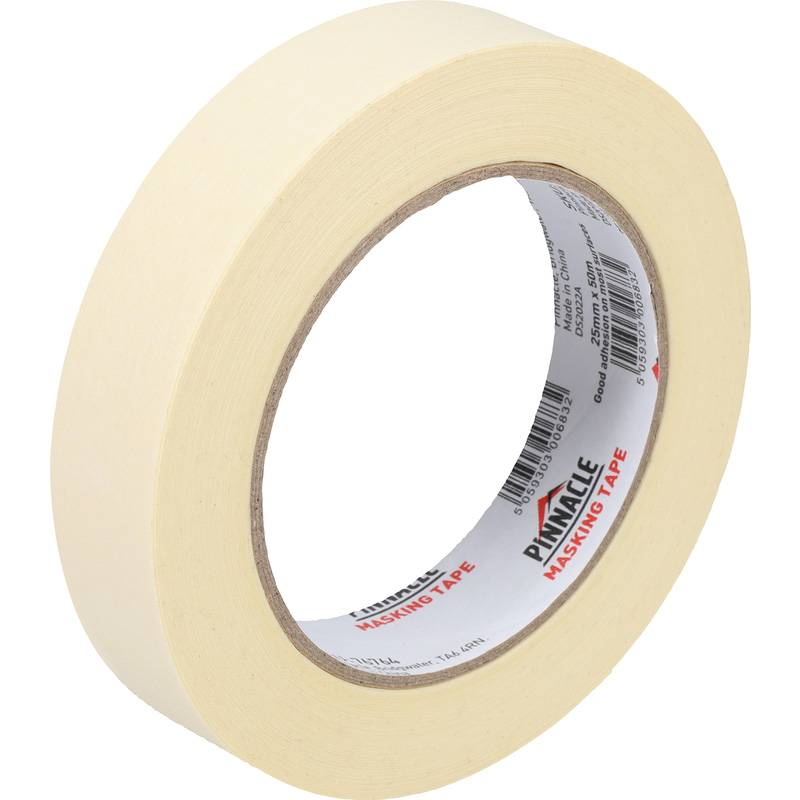
Step 4. Mask the Surrounding Areas
Before you begin painting, apply some masking tape around the edges of the window frame and the adjoining wall. This helps you achieve crisp, clean lines and prevents accidental paint marks on surfaces that you want to keep spotless.
Step 5. Apply Primer (If Needed)
If the existing paint is very glossy, or if the sill is bare wood or heavily repaired, apply a coat of primer. This helps to seal the surface, improves paint adhesion, and provides a more even finish for the topcoat. Be sure to follow the manufacturer’s instructions and allow it sufficient drying time before applying any paint.
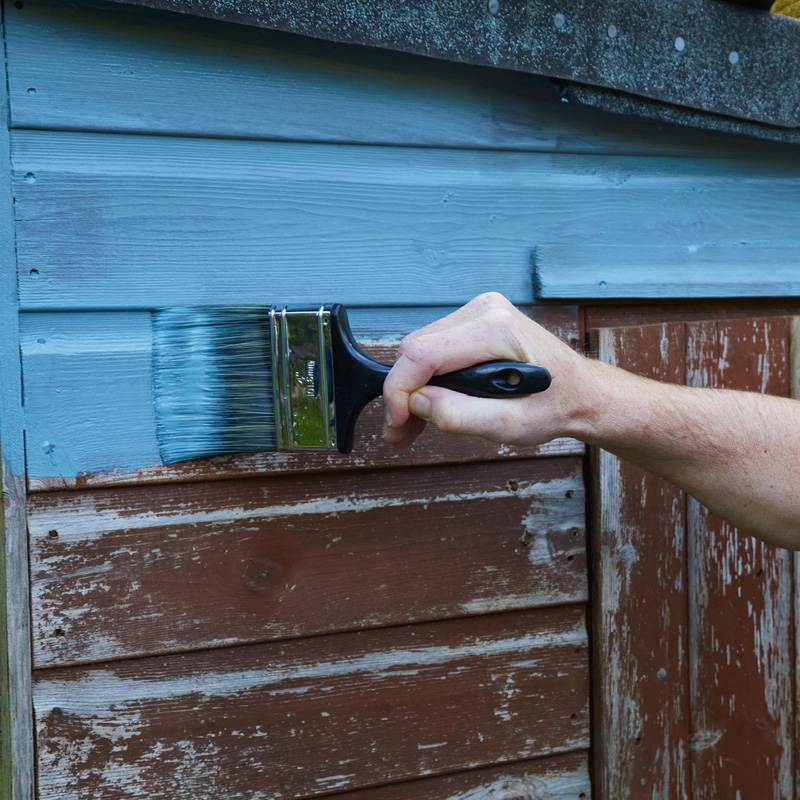
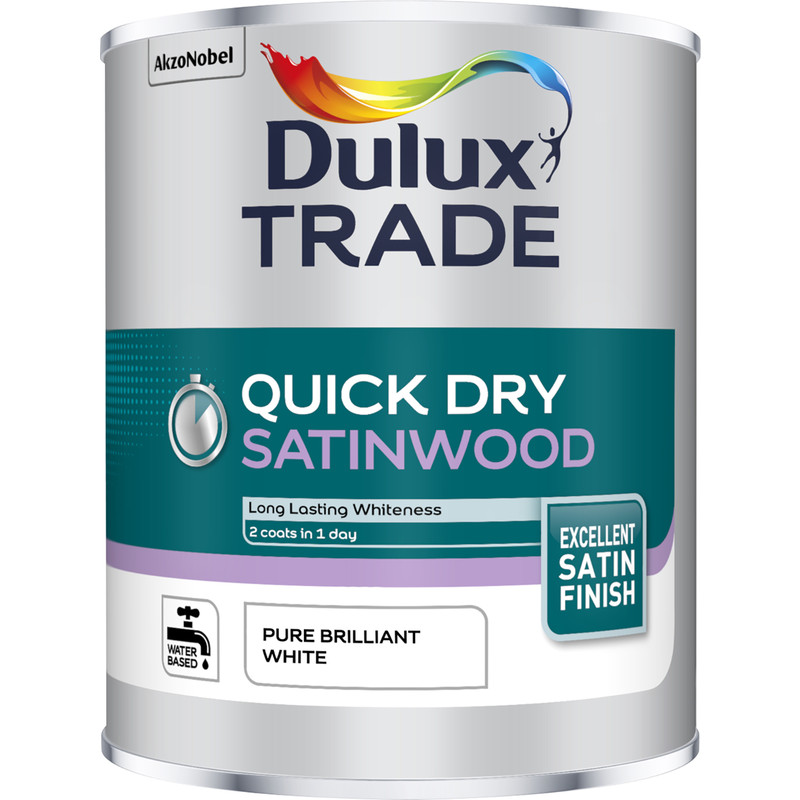
Step 6. Paint the Window Sill
While there are different types of paint finishes to choose from, anything besides matt is usually best. Gloss paint will offer the most shine, and the subtle differences between satin and eggshell will give your window sill a soft sheen that's durable and easy to clean.
Start by cutting in along the edges with a small angled brush, then paint the rest of the sill using long, even strokes. Apply thin coats rather than one thick layer as this helps prevent drips and achieve a professional result. If you want an ultra-smooth finish, you can lightly sand between coats once they’re dry.
Step 7. Finish and Clean Up
Allow the final coat to dry and cure completely before placing anything back on the sill. Gently remove the painter’s tape to reveal sharp, clean edges. Finally, don't forget to clean your paint brush so it's ready for your next painting project!