- Help & Advice
- How To Guides
- How To Insulate A Shed
How To Insulate A Shed
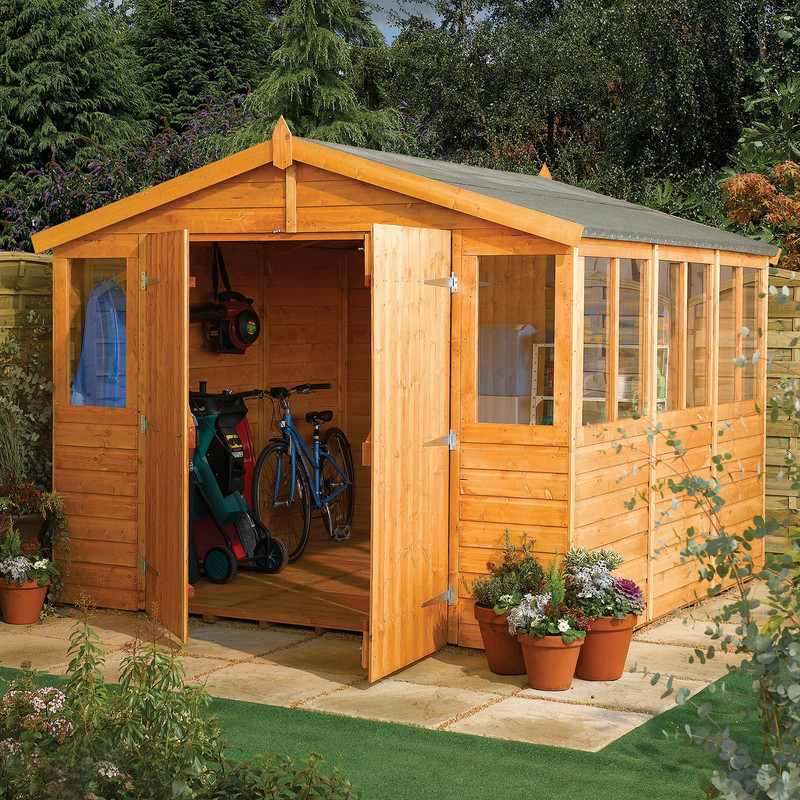
Insulating your shed is a great way of extending its use, especially in colder months - and that applies to whether or not you spend time working there, or perhaps using it to store garden furniture and tools.
When you insulate a shed, you’ll help to retain heat - this is particularly important if you want to keep your shed warm and regulate the temperature. What’s more, if you use your shed to store expensive landscaping tools, like lawnmowers and scarifiers, a well insulated shed can minimise the likelihood of moisture buildup, helping to protect items stored inside.
So, whether you’re using it as a workshop, home office, or storage space, insulation helps to prevent heat loss, reduce condensation, and improve energy efficiency.
Can You Insulate Any Type of Shed
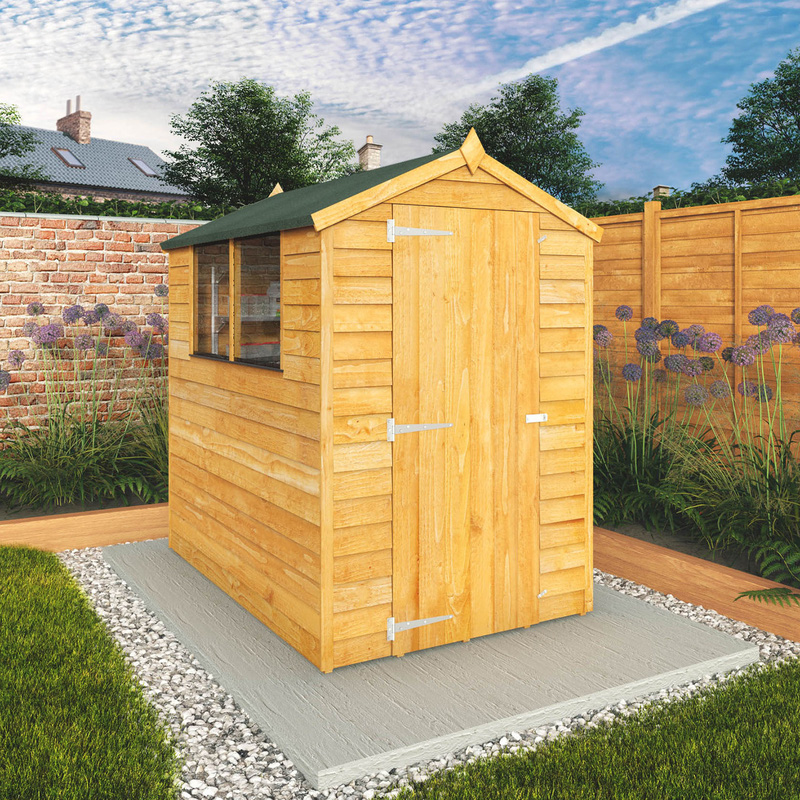
Almost any shed, whether it's wood, metal, or plastic, can be insulated. However, the construction of the shed will determine the best materials and methods to use. Wooden sheds are typically the easiest to insulate because their internal frames allow for easy installation of common insulation materials like fibreglass, foam boards, or spray foam.
Metal sheds pose slightly more difficulties, especially concerning condensation and temperature regulation. Reflective insulation or spray foam can be effective for managing the internal environment and preventing rust in these cases. While less frequent, plastic or resin sheds can still be insulated, although this might require more inventive solutions, such as using foam panels or constructing an internal frame.
Regardless of the shed material, maintaining proper ventilation and managing moisture are crucial for the insulation to be effective and durable.
Essential Tools & Equipment

Step 1: Assess Your Shed for Signs of Damage
First thing you’ll want to do is inspect your shed for any signs of damage or wear and tear. Look out for things like broken window panes, rotten wood (in the case of wooden sheds), and any leaks. Take a bit of time to fix these before you install the insulation as failure to do so could render the insulating materials ineffective.
Also, check for gaps around doors, windows and where wood panels join. Seal any gaps where necessary using a bit of caulk or foam.
Step 2: Take Measurements and Cut Insulation to Size
In order for the insulation to be as effective as possible, it makes sense to fit it to walls, floors (if you can easily access underneath), along with the roof. For the walls, measure between the studs (the vertical, load-bearing lengths of wood) and the lengths. Do the same for the roof. Next, measure the length and width of the shed floor.
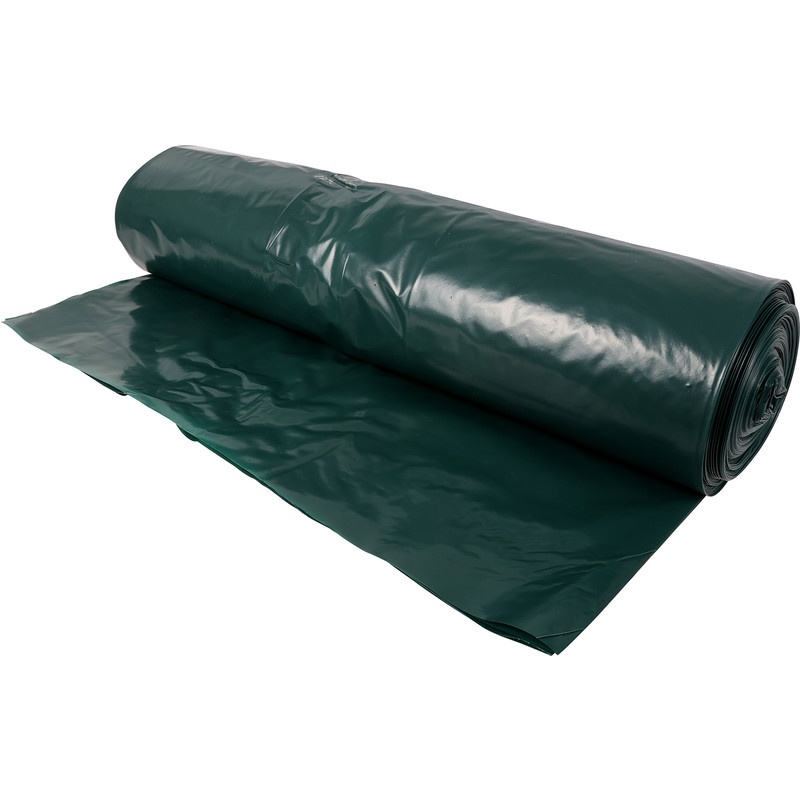
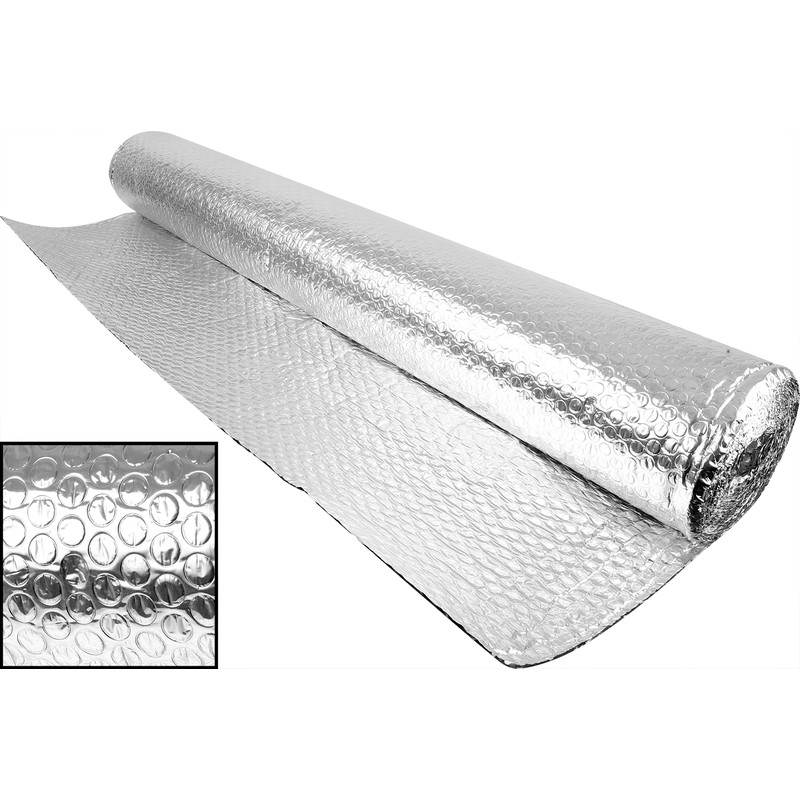
Whether you’re using foam board or insulation rolls, cut this to size, using an insulation knife, ensuring that it’ll fit snugly between the gaps on the walls.
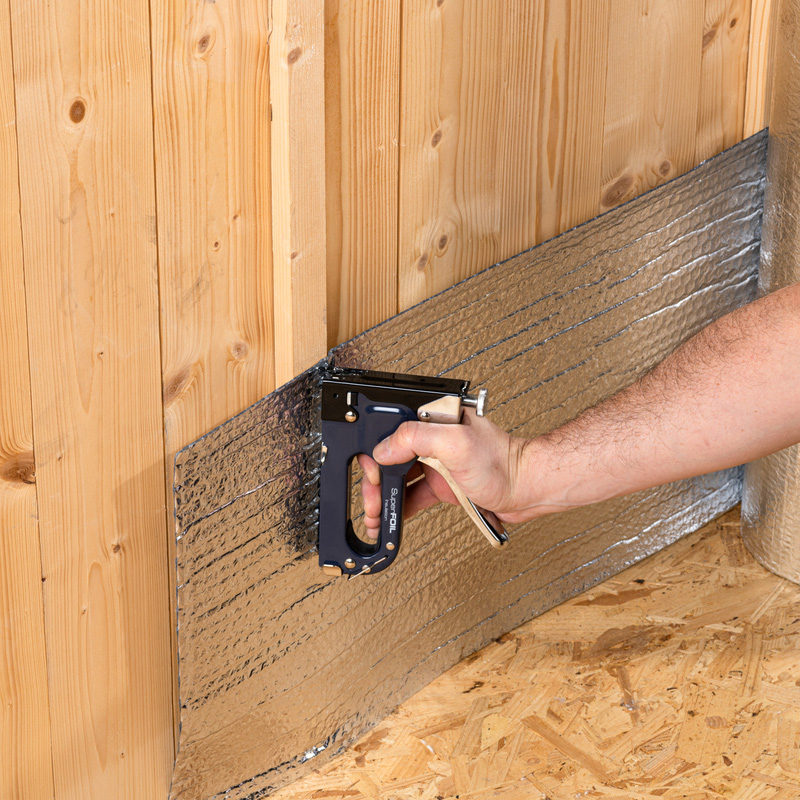
Step 3: Install a Vapour Barrier
If moisture is a concern, install a vapour barrier on the interior (warm side) of the walls over the insulation. Use a stapler to secure it to the studs and overlap the seams by at least six inches. Seal all joints and edges with appropriate vapor barrier or foil tape. This will help prevent warm, moist air from condensing inside the wall cavity during winter.
Step 4: Insulate the Walls
If you’re using insulation rolls, measure the cavities between studs and cut the batts to fit snugly without compressing them. Staple the tabs to the studs to keep them in place. For rigid foam boards, cut the panels to fit between or over the studs, then use adhesive or screws to secure them.
Seal all seams with insulation tape or spray foam to eliminate air gaps. Spray foam insulation is another excellent option, especially for small or oddly-shaped areas. It expands to fill the space and provides an effective air seal. If you want to conceal the insulation materials, you could fit plasterboard over the top for a more polished look.
Step 5: Insulate the Ceiling and Roof
Ceilings can be insulated in a similar way to walls. If your shed has a flat ceiling, fibreglass rolls or rigid foam can be fitted between the joists. For pitched or vaulted roofs, consider installing a vent to maintain airflow before insulating. As before, apply a vapour barrier if needed. Make sure there’s proper ventilation in the roof space to avoid trapping moisture, which can lead to mould or rot.
Step 6: Insulate the Floor
While it’s not absolutely necessary to insulate the floor, it can be helpful in retaining heat which can escape easily if not done. Keep in mind that, depending on the thickness of the insulation, you could lose a little height from the interior space if you fit directly on the current flooring.
If you can easily access the underside of the shed floor, it’s pretty simple to fit insulation between the joists. Seal around the edges and consider applying a vapour barrier for additional moisture protection, particularly if the ground beneath is damp. If easier, you could lay insulation directly on top of the floor then lay something like plywood over the top. This will need to be cut to size and sealed at the edges.