- Help & Advice
- How To Guides
- How to Install Architrave
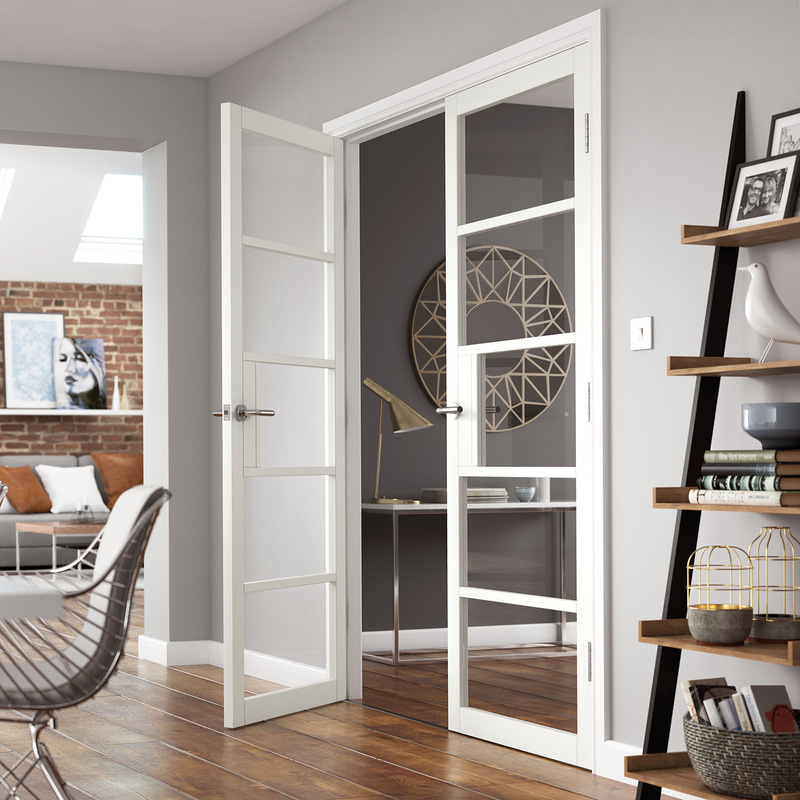
How to Install Architrave for a Seamless Finish
Architrave is the perfect finishing touch for door and window frames, and even around loft hatches. It not only adds a decorative element, but also neatly hides any gaps or joints between the frame and surrounding wall. The good news is that installing architrave is a straightforward DIY task that can be completed in just a few simple steps, with minimal tools and no specialist skills required.
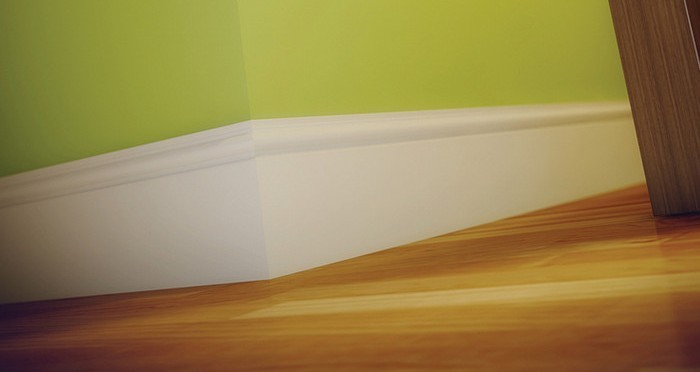
Architrave is often mixed up with skirting boards, but they are different. Skirting goes along the bottom of the wall, while architrave is used around doors and windows. Both hide imperfections and can protect walls, but fitting skirting board is a little different.
That said, some mouldings are interchangeable and can be used both at the bottom of the wall and around doors and windows. If you're using the same style for both skirting and architrave, just make sure you stick to the same size and shape so everything matches nicely and looks consistent around the room.
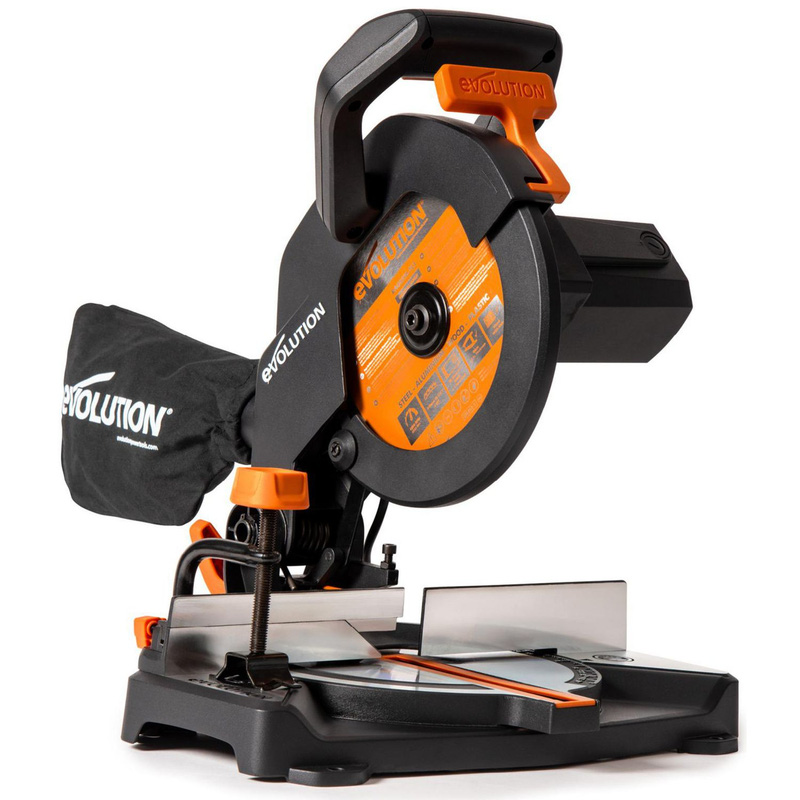
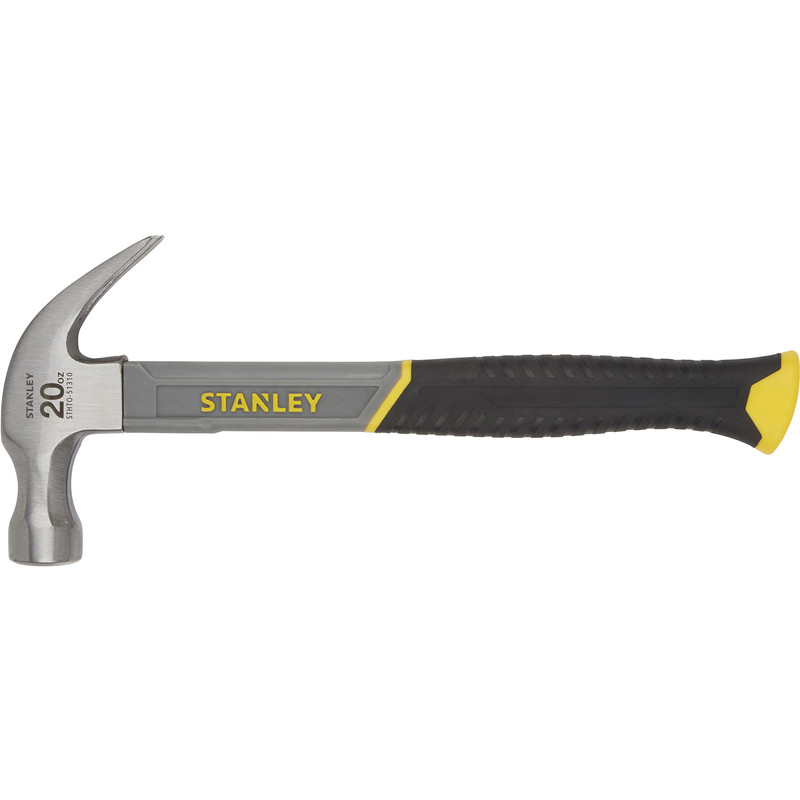
Essential Tools & Equipment

Step 1: Check and Prep the Door Frame
Start by inspecting the area around the door frame. Make sure the wall surface is even and free from debris, old nails, or glue that could affect how the architrave sits.
If you need to, give it a light sand to make sure the working surface is clean. Also check that the door lining (or casing) is level and square as uneven linings may affect the fit of your mitre joints later on.
Step 2: Take Measurements
Begin by measuring the height from the floor to where you want the top of the vertical architrave pieces (often called 'legs') to end. Then measure the width across the top of the door frame for the horizontal piece (called the 'head').
It can be helpful to add a small margin (typically anywhere from 4–6mm) between the inside edge of the architrave and the door frame, which gives it a neat look and allows for a bit of movement.
Step 3: Mark and Cut Your Mitre Joints
Most architrave is fitted with 45° mitre joints at the corners, so you'll need to cut the top ends of the two side pieces and both ends of the head piece accordingly.
Use a mitre saw to cut clean, accurate angles and be sure to double-check your measurements before cutting. The top piece should overlap both side legs, so cut and test-fit this piece before fixing anything.
Step 4: Dry Fit the Pieces
Before fixing anything in place, hold each piece up to the wall to check the fit. This is your chance to see how the mitres line up and whether any trimming is needed. If the walls or door frame aren’t perfectly square (which is common), you may need to make minor adjustments to get tight joints.
Step 5: Fix the Side Pieces First
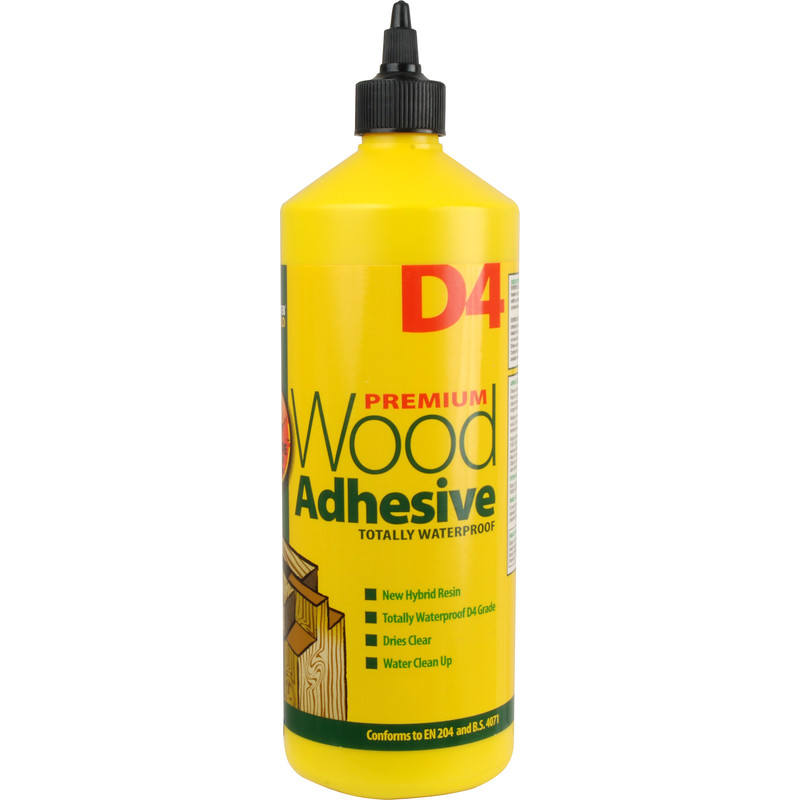
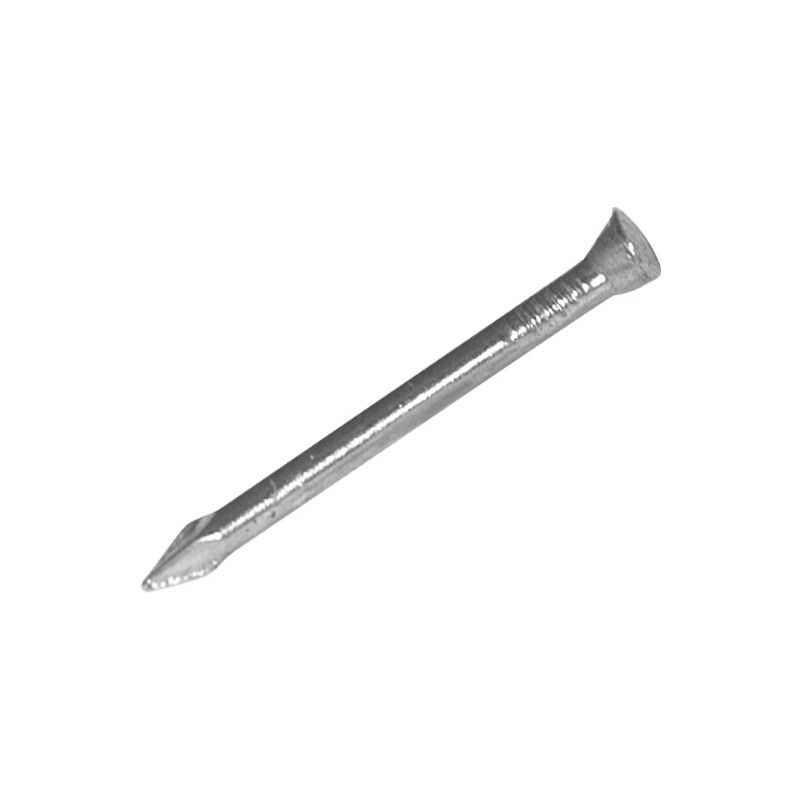
Apply a bead of wood adhesive to the back of one of the vertical pieces, then press it into place, keeping the inside edge at your marked margin. Use panel pins or a nail gun to secure it in place.
Tip: Drive nails in at a slight angle for better grip, and avoid nailing too close to the ends to prevent splitting. The repeat for the other side.
Step 6: Install the Head Piece
Next, apply adhesive to the back of the head piece and position it above the two side legs, lining up the mitre joints. Nail it in place in the same way as the legs.
Once fitted, check that the mitres are tight. Don't worry too much about small gaps, as these can be filled later, but the better the initial fit, the cleaner the finish.
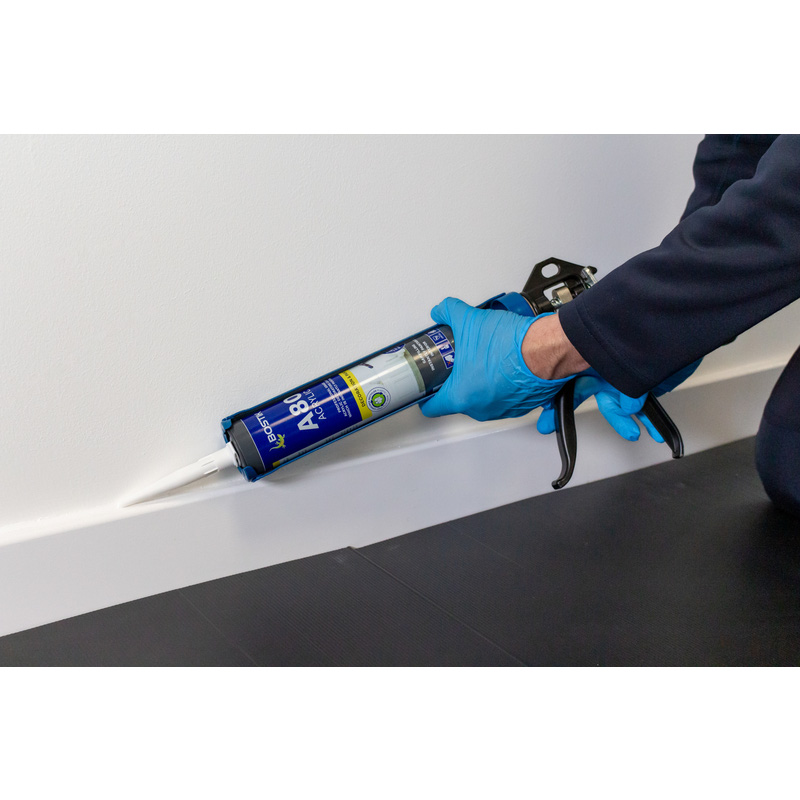
Step 7: Fill any Gaps, Sand and Finish
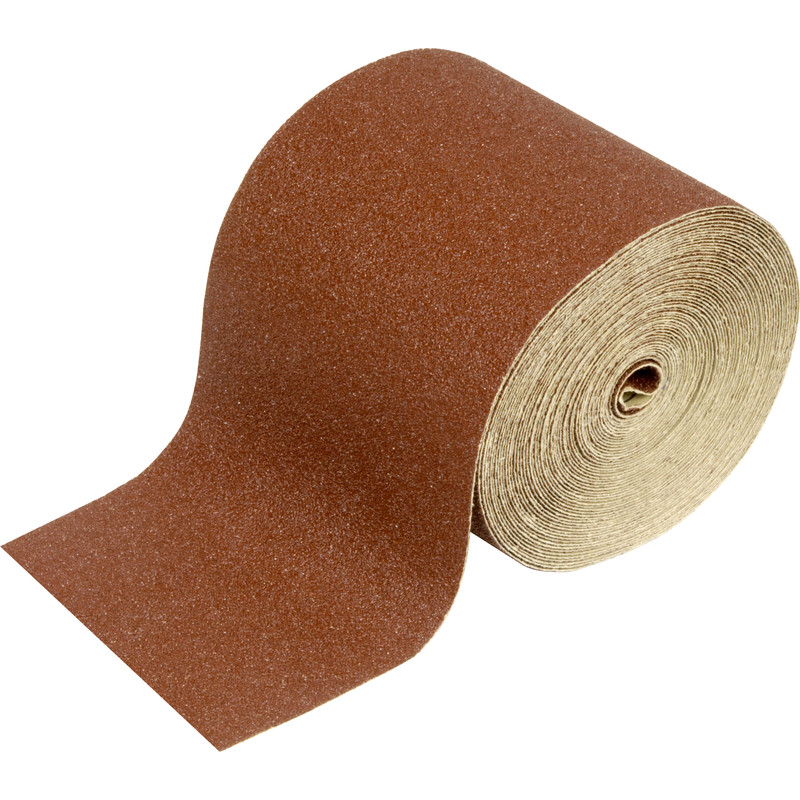
Once all the pieces are securely fixed, fill any visible nail holes and small gaps in the mitres with wood filler or decorator’s caulk. Allow the filler to dry fully, then sand the area smooth.
If you plan on painting the architrave, apply a primer first followed by your chosen topcoat. For a stained or varnished finish, make sure to sand thoroughly before applying your wood stain or clear coat.