- Help & Advice
- How To Guides
- How to Install a Splashback
How to Install a Splashback in 5 Easy Steps
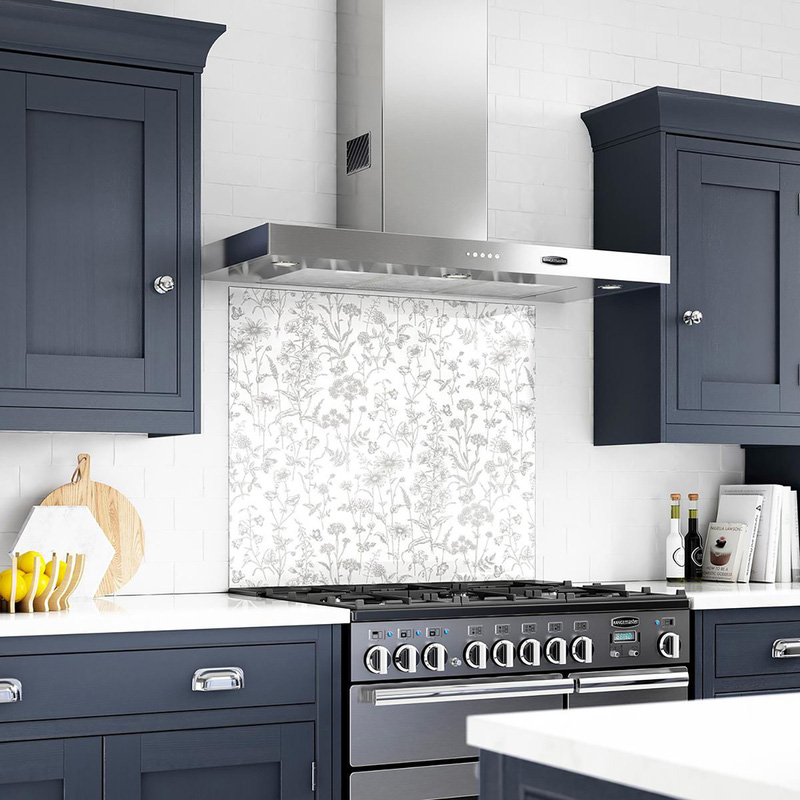
Pre-cut splashbacks are a great way to enhance the look of your kitchen or bathroom while providing protection for your walls against food splashes, water, grease, and heat from your hob. You’ll find they come in a range of different colours, materials, and sizes, so you have plenty of options to choose from, suiting both your style preferences and budget.
Whether you're replacing an old splashback or fitting one for the first time, this easy-to-follow guide takes you through everything you need to know, so you can install it yourself in next to no time.
Essential Tools & Equipment
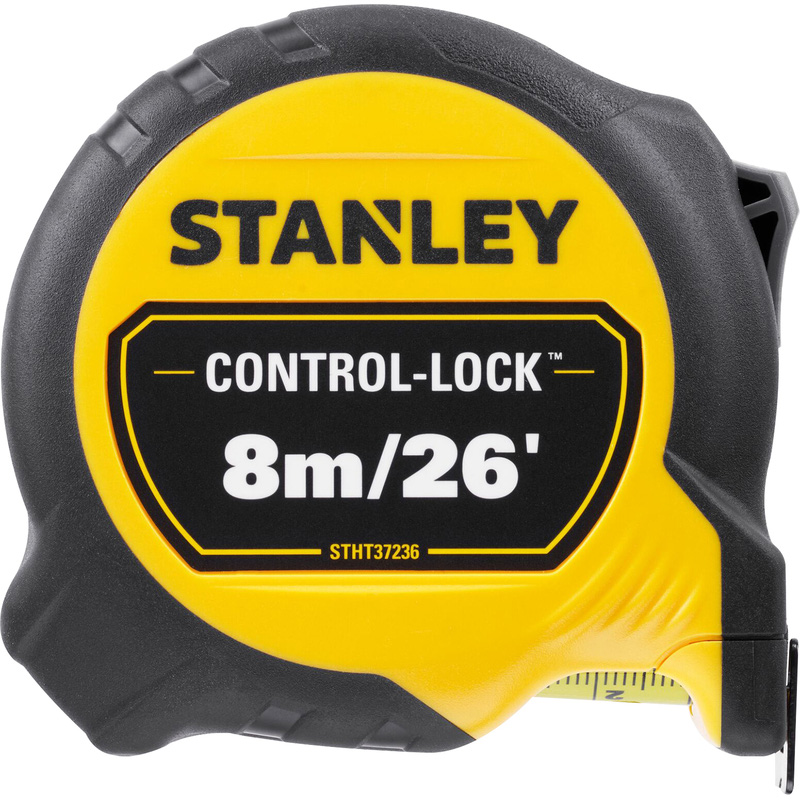
Step 1: Take Measurements for Best Fit
Once you’ve decided where your splashback will go, you’ll need to take some measurements. Measure the width of the wall where the splashback will be fitted. Do this at the bottom (along the worktop), in the middle, and at the top. Walls can taper or bow slightly, so take all three and use the smallest measurement to be safe.
Now measure the height from the top of the worktop up to where the splashback will end. This is likely to be under kitchen cabinets or an extractor hood. Again, check in a few spots in case the worktop or cabinets aren’t level and use the smallest height.
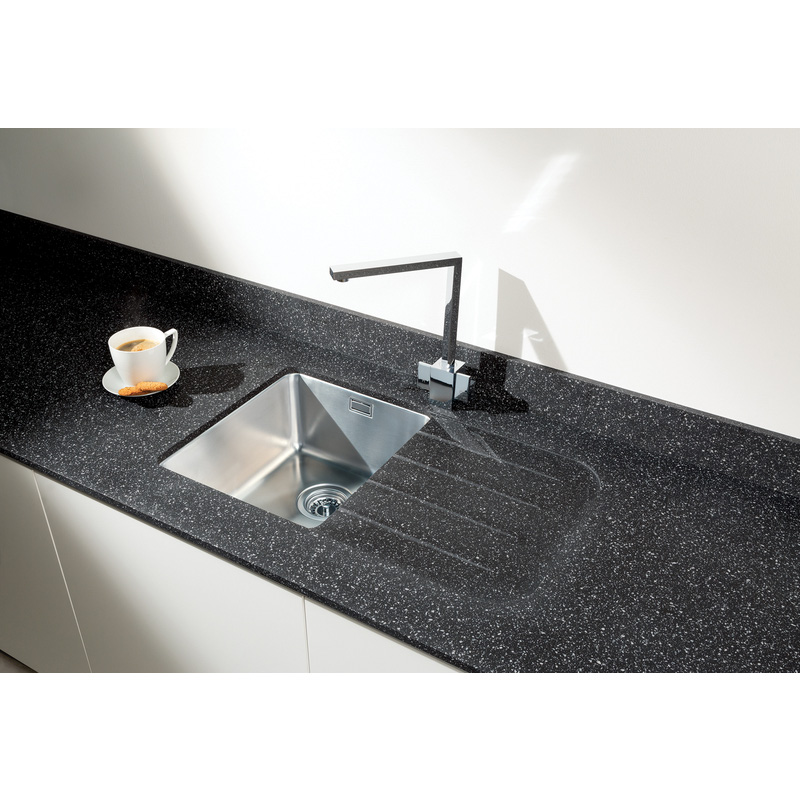
With the correct measurements, you can now purchase the correct size splashback to avoid any cutting, which would be very difficult in the case of those made from glass or metal. Many kitchen and bathroom splashbacks come in standard sizes, i.e., the same width as a typical hob or to suit common-sized bathroom sinks.
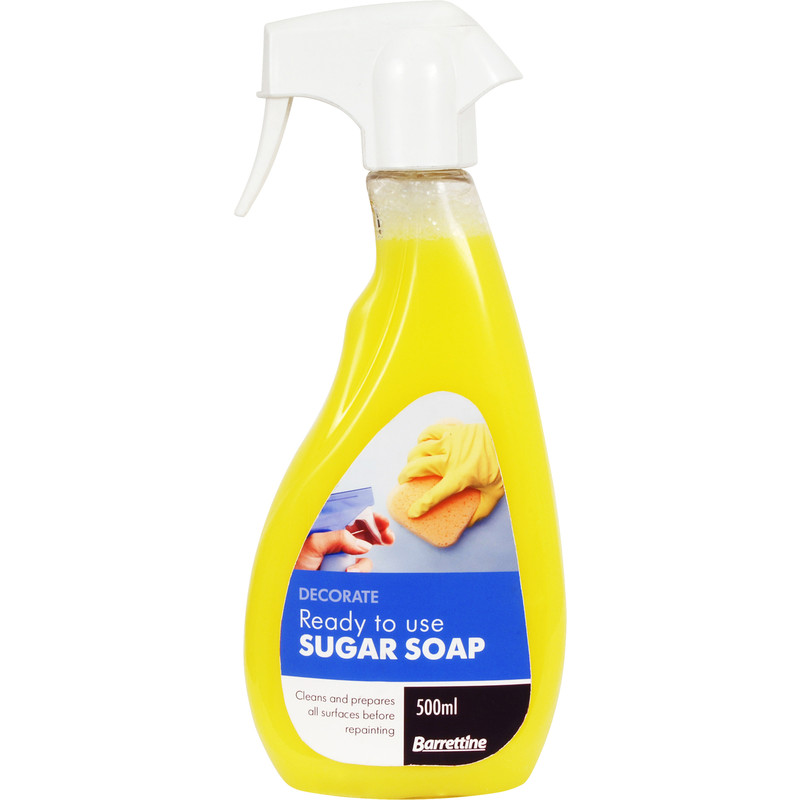
Step 2: Clean the Walls
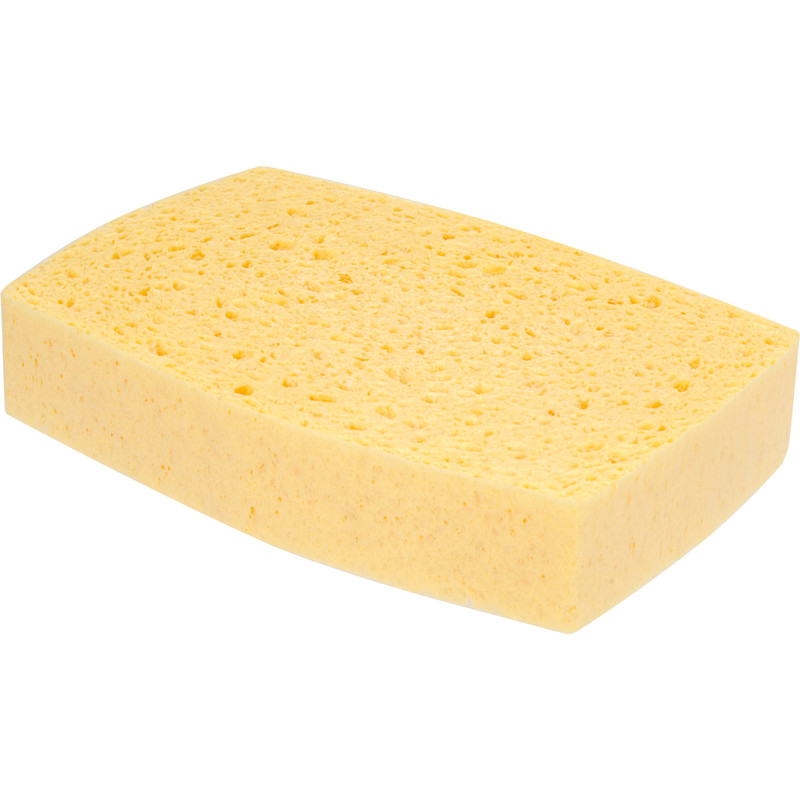
Next, give the wall a good clean with a sugar soap solution. This helps get rid of any grime and dirt from the surface to ensure that your splashback will adhere properly once fitted.
TIP: Don’t skip this step, especially if a splashback is being fitted in your kitchen. Over time, grease can build up, which isn’t always visible. If you go ahead without cleaning the wall first, you may find that the splashback doesn’t stick as well as it should.
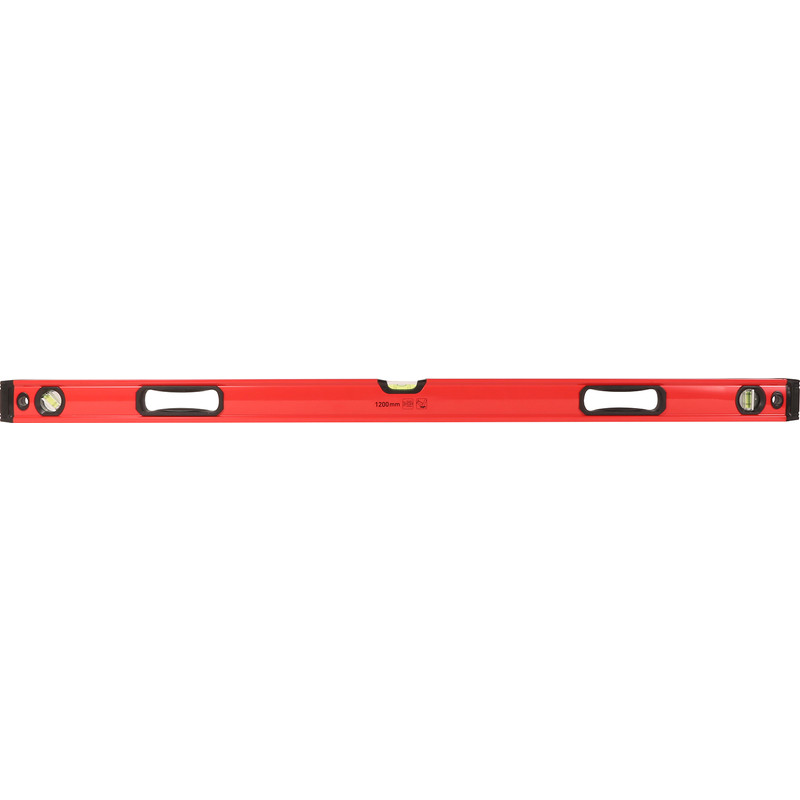
Step 3: Check the Wall is Flat and Level
A flat surface is really important when installing a splashback, as without it you could find that those made from glass are prone to cracking, while other materials, including steel and composite, simply don’t sit flush to the wall. This could result in a build-up of dirt and moisture, which may interfere with the bond, causing the splashback to become unstuck.
To check, take your spirit level and place it across the wall in a vertical position. Look along the length of the spirit level, checking for any gaps behind it. It’s a good idea to check at several different places as where areas may be flat, some could have inconsistencies. You could try shining a torch along the edge of the spirit level, looking to see if any light escapes from the opposite side. If you’re happy that the wall is flat and level, you can move on to step 4.
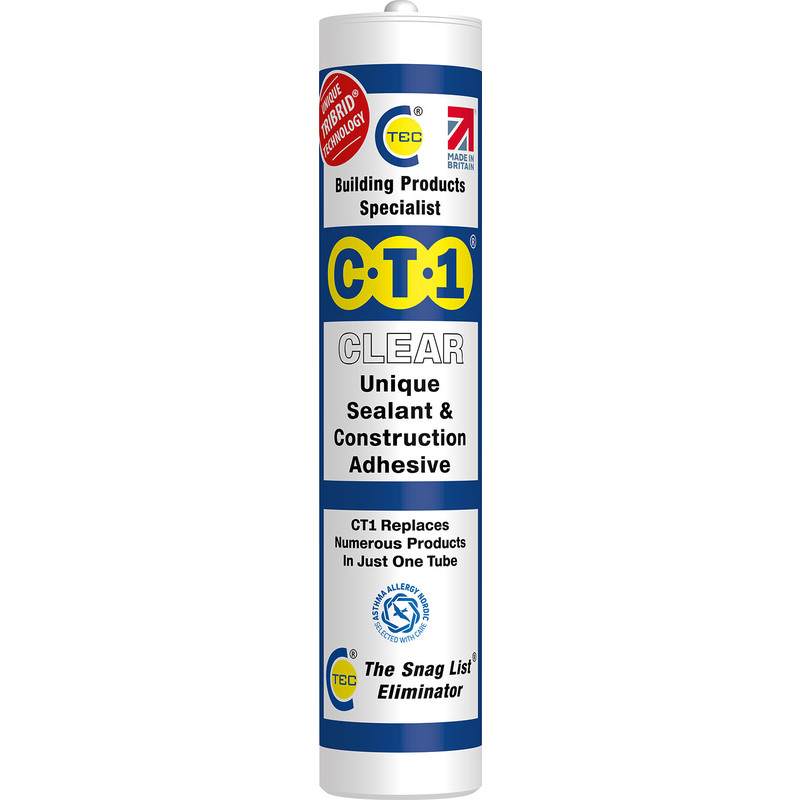
Step 4: Apply Clear Adhesive
Some pre-cut splashbacks are self-adhesive, in which case simply peel off the backing ready for sticking to the wall. Even if it's pre-glued, you’ll still want to apply plenty of adhesive for extra durability. Take your adhesive, ensure that it's one that will dry clear so you’re not left with any unsightly glue residue marks under materials such as glass. Apply a blob of adhesive in each corner and along each edge of the splashback. Then apply a few more to the centre of the panel.
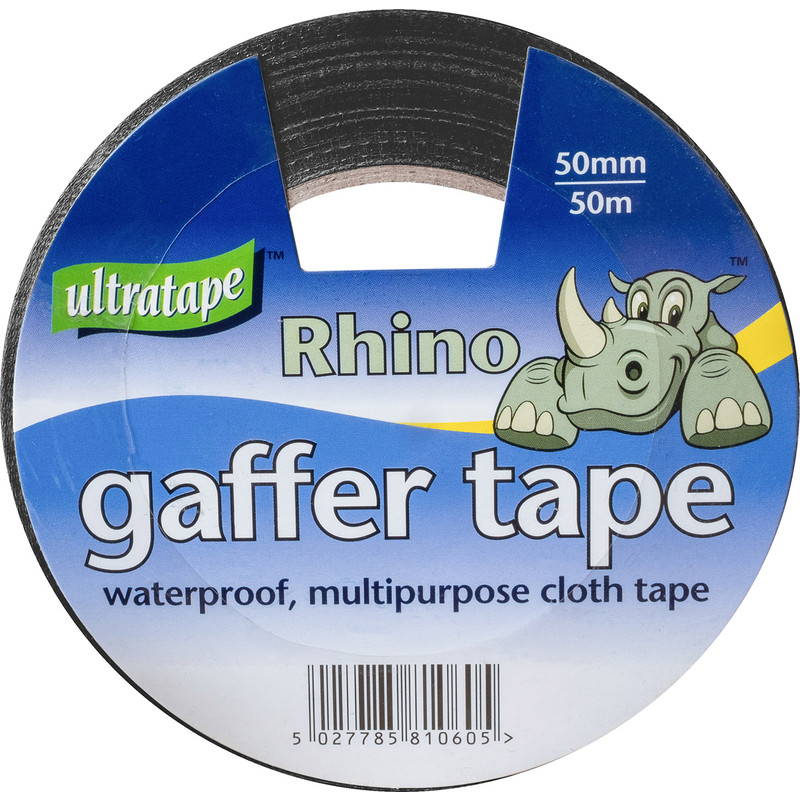
Step 5: Fit to the Wall
Now it’s time to lift it into place. If your panel is made from glass or steel, it could be quite heavy, in which case, ask someone for assistance. Start by laying it from the bottom so it’s at the rear of the sink or hob. Use your hands to apply firm pressure, pressing it against the wall. To hold the splashback in place while the adhesive cures, it’s a good idea to add some pieces of cloth tape in the corners for extra stability.