- Help & Advice
- How To Guides
- How to Fit a Kitchen Worktop
How to Fit a Kitchen Worktop
If your kitchen worktop is looking a bit tired and dated, it might be time to consider a replacement. In addition to other kitchen refresh ideas - such as painting the kitchen cupboards - installing a new worktop is a great way to transform the look and feel of your kitchen and create a focal point in your home.
While it can seem a bit daunting, if you’re adept at DIY and have the right tools to hand (along with our instructions), replacing your worktop is certainly a project you can take on yourself.
Keep reading, as this guide will take you through all the steps to help you fit a kitchen worktop that even a professional kitchen fitter would be proud of!
Tools You’ll Need to Fit a Kitchen Worktop
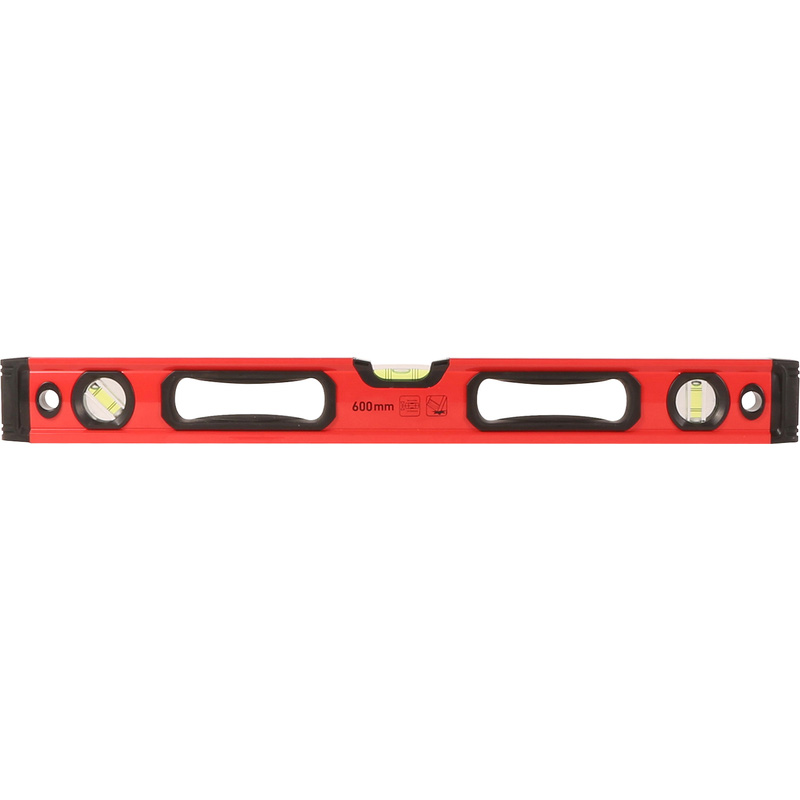
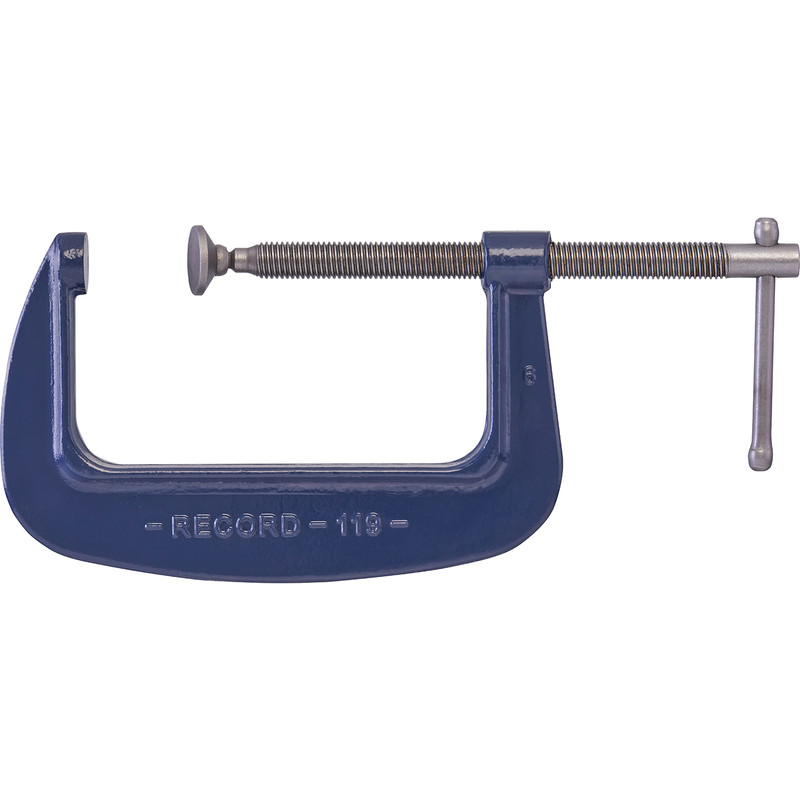
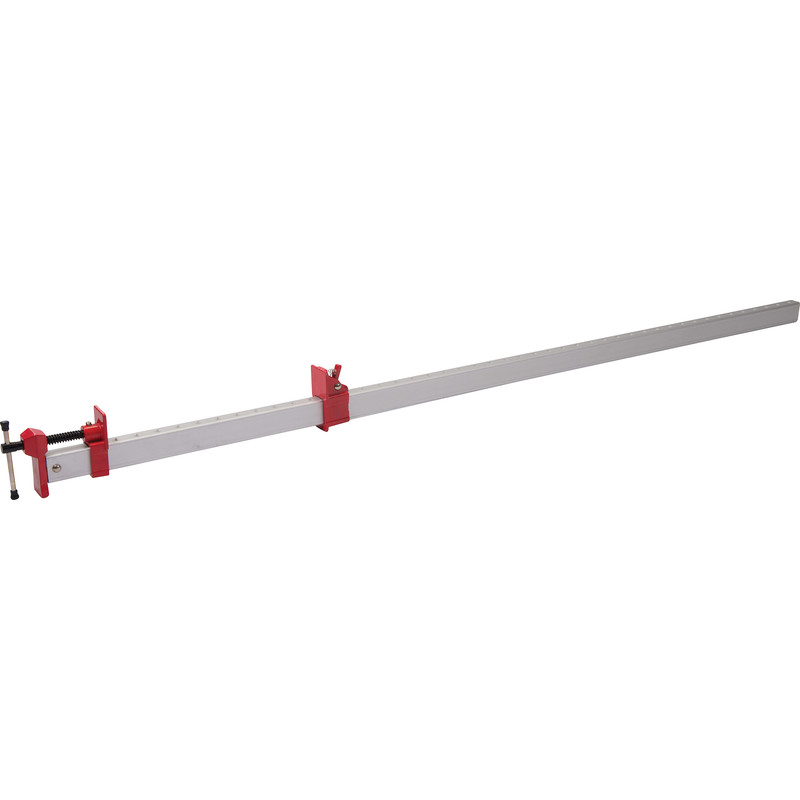
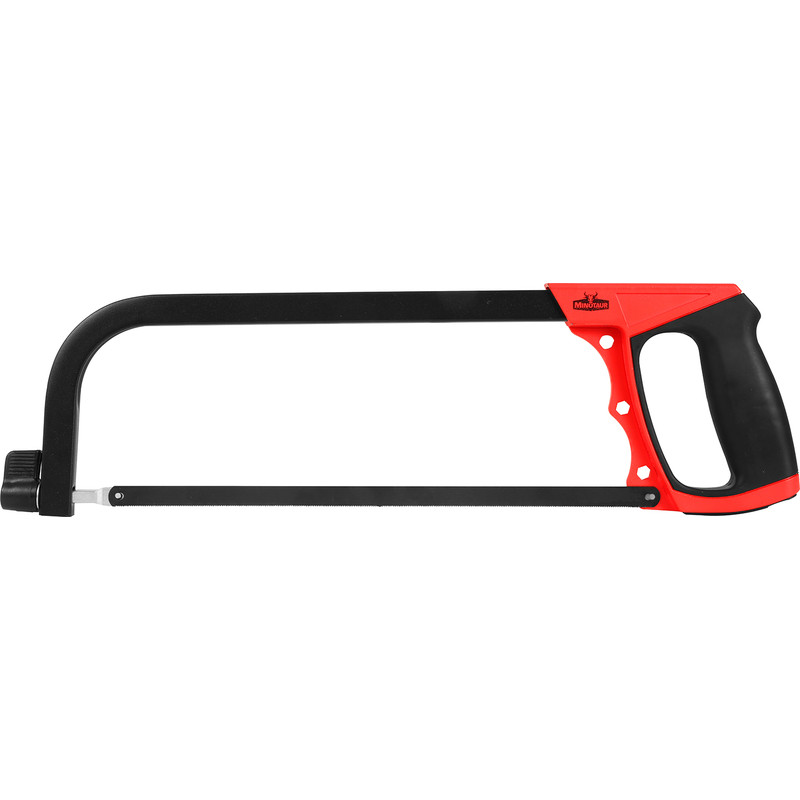
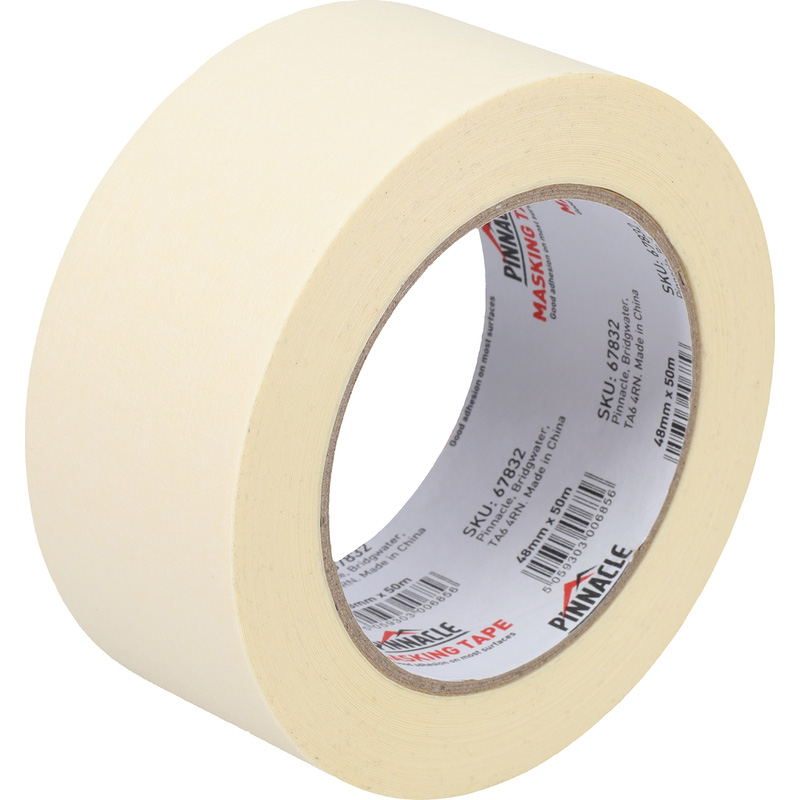
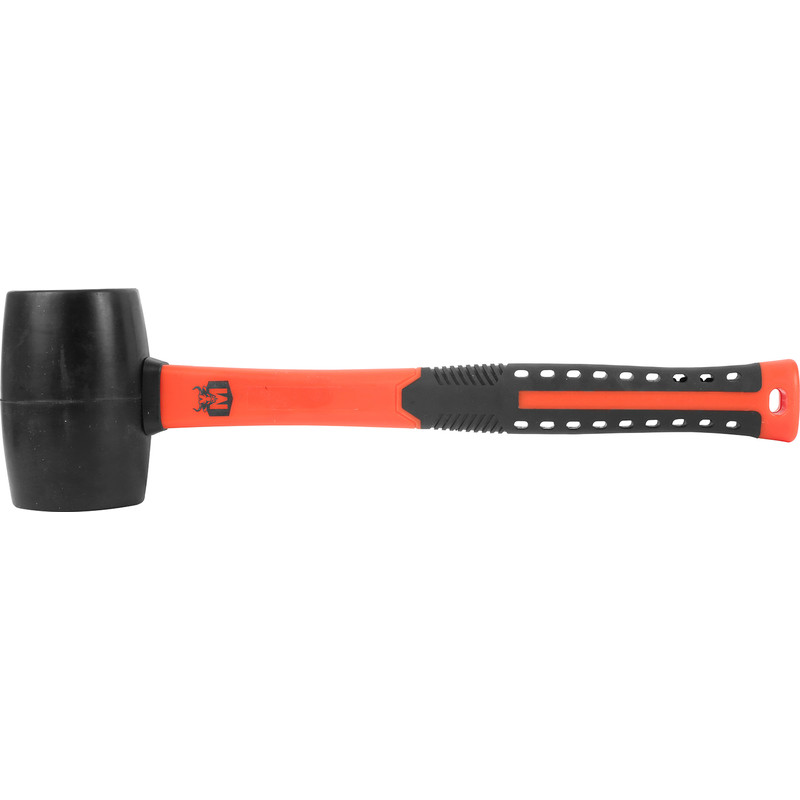
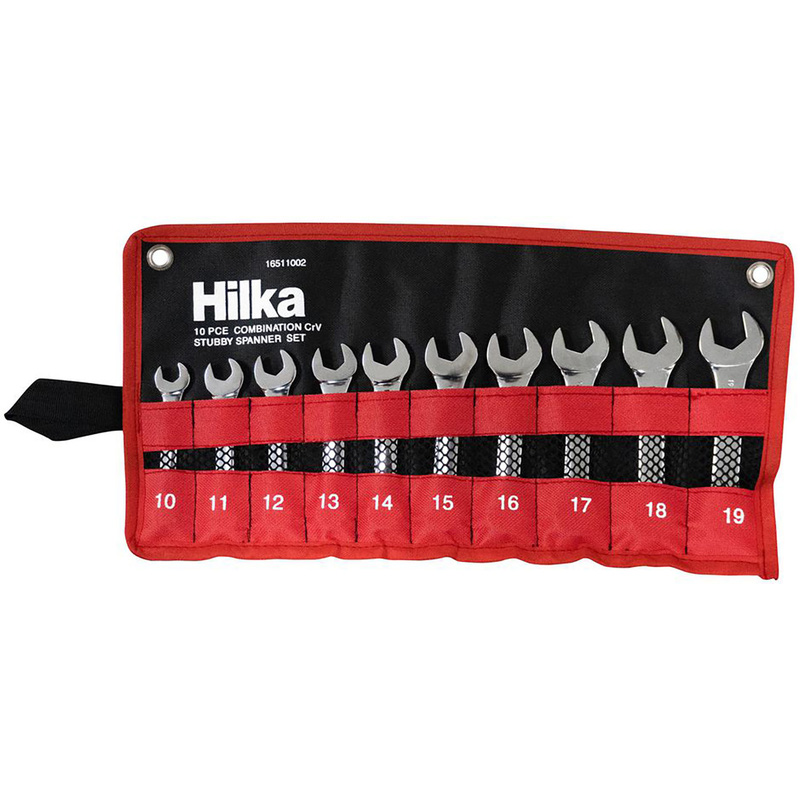
Before making a start, gather the following tools and materials. Keep in mind that there are different types of kitchen worktops, so always refer to the manufacturer’s instructions on installation and maintenance. Be sure to wear appropriate personal protective equipment, such as safety glasses and gloves.

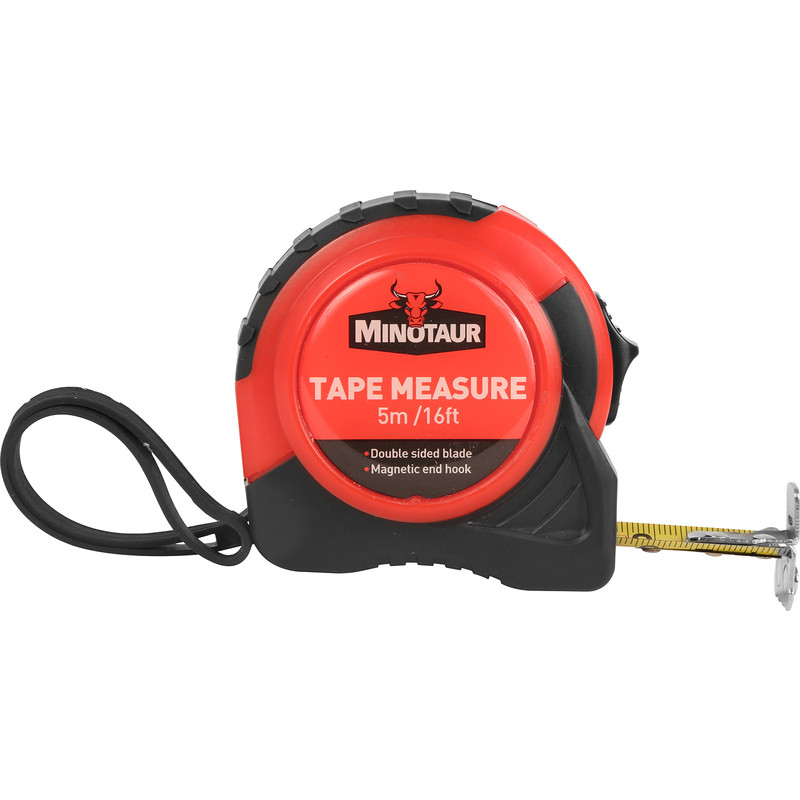


Step 1: Take Measurements
Often kitchen worktops are supplied ready-to-fit, saving you the job of cutting it to size. That said, whether you’re purchasing pre-cut worktops or cutting it yourself, you’ll need to take the correct measurements. Once you’ve taken the measurements, take them again…just to be sure! Here’s how to measure for your new kitchen worktop:
-
Start by measuring the length of your current worktops, taking the measurement from the back edge - the side that sits against the wall. Take into account any corners and measure each section separately.
-
Next, determine the depth by taking measurements from the front to the back of your worktop - it’s normal for worktops to overhang from the cabinet base by around 10-20mm (or around 30-40mm if you prefer a larger overhang), so be sure to include these measurements too.
-
If you have a kitchen island, simply measure both the length and width.
-
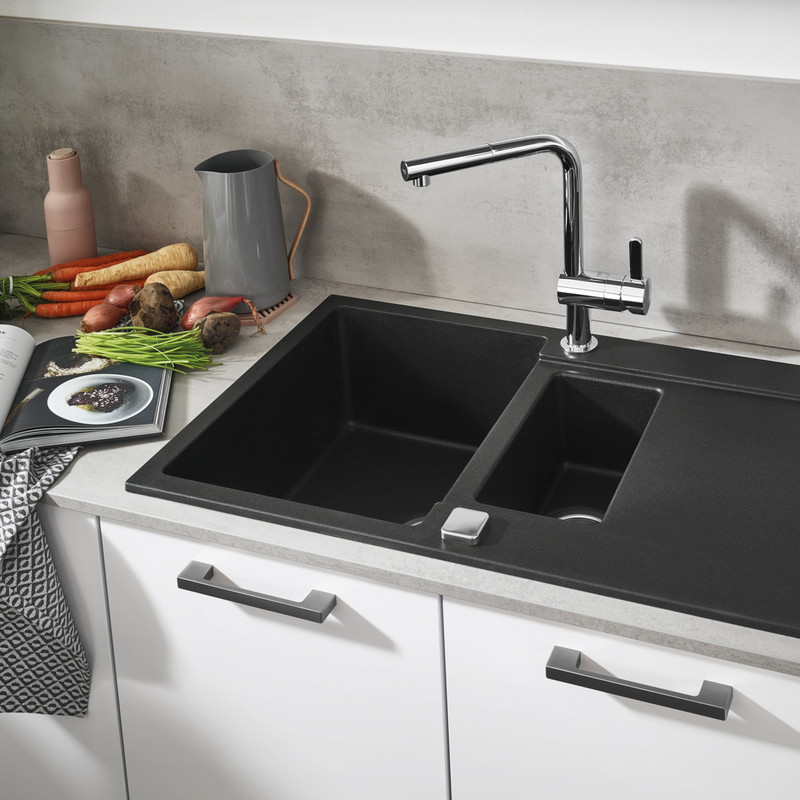
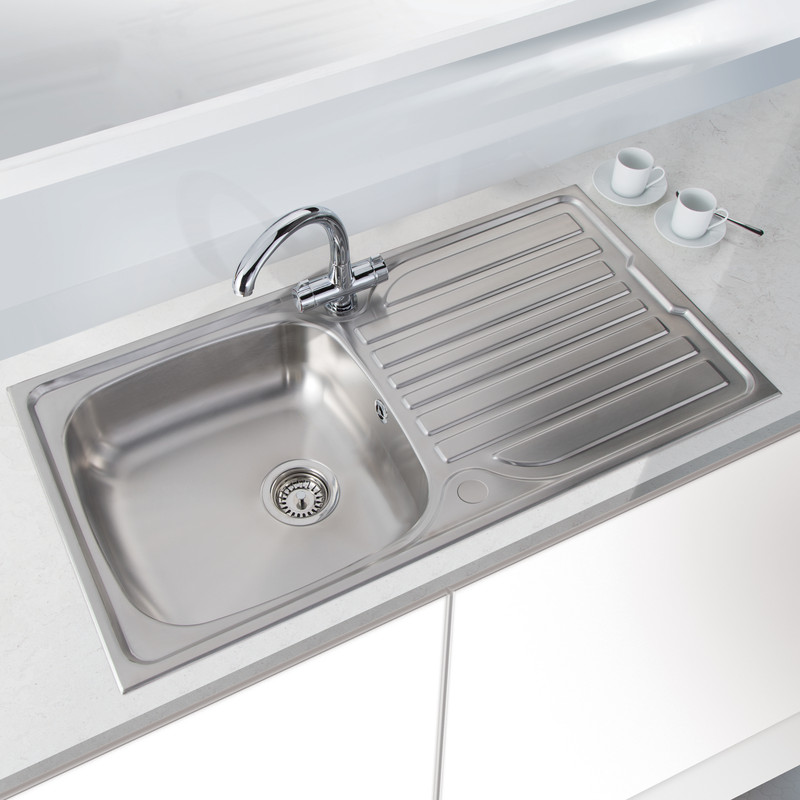
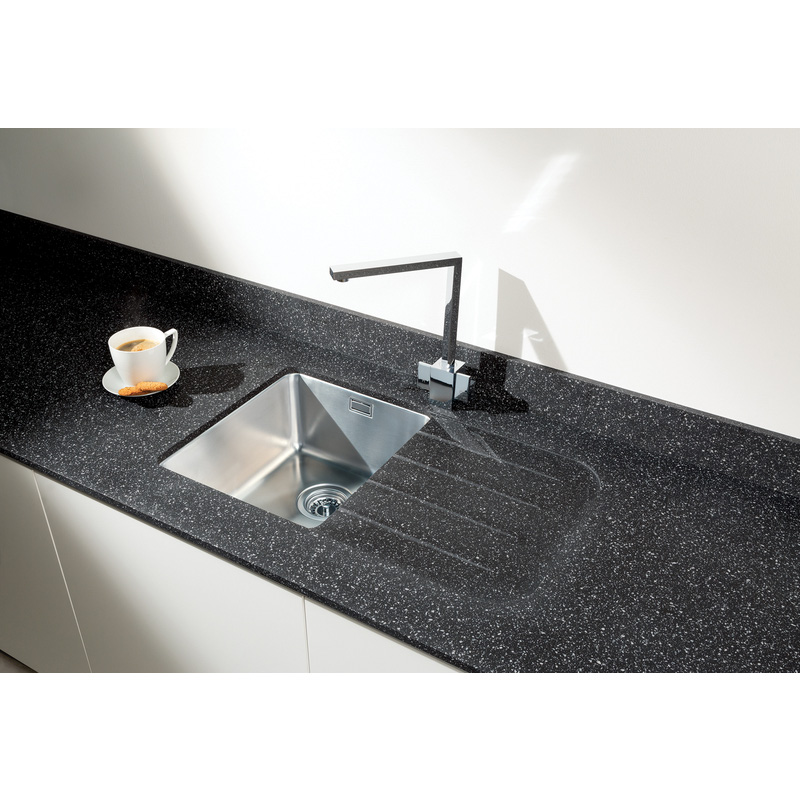
Finally, take measurements of any worktop cutouts, such as your kitchen sink and hob. For hob cutouts, ensure there's at least 50mm from the front edge and 60mm from the back edge of the worktop to the cutout. Always refer to appliance templates.
Crucial Planning Steps:
-
Ensure your kitchen cabinets are fully installed and perfectly level before proceeding. This is vital for a flat worktop.
-
Plan your worktop joint positioning carefully. Joints should ideally be placed over a cabinet carcass for support, and at least 100mm away from any sink or hob cutouts to prevent water ingress and provide structural integrity.
-
Consider expansion gaps: For materials like solid wood, leave a small expansion gap (e.g., 2-3mm) where the worktop meets a wall or vertical surface, which can later be covered by silicone sealant or upstands.
-
Allow worktops to acclimatise to room temperature and humidity for at least 24-48 hours before cutting or fitting, especially solid wood. Store them flat on battens, not directly on the floor.
Step 2: Cut the Worktop to Size
For the absolute best fit, it’s really important to ensure cuts are straight and level. When cutting, aim to work on the sides that haven't been factory cut. Factory-cut edges are typically very precise, so it's a good idea to use these ends where the edges will be most visible.
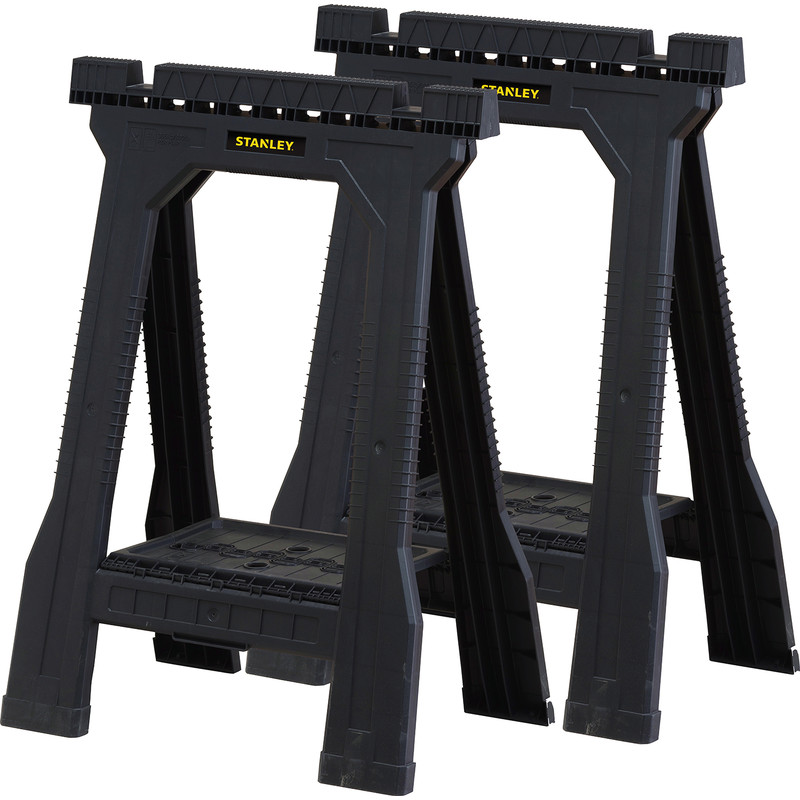
You’ll need to mount your worktop pieces onto a trestle or stable work horse; this will provide you with stability, but make sure it’s clamped to prevent any wobble, which could result in shoddy cuts. You could try cutting with some scrap material to get the hang of it before moving onto the worktop.
-
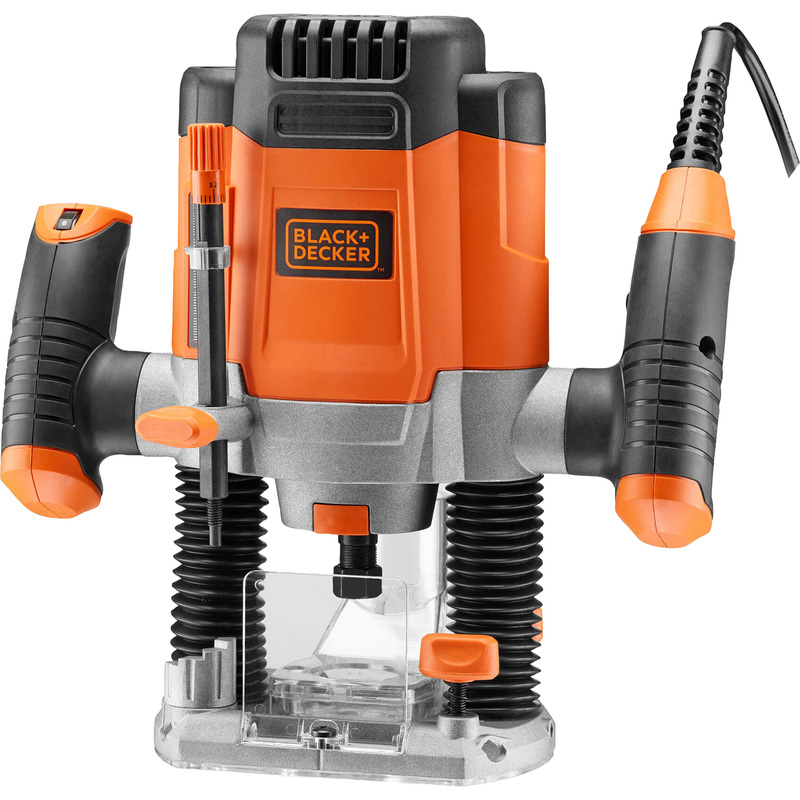
For long, straight cuts: Use a circular saw with a fine-tooth blade. To prevent chipping, especially on laminate worktops, cut from the underside (decorative side down). For very precise cuts, a power router with a straight edge guide can be used to finish the edge.
-
For cutting holes for the kitchen sink and hob (cutouts): Utilise your jigsaw. Pre-drill a 10mm hole at each corner of your marked cutout before using the jigsaw to prevent over-cutting. Cut from the decorative side down to minimise chipping.
-
Sandpaper any rough edges for a smooth finish.
-
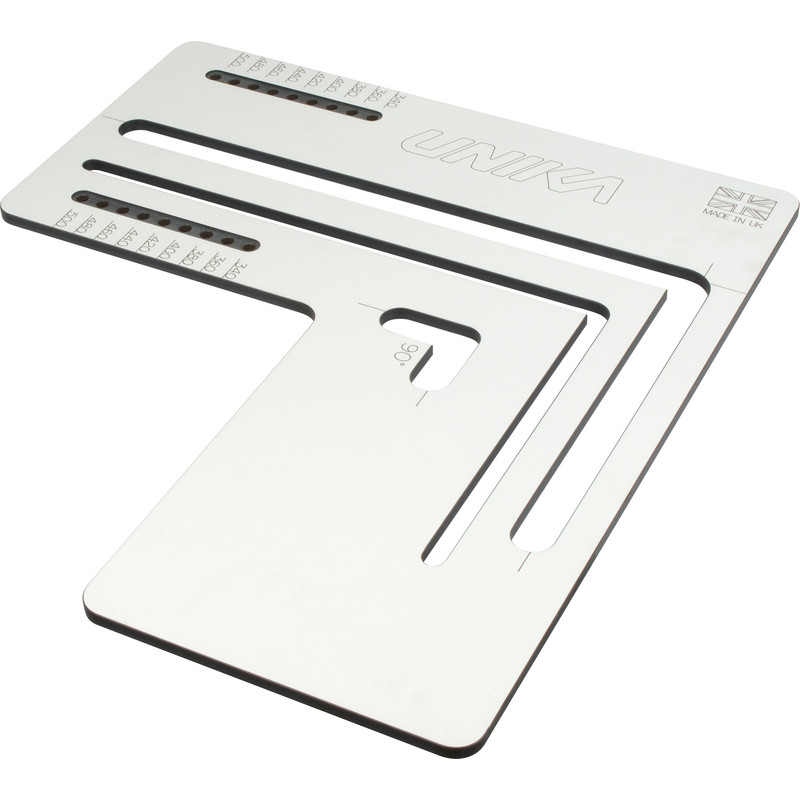
If you need to create corner joints (e.g., if you have an L-shaped kitchen), a worktop jig and router are essential for creating precise Mason's Mitre joints or Butt Joints. This will also allow you to route out recesses for worktop tie bolts.
-
If your worktop has already been cut to size, you can skip this step.
Step 3: Lay the Worktop and Join the Edges
With the worktop cut to size, it’s now time to lay each section so that they rest on the base units. The worktop sections will now need joining together - this helps to block any gaps and creates a seamless finish.
The most common and robust method for joining two or more kitchen worktops together, especially at a 90-degree corner, is using a Mason's Mitre joint secured with worktop tie bolts.
-
If you've cut a Mason's Mitre or Butt Joint using a jig and router, ensure the surfaces are clean.
-
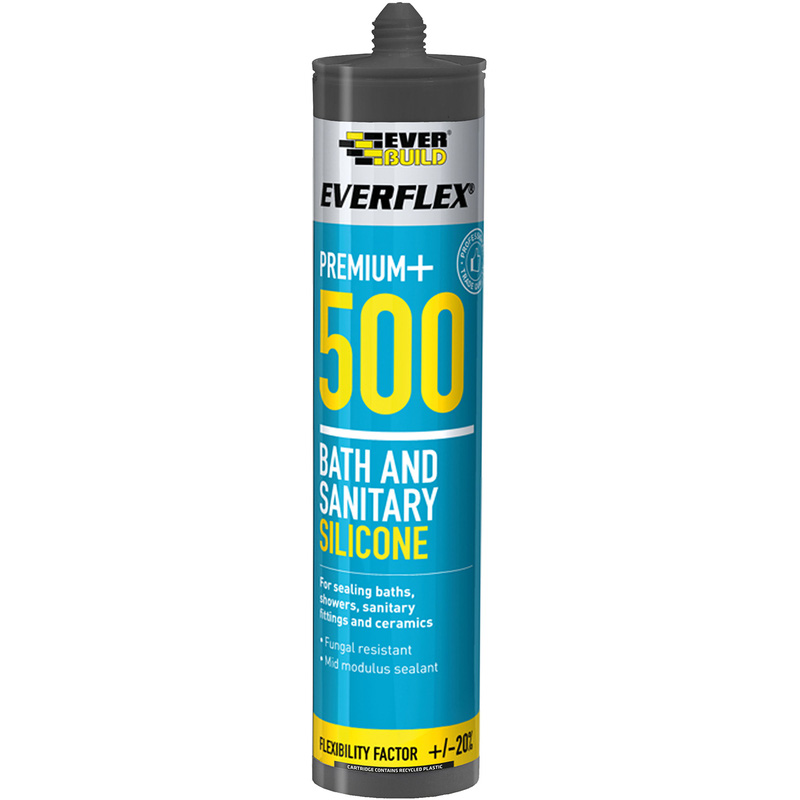
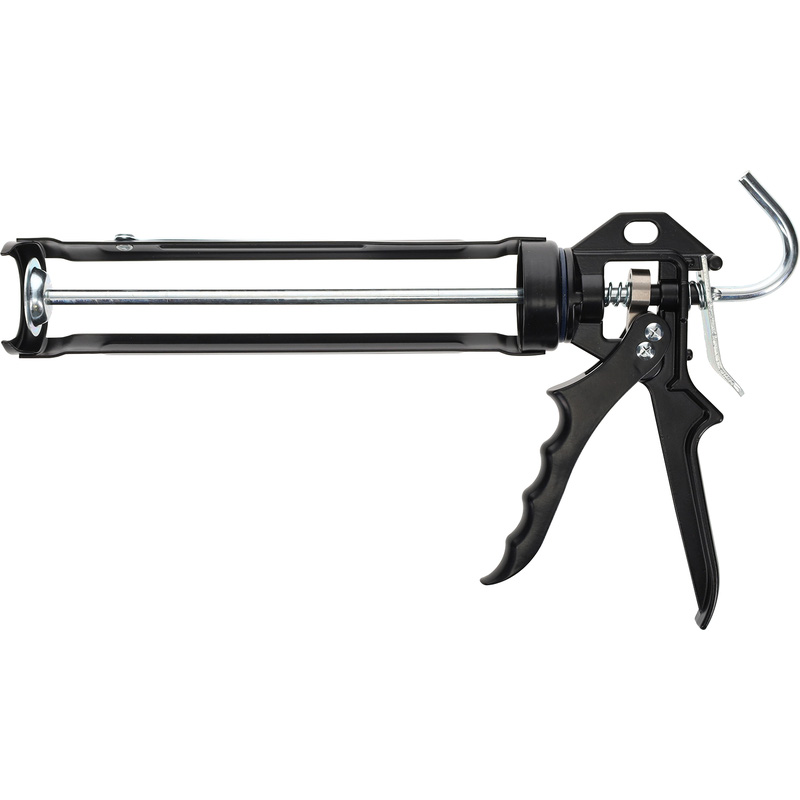
Apply a suitable worktop joint sealant, such as a colour-matched Worktop Joint Sealant, or a clear 2-part epoxy resin, along the cut edges of the joint. This is important for waterproofing.
-
Carefully bring the two sections of worktop together, ensuring the joint aligns perfectly.
-
From underneath the worktop, insert the worktop tie bolts into the routed recesses. Tighten these with a spanner, alternating between bolts to pull the joint together evenly and securely. Take care not to overtighten.
-
For straight joins, or if you are using joining strips/trims (less common for seamless finishes): Using a hacksaw, cut the joining strip to the same width as the worktop. Cut as many pieces as required, depending on the number of sections that need joining together. Use wood screws and fix the joining strips to either end of the largest piece of worktop. For extra hold, apply some silicone sealant along the length of the joining strips. Next, position the adjoining section of the worktop into the joining strip so that it aligns.
-
From the top of the worktop, check to ensure the joint is level and seamless. If any excess sealant has escaped, wipe it away immediately with a damp cloth.
Step 4: Fix the Worktop to the Base Units
With the new worktop in position, it now needs securing in place. You’ll need to drill some holes on the underside of the worktop. Before that, take a couple of clamps and use these to secure the base units and worktop together; this prevents any movement while you’re drilling.
-
Drill three holes in both the front and back supports of each base unit. Make sure your drill bit is set to the correct depth using a drill stop, so you don’t accidentally drill through the worktop. This could be a costly mistake.
-
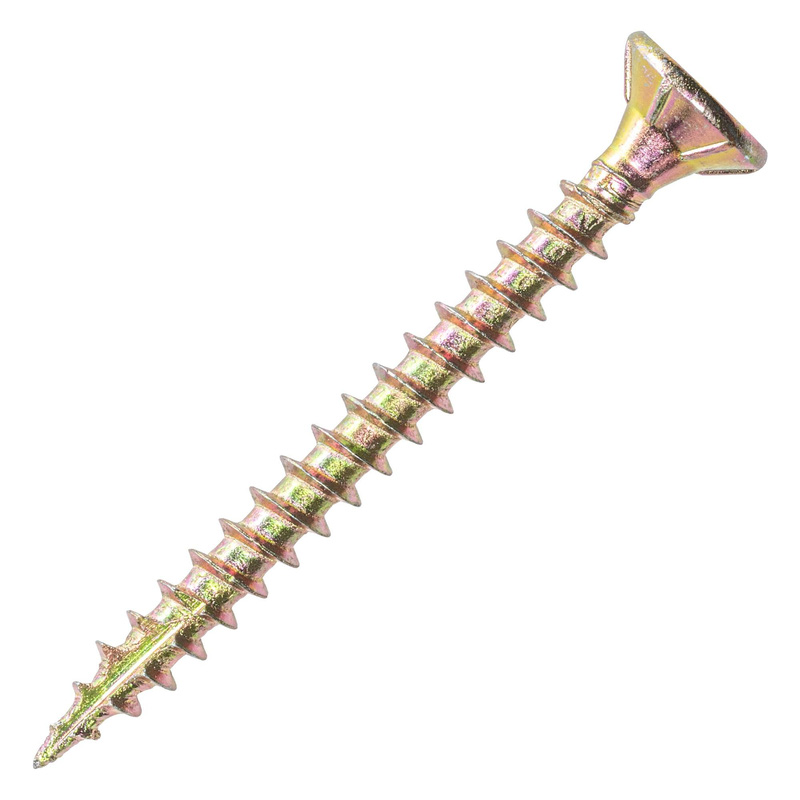
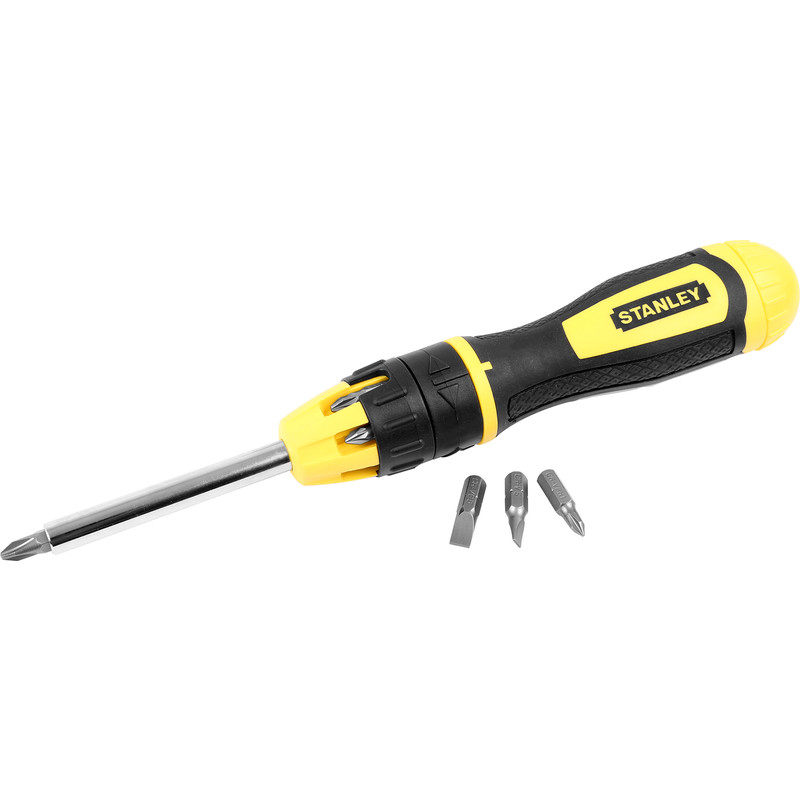
Take some 5mm diameter wood screws and screw upwards from the base units into the worktop. Use a manual screwdriver or set your drill to a low torque to prevent over-tightening, which can strip the screw or damage the worktop.
-
Above appliances like dishwashers or washing machines, consider fitting a protective moisture barrier (vapour shield) to the underside of the worktop.
Step 5: Finish Off the Cut Ends
The final touches involve covering up the exposed ends of the worktop and thoroughly sealing all vulnerable areas.
-
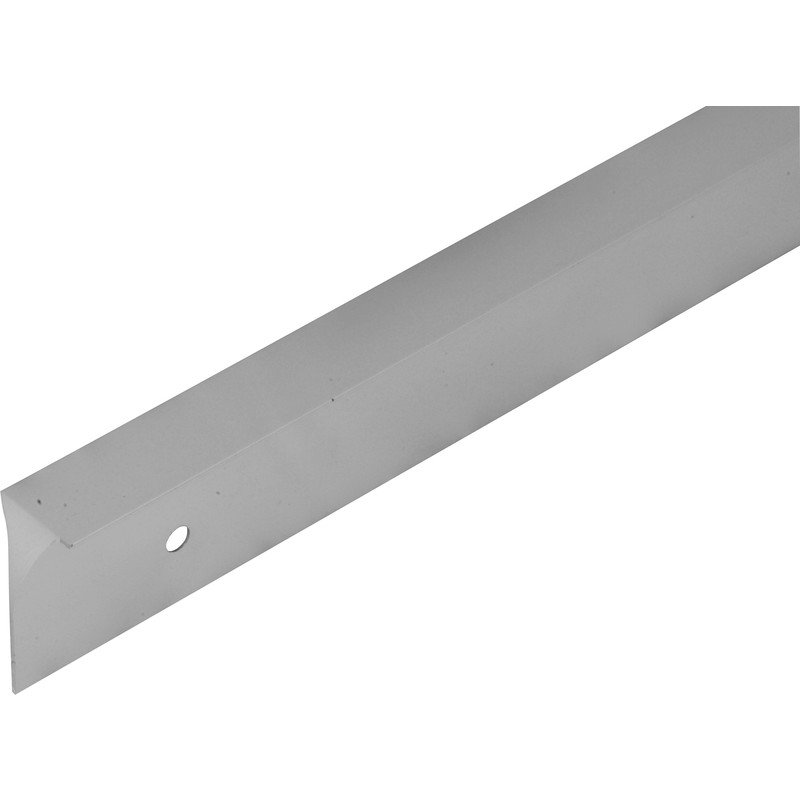
Edging Strips: Use the supplied edging strips. Use masking tape to hold it flush against the end and, with a pencil, draw a line around the worktop edge to create a template for cutting. Carefully cut around the edges (a craft knife or sharp scissors can be used). Apply contact adhesive to both the strip and the worktop edge, following the adhesive manufacturer's instructions. Press the strip firmly into place. If there are any rough edges, smooth them out with sandpaper or a laminate trimmer, taking care not to damage the worktop surface.
-
Sealing:
-
Worktop to Wall: Apply a bead of mould-resistant silicone sealant along the joint where the worktop meets the wall. Smooth the bead with a wet finger or a sealant smoothing tool for a neat, waterproof finish. This seals the worktop to the wall and prevents water ingress.
-
Around Sinks and Hobs: Apply a continuous bead of silicone sealant around the edges of all sink and hob cutouts before dropping the appliances into place. This is critical for preventing water from seeping into the worktop, potentially causing swelling or damage.
-
Any Visible Gaps or Exposed Edges: Apply silicone sealant to any other areas where water could penetrate, such as around taps, or any small gaps that may be present.
-