- Help & Advice
- How To Guides
- How to Fit Guttering to a Shed
How to Fit a Guttering to a Shed
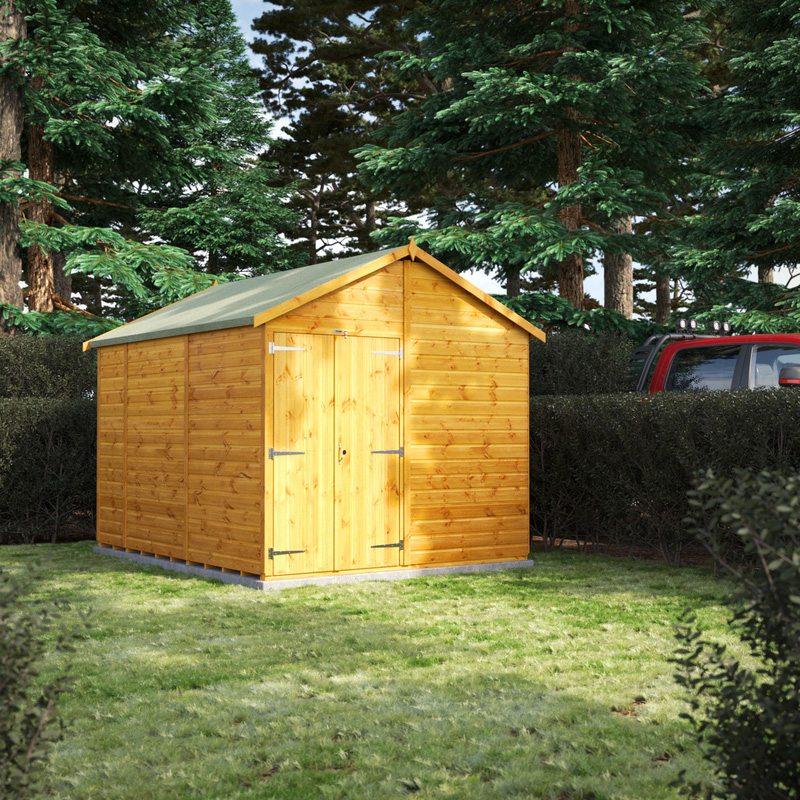
The upkeep of your garden shed is important, whether it's felting the roof or adding some insulation, looking after it adds to its life while keeping it looking great, and this includes shed guttering.
Living in the UK, we can always expect plenty of rain and while this is great for the health of our gardens, it can be detrimental to a wooden shed. Over time, rainwater can cause the base of your shed to suffer from rot and decay which could lead to costly repairs, or you may have to purchase a new one!
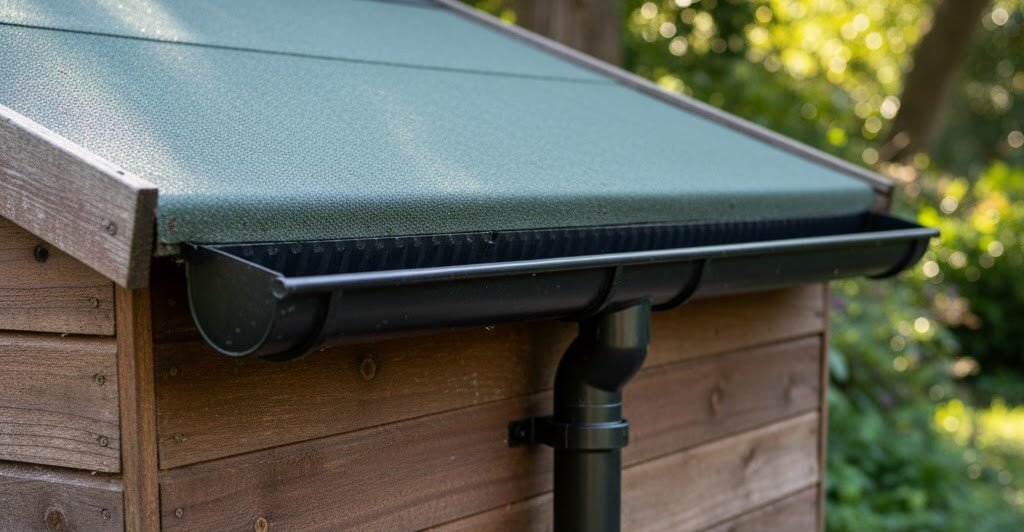
However, the good news is that by fitting guttering you can protect the foundations and base of your shed while gathering rainwater for your lawn and plants for the drier months. In this article, we’ll run through some easy-to-follow steps to help you fit guttering to your sheds. Whether you’re a seasoned DIYer or a complete beginner, you’ll soon have an effective system in place to keep your shed dry and make the most of all that British rain!
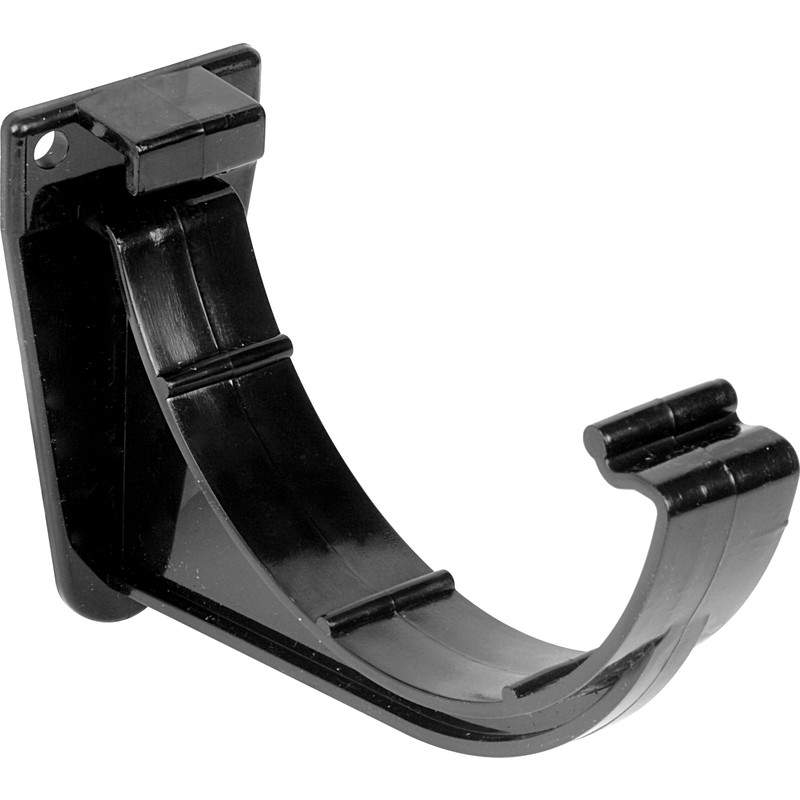
What You'll Need

Step 1: Remove Old Guttering
If your shed already has old or damaged guttering, start by carefully removing it. Detach any downpipes first, then unclip or unscrew the fixings that hold the gutter sections in place. Take care not to damage the fascia board, as this is where you’ll be attaching your new brackets later.
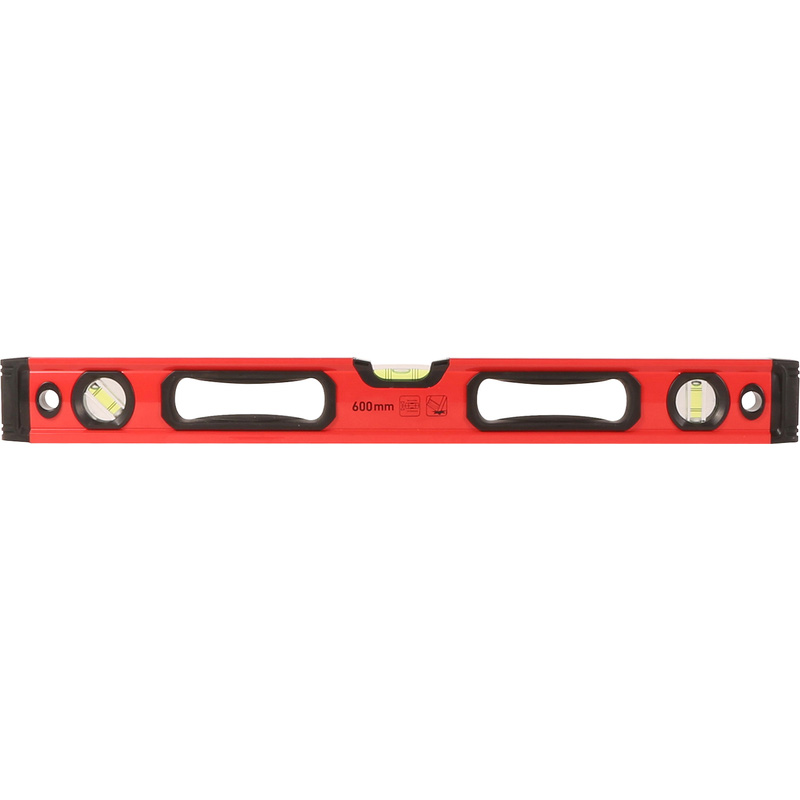
Step 2: Check if the Shed is Level
Using a spirit level, check along the fascia board just beneath the roof edge. This will help you determine the direction of the water flow for effective drainage. If you want the water to run from right to left, fit the brackets slightly higher on the right-hand side and lower on the left. If you’d prefer it to run the other way, simply reverse this.fascia and lower at the left end.
If it’s the other way around, then simply reverse how you would fit the guttering. The difference in height between each bracket should be around ½ inch or so, this will ensure water can run off effectively without pooling in the guttering.
Step 3: Fix the Brackets
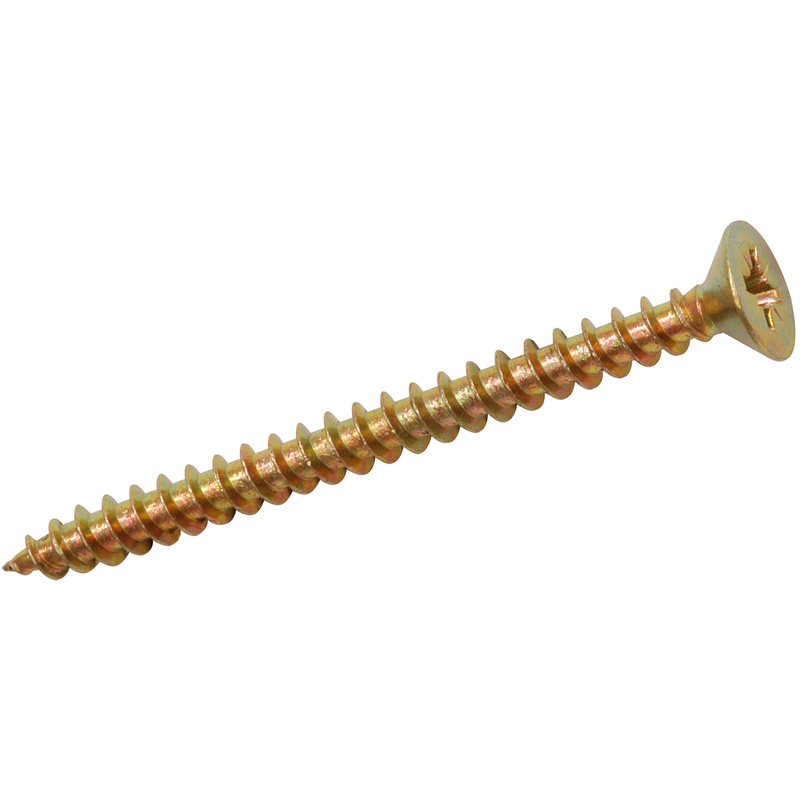
Start at the end where the bracket will be positioned at the highest point. Measure around 1.5 inches (4 cm) in from the end of the fascia so the guttering can overhang slightly once fitted. Most gutter brackets come with pre-drilled holes, so use a combi drill to secure the first bracket firmly in place.
With that done, fix the bracket at the opposite end of the fascia but this time, position it roughly ½ inch (1–1.5 cm) lower than the first. This creates the gentle fall needed for rainwater to flow effectively towards the outlet.
Step 4: Determine Height of Additional Brackets
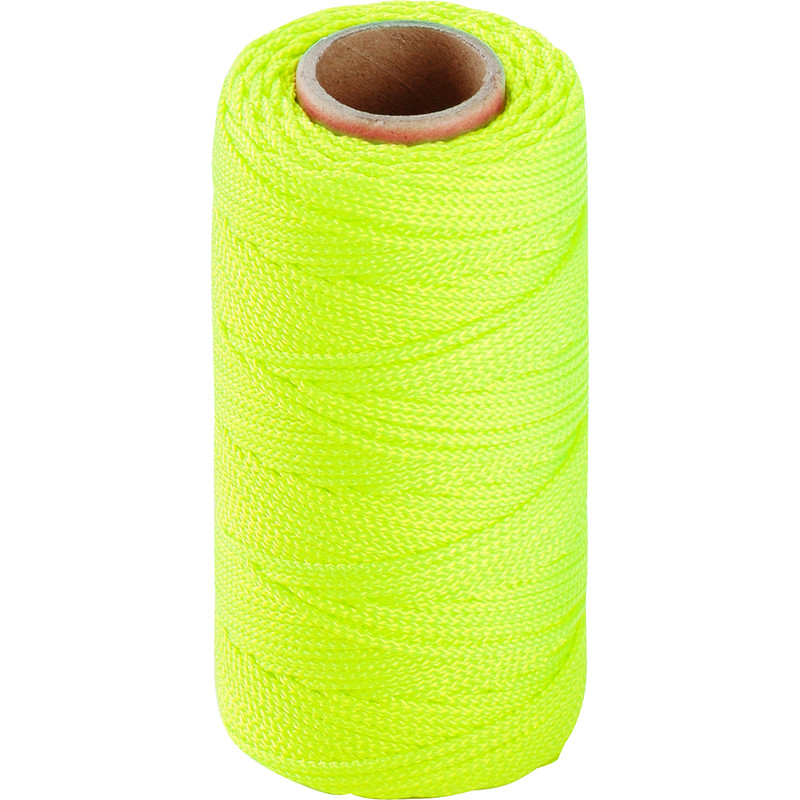
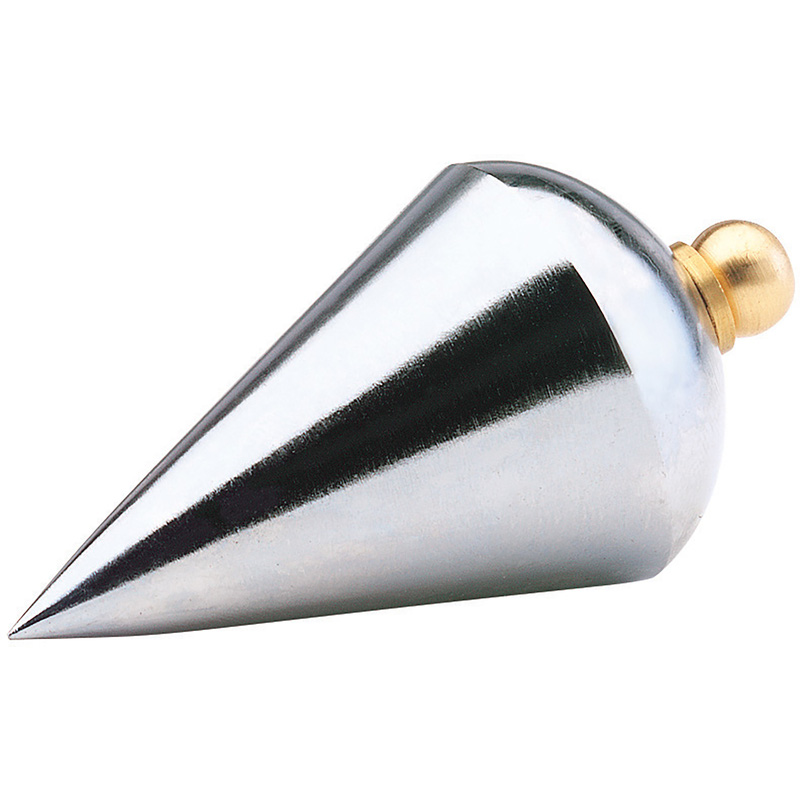
Attach a plumb bob to a plumb line and hook the line over the lowest bracket, ensuring the plumb bob hangs freely. Run the line across to the higher bracket at the opposite end and tie it securely. This line will act as a visual guide when fitting the remaining brackets, ensuring they follow the correct slope for water runoff.
Step 5: Fit Remaining Brackets
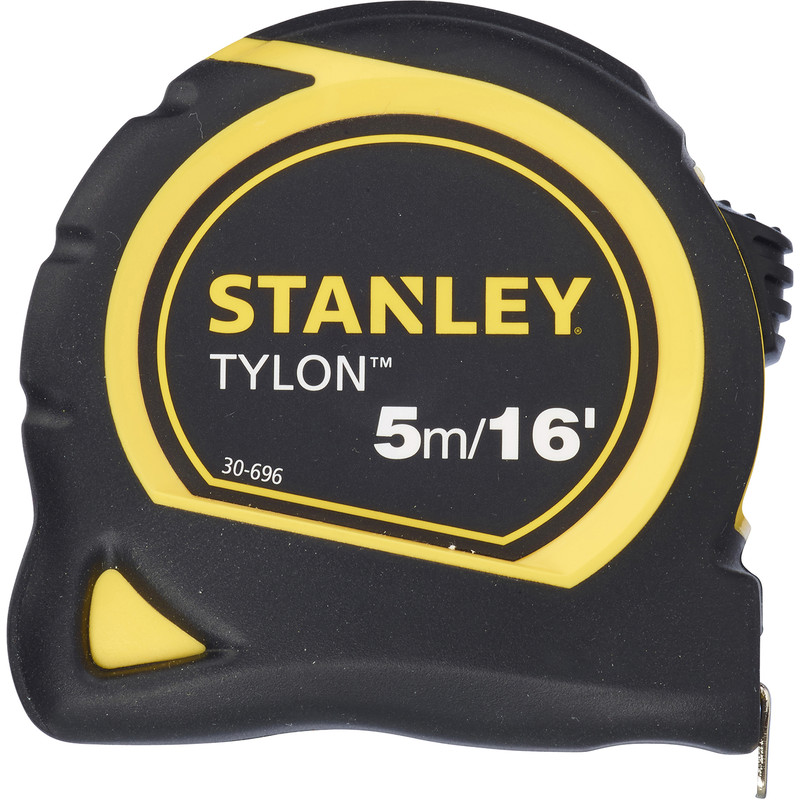
To support the guttering properly, brackets should be spaced no more than 1 metre apart. Measure the total length of the fascia to calculate how many brackets you’ll need. For example, a 4-metre length would typically require four brackets in total - two at either end and two evenly spaced in between.
As you fit each bracket, ensure the plumb line rests neatly in the groove of the bracket. This confirms that all brackets are aligned correctly and that the guttering will sit properly once installed. After all brackets are fitted, you can remove the plumb line.
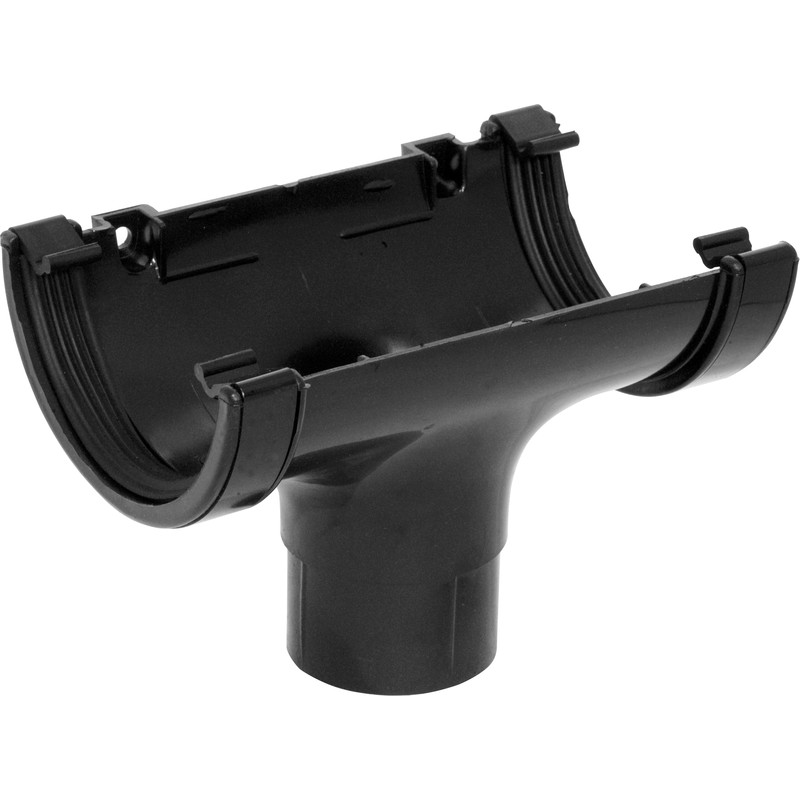
Step 6: Fit the Running Outlet
The running outlet has screw holes along one edge, allowing it to be fixed securely to the fascia. Position it a couple of inches in from the lowest bracket, this ensures that the outlet is supported and stable.
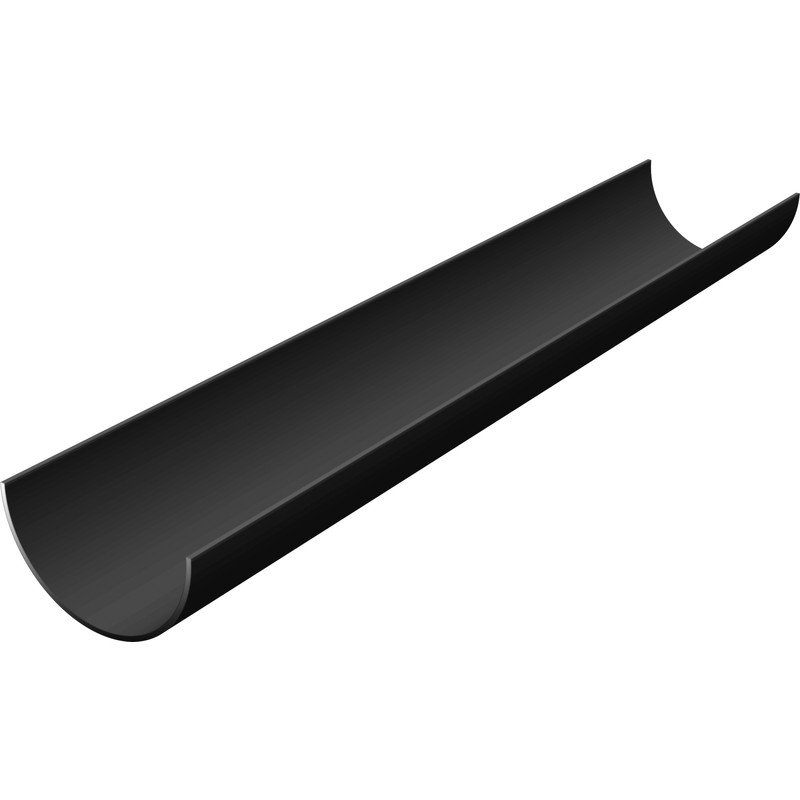
Cut a short piece of half-round guttering to fit between the running outlet and the nearest end bracket. Clip this section into the outlet so it locks firmly into place. Next, attach an end stop to the open end of the running outlet. Finally, drill a few pilot holes and screw the outlet assembly to the fascia.
Step 7: Fit the Remaining Half Round Guttering
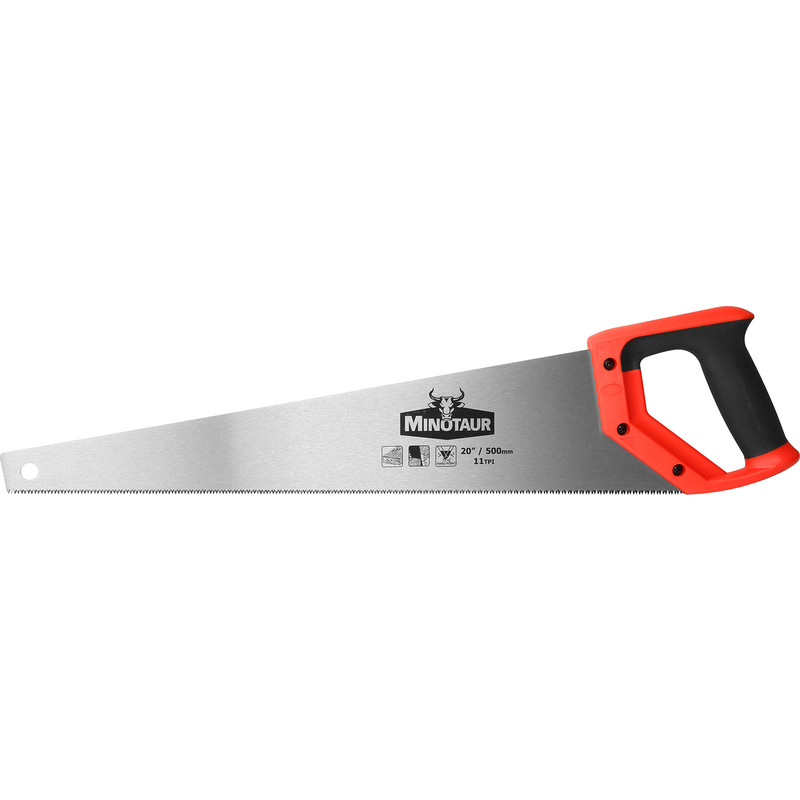
Measure the distance from the end of the fascia (not the bracket) to the lug on the piece you’ve just installed. Cut your next length of half-round guttering to size using a hand saw. Drop this section into the brackets and clip it into place to form a snug, watertight fit. Continue along the shed until all sections are installed and secured.
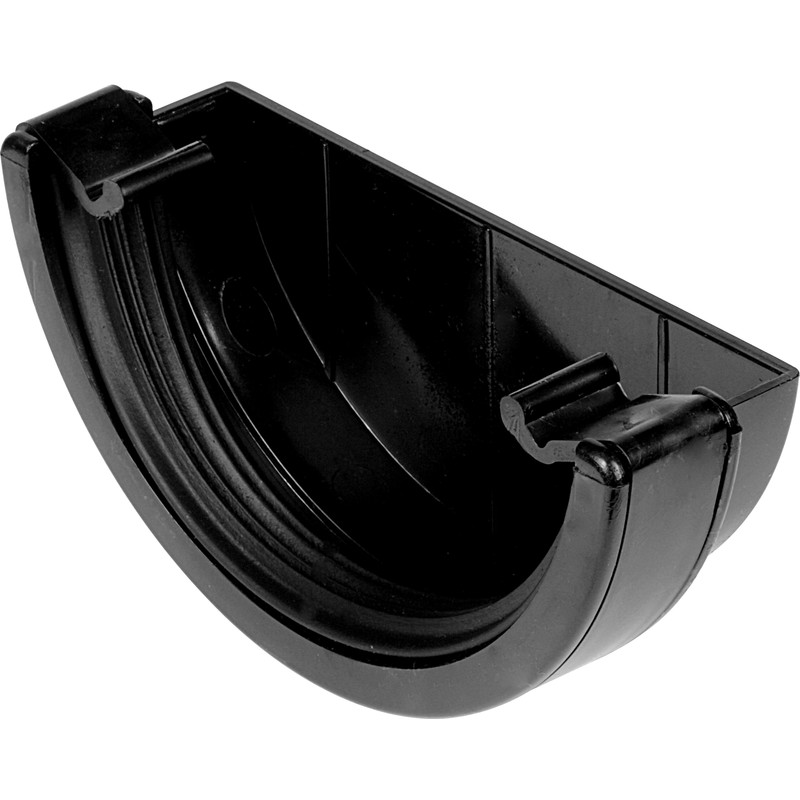
Step 8: Fit the Stop End
To complete the installation, seal off the open end of the guttering at the highest point. Take the remaining external stop end and clip it securely into place. Make sure it fits snugly to prevent any leaks and give your guttering a neat, finished look.
And that’s it - your shed guttering is now fitted and ready to handle whatever the British weather throws at it! Not only will it help protect the base and walls of your shed from rot and water damage, but it’s also a great way to collect free rainwater for your garden. With just a few tools and a bit of time, you’ve added a simple but effective upgrade that will keep your shed in great condition for years to come.