- Help & Advice
- How To Guides
- How To Build A Wooden Shed
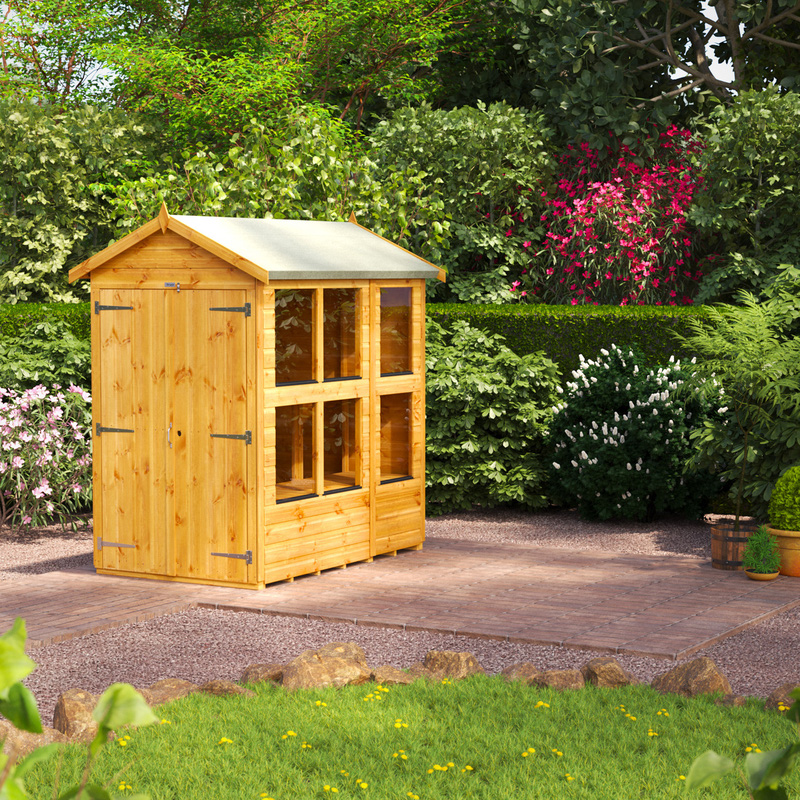
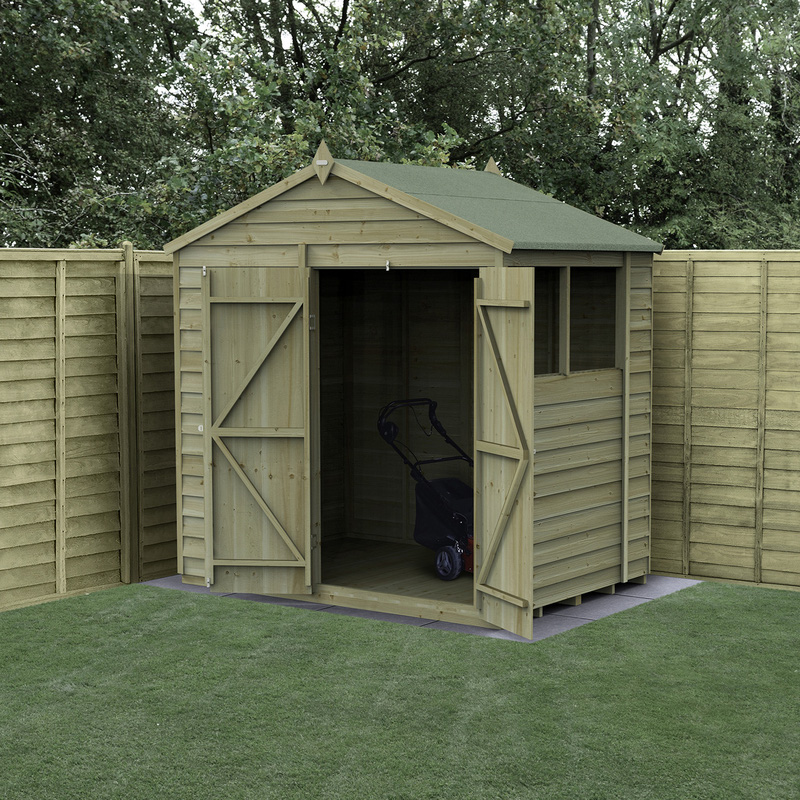
How To Build A Wooden Shed
Building a shed from scratch might seem like a daunting task and one that’s best left for professionals or avid DIYers, but with the right tools and know-how, it’s a project that many can tackle.
Whether you need extra storage for things like gardening tools or outdoor equipment, or you’re looking for some workshop space, constructing your own shed allows you to customise it to fit your exact needs.
In this guide, we’ll take you through all the steps - from planning, to framing, roofing, and finishing - so you can build a sturdy, reliable wooden shed that will last for years to come.
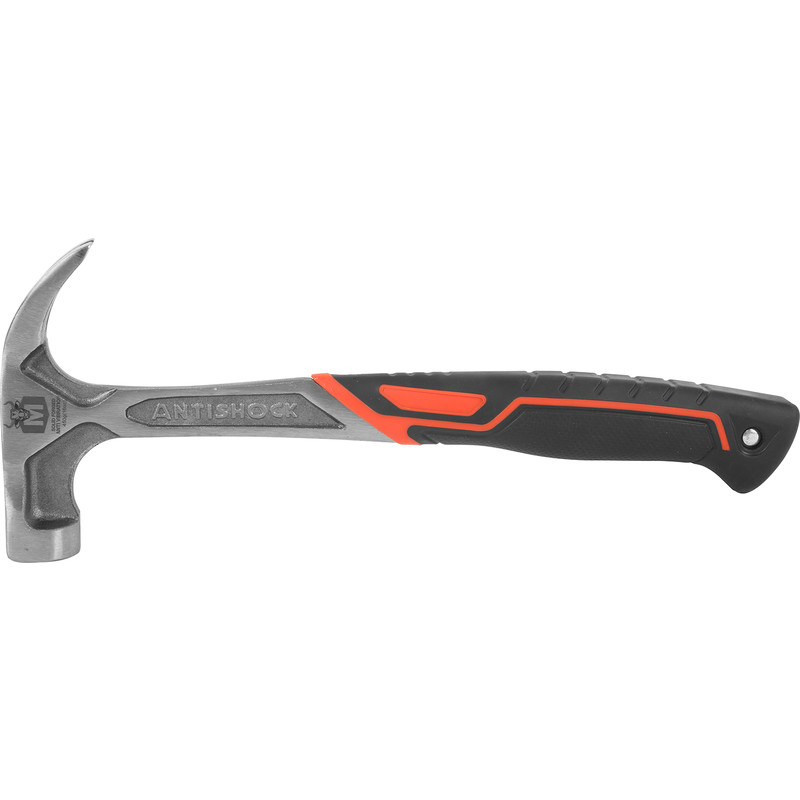
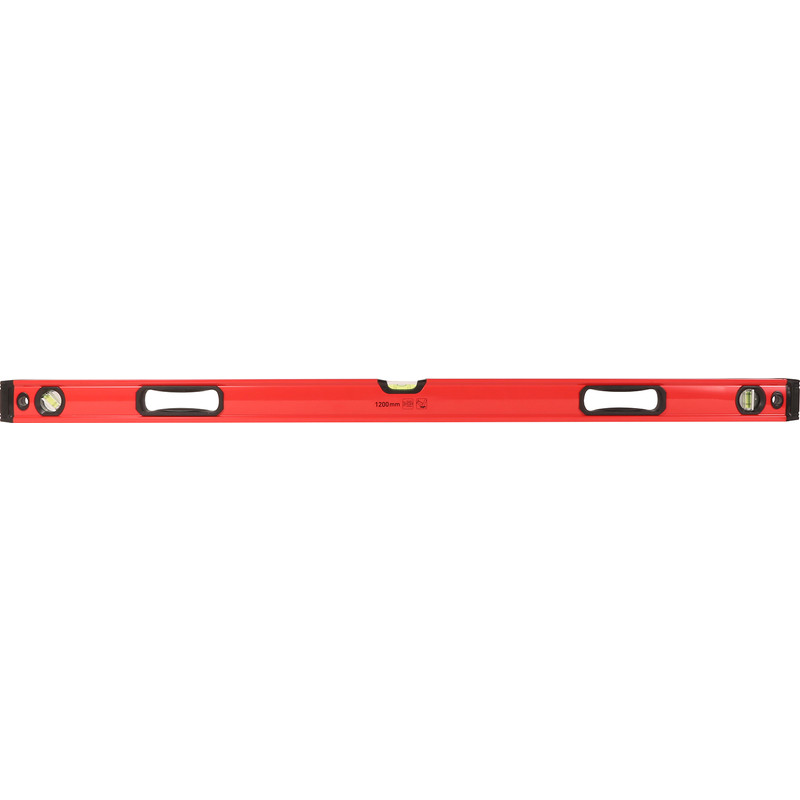
Tools You'll Need To Build Your Shed
There are a few different types of sheds and this how-to refers to the building of wooden sheds only. Besides the shed itself, there are a few other tools you’ll want to gather before you get to work.
Where Is The Best Place To Put A Shed
Before building your shed, it’s important to determine the best spot in your garden. The key things to consider are a level surface, good access, and a suitable distance from boundaries.
Think about how you plan to use the shed, as this can influence its location. If it’s primarily for storing garden tools, placing it closer to your main gardening area will save you time and effort. For workshops, consider natural light - choosing a spot that gets plenty of sun can make the space much more pleasant.
Drainage is another critical factor. Avoid low-lying areas where water might collect, as excess moisture can lead to rot and foundation issues over time. If your garden has a noticeable slope, you may need to level the ground or install a simple drainage system to keep the area dry and stable.
It’s also important to adhere to rules set by your local authority, as these may include stipulations on distance from neighbouring properties, along with things like size and height. If you’re in any doubt, it’s a good idea to check beforehand.
Step 1: Prepare the Site and Build the Base
Once you’ve chosen the spot for your shed, you’ll need to make sure it’s prepared with a base. That’s because most sheds aren’t designed to sit directly on soil, so a solid foundation is important.
One common option is to lay down paving slabs, ensuring they are level and evenly spaced to support the full weight of the shed. Alternatively, you can build a purpose-designed wooden shed base using treated timber, which provides a strong and rot-resistant platform that raises the shed off the ground.
Step 2: Unpack the Shed
Once your shed base is good to go, it’s a good idea to unpack everything and lay out all the supplied components - this also helps to ensure you have everything you need before you start. Also, remember that assembly of sheds will differ depending on the type of shed you have and the manufacturer, so refer to the instructions for any specific variations.
Read through the entire instruction manual before beginning so you're familiar with the process and any tools you'll need. Make sure you’re prepared so you can crack on with the job.
Step 3: Assemble the Shed Floor
Begin the build by assembling the floor frame according to the instructions. This frame typically consists of metal or wooden beams that interlock or screw together. Use a spirit level to make sure that it’s level and square, as this foundation will impact the entire structure’s stability and alignment. Some shed kits may require anchoring the base to the ground or foundation at this point, especially in areas prone to high winds.
Once the base frame is secure, attach the floor panels - start at the back and make sure it’s flush with the floor joists. Use something like a combi drill to secure it in place with a screw, begin at the corners and work along the back edge. Leave the side and centre for now as this gives you some wiggle room when laying the other panels. Lay the remaining panels ensuring they slot together and, as with the first panel, are flush with the frame. Once in position, fix them in place with screws.
Step 4: Install the Wall Panels
With the floor now complete, start installing the wall panels - it’s useful to get help from a second pair of hands for the next few steps. Most prefabricated shed kits have interlocking panels or pre-drilled holes to make this part easier.
Start with the back panel and lift this into place. It’ll need to be propped up while you erect the second panel. Secure both panels together using screws or bolts. Work your way around with the other panels, ensuring they’re straight and level. Once all the walls are in place, add any bracing or support beams specified in the instructions and then secure them to the shed floor.
Step 5: Fit the Shed Roof
Next, install the roof support beams or trusses. These should be easy to install and, in the case of an apex roof shed, require slotting into place in the designated recesses at either end. Now that the roof beam is firmly in place, it’s a good idea to check that you can freely open any doors and windows. Follow any further instructions to fix the beam to the walls. It’s usually secured with metal brackets.
Once the structure is in place, attach the roof panels, starting at one end and overlapping them if required to prevent leaks. Secure the panels using the appropriate fasteners provided in the kit. Depending on your shed model, the roof may include skylights, vents, or shingles. Make sure all roof components are firmly fastened and weather-tight.
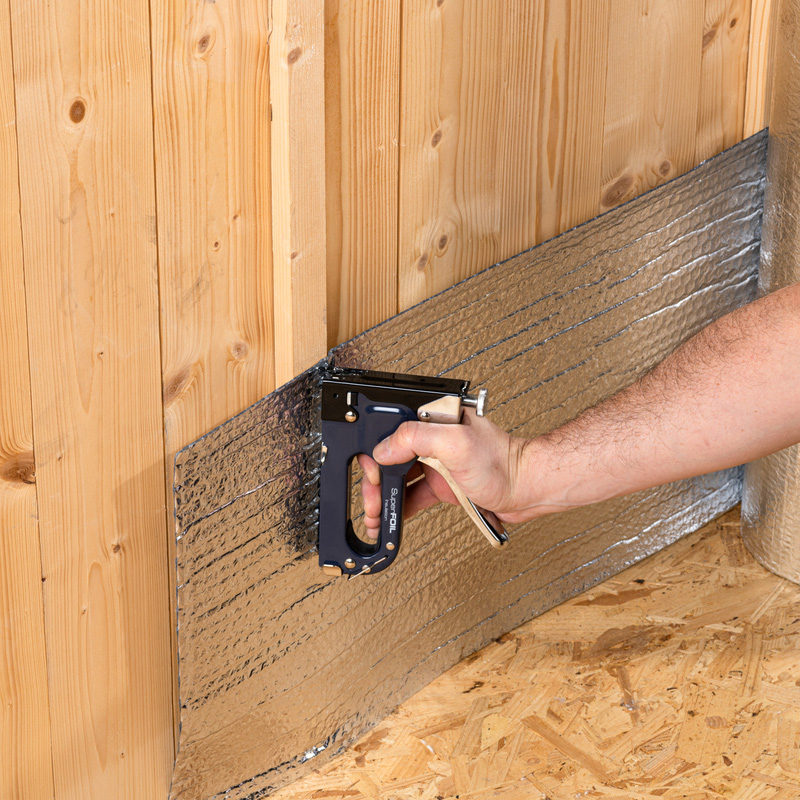
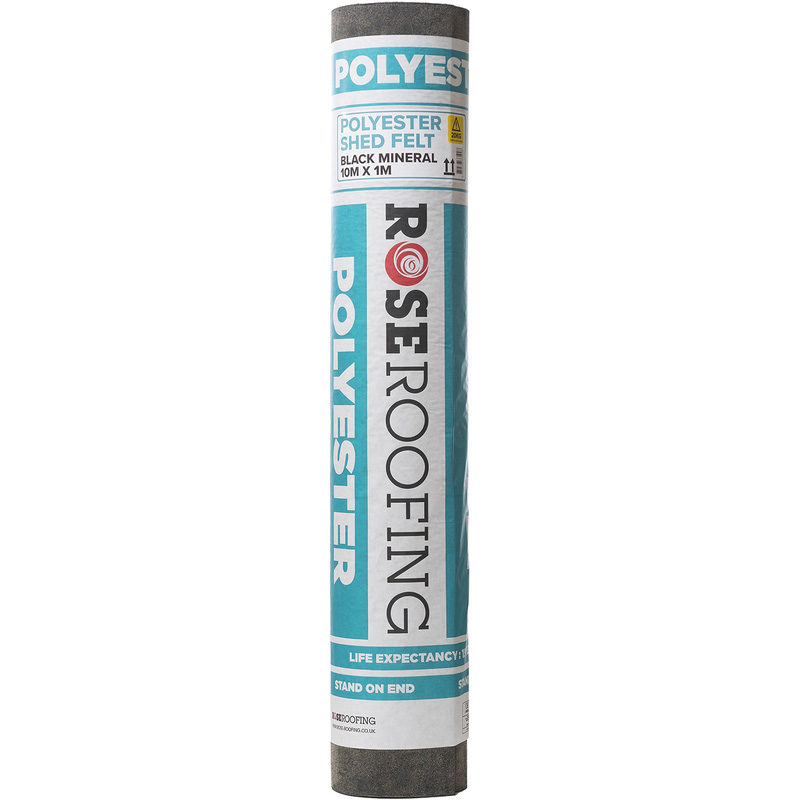
Step 6: Attach Felt to the Shed Roof
The final step in finishing your build is to felt the shed roof. The felt helps protect the shed from water damage and extends its lifespan. It’s a straightforward DIY job and will safeguard your shed from damp and rain while keeping the interior nice and dry.