- Help & Advice
- How To Guides
- How to Remove Grout
How To Remove Grout
Removing old grout is an important first step in refreshing tiled surfaces, whether you’re giving your kitchen an overhaul or brightening up a tired bathroom. While applying new grout is a fairly simple DIY task, taking time to properly remove the old, damaged, or discoloured grout means you'll be left for a better and more durable finish.
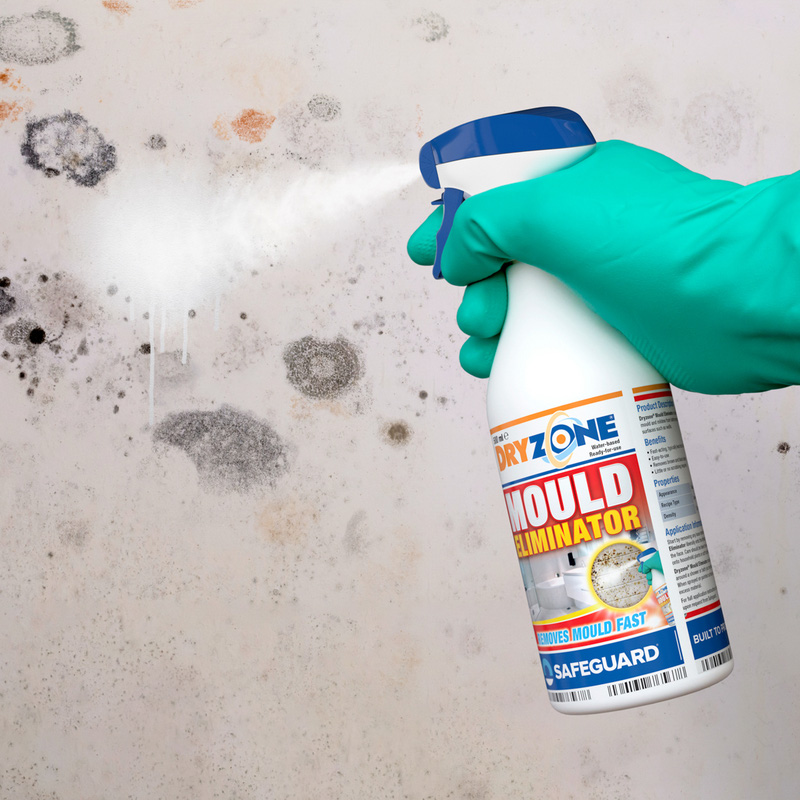
Over time, grout can crack or crumble, creating gaps that allow water to seep through, and it often becomes stained or discoloured, especially in high-moisture areas. If left, it can also develop mould and mildew. In some cases, deteriorating grout can even cause tiles to become loose and unstable. Removing old, worn grout means you can re-grout properly, restoring both the appearance and the long-term durability of your tiled surfaces.
In this guide, we’ll provide the best methods for removing it, and how to prepare your tiles for a flawless re-grout.
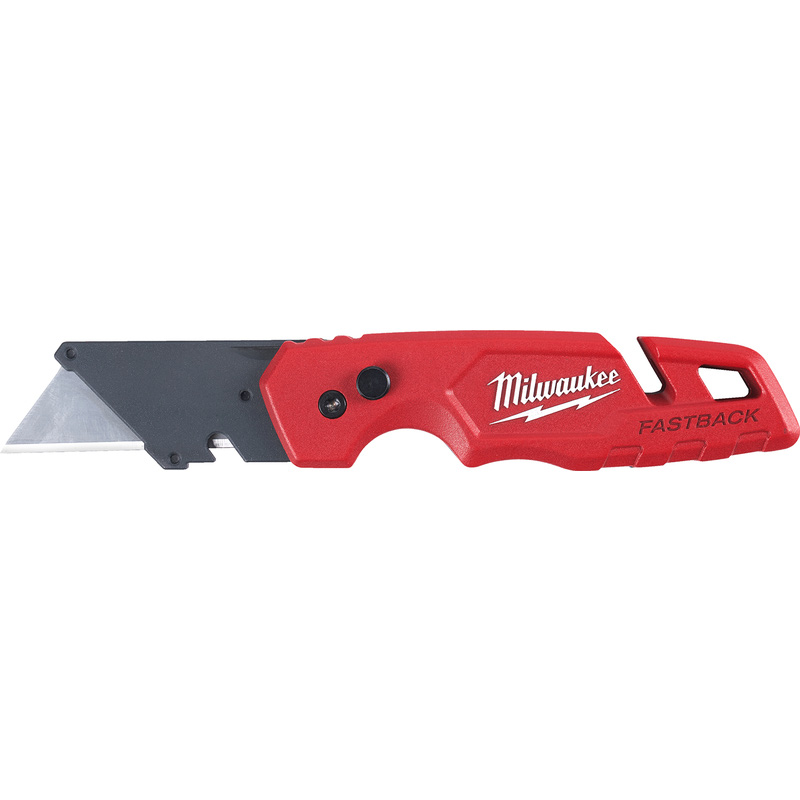
Essential Tools & Equipment


Step 1: Clean the Surface
Removing grout can be a pretty messy job thanks to all the dust being created. If you want to minimise any clean-up afterwards, throw down a few dust sheets which will catch most of the debris as you work.
Next, wipe down the surface of the tiles to get rid of any dirt and things like soap residue. A clean surface means you’ll be able to see the grout lines clearly and prevent debris from getting pushed deeper as you begin removing the grout.
Step 2: Score the Grout Lines
Once the tiles are clean and dry, lightly score the grout using a utility knife or a manual grout rake. This creates a small groove that gives your chosen tool a starting point and reduces the chance of it slipping and scratching the tiles.
Step 3: Choose Your Removal Method
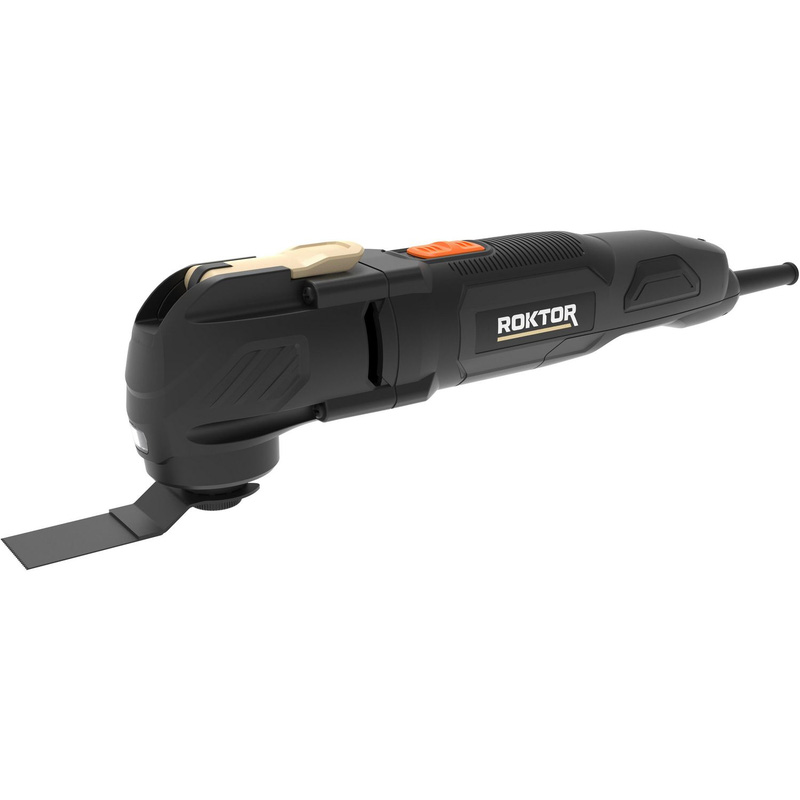
There are a couple of effective ways of getting rid of grout. Either manually with a grout rake, which is ideal for smaller tiled areas or by using an oscillating multi tool. The power tool method is great if you plan on removing grout from whole rooms which can be a bit labour intensive if doing so manually.
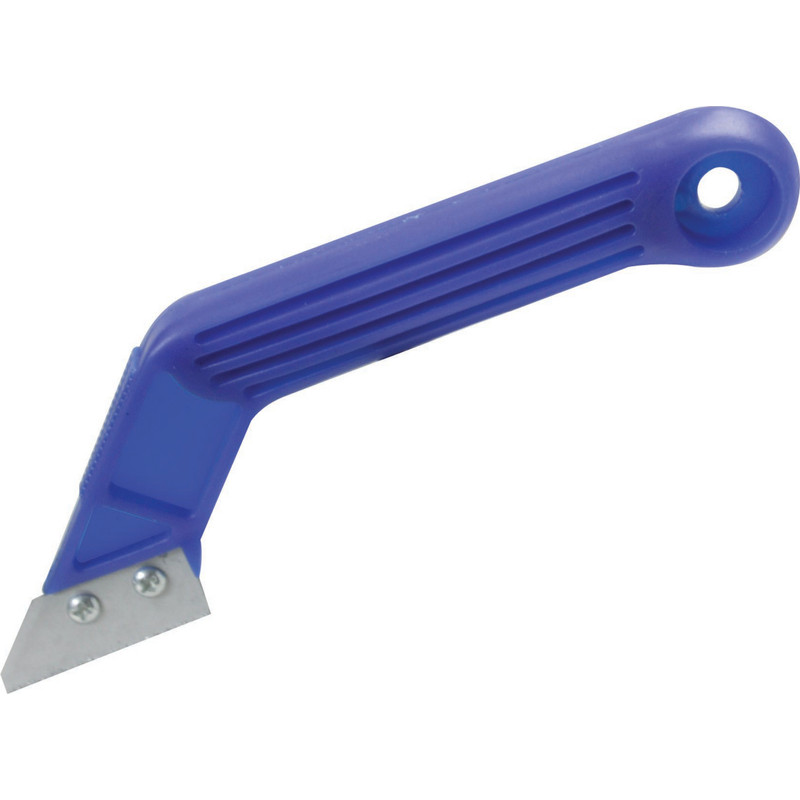
Manual Method (ideal for small areas)
Using a grout rake, hold the tool at a slight angle and pull it back and forth along the grout line. Work slowly in short, controlled strokes until you’ve removed most of the grout to a depth of around 2–3 millimetres. While this method is slower and requires a bit more effort, it gives you greater control and reduces the risk of chipping and scratching the tiles.
Power Tool Method (best for large areas)
For bigger jobs, an oscillating multi-tool or rotary tool fitted with a grout-removal blade can make the work much faster. Start by setting the tool to a low or medium speed and guide it gently along each grout line, don’t apply too much pressure and instead let the tool do the work. Pause every now and then to vacuum or brush away dust so visibility stays clear and you can keep a steady hand. Be sure to take your time with this method, as rushing could result in accidental tile damage.
Step 4: Clean Out the Grout Lines
After removing the majority of the grout, clear the grooves between the tiles using a brush or vacuum. Removing all the dust and debris is important so that the new grout can bond properly. Take time to inspect the lines and make sure they’re clean, consistent, and free from any loose fragments.
Step 5: Inspect and Tidy Up
Finally, check for any stubborn bits of grout and remove them with a scraper or small blade. Work carefully around the tile edges to avoid chipping. Once the grout lines are an even depth, usually around 2–3 millimetres, and the tiles are clean and intact, the surface is ready for fresh grout.