- Help & Advice
- How To Guides
- How to Fit an Outside Tap
How to Fit an Outside Tap
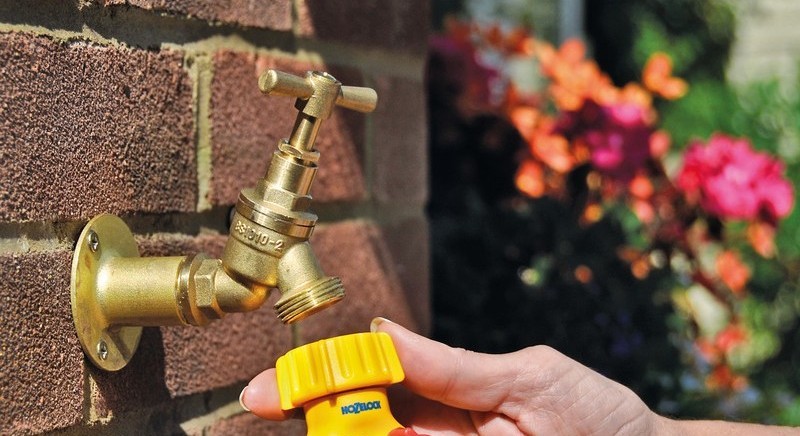
Whether it’s washing your car or patio, or just having convenient access to a water supply for watering your plants and lawn without having to have hosepipes trailing through your home, an outdoor tap is a simple but incredibly useful addition to any garden.
In this guide, we’ll take you through the steps on how to fit an outdoor tap yourself - from the tools you'll need and choosing the best location, to step-by-step instructions for a safe and leak-free installation. Let's get started!
Tools to Fit an Outside Tap

Step 1: Find the best spot for your Outdoor Tap
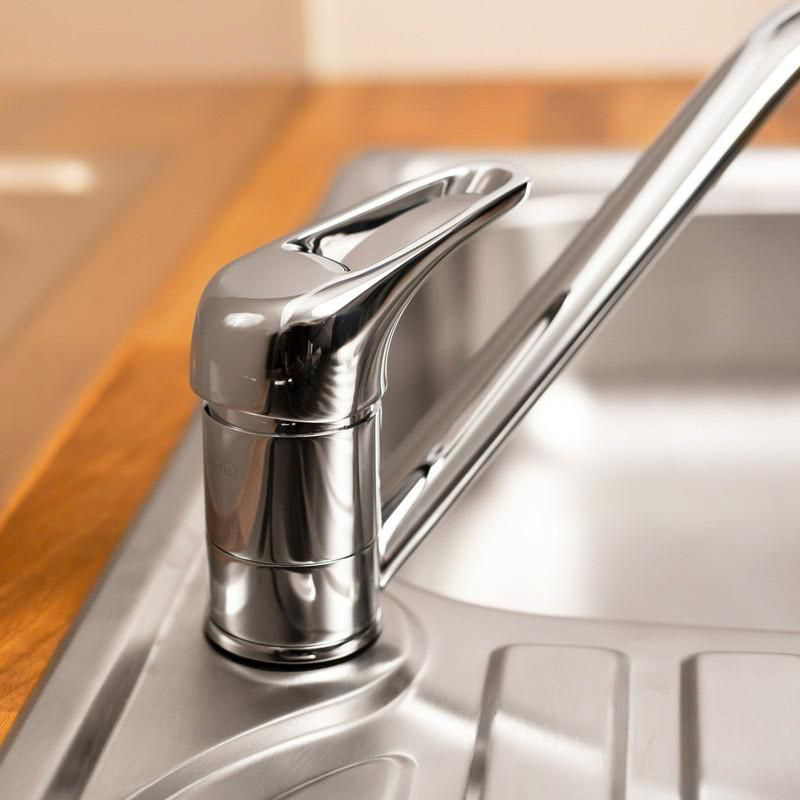
The first thing you’ll need to do is determine the best place for your outside tap. The ideal place for any outdoor tap is below a sink or somewhere where there’s good access to the mains cold water pipe - this is where the tap will connect into.
The most common place for most outdoor taps is where you’ll find a sink on the other side of the wall, often a kitchen sink or utility sink which tend to face out into your back garden or side of your home.
Step 2: Turn off the Mains Water
Before starting work, the next, and most important step, is to turn off the mains water. This is to prevent any leaks, backflow water contamination and prevents damage to the plumbing pipework.
Step 3: Drill a Hole in the Outside Wall
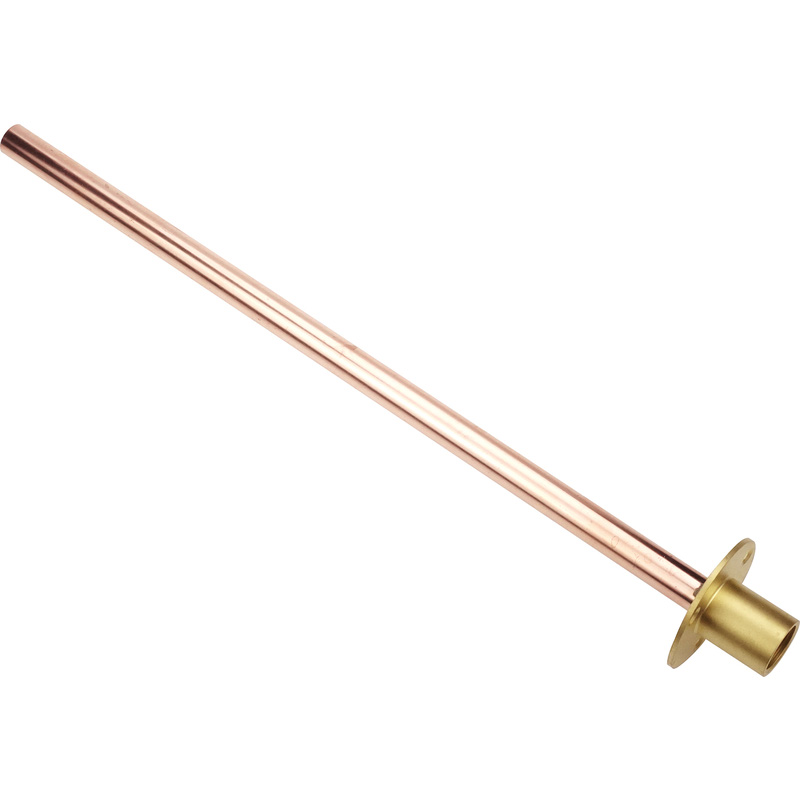
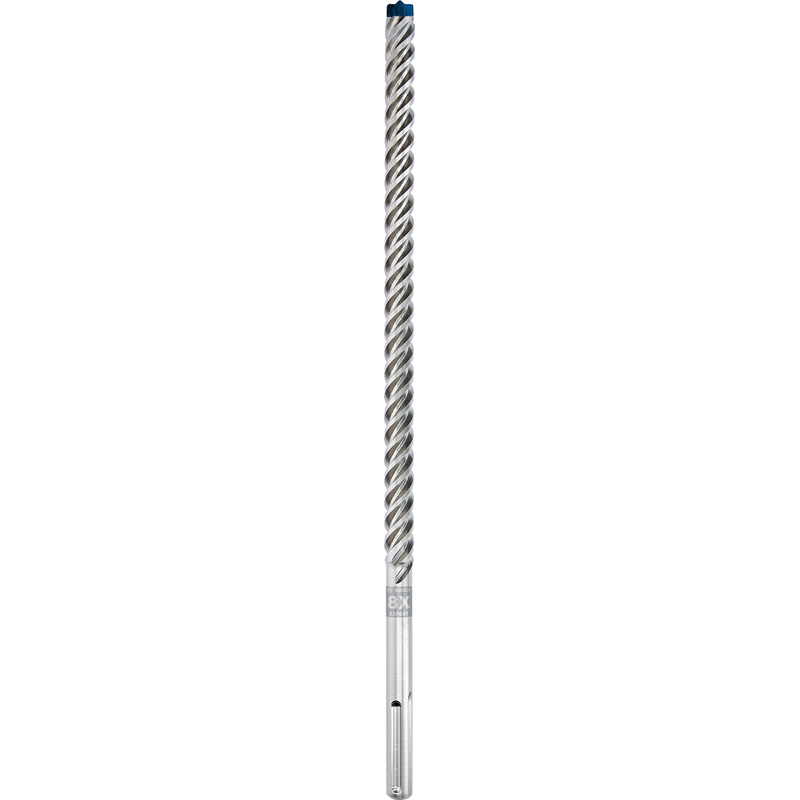
The tube connected to the backplate needs to be fed through the wall so that it comes out through the other side and immediately beneath the sink - ideally within easy reach of the cold water supply. Most tubes (the tube connecting to the backplate) are 15mm diameter, so you’ll need to drill a 22mm hole in the wall. This allows space for both the copper pipe and the plastic conduit, which will cover the pipework.
Once you’ve measured and marked where to drill, start by pre-drilling a pilot hole - this should prevent any damage to the wall. Once the pilot hole has been drilled, follow up by drilling with your 22mm drill bit.
Step 4: Drill Holes for Attaching the Backplate
Carefully feed the entire length of the copper pipe through the hole until the backplate sits flush against the outer wall. Mark where the holes are on the backplate - these will also need to be drilled so the backplate can be securely screwed to the wall. Insert some wall plugs into the drilled holes - this will provide an anchor for the screws so they hold firm once in place.
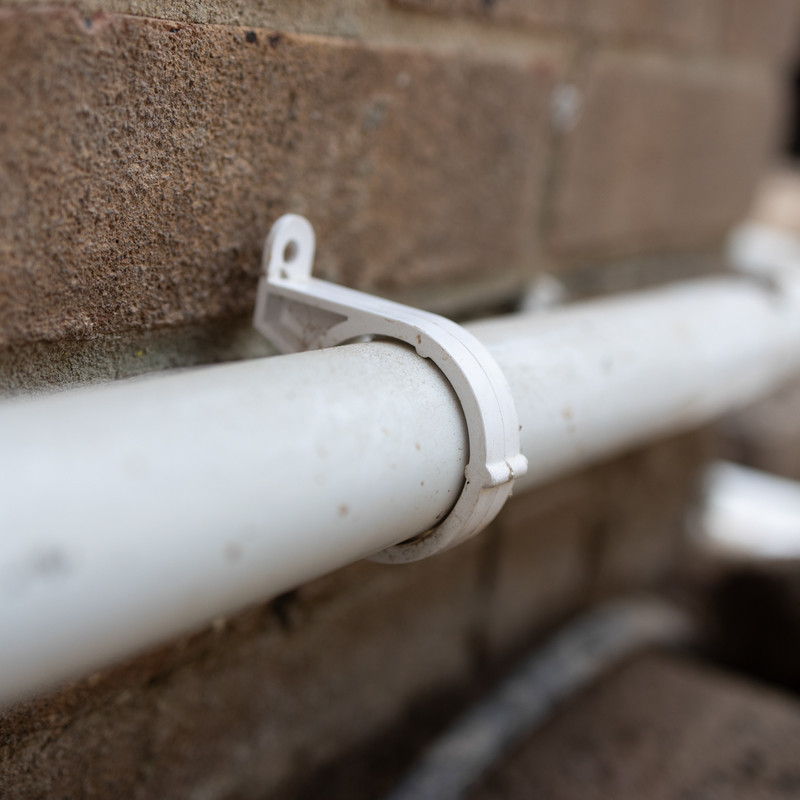
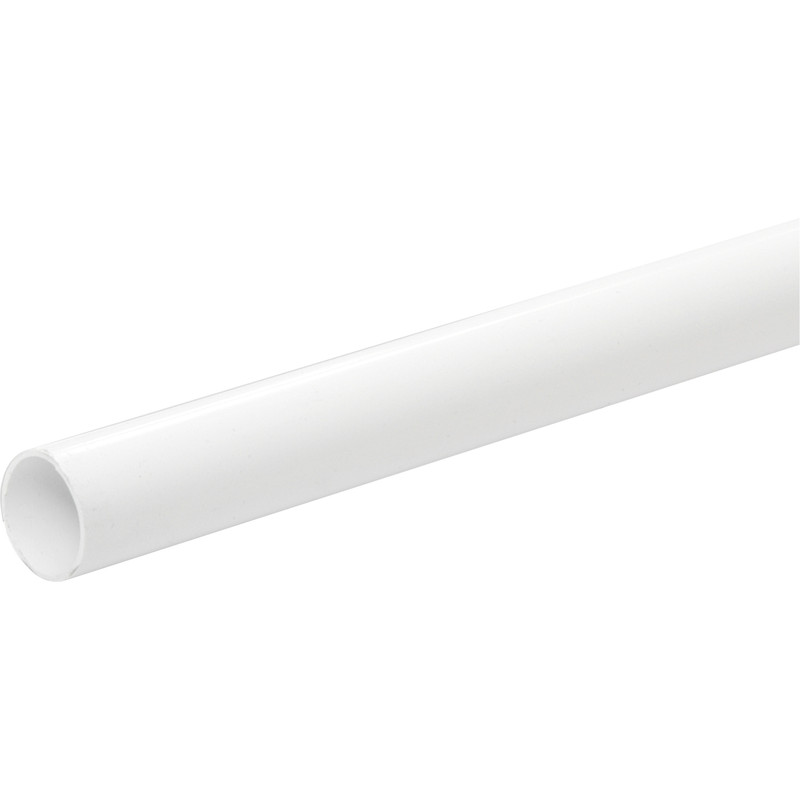
Step 5: Feed Plastic Conduit Through the Hole in the Wall
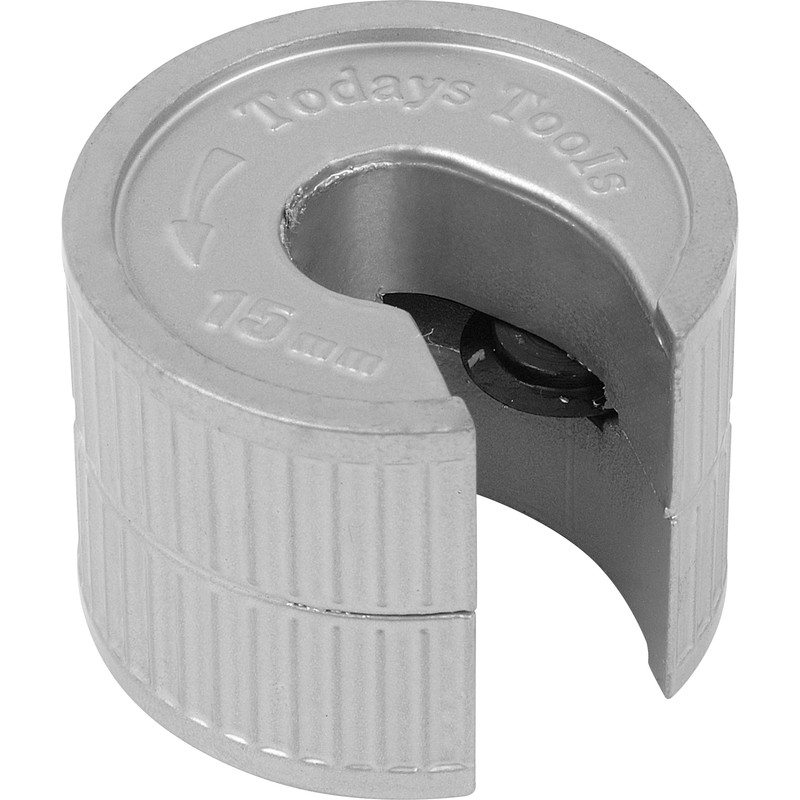
Take your length of 20mm plastic conduit and feed it through the hole in the outer wall until it’s completely pushed through. Now head to the other side of the wall and mark the conduit pipe where it meets the wall - you’ll then need to cut this to the correct length using a pipe cutter for a perfect fit. Once you’ve done that, push the conduit back through the wall.
Step 6: Feed the Copper Backplate Through the Conduit
With the plastic conduit in place, you can now feed through the copper pipe until the backplate rests against the wall - before that though, apply some silicone sealant around the base of the backplate as this provides a seal and prevents any water from passing through the hole and tracking back along the pipe.
Now feed the copper pipe through the wall and be sure that the holes in the wall line up with those on the backplate. Wipe away any excess sealant and then fit the backplate to the wall with screws.
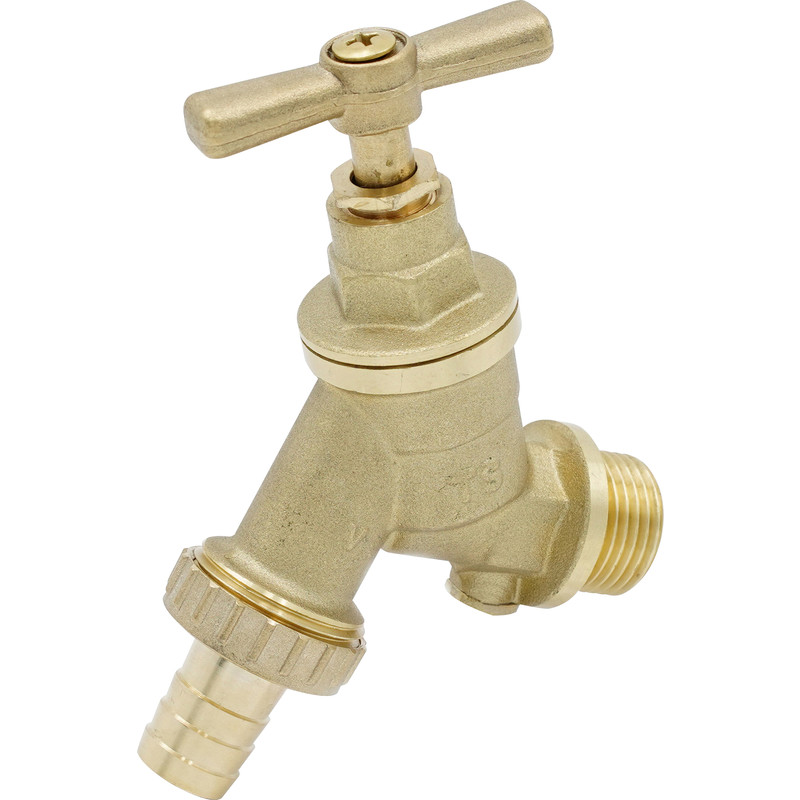
Step 7: Fit the Outdoor Tap to the Backplate
Before screwing the tap into the backplate, it’s important to wrap some PTFE tape around the thread of the tap. This will create both a watertight and airtight seal around the thread, preventing leaks and making it easier to screw the tap on. With the PTFE tape in place, screw the tap into the plate making sure it’s straight and level.
Step 8: Fit an Equal Tee to the Cold Water Supply
Head back indoors to where the mains water supply is along with the tail end of the copper pipe which leads back out to the newly fitted outdoor tap.
Tip: If you’re not sure which is the cold versus the hot water supply you could switch the mains back on and turn on both taps at the sink - the pipe that gets warm is leading to the hot water supply. In which case, you’ll want to connect up to the other supply. Remember to turn the water back off before proceeding!
Next, you’ll need to fit an equal tee - a type of pipe fitting with 3 openings. To do this, you'll need to cut a section from the vertical length of the cold water supply pipe using your pipe cutter. Don’t worry if a tiny bit of water escapes - this is perfectly normal. Cut away enough of the pipe so the equal tee fits comfortably. Apply some flux around the pipe openings and then fit the equal tee to the cold water pipe. Once fitted, take your blow torch and solder the equal tee into place.
Allow this to cool before attaching a length of copper pipe horizontally from the equal tee's third opening – ensure you leave enough room for fitting the valves in the next step.
Step 9: Fit the Isolation and Double Check Valves
The purpose of fitting the isolation valve is so you have the option to isolate the outside tap if and when you need to. The double check valve, fitted next to the isolation valve, acts as a safety measure to prevent contaminated water from heading back into the clean water supply. Both valves have flow direction arrows on them.
Attach both valves onto a small piece of copper pipe (ensuring both flow arrows point in the same direction) – apply some PTFE tape around the threads for a more secure fit. This can now be attached to the horizontal length of copper pipe.
Step 10: Attach the Remaining Lengths of Copper Pipe
Using your pipe cutter, cut the excess copper pipe from the outside tap, then affix an elbow connector. From here, you can connect the remaining pipework to connect the outdoor tap to your cold water supply. You’ll likely need to cut the pieces of pipe to the correct length to do this and may need an additional elbow connector to connect the final two pieces.
Step 11: Solder the Copper Pipework to Finish
Apply some flux to the joints of the copper pipework then grab your blow torch to solder it all together. Before that, it’s a good idea to wrap a damp cloth around the valves to protect them from the heat. Once you’ve finished soldering, allow the pipework to cool and then switch the water mains back on and you’re done!